Saturday, December 31, 2011

31 Day Challenge: Day 21 (Inspired by a Colour)

INSPIRED BY A COLOUR? Gosh, how vague. Initially, I wanted to do an ombre manicure but after yesterday's failed attempt at water marbling, I just couldn't move on without giving it another go. This time, I tried dry water marbling and the only difference is that I dipped a piece of plastic into the water instead, then after the polish dried, I transfered it onto my nails. I'll explain how to go about doing this in a bit but pictures first!


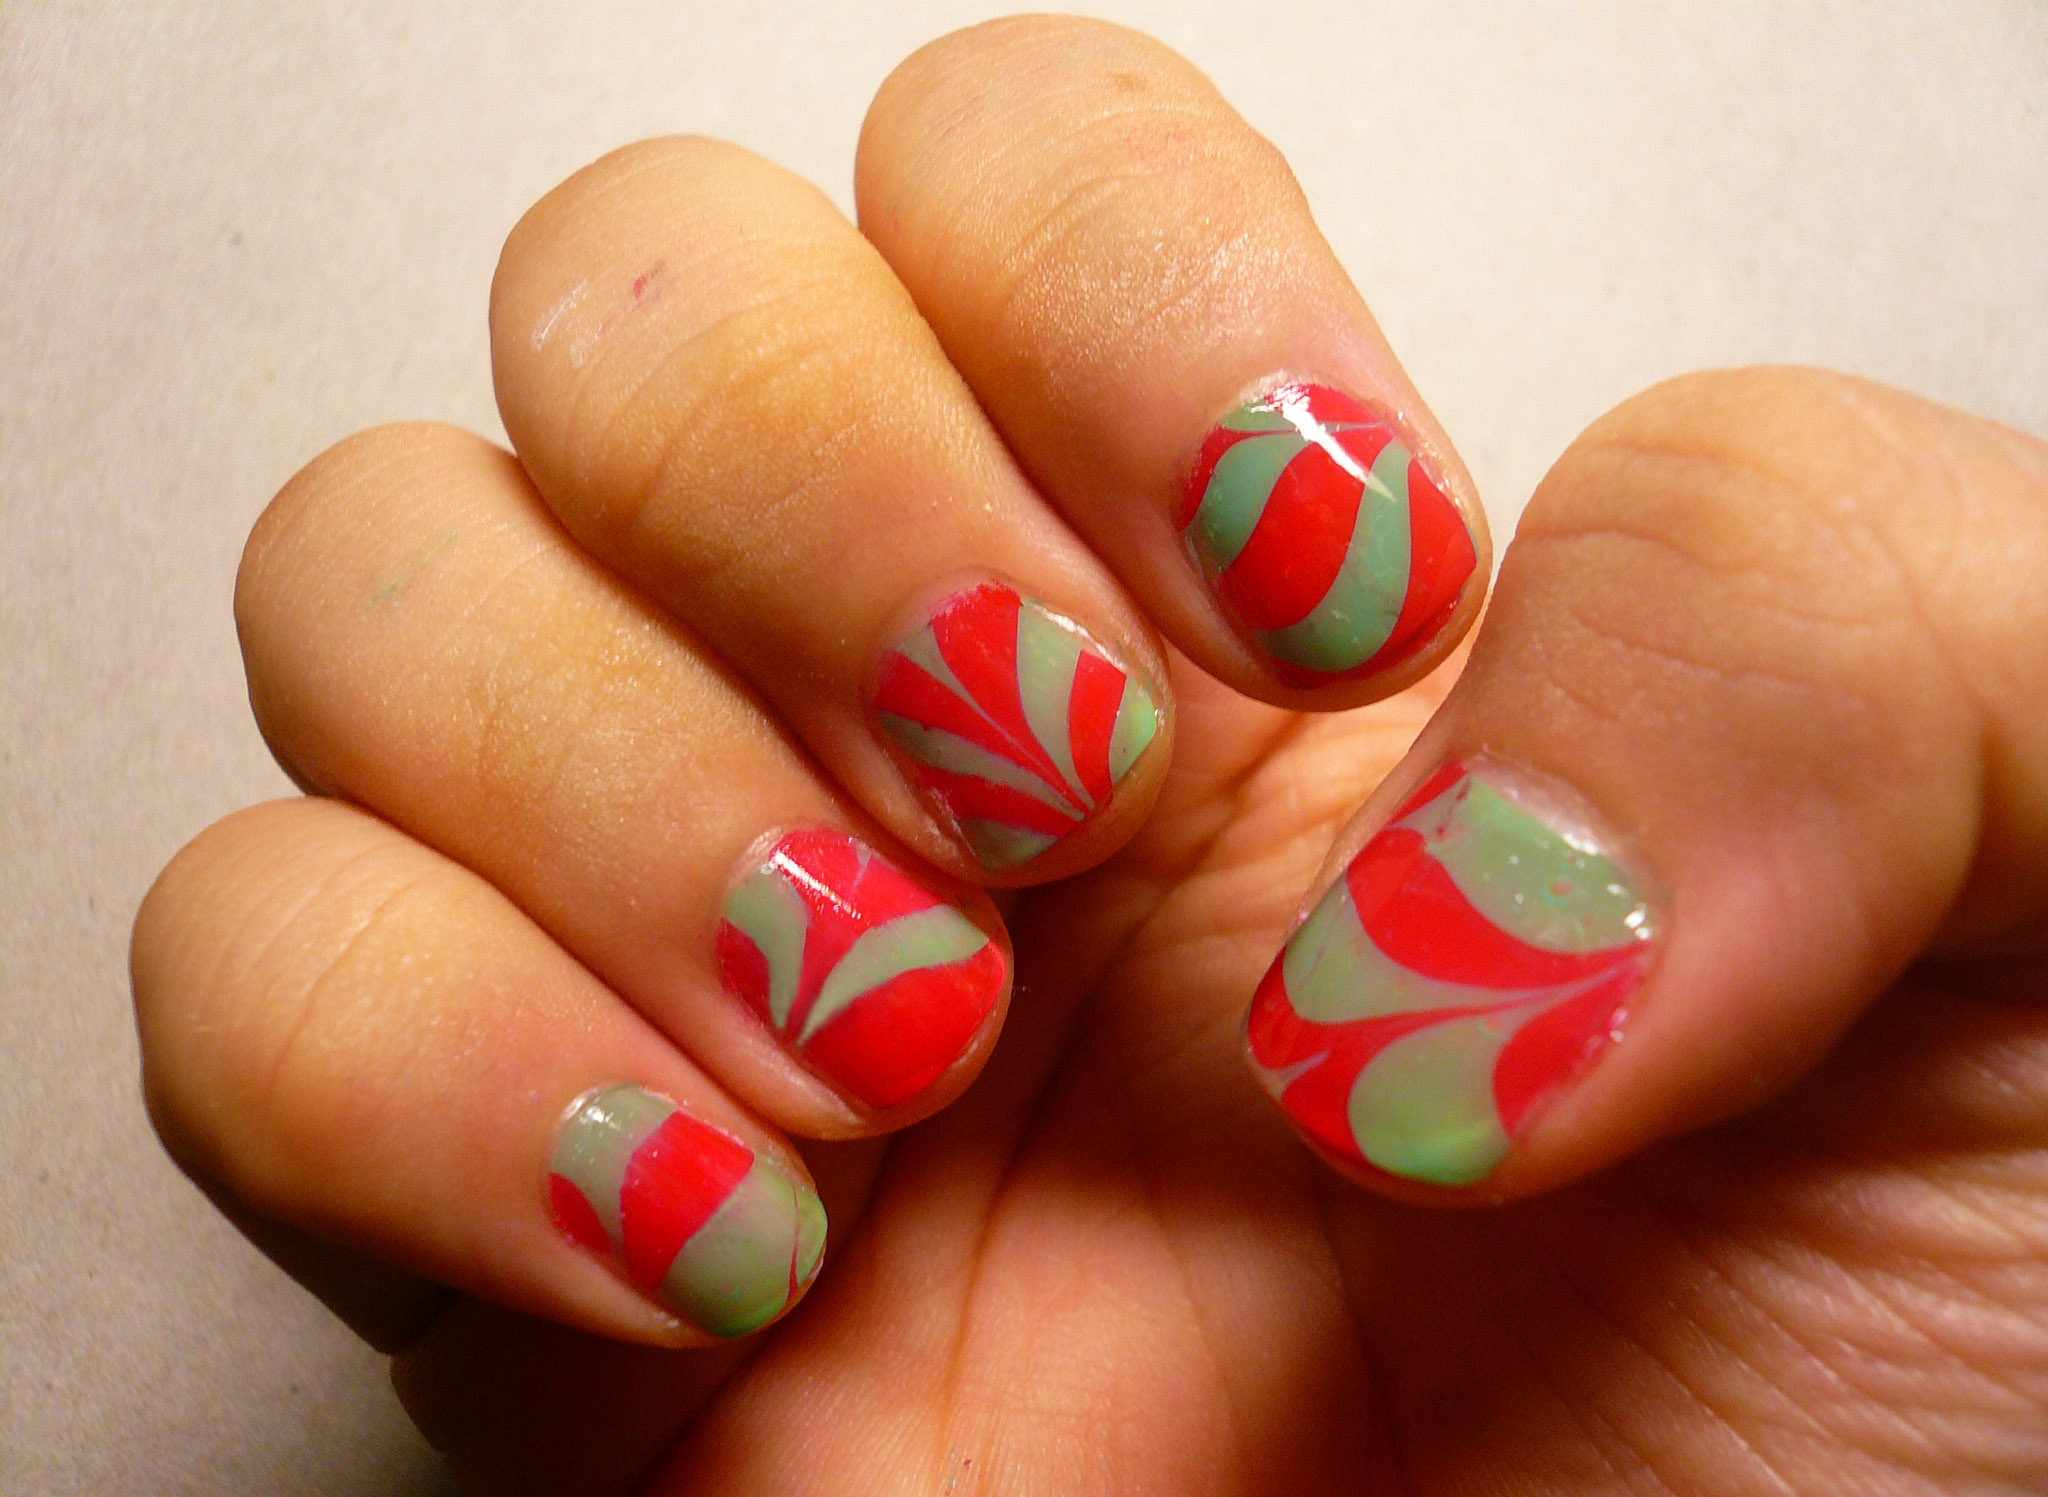
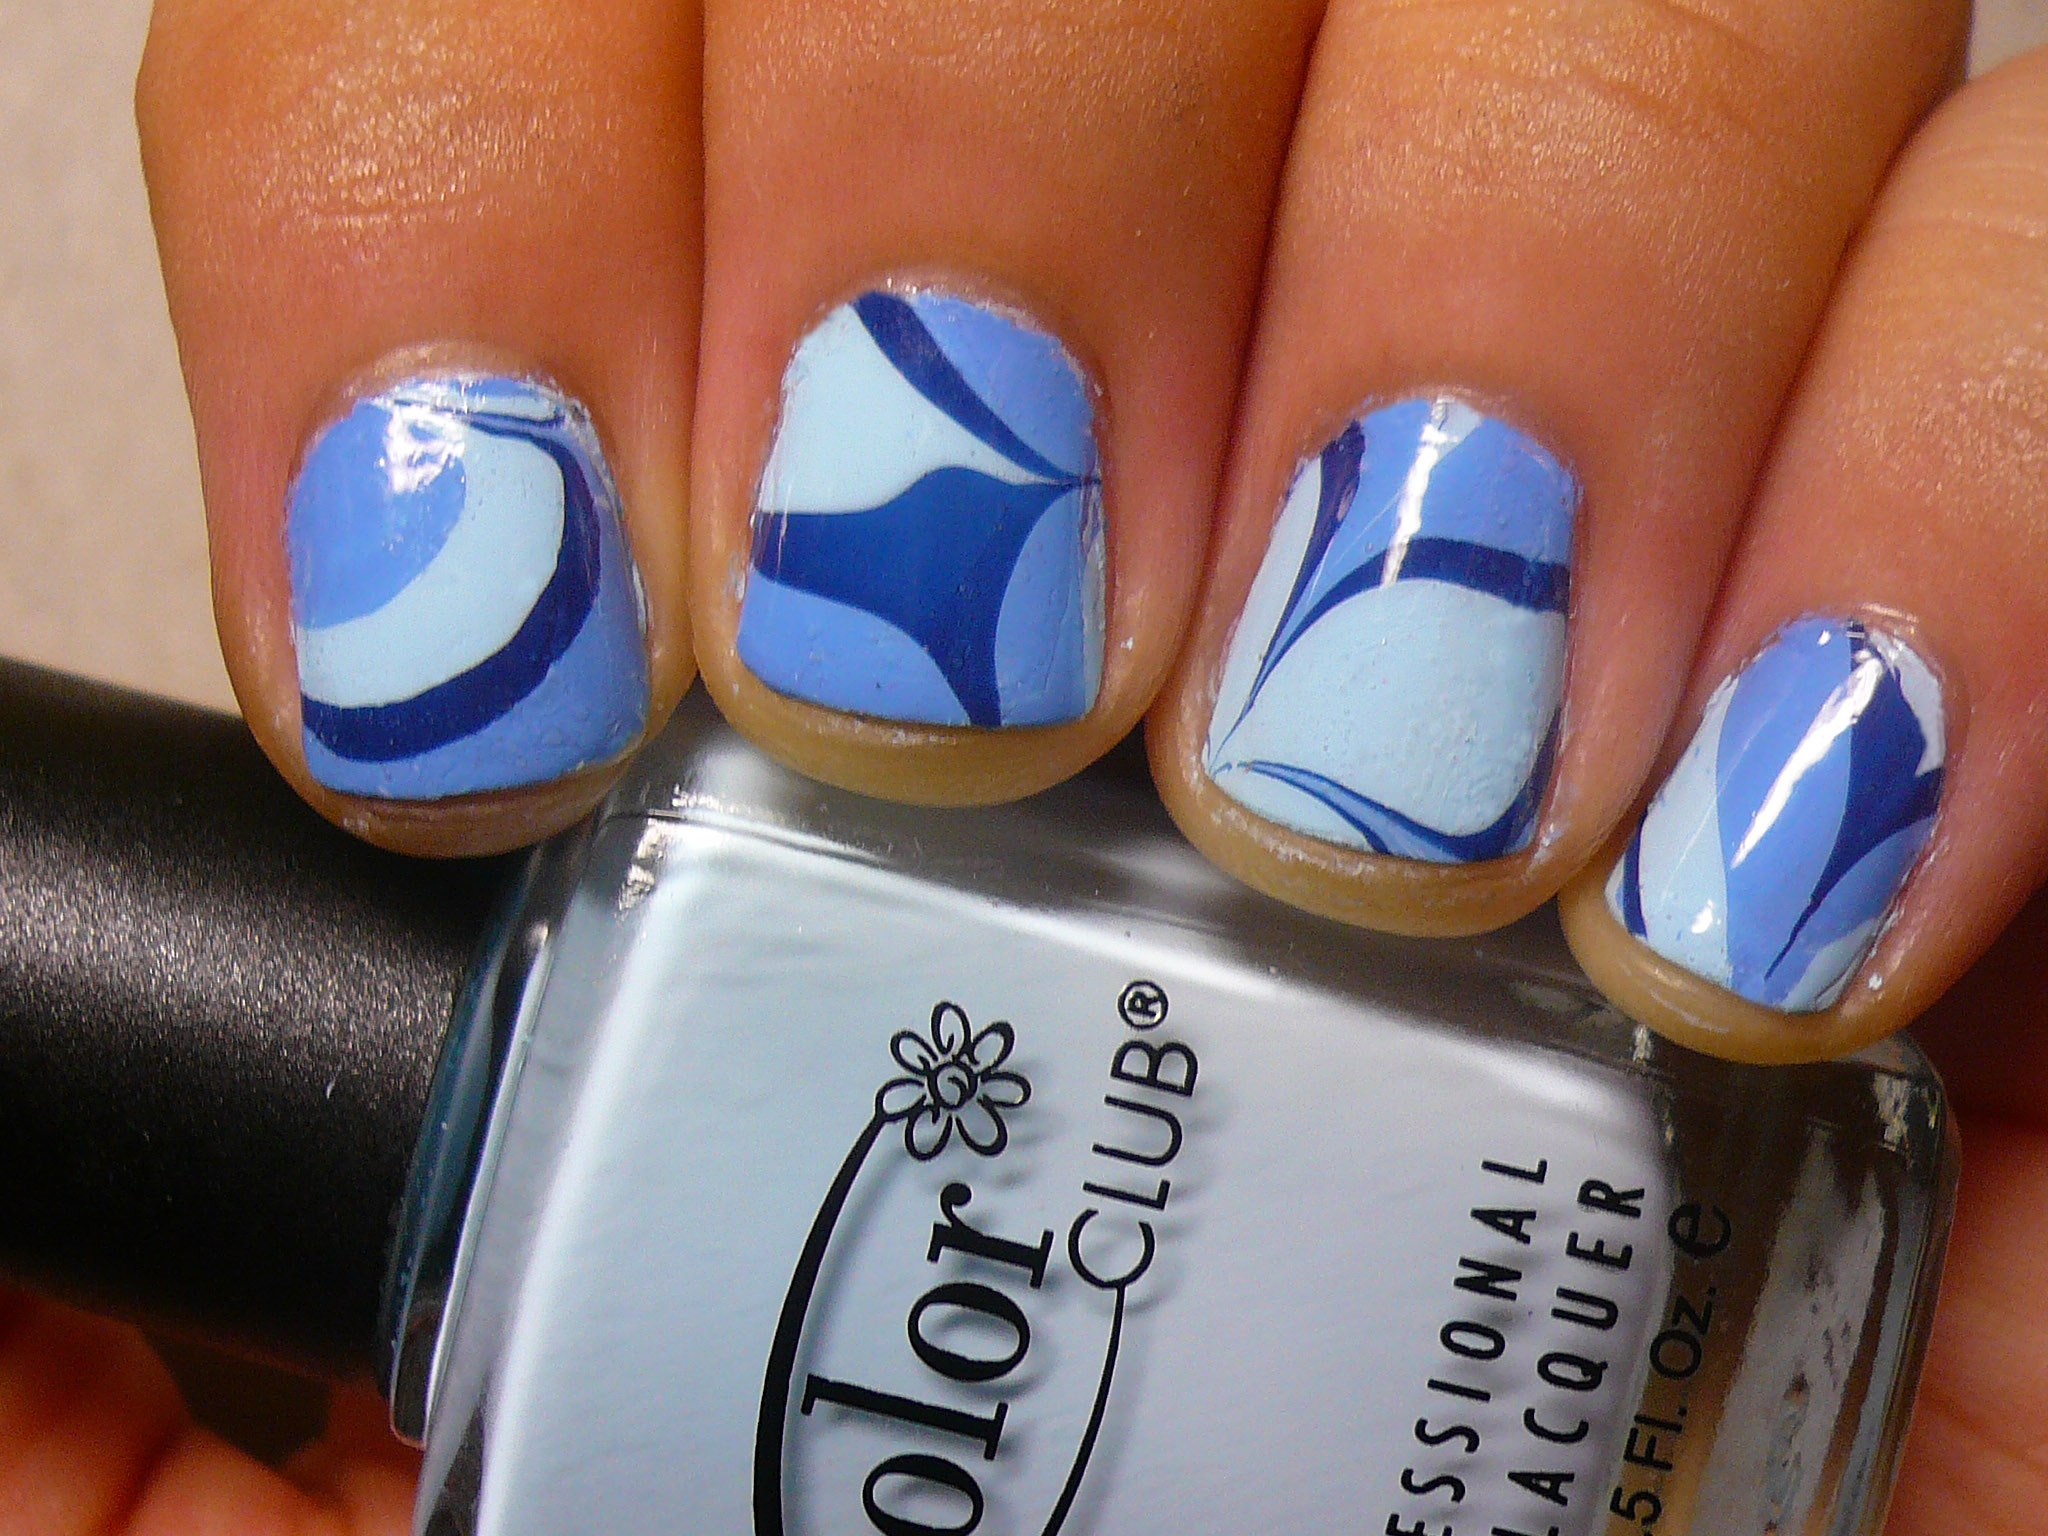
Much prettier don't you think? It's much easier to be able to take your time to choose the best part of the design to transfer on your nail then to rush to dip your finger into water.

Okay, so here's how to do dry water marbling:

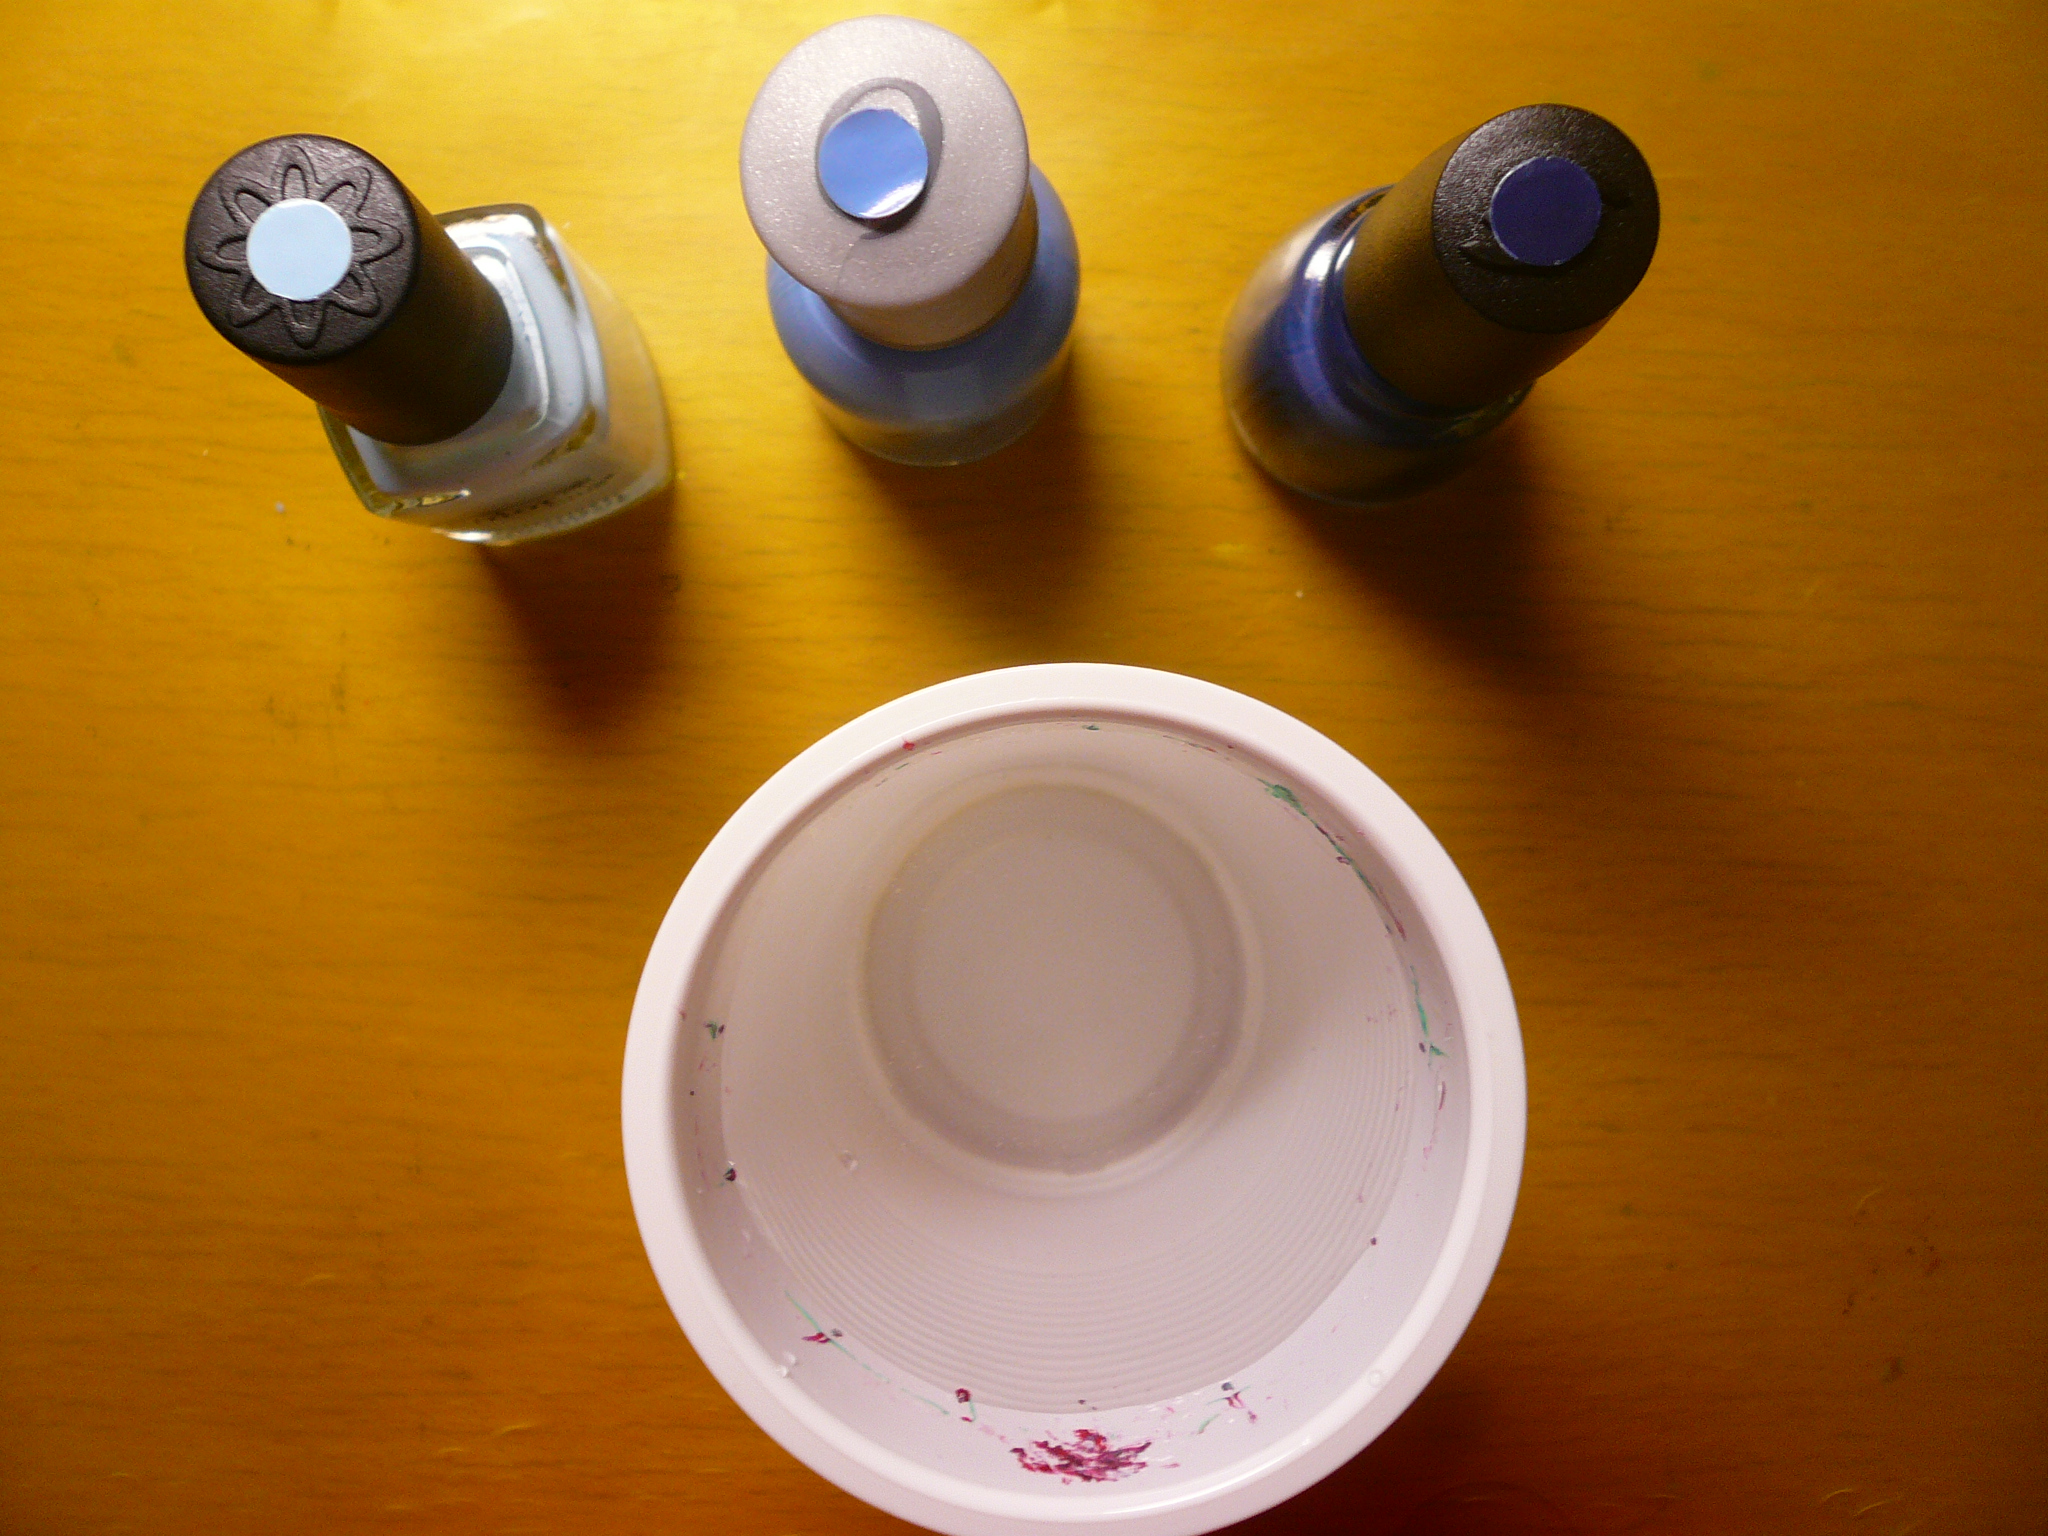
1. Get a cup of room temperature water. Also, you'll want to use a disposable cup or a cup that you no longer want to drink from. While waiting for the water to adjust to room temperature, you can go ahead and choose the colours you want to use. I chose Color Club Take Me To Your Chateau, Orly Snowcone and china Glaze First Mate. These are all pretty opaque polishes and using cremes instead of jelly finishes will help get the colour of the polish to come out more. Also you might want to work on some waterproof surface just in case, or on top of newspapers so you won't damage your table top. I chose to work on a plastic file!


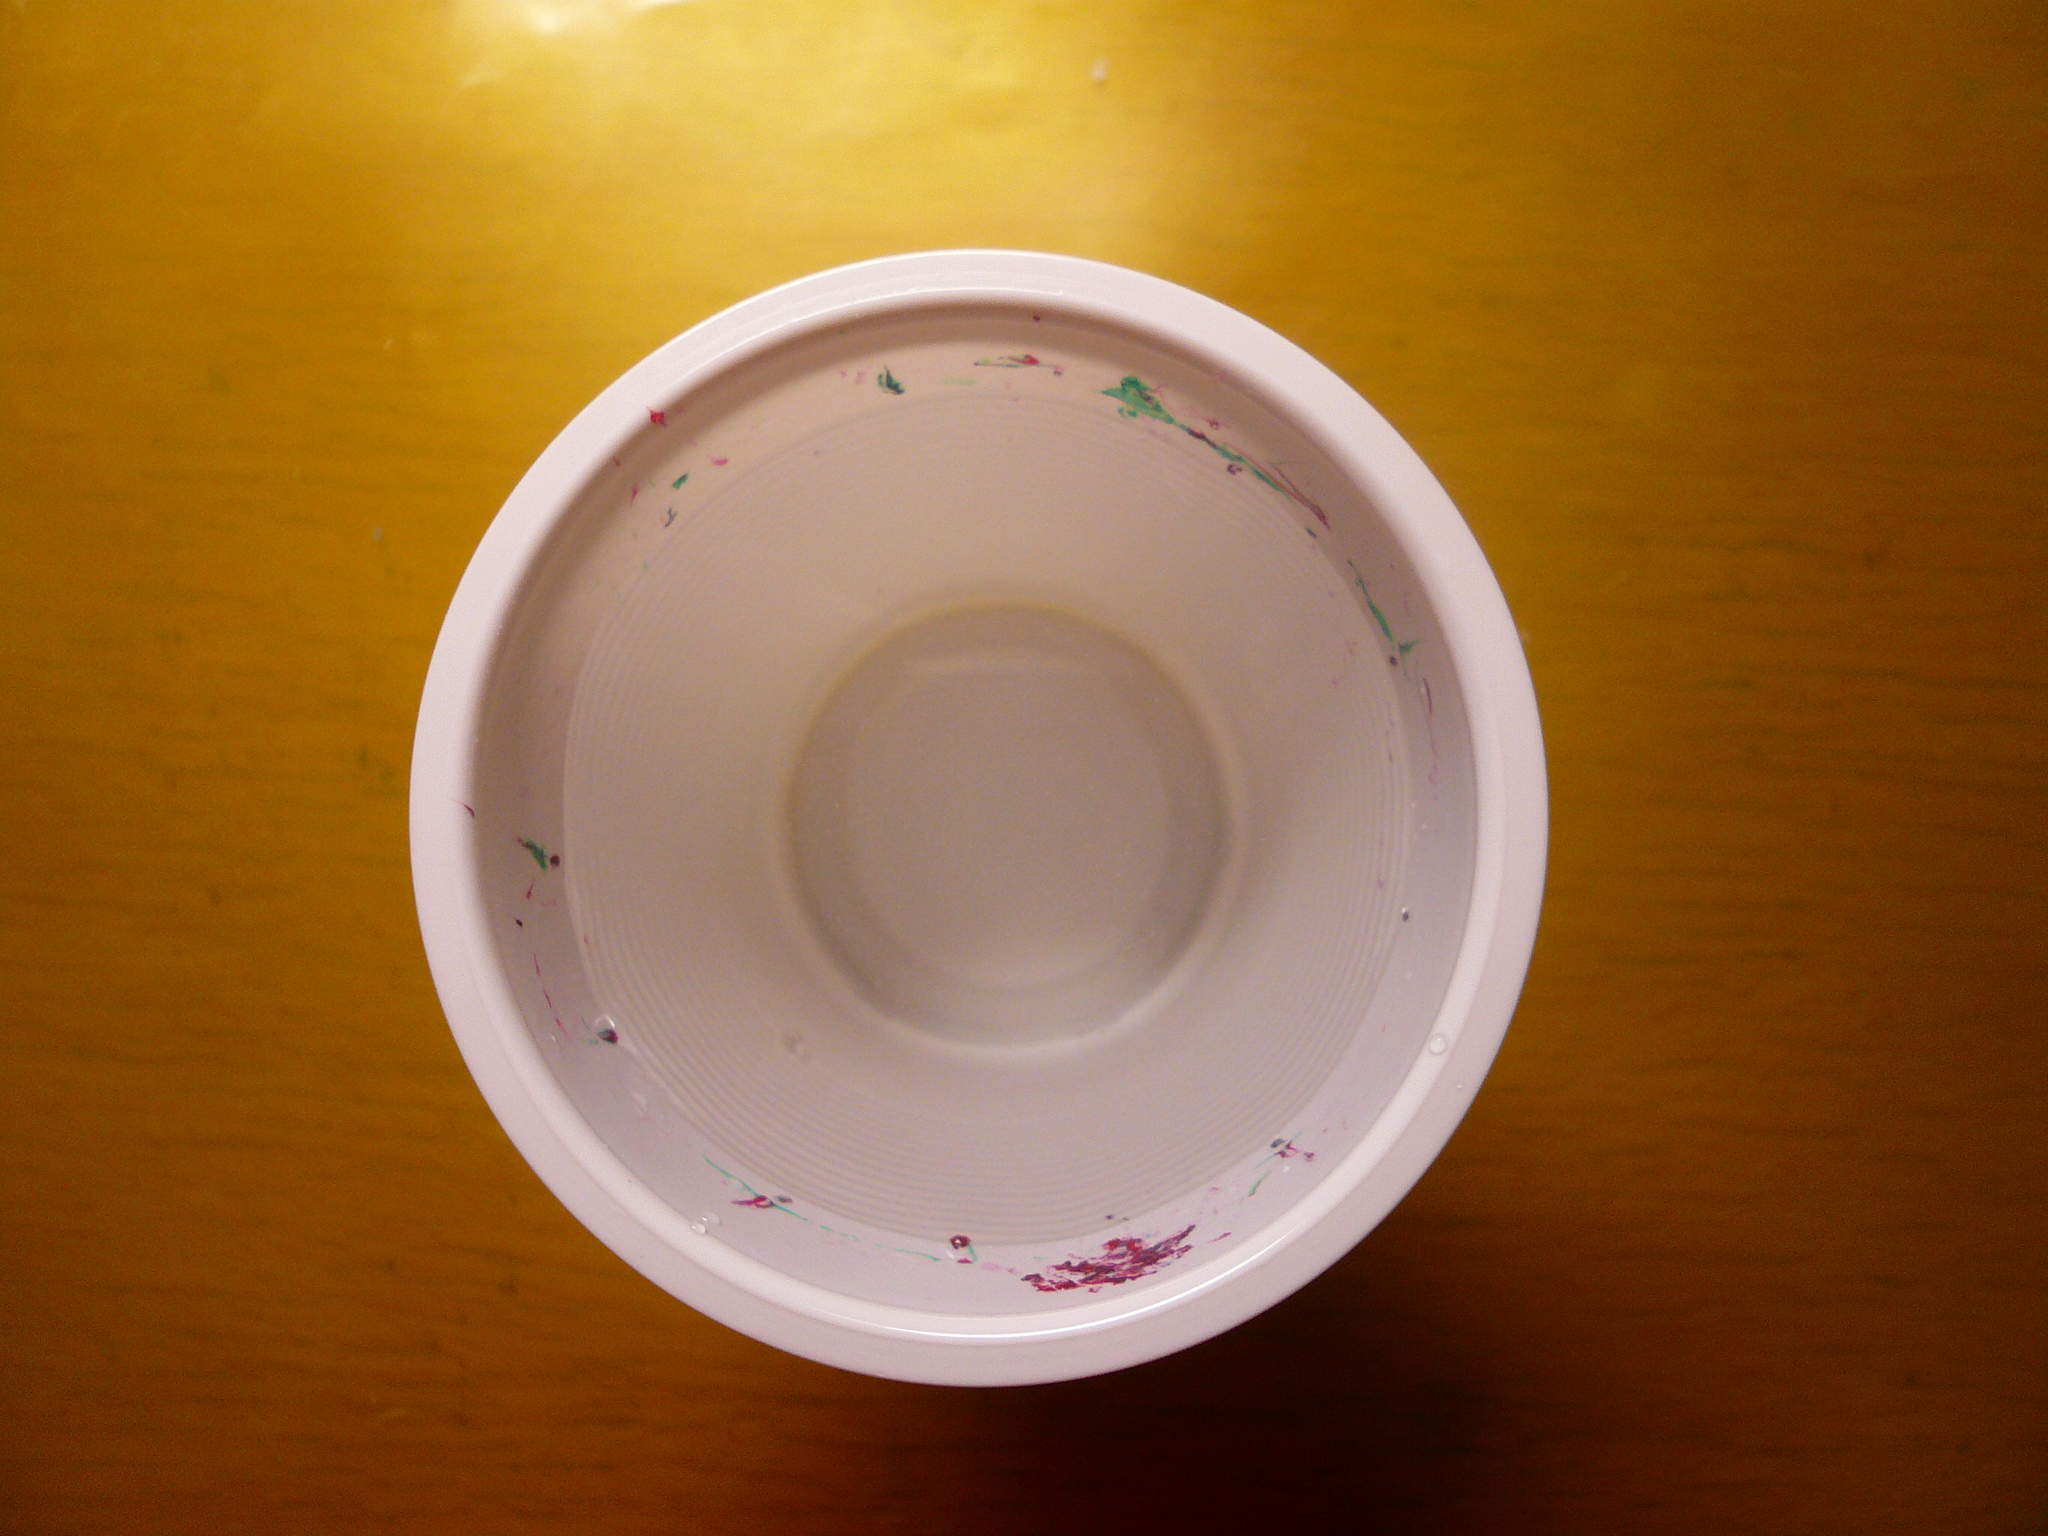
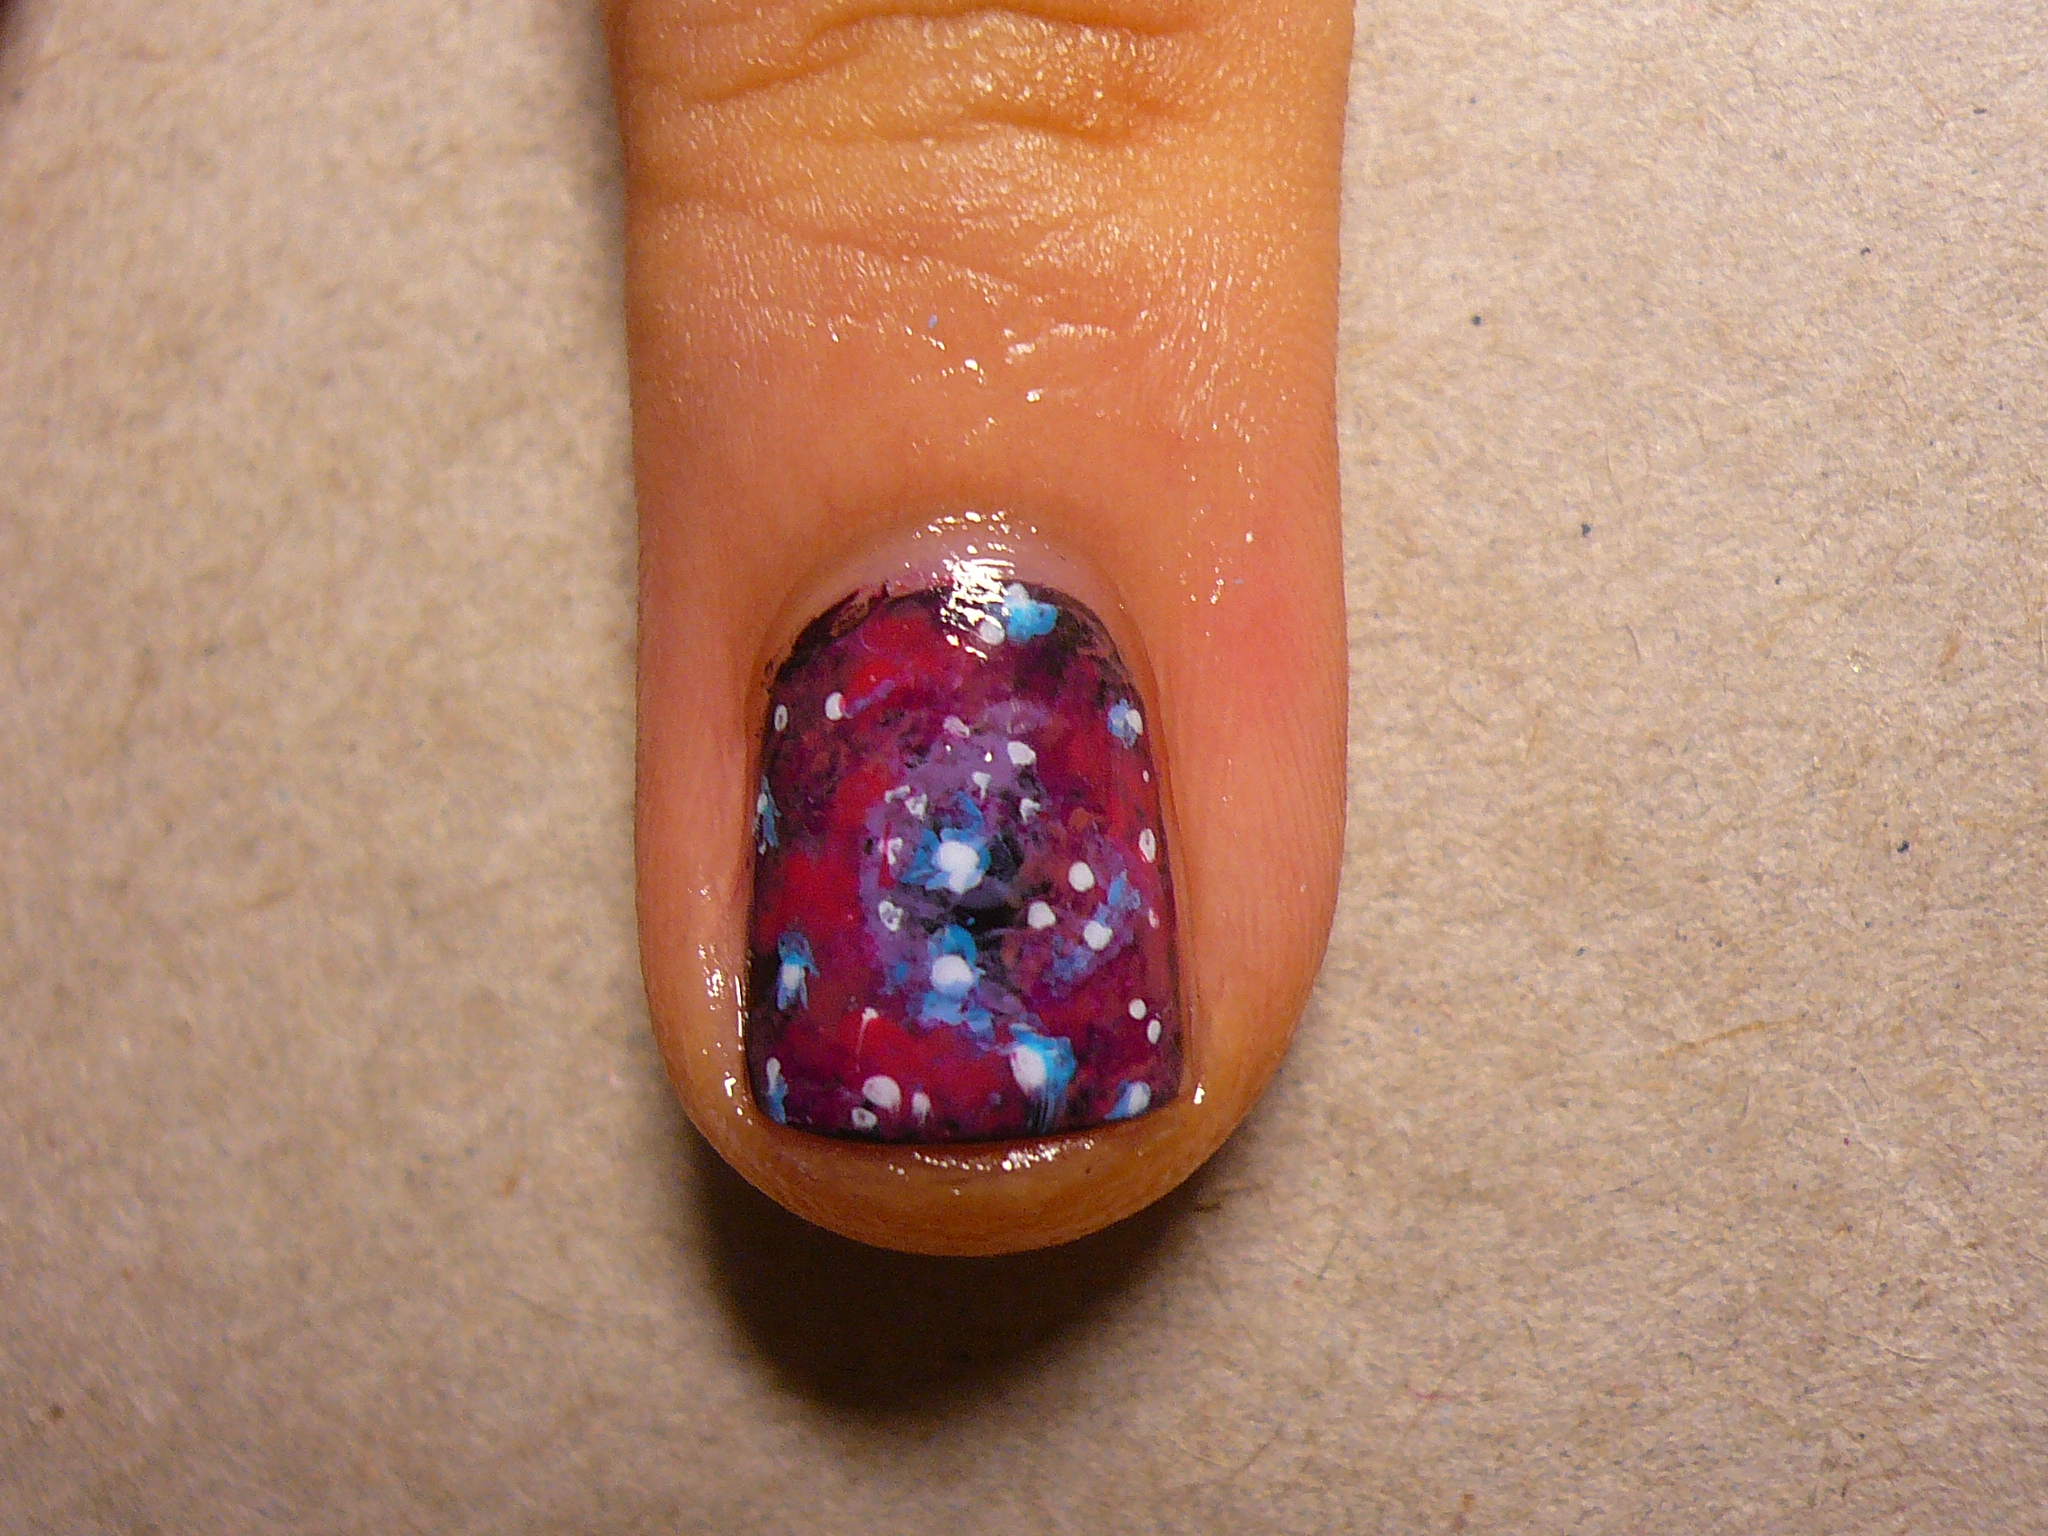
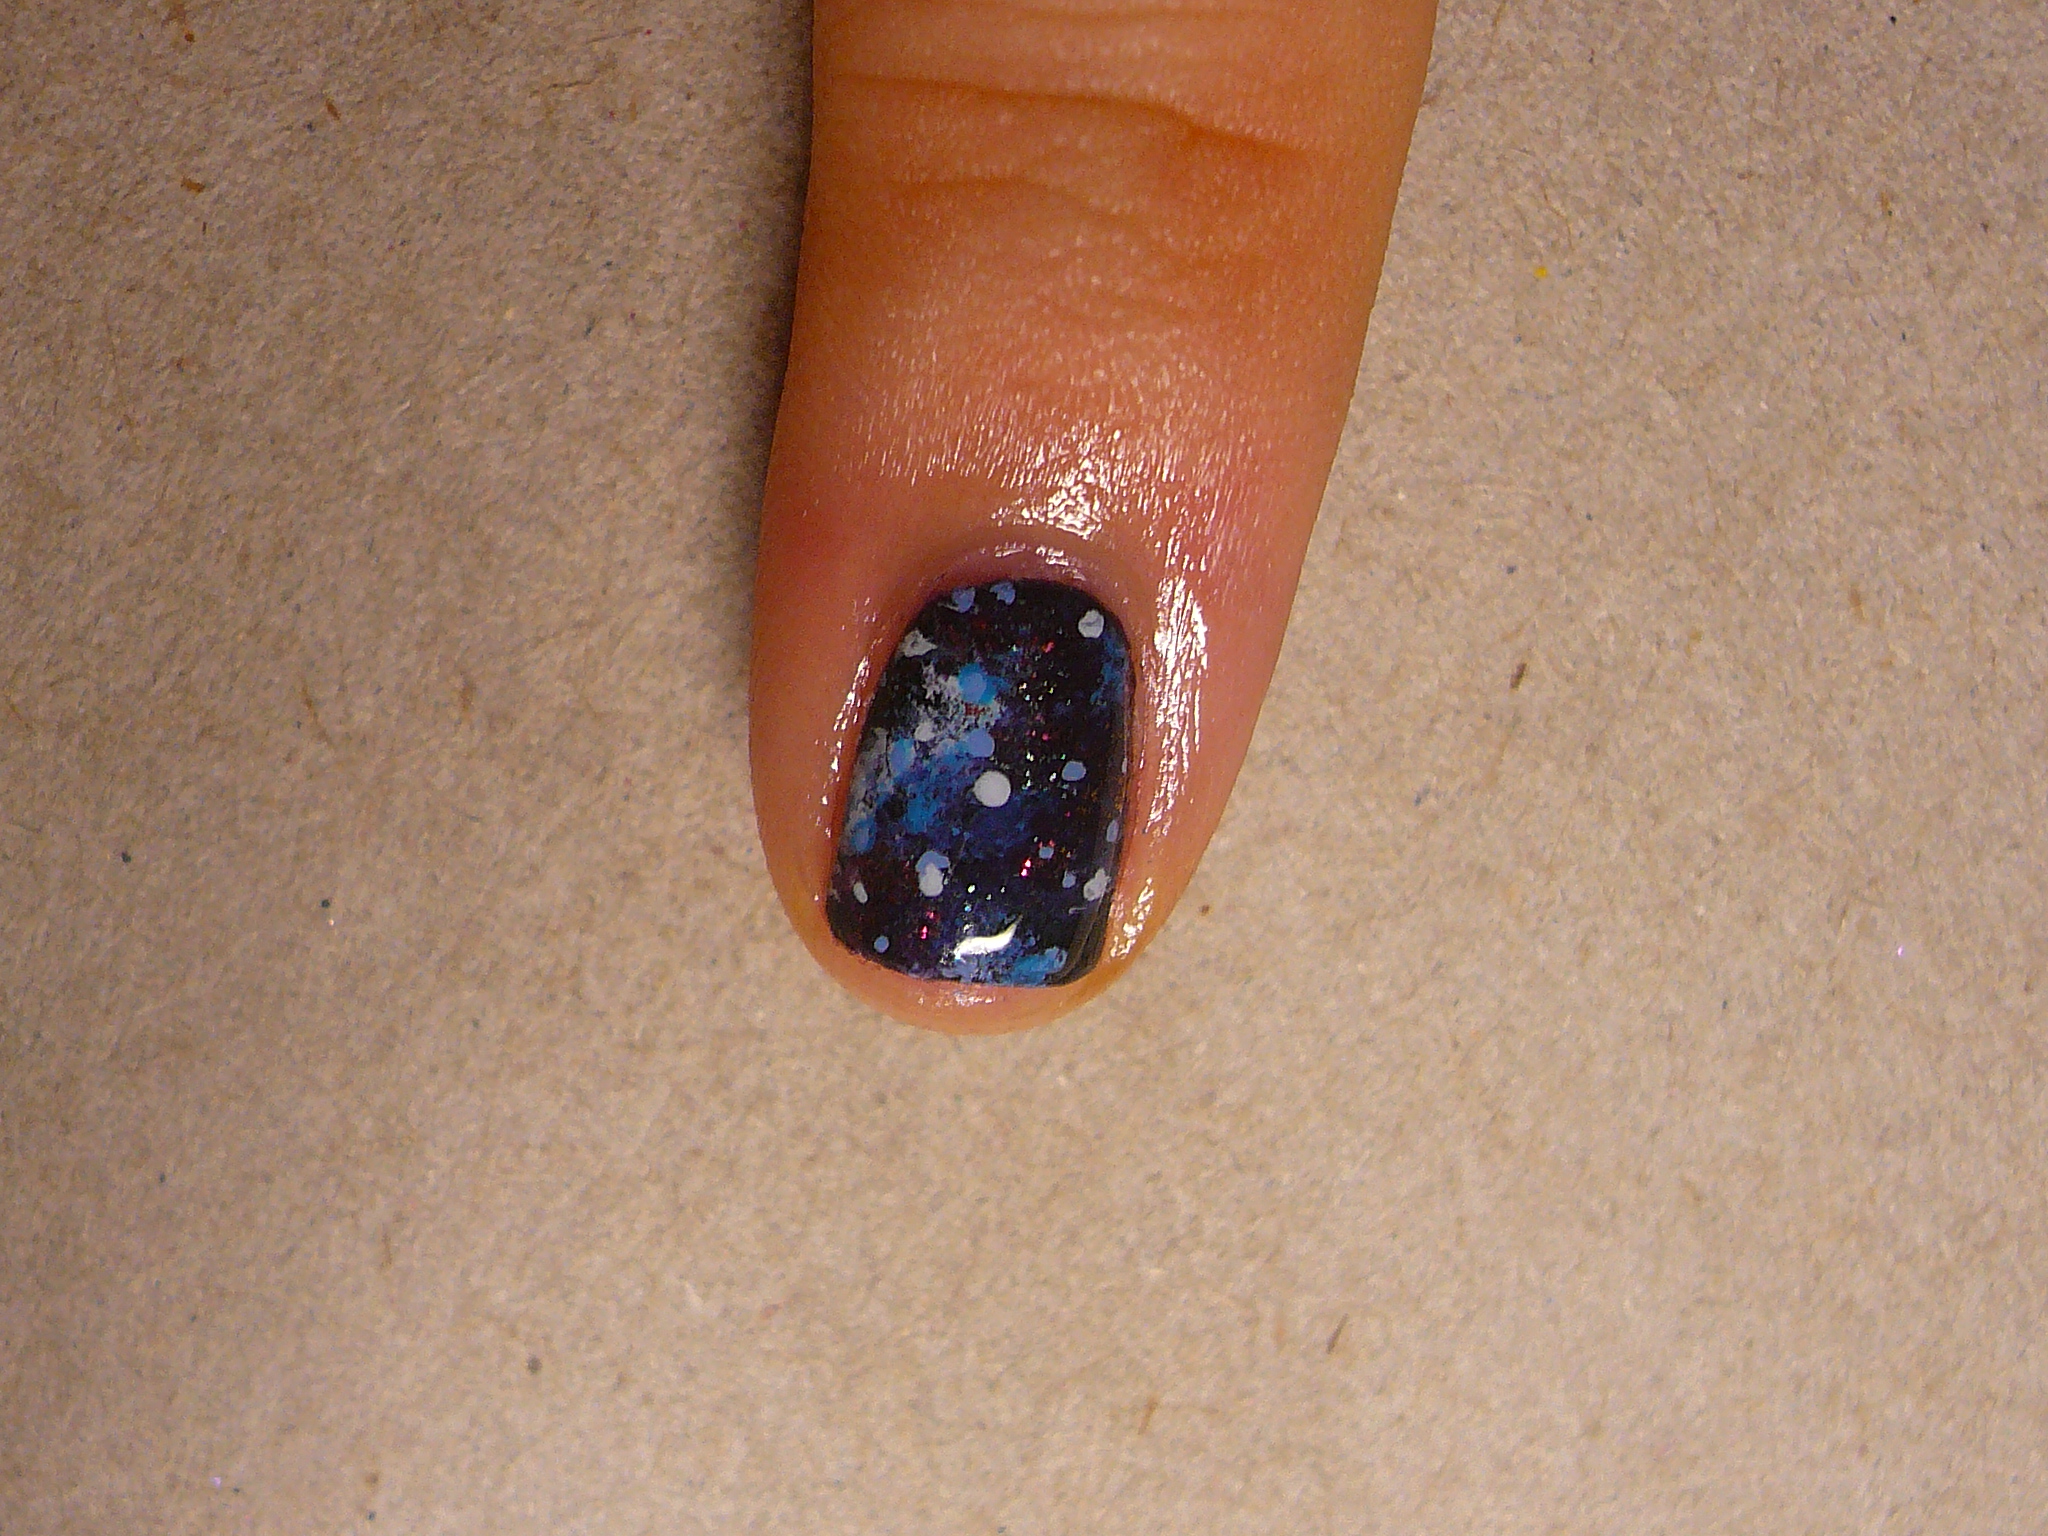
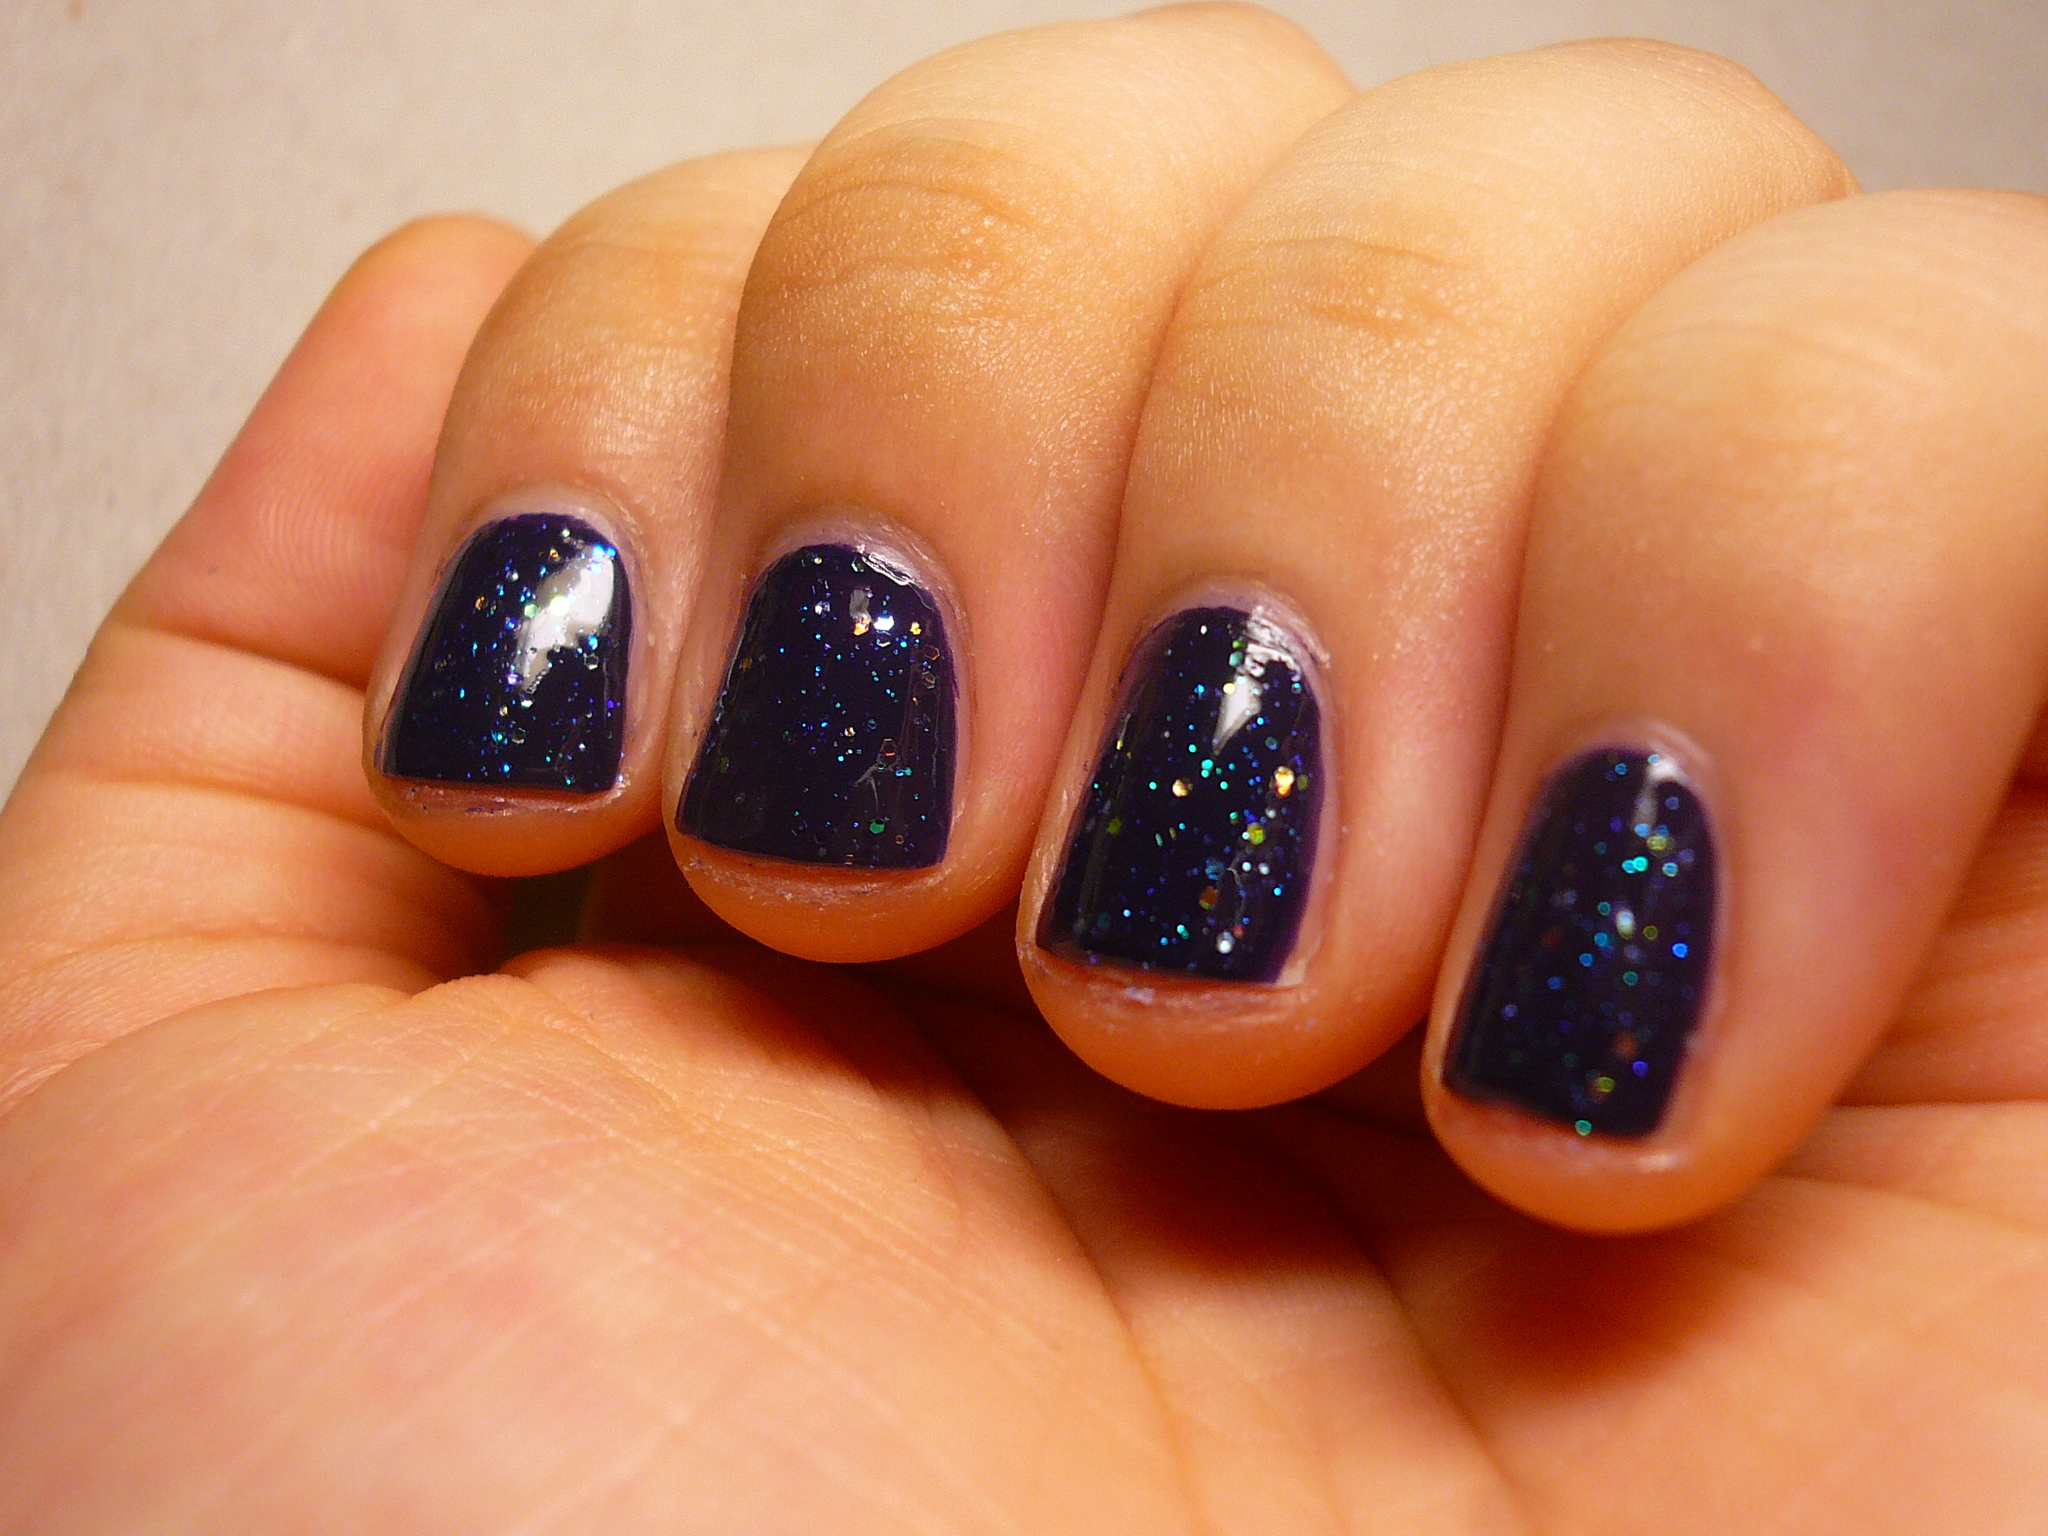
It's very important for the water to be of room temperature so I suggest you leave the cup in the room for at least fifteen minutes before doing anything else. If the water is too cold or too hot, the polish just won't spread out and will end up looking like this.


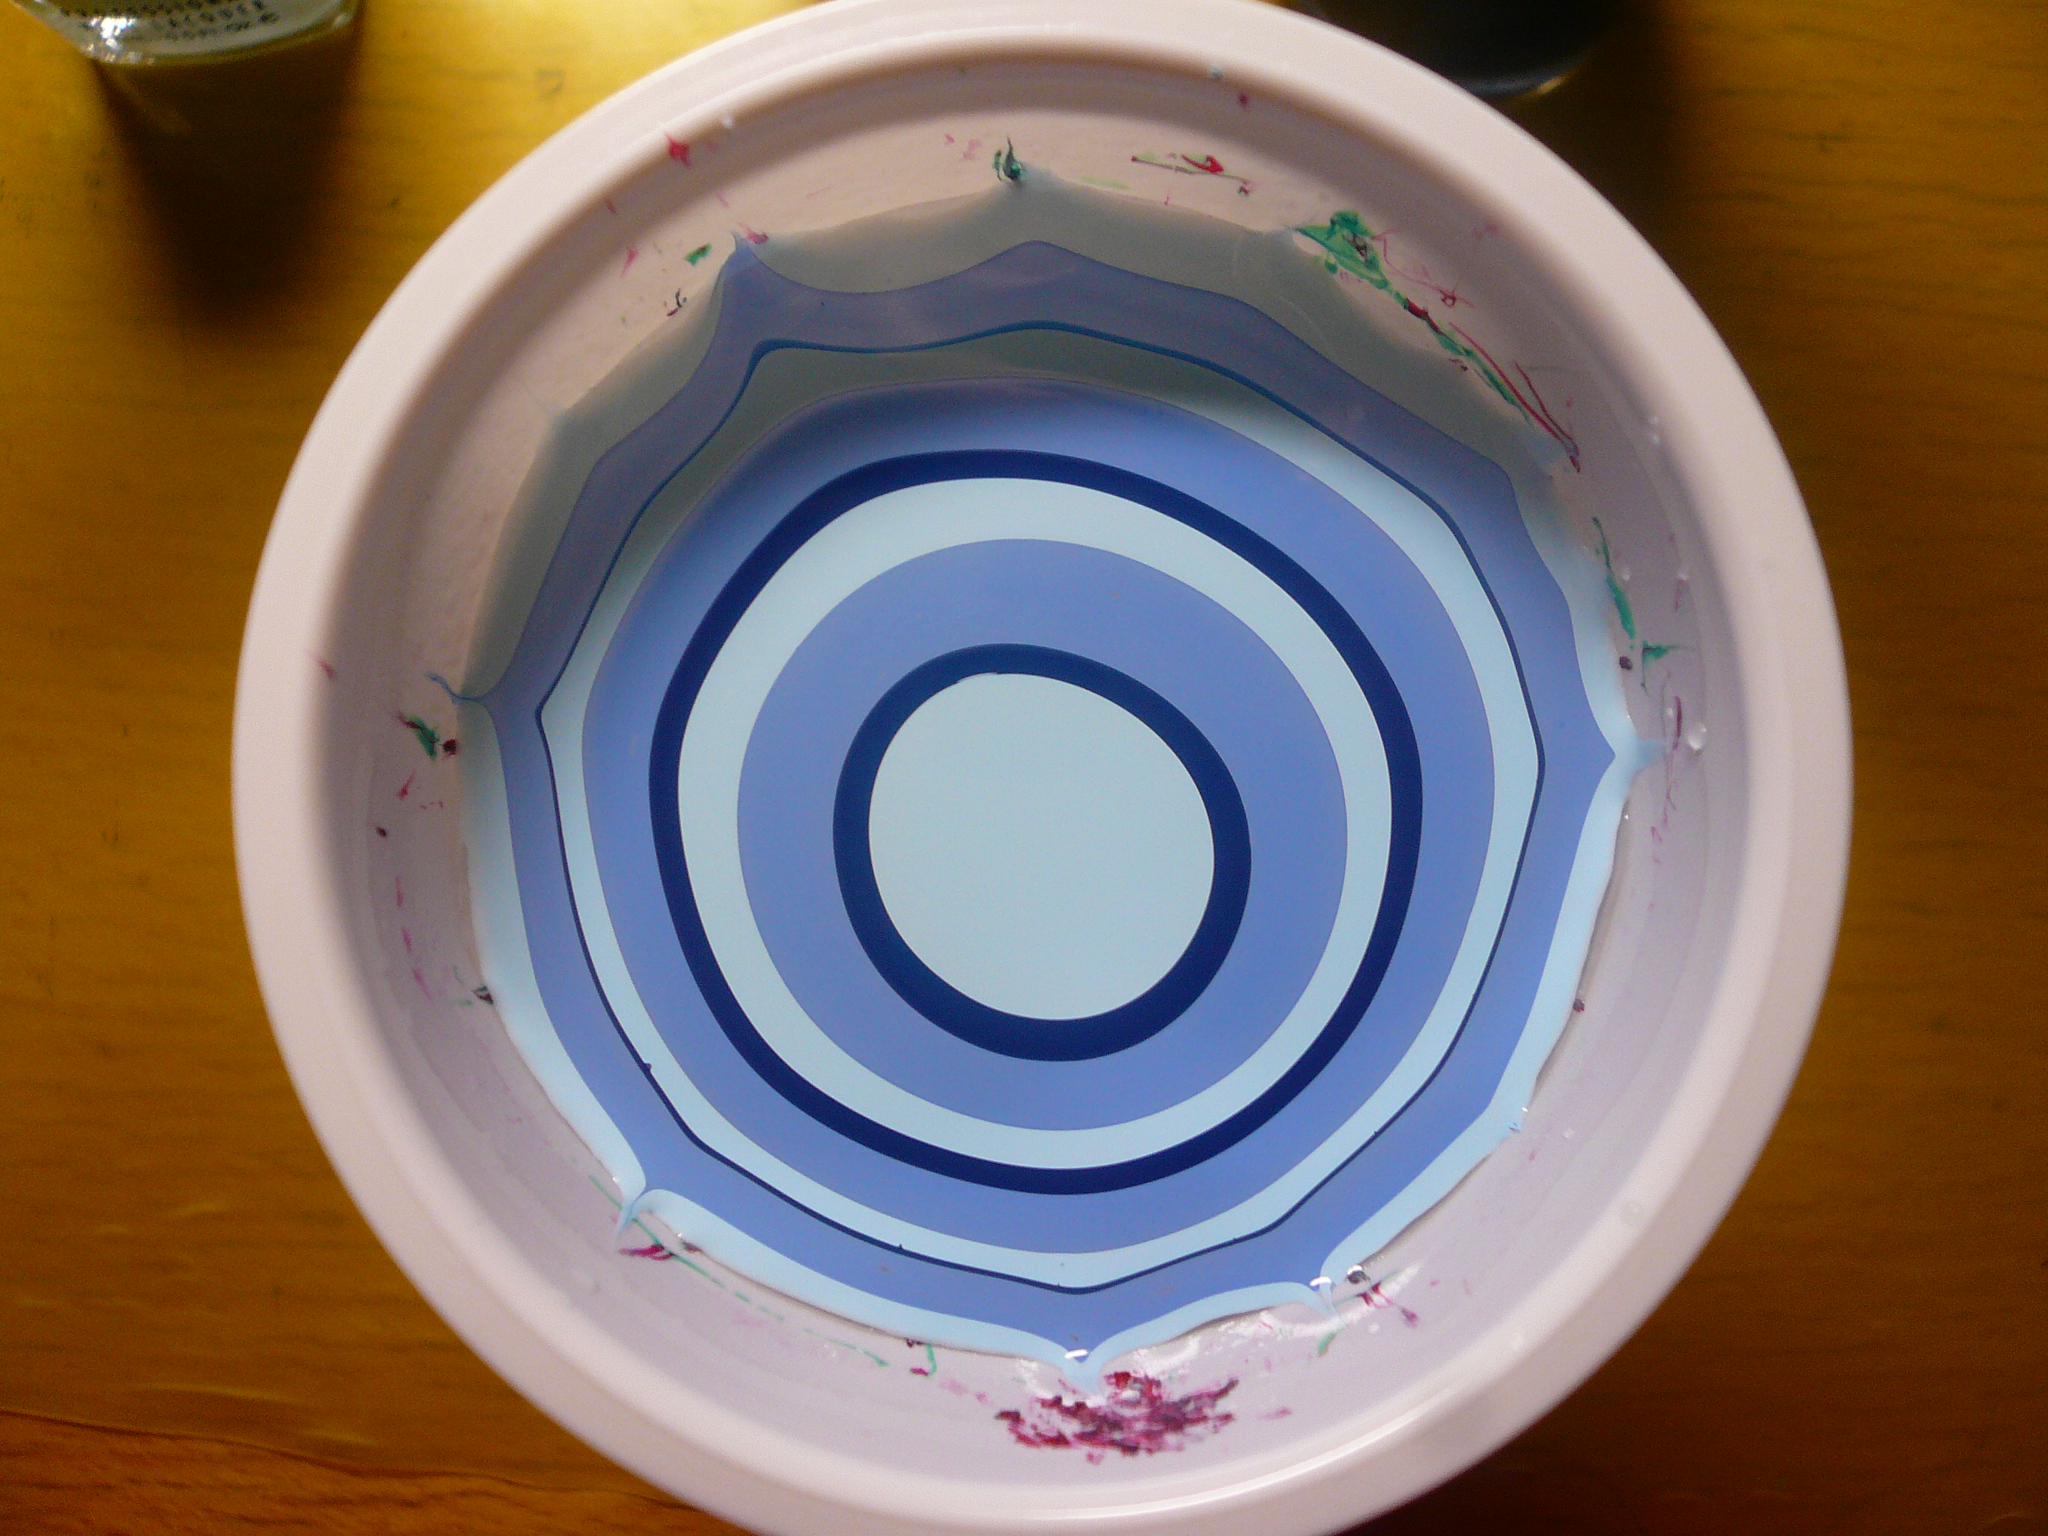
2. Now you can proceed to drop polish into the middle of the cup so they spread out in concentric circles. Do unscrew the caps of each polish before starting the dropping process. The polish will dry pretty quickly so you want to work fast. I also like placing my bottles behind the cup like so, to make the dropping process smoother for me.


After you've dropped enough polish, you can proceed to swirl the design you want. Try to anchor the polish before swirling. To do so, simply use a toothpick and drag the outermost circle to the rim of the cup.


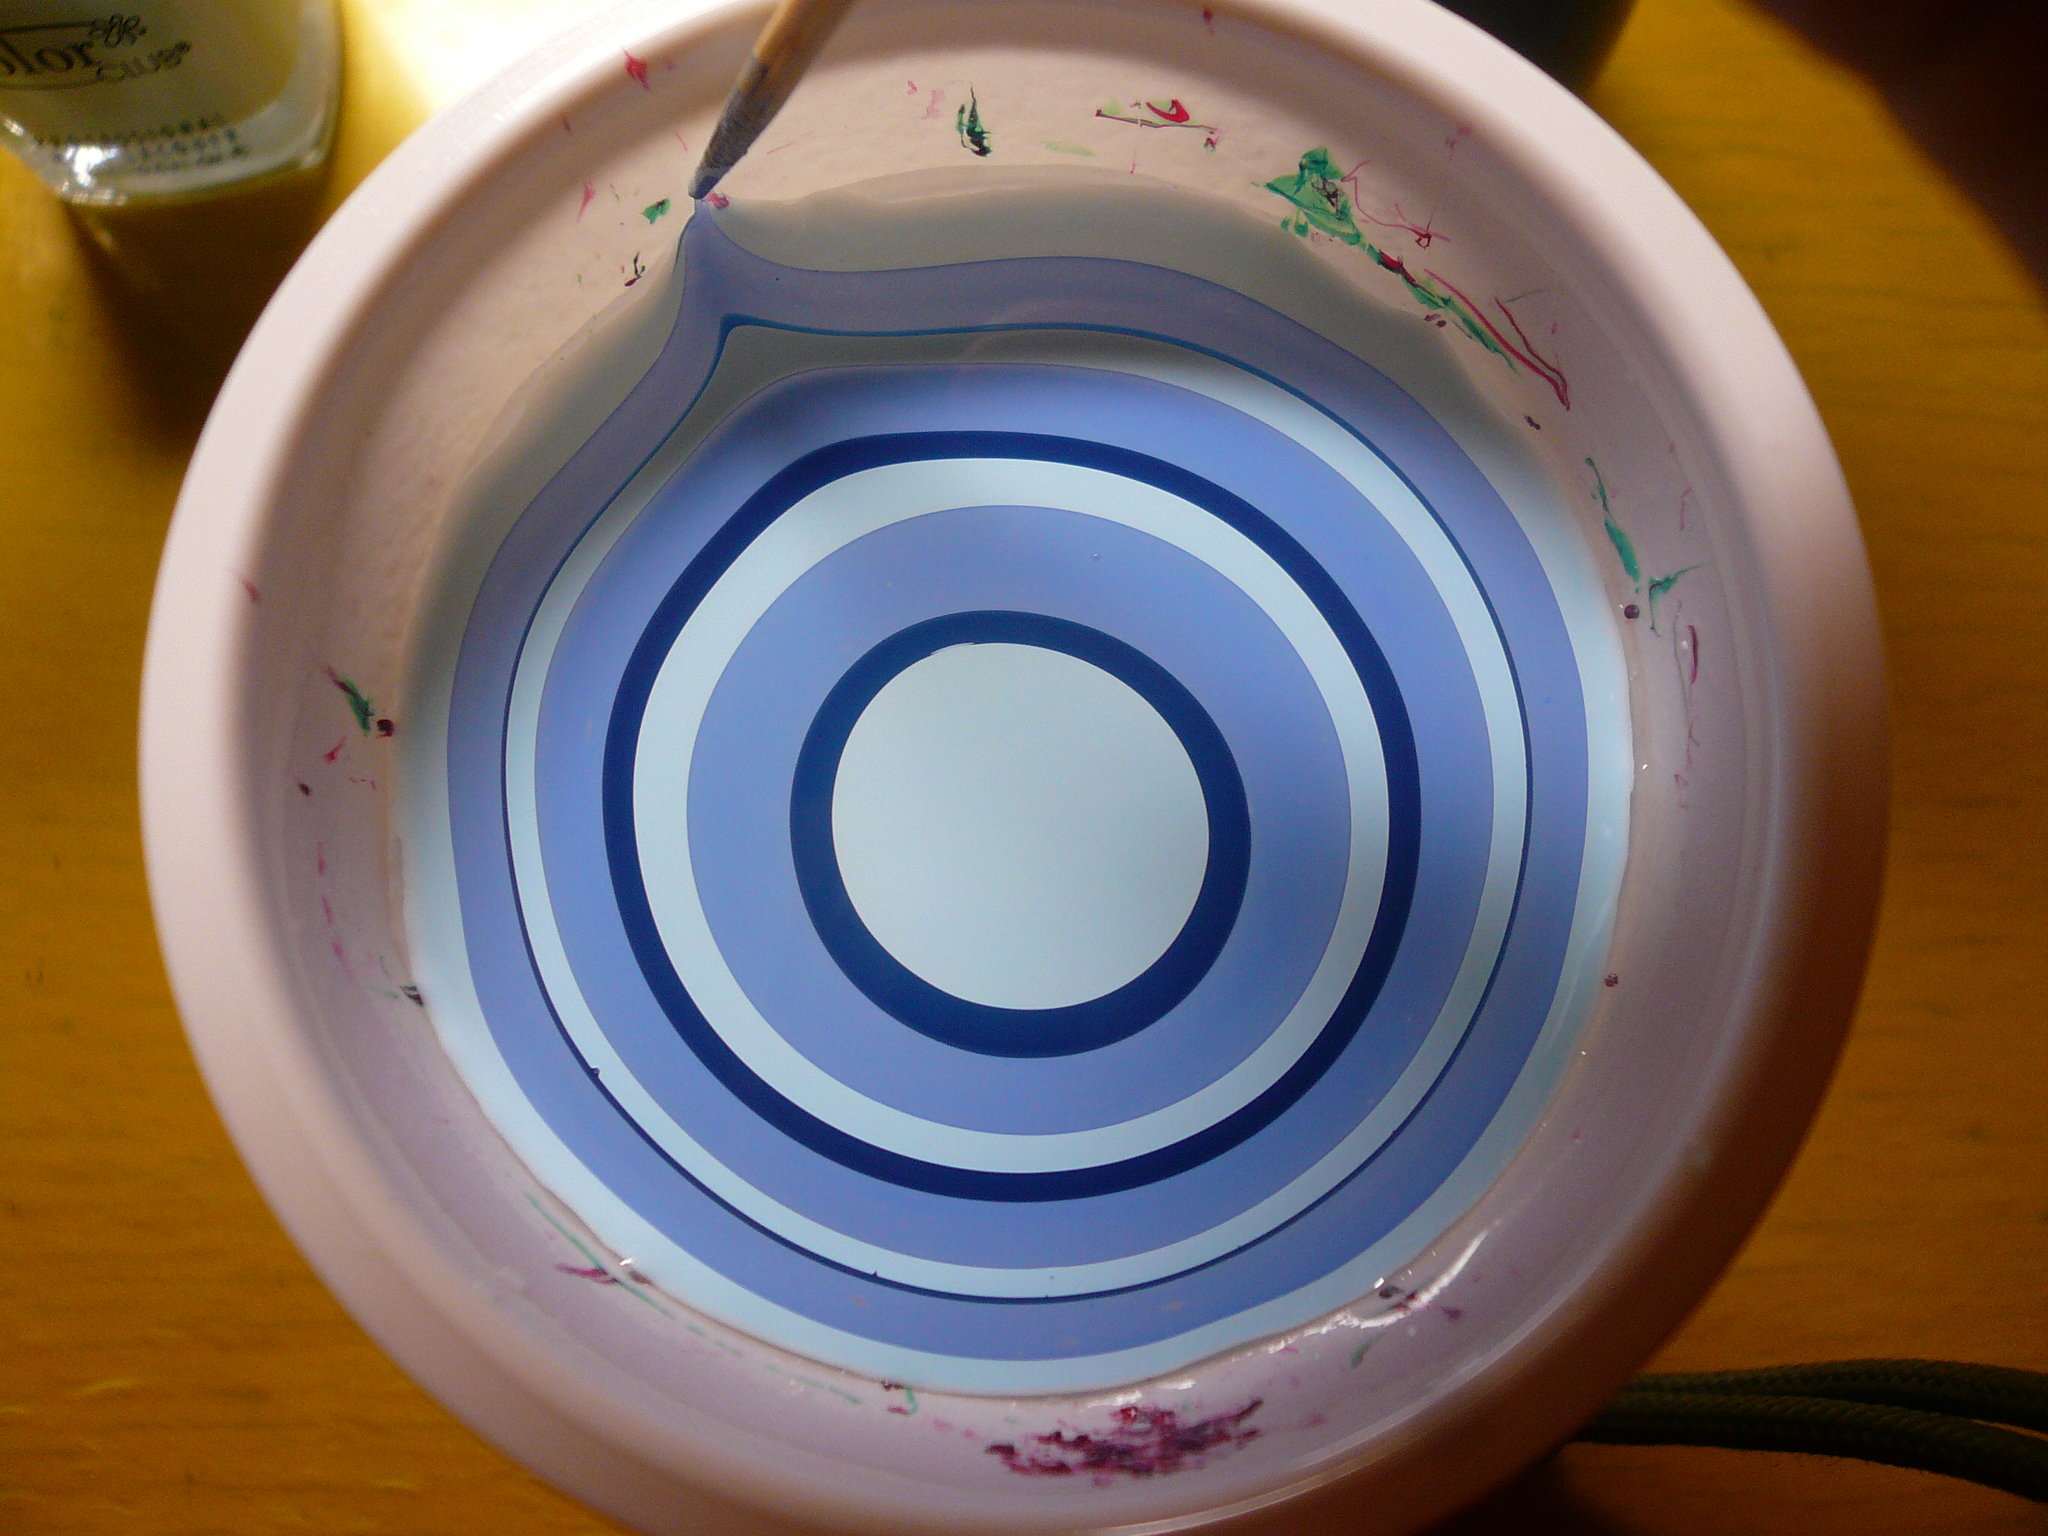
I anchored it to about 10 points. Doing so will ensure the polish won't move about in the cup while you create your design.


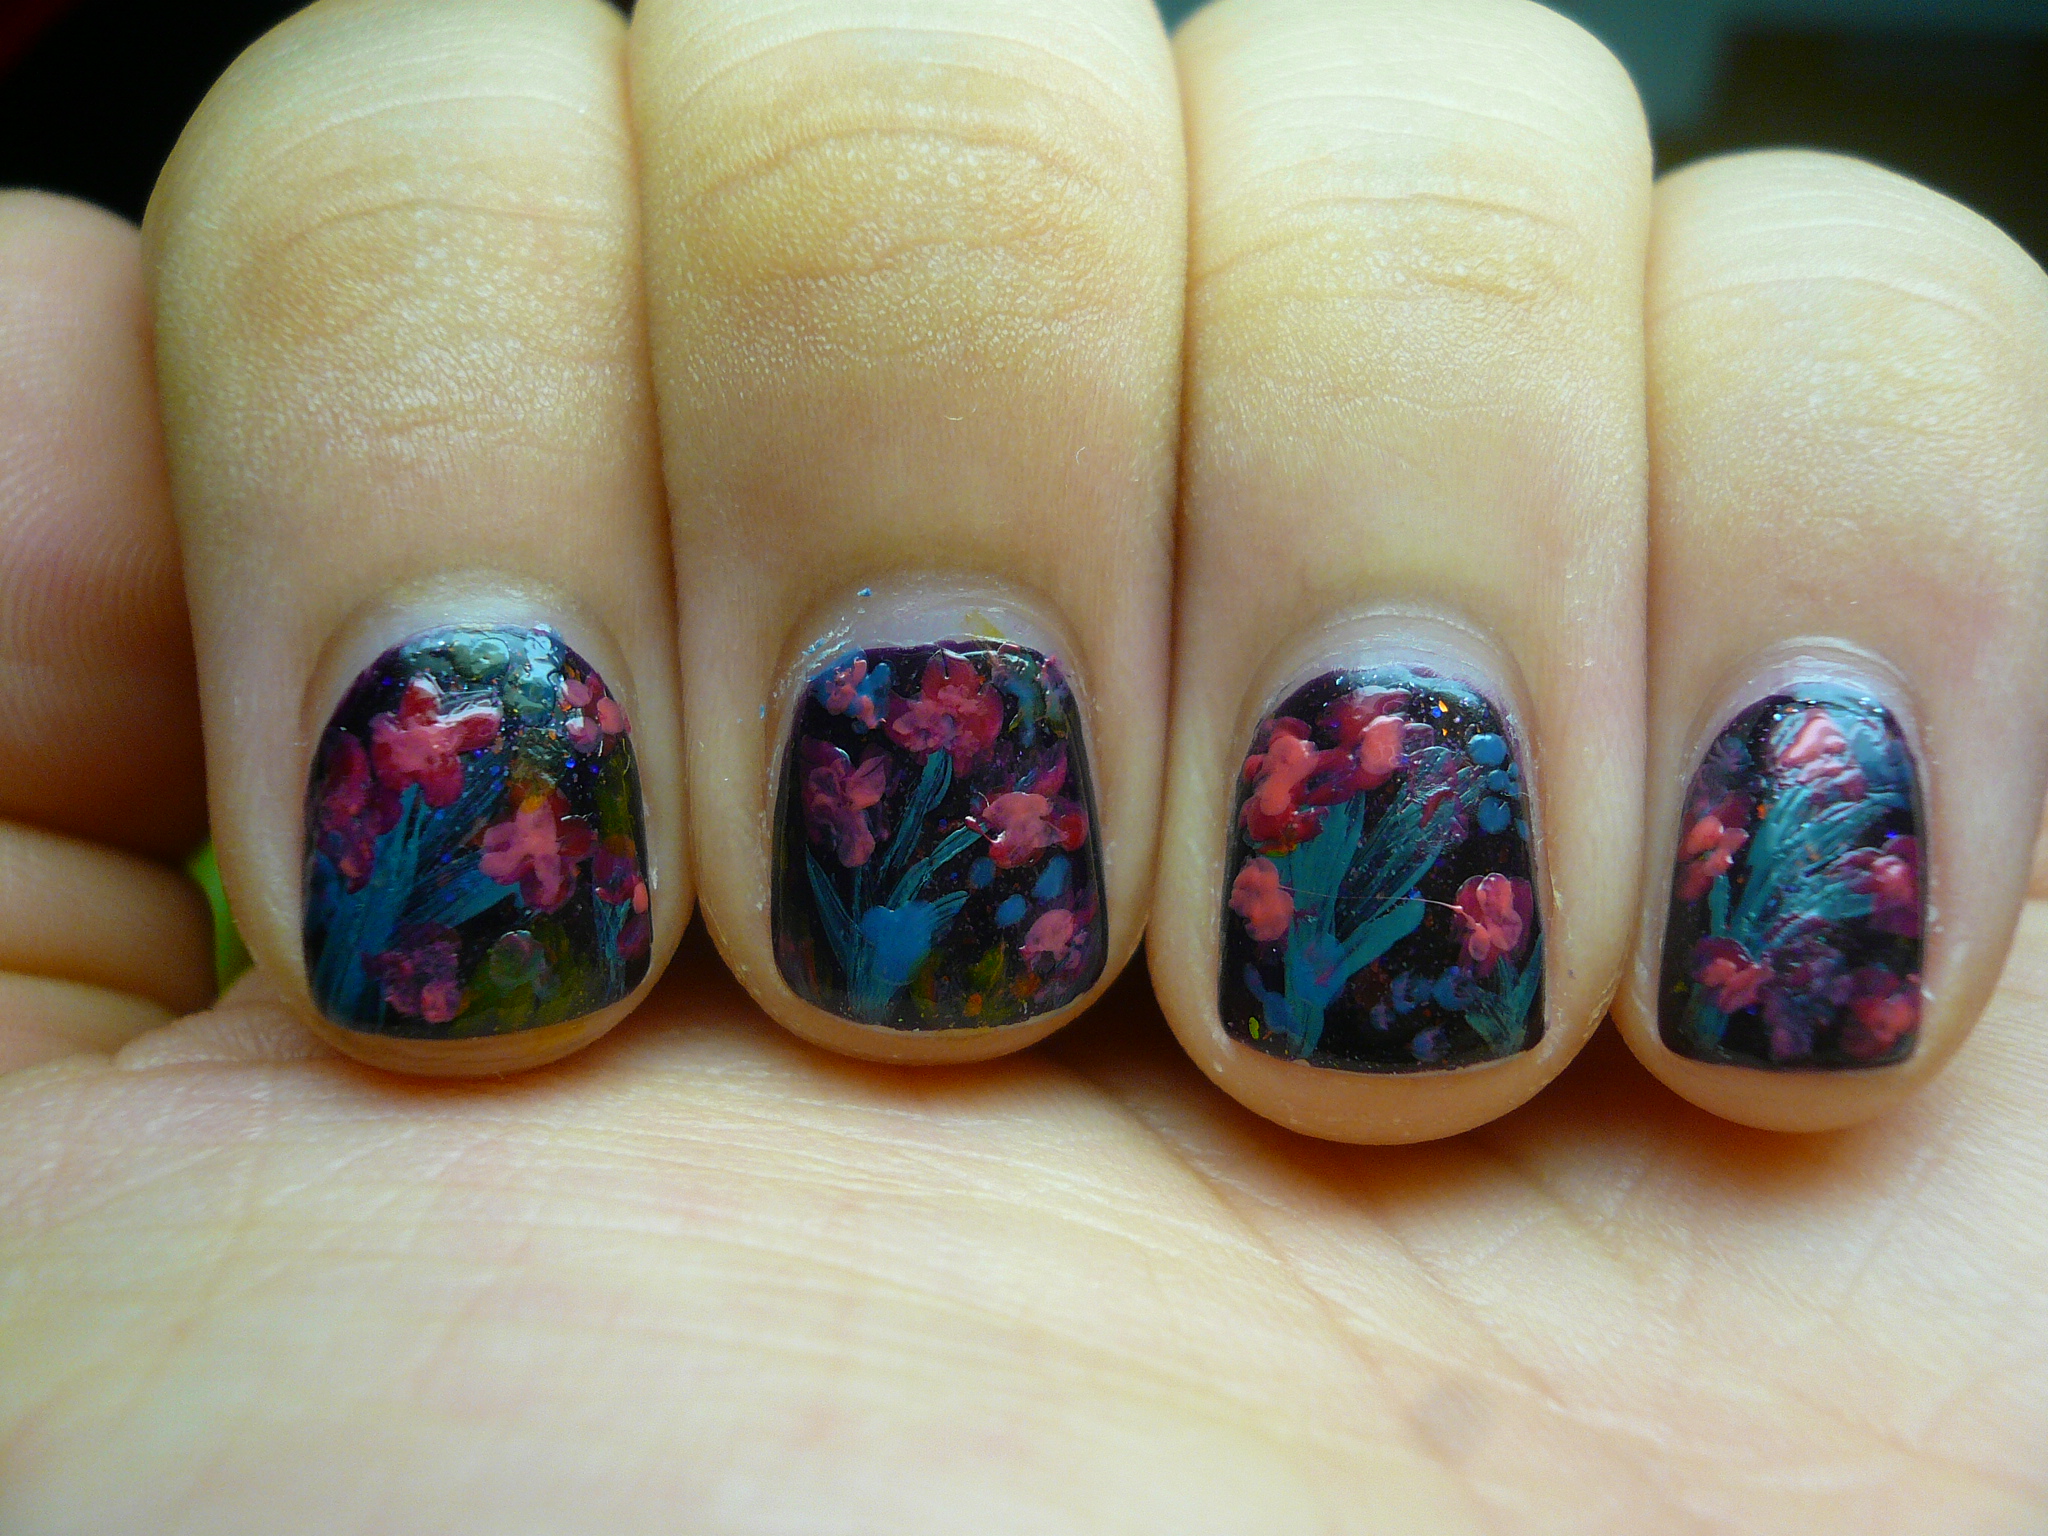
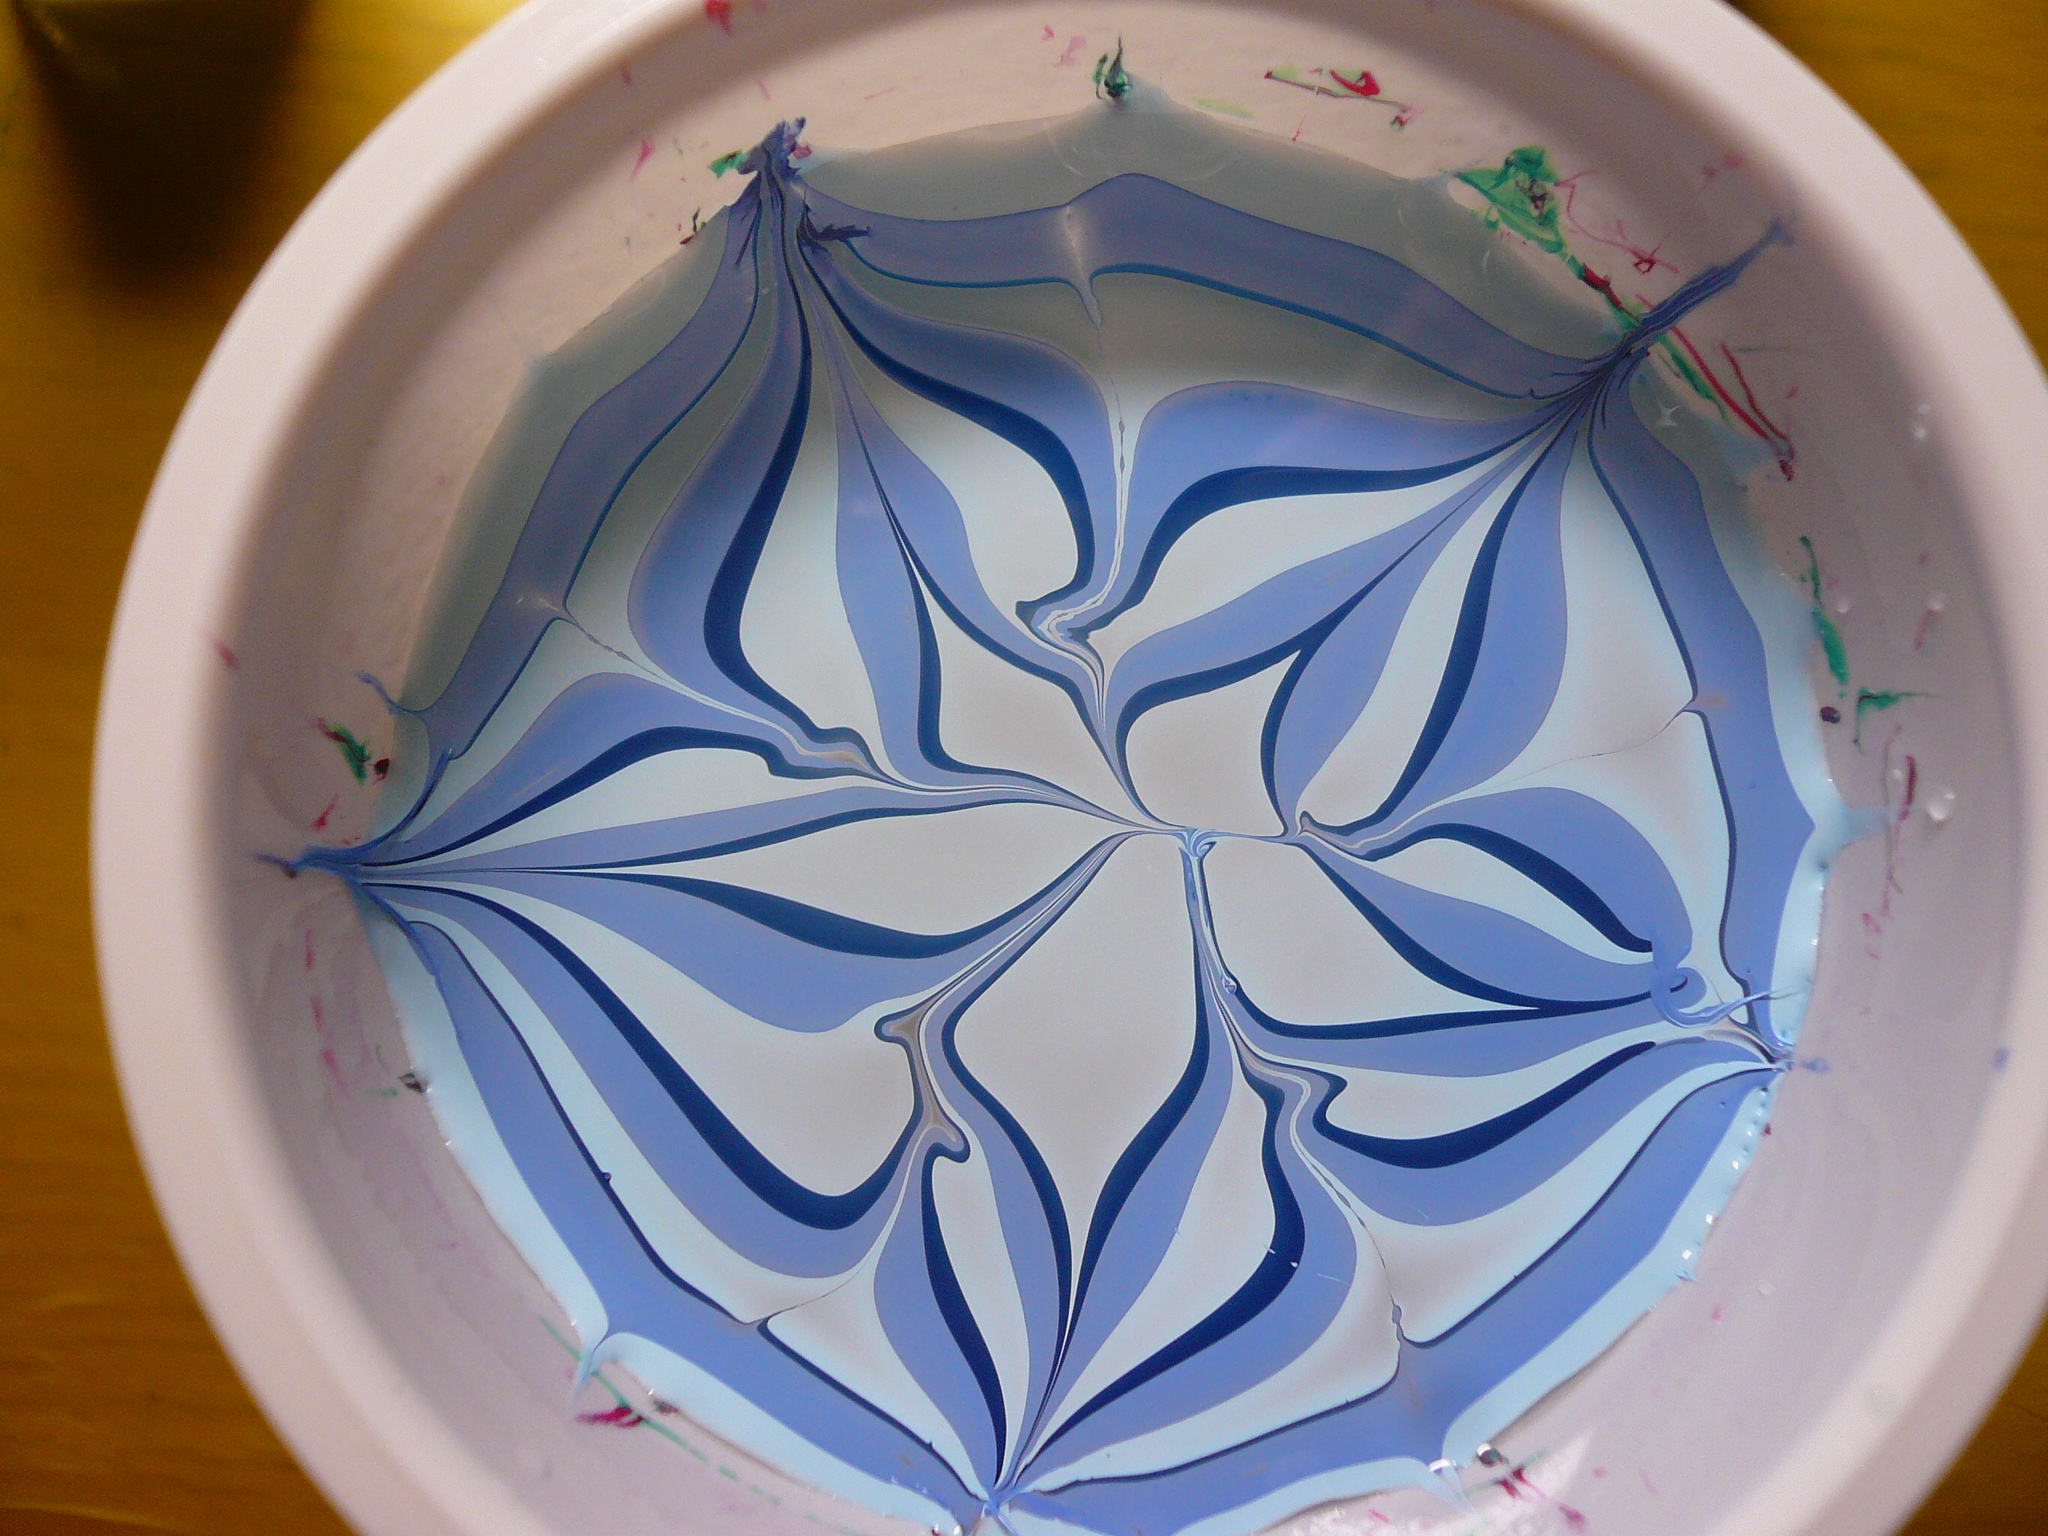
Also, when swirling your design, try not the start swirling from the outermost circle. I started from the second outermost circle. You can create any design you want but what I did was to drag the polish from outside circle into the middle, creating a flower and then from the middle of each retal, I dragged the polish outwards, and I ended up with this design:


These three articles contain a lot of useful tips and tricks for wet water marbling as well as the creation of the swirls so you might want to read them!

3. Now comes the fun part! After you've swirled the design, dip a small piece of plastic into the cup at an angle. You want to use a ziplock bag and cut it into small pieces. I tried using the plastic wrapper for wrapping books and that didn't work out well. This one shown below was prepared beforehand (wow, that sounded like some cooking show line) because by the time I took pictures of the swirling and final water marble design above, the polish had dried and could not be transferred.


You want to wait for the polish to dry before transferring it onto your nail. I waited a couple of hours.

4. The best part about dry water marbling is that you can choose which is the nicest part of the design to transfer onto your nail. Also, because you can cut out smaller pieces of plastic from the original piece, you can get a couple of nail's worth of transfer pieces from one water marble, compared your how I'd normally dip one finger into one water marble som this saves polish too!

To transfer, cut out the desired area you wish to transfer. I painted my nails with one coat of Take Me To Your Chateau before transferring so the colours of the marbling will pop more. Only stick the plastic onto the nail when the polish is tacky and not wet. This is crucial for the polish to transfer properly. How I determine if the polish is just right is that it feels dry to a light touch but you can still leave fingerprints if you press a little harder. It's hard to explain so you really have to experiment abit to get the right feel. I didn't take any pictures for this step but you can refer to this article for more information.

After pressing the plastic onto the nail firmly, what I did was to use a toothpick and dragged in along my cuticle lines until I saw the polish "break". This might hurt a little but it's worth it then at least I know that there'll be a clean rip from the plastic! Now, you need to trust me when I say you need to rip the plastic off your nail like how you'd wax your legs.

After that, wait for the marble to settle in and dry a little before painting on a later of top coat to seal everything in.

AND THAT'S IT!

I like dry marbling much better than wet marbling. Much neater and you can take your time to get it perfect!

Friday, December 30, 2011

31 Day Challenge: Day 20 (Water Marbled)

Gosh, this challenge was really hard! I tried doing it and I failed miserably so I took off all the polish on my nails and had to redo them. During my second attmept, I got lazy and I didn't paint a base colour on my nails before dipping them into the water which is why the colours on my nails are so sheer and there's VNL.

Goodness, there were so many air bubbles below the paint and it looks really ugly close up! :(
I chose a red and green combo because this was the manicure I wore for Christmas. And if you noticed, I'm showing you my right hand, which explains the very awkward pose and this is because I couldn't bare to clean off my Galaxy Nails design. Yes, I had my Galaxy Nails on my left hand and this Water Marbled design on my right hand at the same time!
I think I'm never going to do water marbling again. As fun as it was to swirl out the designs in the water, the whole dipping process was just painfully messy and the water bubbles just ruined the whole experience for me! Plus for every nail, I had to use quite a bit of polish so it's not the most economical manicure.  Maybe I'll try dry water marbling some other time! Hopefully that'll be easier.
Wheeee! Ten more challenges to go!

Thursday, December 29, 2011

Elianto's Gone?

Earlier this month when I went to Tampines Mall, I saw Elianto having a Moving Out Sale and the next week, they were gone. Then, I thought, fine, if I'm that desperate, I'll just take the train to Chinatown Point to get their polishes. I actually went to their website to find out the address for the Chinatown Point branch.
BUT WHEN I WENT TO THEIR WEBSITE AGAIN LAST NIGHT, THEY TOTALLY REMOVED THE "OUTLETS IN SINGAPORE" INFORMATION! I swear it used to be there. And then I got worried. Did Elianto really pull out of Singapore?

So when I was at JB today and I spotted Elianto, I immediately grabbed a back up bottle of their white and black polishes because I love them so much. They're so opaque and they're better than Alpine Snow and Black Onyx, in my opinion. Since I was there, I decided to be thick skinned and ask the SA what happened to the branches in Singapore.

She told me that Elianto's lease in Singapore had expired, which was why they moved out.
But not to worry. She then reassured me that they're working out a new lease agreement to open other outlets soon, so YAY! We can rejoice now and breathe easier again!  All we have to do is be patient and wait for Elianto to reopen its doors in Singapore! (:

Wednesday, December 28, 2011

31 Day Challenge: Day 19 (Galaxies)

I did a galaxy manicure a while back which was inspired by a cutepolish tutorial and I wanted to do a different look this time round so I googled some nebula / galaxy pictures.

Here's an overall picture of all five nails!


And now we have close ups.


I did a swirly design for my thumb.


The design on my index finger was inspired by this picture of the Starburst Galaxy M82.


The design on my middle finger was inspired by the Galaxy M81.


The design on my ring finger was inspired by the really pretty Rosette Nebula. It really looks like a rose if you look at it!


And this last pinkie nail was inspired by a Galaxy Cluster. You can't really see but I did use a purple polish (Siberian Nights) and it's pretty dark so perhaps that's why it isn't obvious and just looks black where it's supposed to be purple.

Hope you girls like this manicure better than the first one! (:

Monday, December 26, 2011

31 Day Challenge: Day 18 (Half Moon)

I haven't had the best luck with half moon nails, especially with those pesky reinforcement rings. Somehow they always end up smearing the polish but this time, I somehow managed to paint on the half moons quite cleanly. Plus, I found a little cheat code: paint over the half moon lines with a glitter polish!


I used one coat of China Glaze Seashell, wait for that to dry and then I stuck reinforcement rings before painting on a coat of OPI My Private Jet. After everything dried, I used my stripping brush to paint on Couleur Inc Lupi over the half moon lines.

I finally have pretty half moon nails!

Sunday, December 25, 2011

31 Day Challenge: Day 17 (Glitter)


Merry Christmas everyone! Couldn't resist posting this picture of my Eeyore plushie wishing everyone a Merry Christmas! Hope your day will be filled with some wonderful Christmas cheer! (:

I decided to use two unused polishes for today's glitter challenge so I got to kill three birds with one challenge! I also got to use my Cult Nails Get It On base coat and Wicked Fast top coat too so it's actually five birds with this challange.

I did a thin coat of Get It On and it dried really fast and prevented staining. I'm not sure if it actually helps to make the polish apply more smoothly or make it apply more opaque, but I don't have any complains about it. I think using a base coat and top coat from the same brand will probably help to keep the polish on the nail better, due to the chemistry.

Next, I did two coats of OPI Road House Blues. I went for the SpaRitual basic nail course a few days ago and during the course, the nail technician told us that we should always do a thin first coat, let it dry before doing a second coat and a third if necessary. She stressed the importance of not piling on coats of polish immediately and to let the coats dry to allow the true colour of the polish to come out and I'm guessing doing so will also reduce streaking.


After waiting for Road House Blues to dry, I layered a coat of OPI Last Friday Night on top.


Don't you think it looks fab? I think it looks out of this world. Literally, like some galaxy far far away (pun intended).

After waiting 5 minutes for Last Friday Night to dry a little, I painted on Wicked Fast.


I didn't want to risk spoiling the manicure and causing the polish to streak, like in the case of the Revlon Quick Dry Top Coat, which was why I waited. Compared to Revlon, Wicked Fast is a little thicker but it applied much better and dried faster too! It's still significantly thinner than SV or Poshe but with one coat of Wicked Fast, it managed to make the gritty surface of Last Friday Night smooth, so I'm thinking it's a pretty good alternative to SV.

I couldn't resist taking more pictures because of how simple and yet complex the combination looks!


Isn't this combination so purrrrdy? (:

Hope you'll have a good Christmas filled with Joy, Laughter and Warmth!

Friday, December 23, 2011

31 Day Challenge: Day 16 (Tribal)

I was wearing Chanel Blue Boy and Blue Rebel a few months ago and when I had them on, I decided to do some nail art.I hope you guys won't stone me for using a $2 Daiso white nail art polish to paint over my Chanel nails but I couldn't resist doing a tribal pattern! I kinda knew back then that I already wanted to do this challenge so I kept this mani for Day 16!

The lines weren't as clean as I hoped for but this is rather close up so it looks less messy irl! The design was done during my school term so that's how long ago it was drawn and since then, I'd like to think my hand has gotten more steady, so I attempted some more tribal designs on my nail wheel.

I think painting with a thin stripping brush really helped with keeping the lines clean and my stripping brush is actually from a Daiso glitter polish. I replaced the brush of that polish with another spare brush and have been using the stripping brush for thin lines ever since! Really like the brush so I think I better get a back up soon.
Glitter challenge is next!

Thursday, December 22, 2011

31 Day Challenge: Day 15 (Delicate Print)

I first saw this lace design on Copy That, Copy That and I knew I wanted to do it for my "Delicate Print" challenge but was afraid of how intricate the painting would be. Then, Lynn did a similar design for her Delicate Print challenge and that when when I really wanted to do the same design for mine, no matter how long I had to spend painting!


Between watching FRIENDS, looking at the designs and planning how to go about painting, I think I spent a total of 3 hours doing these three nails.Three hours well spent though, because I really love how intricate they look. They weren't that hard to paint though, just really time consuming, and it really called for a fine brush to do all the details.

Oh wow, I'm already half way through the 31 Day Challenge! The next 16 designs will be harder though, with a lot of detailing involved! And I'm not looking forward to the Movie, Book and Artwork designs. Looks like I gotta start planning those manicures ahead!

Wednesday, December 21, 2011

31 Day Challenge: Day 14 (Flowers)

I saw this lovely floral design on mentalforpolish a while back, which was inspired by this robinmoses video, and I actually just did the manicure on the spot, while watching the video.


I think it looks really messy and sloppy but this was probablt my first real attempt at a more complex nail art design so I cut myself some slack! It actually looks VERY different from the design shown in the video. Ultimately, I really coudn't stand how sloppy and different it looked so I recreated it on my nail wheel, along with a couple of other floral designs!


The design on my nail wheel really looks much better and I'm so much more pleased with it! I also did a couple of Cath Kidston-inspired designs because I absolutely adore her floral prints!


My grandma saw my nail wheel and requested for one of the designs so I took the opportunity to practice painting the design on real nails instead of a nail wheel!


My grandma really wanted to pay me so I charged her $1 for her mani! HAHA! So technically, she's my first paying customer! (:

Delicate print nails next, so see you then!

Next Year's Polishes

Here are some of the collections that will be released in 2012! I'm pretty excited for some of them! I want to stress that none of these pictures are mine. Click on the images to be led to the original source, with more details like the names of the polish and more pictures there too!

Essie Resort 2012


Essie Spring 2012


Essie Go Overboard


OPI Spring/Summer 2012 Holland

Swatches for the OPI Holland collection can be found here and here!


OPI Nicky Minaj


Swatches can be found here.


OPI New York City Ballet Soft Shades 2012


China Glaze On Safari


China Glaze Electropop


China Glaze Summer Neons


China Glaze Prismatic


China Glaze Crackle Glitters


China Glaze Magnetix


China Glaze Colours From the Capitol


There you go, now you're as updated as I am! (:

Looks like next year's polish will break my bank even more!