Saturday, July 28, 2012

China Glaze Refresh Mint

Here's an oldie but a goodie - China Glaze Refresh Mint from 2009's Up and Away Collection! Can't believe how long ago Refresh Mint was launched. Oh how time flies!

This is three thin coats of Refresh Mint.


This polish really is a mint green, unlike Essie Mint Candy Apple, which has a much cooler and bluer hue to it. Application wise, Refresh Mint was a little chalky but with three coats and some patience, everything worked out fine.

The reason why I pulled this baby out of my Helmer was because I kept seeing mint nails on tumblr and they always look so damn chic and well, refreshing, so I finally decided I had to give mint nails a go! Honestly, it wasn't as attention grabbing as I thought it would be. I guess more and more people have caught on with the nail polish trend and have been making bolder choices such that mint nails is no longer a novelty!

Totally loving that! Hopefully in the near future, we'll all be able to wear bolder colours to work! :)

Monday, July 23, 2012

Nails Inc Sprinkles Collection Swatches

I knew I had to have all of them the moment I saw swatches and I procastinated getting them because I was on a low-buy. But I broke after a month of waiting and decided to order them from Beautybay.com because of the free shipping!

The Beautybay order arrived SOOOO quickly (they despatched my order within 3 hours of ordering and it took a week to reach me) and I couldn't wait to swatch the Nails Inc Sprinkles polishes!


From left to right, this is three coats (I only did the third coat because I blotched the second coat, otherwise, two coats would have sufficed) of Sugar House Lane, and two coats of Sweets Way, Pudding Lane and Topping Lane.


I have to say, Sugar House Lane does remind me of Cookies and Cream, It's actually making me hungry just looking at the swatch!


Sweets Way looks like a white/super light pink version of Lippmann's Glitter In The Air / Revlon Whimsical.


As for Pudding Lane, I feel it's the most unique out of the bunch because I don't have any medium blue glitter polishes (despite having an entire Helmer drawer full of blue polish).


And last but not least, Topping Lane is super pink. If Barbie had a glitter polish, this would be it. It really is a bright pink and honestly, it does look a little bimbotic on me. I'm not saying it's a bad shade, just saying it really isn't me. I am tempted to add a couple of drops of white polish in Topping Lane just to tone down the pink and make it a more wearable shade!

Application with these four polishes were fantastic. When I saw that most of the other swatches (on other blogs) only needed two coats, I was a bite dubious but seriously, two coats were definitely enough. They went on like butter and the polishes were not goopy at all. They were the perfect consistency for glitter polishes and the Nails Inc brush was quite a good size (it fanned out pretty well) so I didn't need too many strokes to paint each nail.

I tell you, I'm friggin' in love with these four babies. Being in a cupcake craze of late, these were the perfect polishes to satisfy my lemming!

Sunday, July 15, 2012

Magnetic Polish

I must be honest. I never felt inclined to try magnetic polishes. Not when Nails Inc released their magnetic polishes which are the only Nails Inc that Watsons carries. (Why can't Watsons bring in MOAR Nails Inc?!) Not even when China Glaze made it more mainstream with their Magnetix collection. It just looked like so much hassle. Painting one coat, waiting for it to dry, painting another coat and then having to align the centre of the magnet to the centre of your nail to get the most defined and centralised image. It just sounded like too much work. Period.

But when I was in Korea, I walked into Tha Face Shop and I saw their line of magnetic polishes going at quite a reasonable price so I decided to get two bottles, in gunmetal and a metallic blue. I also picked up their star magnet because there's no point buying magnetic polishes if you're not gonna buy any magnets. I also picked up a couple of magnets (the lollipop style ones) from EClecticCo for only $2.50 a piece after I came back from Korea, just so I'd have more designs to play with.
Here are the magnets:


I was a bit scared when I started playing with the magnetic polish for this post but when the horizontal lines appeared quite crisp on my index finger, I became quite hopeful. Sadly, with optimism comes disappointment.

I managed to get the diagonal lines crisp enough on my middle finger nail but with my ring finger and pinkie, I think those two nails were more curved and hence it was harder to get a uniform magnetic design across the entire nail.


Yeah, I don't think I'll be playing with magnetic nails anymore. Actually, quite a few people I've spoken to have also given up on magnetic nails because they just got too fraustrated with trying to get a clean design on their nails. URGH.

But if you're still optimistic about magnetic polish, please do not let me influence you otherwise. Scrangie actually has a rather in depth FAQ / troubleshooting post on magnetic polish that may help out. More Nail Polish also has a rather cool post on how to create your own magnets!

So tell me, what are your views on magnetic polish? Are you loving it or are you having bad luck with it, like me?

Thursday, July 12, 2012

Cupcake Nails

I've been stuck at home not doing anything lately (since I graduated in May but I only start working in August) and recently, I've been having a muffin and cupcake craze. In fact, I've been baking blueberry crumble muffins at home and I'm working on perfecting the recipe. I can't do cupcakes though because I'm not a frosting person. I don't particularly like eating creme fresh and I'd much rather just buy a cupcake (rich and chocolately one, ALWAYS) than spend the time decorating them.

However, as much as I hate wasting time decorating cupcakes, I seem to have no qualms wasting the same amount of time decorating cupcake nails. Hence, to channel my inner cupcake-decorating goddess, I present to you, my four cupcake nails!


Polish used
Cupcake nail #1: China Glaze White on White (white frosting), China Glaze IV and custom mix of red and white acrylic paint (paper cups), Easter In A Bottle (frosting), Sally Hansen Cherry Red (red cherry)

Cupcake nail #2: China Glaze White on White (white frosting), OPI Planks A Lot and China Glaze Grape Pop (paper cups), Pretty and Polished Jawbreaker (frosting), Sally Hansen Cherry Red (red cherry)

Cupcake nail #3: China Glaze White on White (white frosting), OPI Mermaid Tears and Orly Enchanted Forest (paper cups), OPI Mermaid Tears,China Glaze IV, OPI Planks A Lot, China Glaze Happy Go Lucky and Orly Snowcone (rainbow sprinkles), heart shaped glitter (heart topping)

Cupcake nail #4: China Glaze White on White (white frosting), China Glaze Happy Go Lucky and OPI A Roll In The Hague (paper cups), Chian Glaze Hey Sailor, Sally Hansen Brick Wall, OPI Mermaid Tears,China Glaze IV, OPI Planks A Lot, China Glaze Happy Go Lucky and Orly Snowcone (hundreds and thousands sprinkles), heart shaped glitter (heart topping)

Hope they look yummy! :)

Tuesday, July 10, 2012

Mani-Faces of ManGlaze Contest

Shoppe EClecticCo's and A Lacquered Affair were having a nail art contest and I decided to flex my creative muscle since I'm so bored at home watching fringe all day.

What we had to do was to come up with a ManGlaze-inspired nails and our design had to include either one of the following:
                1) Using ManGlaze polish, OR
                2) Using matte effect for your design, OR
                3) Using any ManGlaze graphics or logos as a nail art inspiration

So, I wrecked my brains and came up with this:


I sure had a lot of fun coming up with the design, which was wholly inspired by ManGlaze Matte is Murder, the polish I used as the base colour for all four nails.

On my index finger, I have a silver gun that has just been shot. My middle finger shows the smoke from the gun that I've used a clear top coat to draw on, showing the extremely pretty glittery base of Matte is Murder! I have a blood splatter going on, on my ring finger (which I've tried to make a 3D effect of), from the victim that has been shot and is depicted on my pinkie.
---------
Now is where I'm going to ask you all to PLEASE PLEASE PLEASE help vote for my design! There are a couple of ways to help vote:
1. You can visit this site, select your favourite (hopefully #4!) and vote
2. You can 'Like' your favourite(s') photo(s) via Shoppe EClecticCo's or A Lacquered Affair's 'Mani-Faces of ManGlaze Contest Entries' albums
3. You can also 'Re-pin' your favourite(s) from A Lacquered Affair's board 'Mani-Faces of ManGlaze Contest Entries' (only re-pins from the original pins count)
4. If you have an Instagram account, you can 'Like' your favourite(s) via official entry photos on A Lacquered Affair's profile
5. And lastly, you can also tweet "#ManGlazeContest by @AnnetteAEdwards & @LacqueredAffair - #4 is one Hot Mess! bit.ly/Ng5ct7" (Spamming's a no-no, so please limit to ONE tweet a day)
Voting is open internationally and closes on Saturday, 14th July 2012 11:59pm SGT, so please help vote for design #4!

Wednesday, July 4, 2012

Polish Days: Jelly Sandwich

Today is...


JELLY SANDWICH DAY! Happy Jelly Sandwich Day to all!

The first thought that came to mind when I heard Jelly Sandwich was a PBJ sandwich but that's not what I'll be showing you today! HAHA!

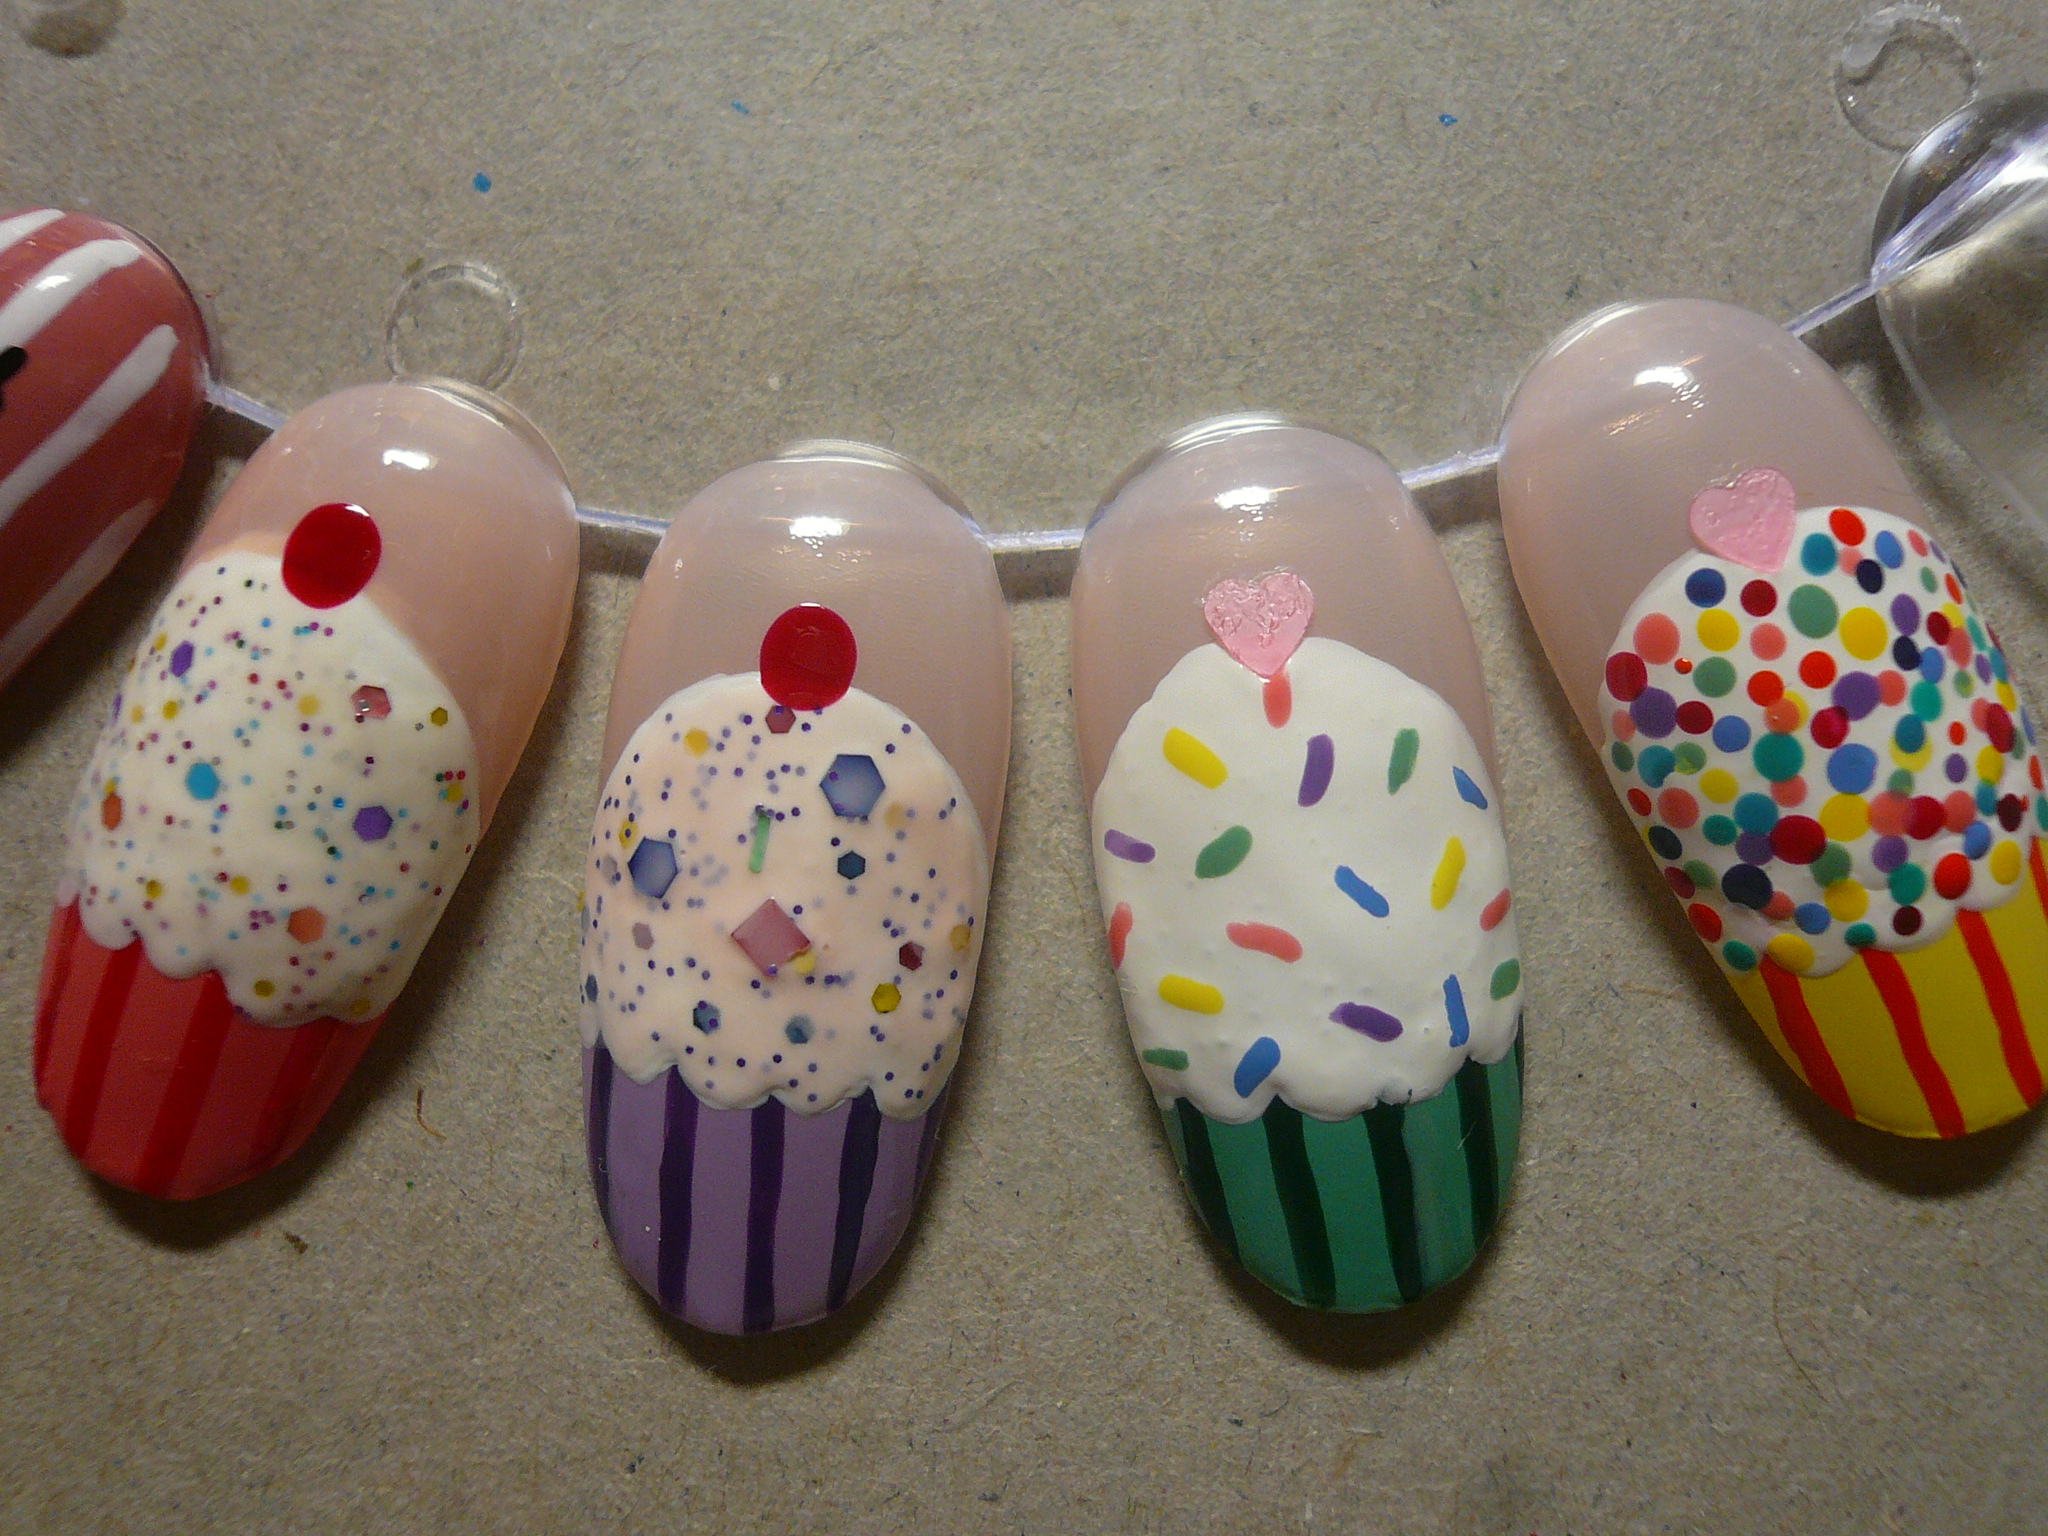
A jelly sandwich in manicure terms refers generally to sandwiching a glitter/flakie polish between layers of jelly (or sorbet, yes, I'm refering to you, OPI!) polish. As a result of the glitter/flakie polish having another coat of jelly polish on top of it, it isn't as bling as it normally would be, creating a softer, more subtle effect that many (including myself) have come to love!

I also realised that doing a jelly sandwich is a GREAT way to wear the louder glitter polishes you have in your collection to work if your office has a strict dress code (like mine does)! SCORE!

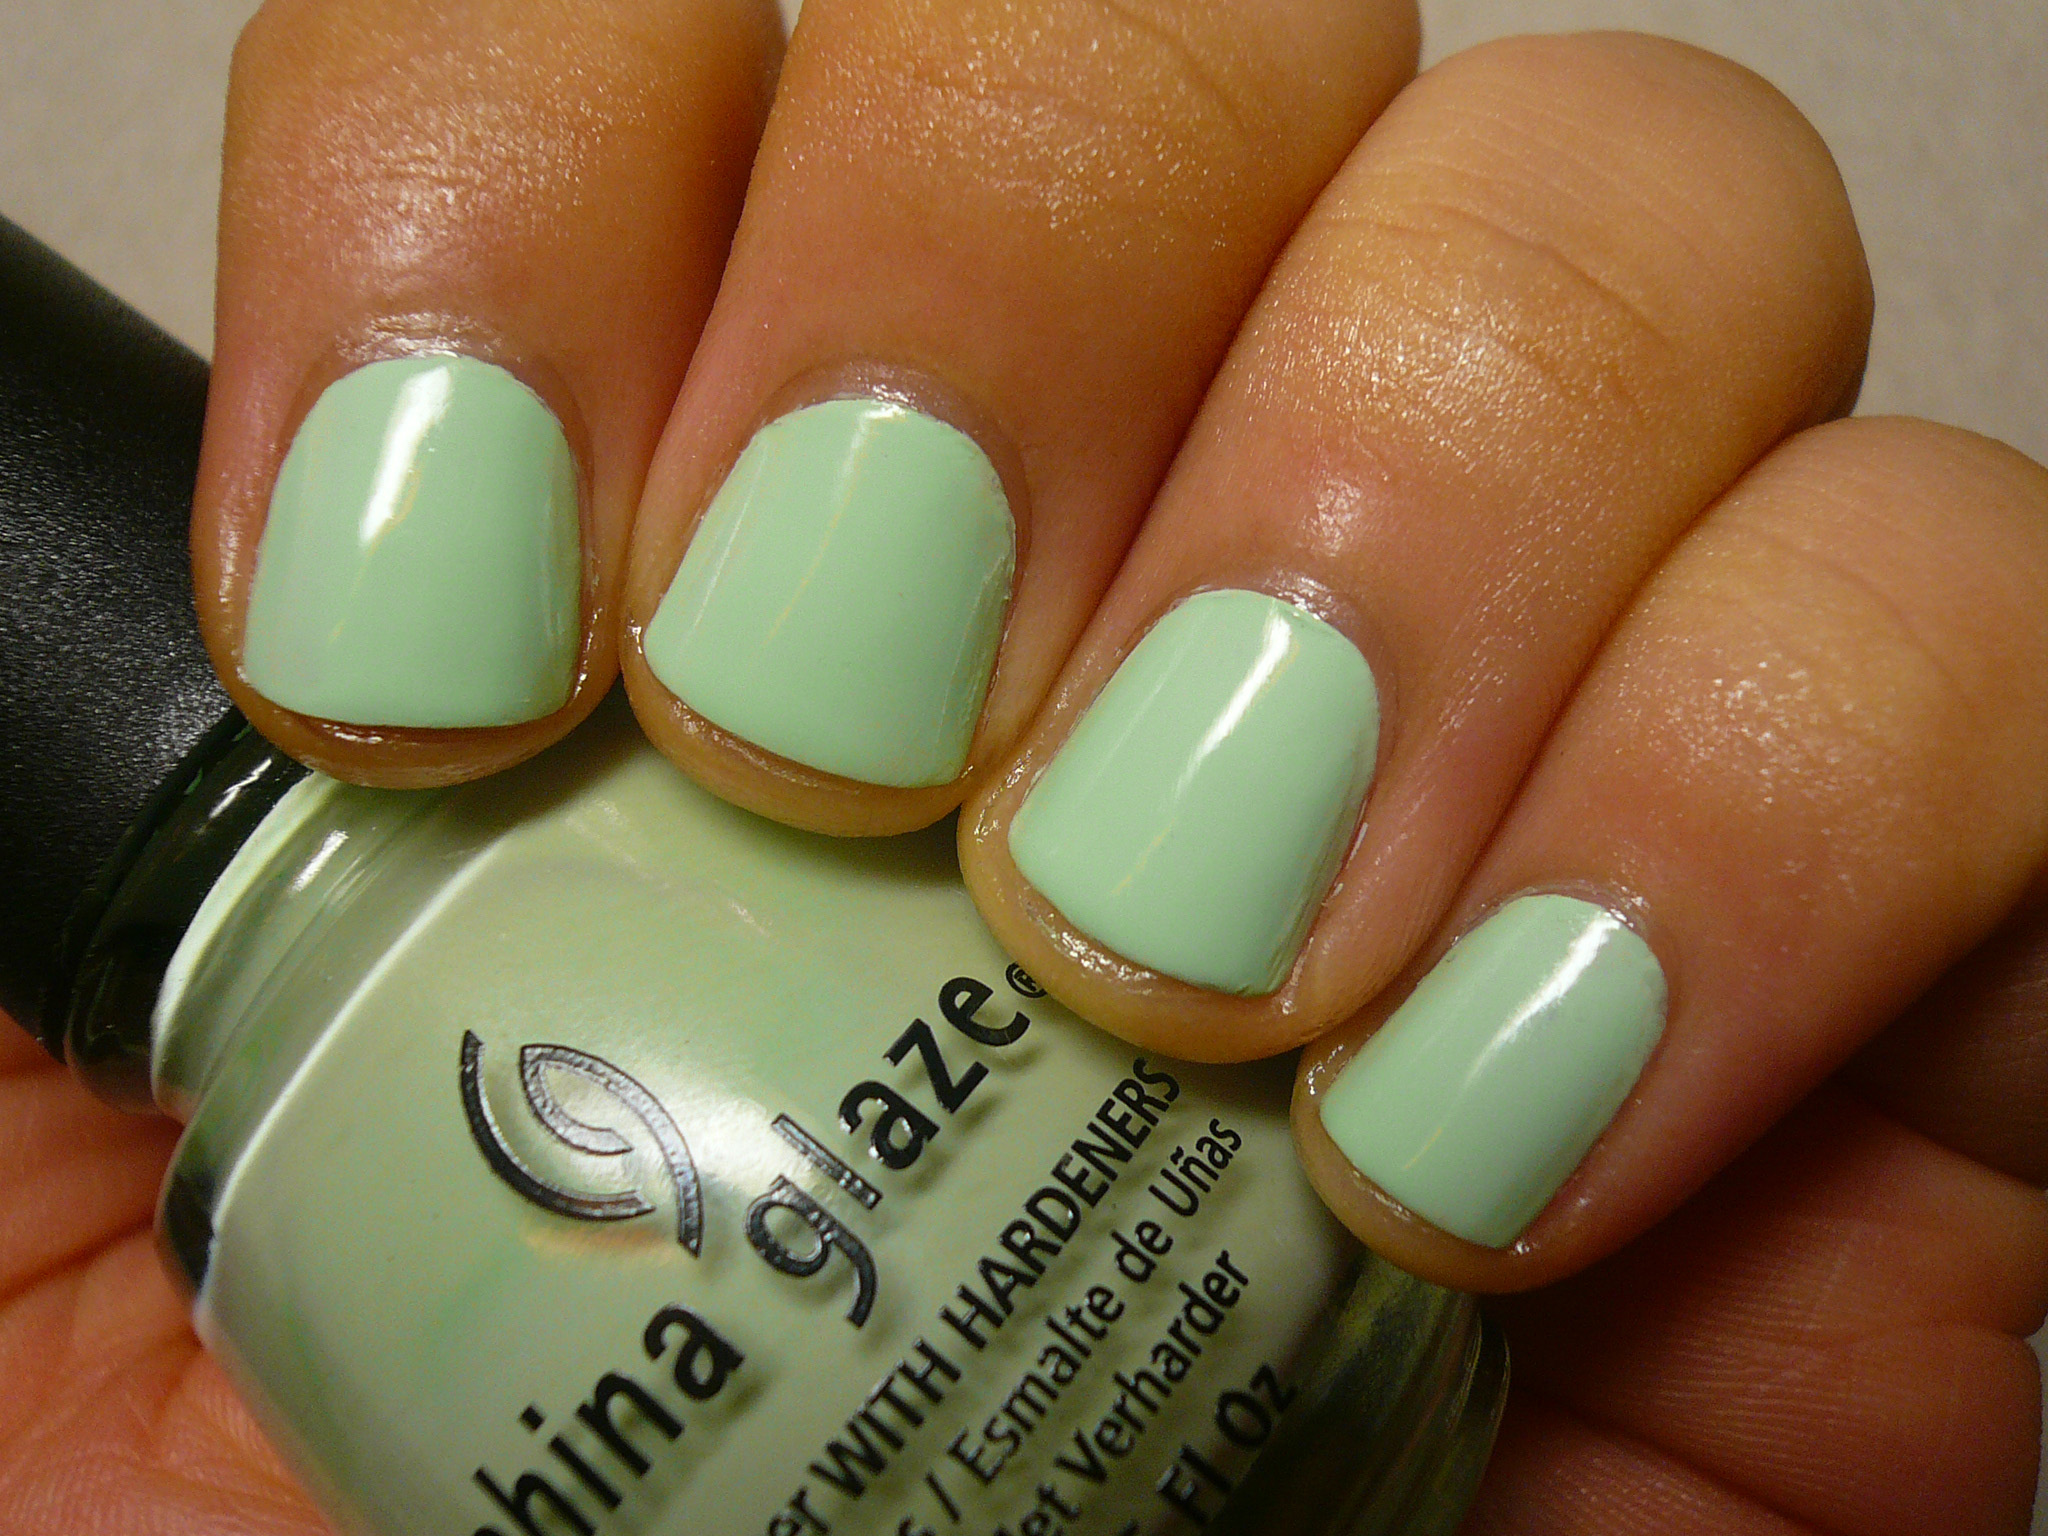
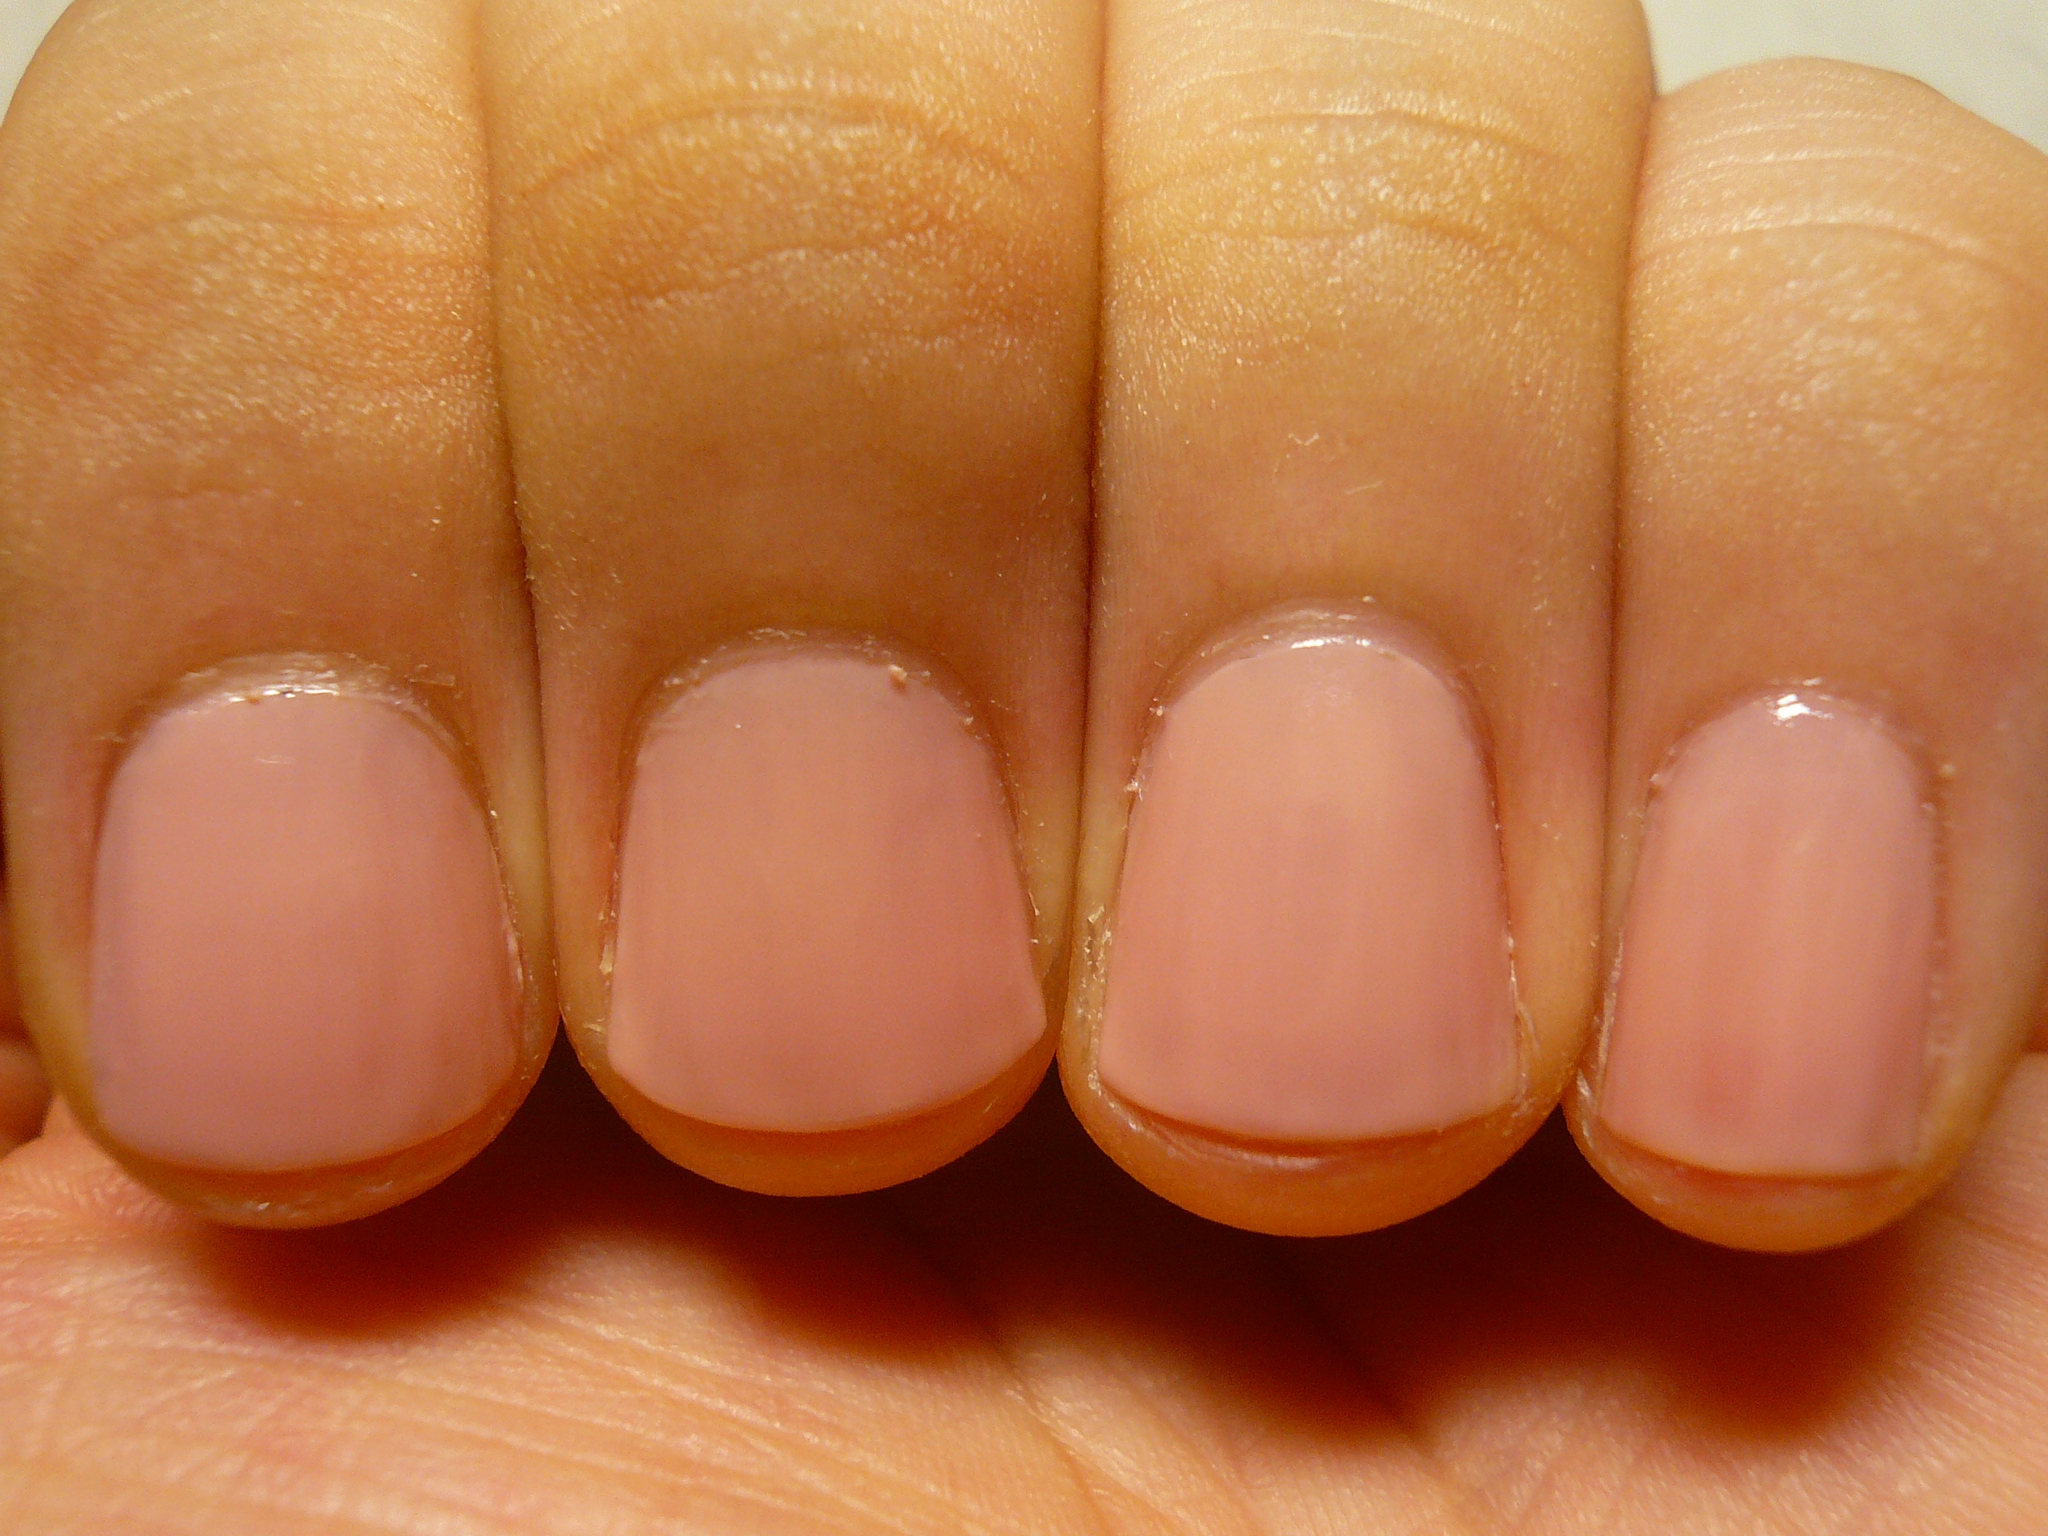
What I have here, is two coats of Essie Not Just A Pretty Face (a sheer pink) over one coat of NailTek Foundation II. I find that whenever I'm going to be painting a sheer polish, using the NailTek base coat helps the polish to apply less streakily and helps the colour to come out better, with less coats. I know, I know, there are still streaks in my swatch below, but seriously, Essie's super anorexic brush wasn't helping. Further, we'll be covering the streaks up with pretty glitters so it won't be too obvious in the end! :)


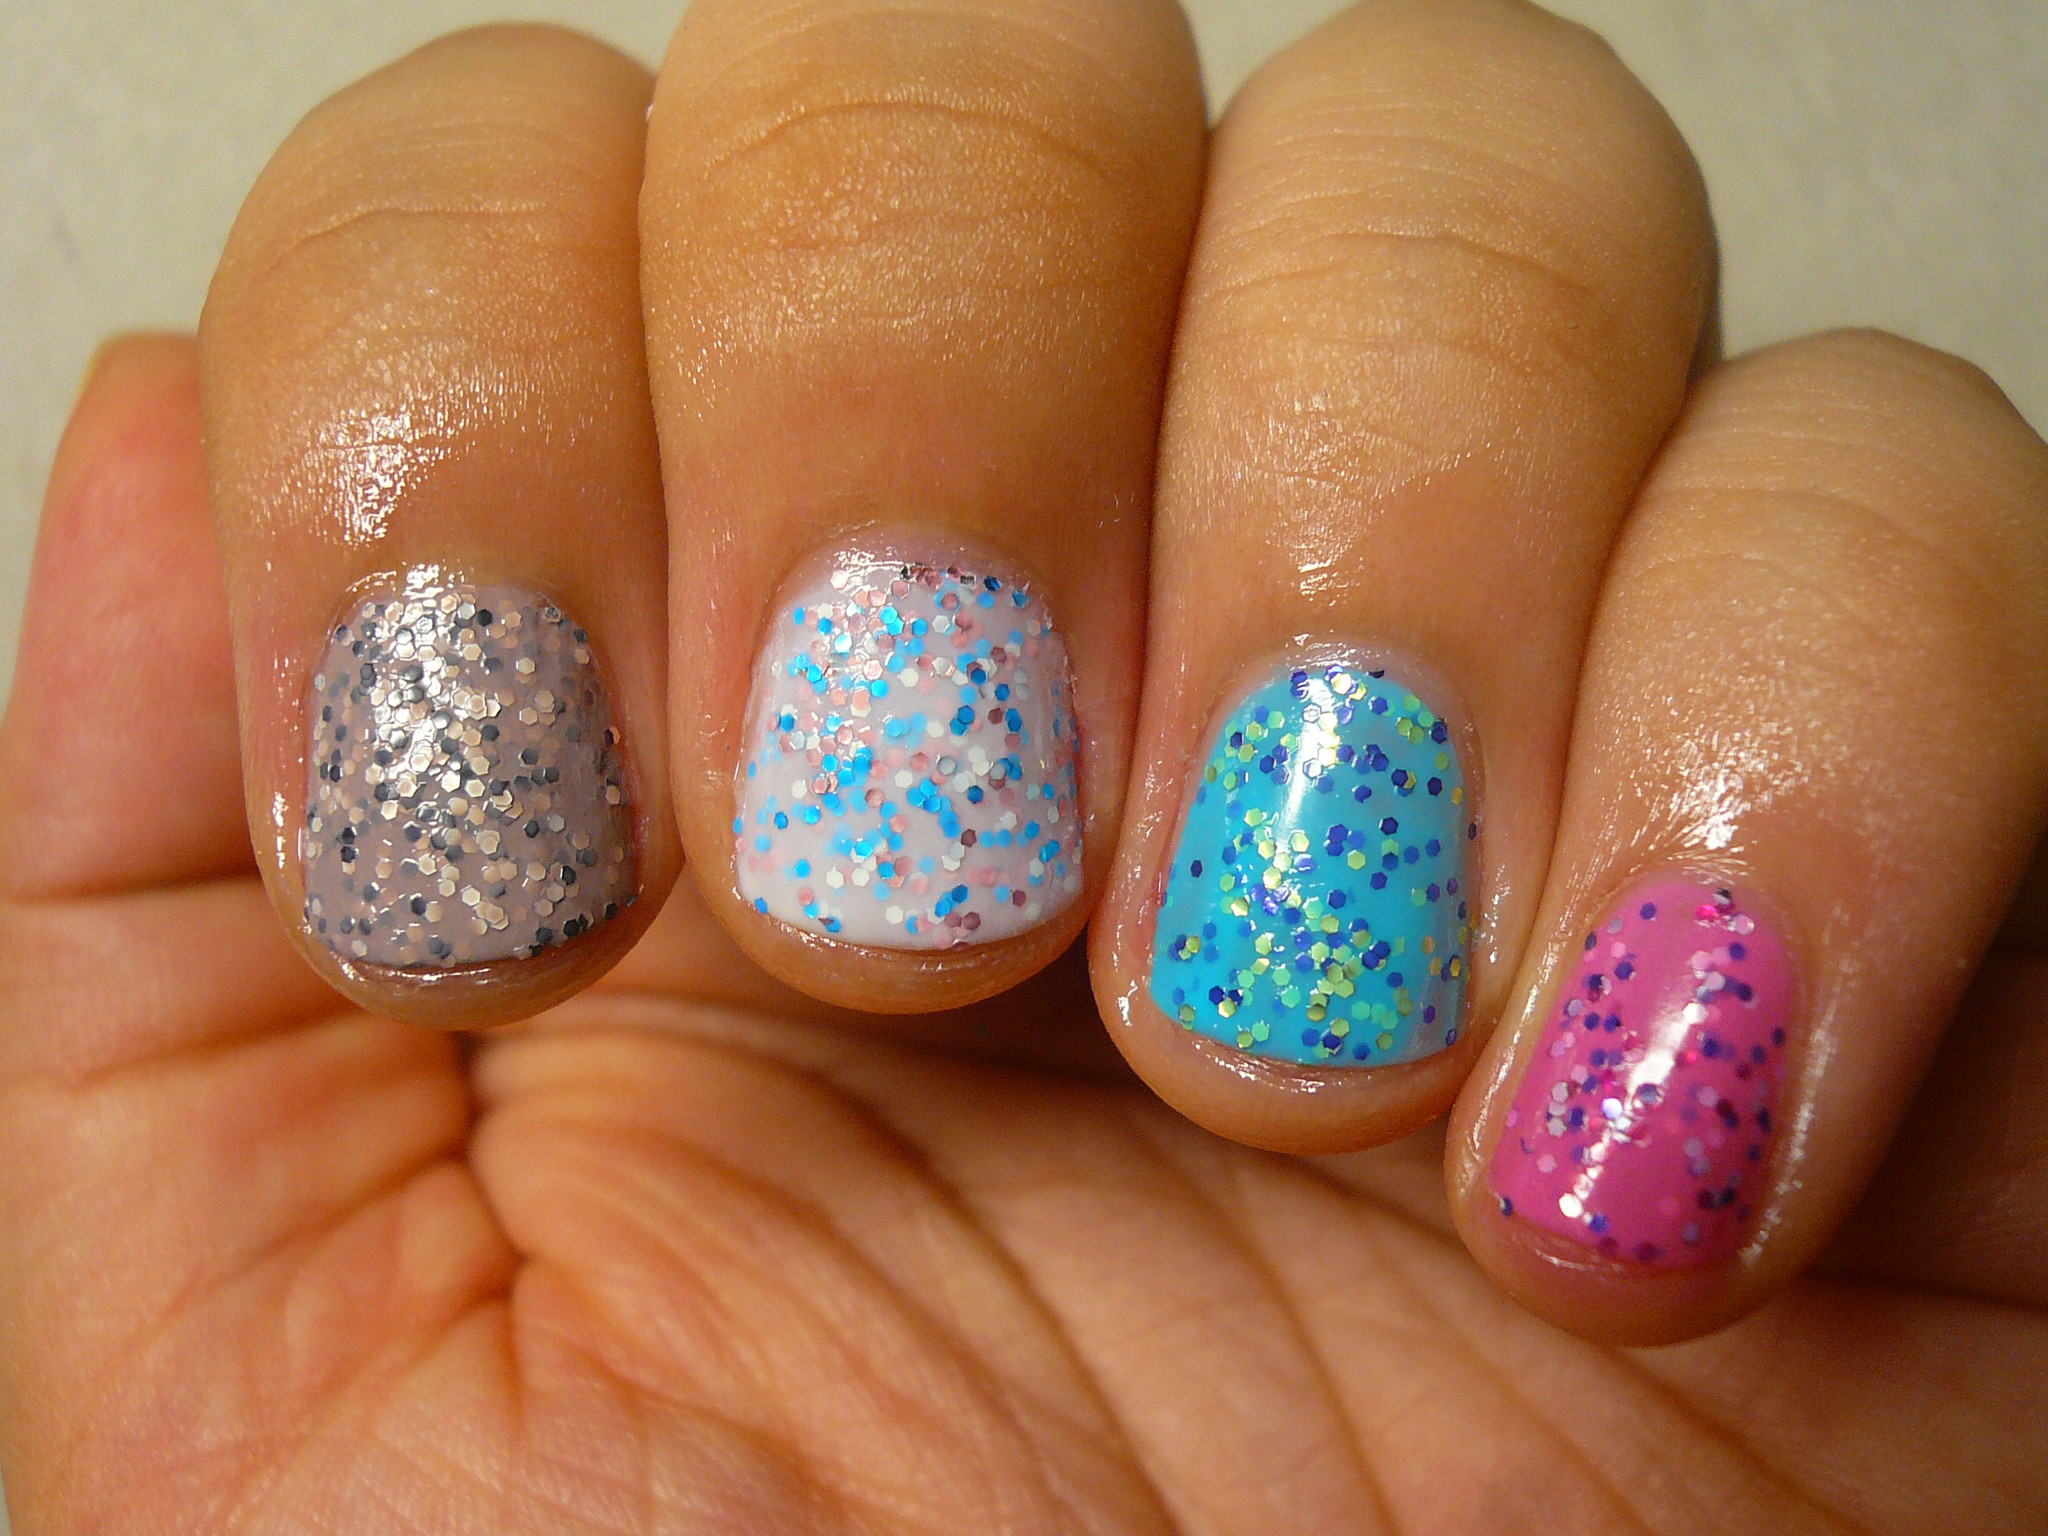
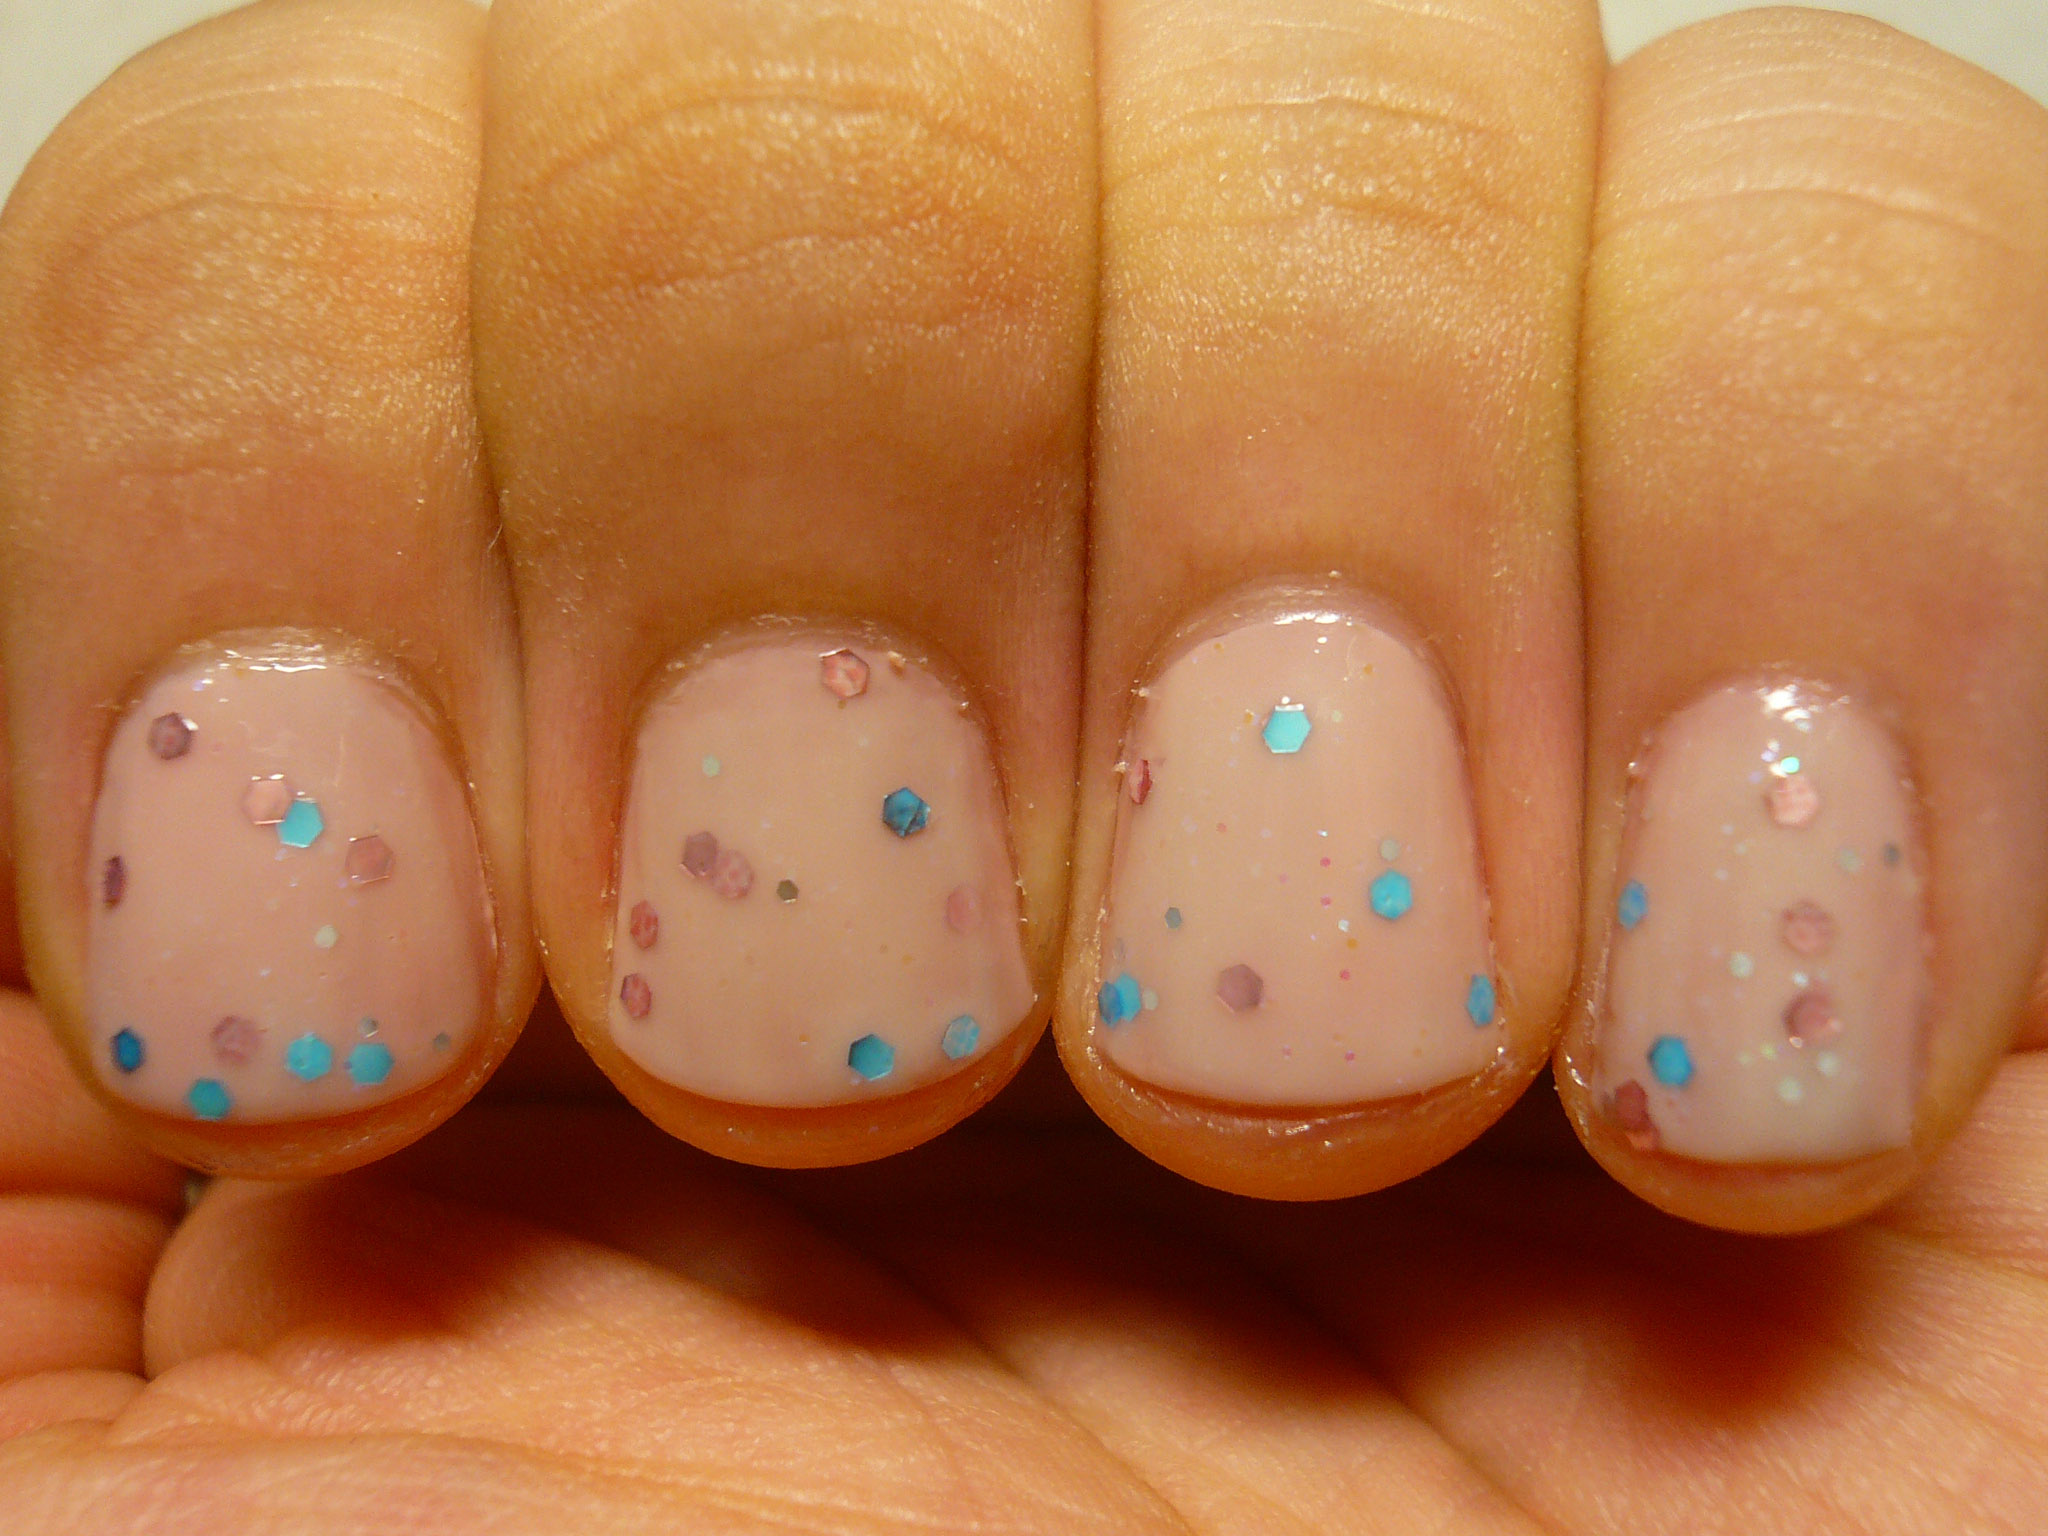
And then, I painted one coat of Revlon Whimsical (the Deborah Lippmann Glitter In The Air dupe). I love how because the base of Whimsical is a sheer blue, it changes the base colour of Not Just a Pretty Face to a paler, softer colour!


I then painted another coat of Not Just a Pretty Face over, followed by another coat of Whimsical and a final coat of Not Just A Pretty Face (again) to complete the entire Jelly Sandwich!


This is with a coat of SV on top to seal everything in. See how pretty and demure the mani looks? Normally I wouldn't dream of wearing a blue glitter polish to work but now I can, all thanks to the wonder that is the jelly sandwich!


Here's one more picture for the road! It's absolute love for me!


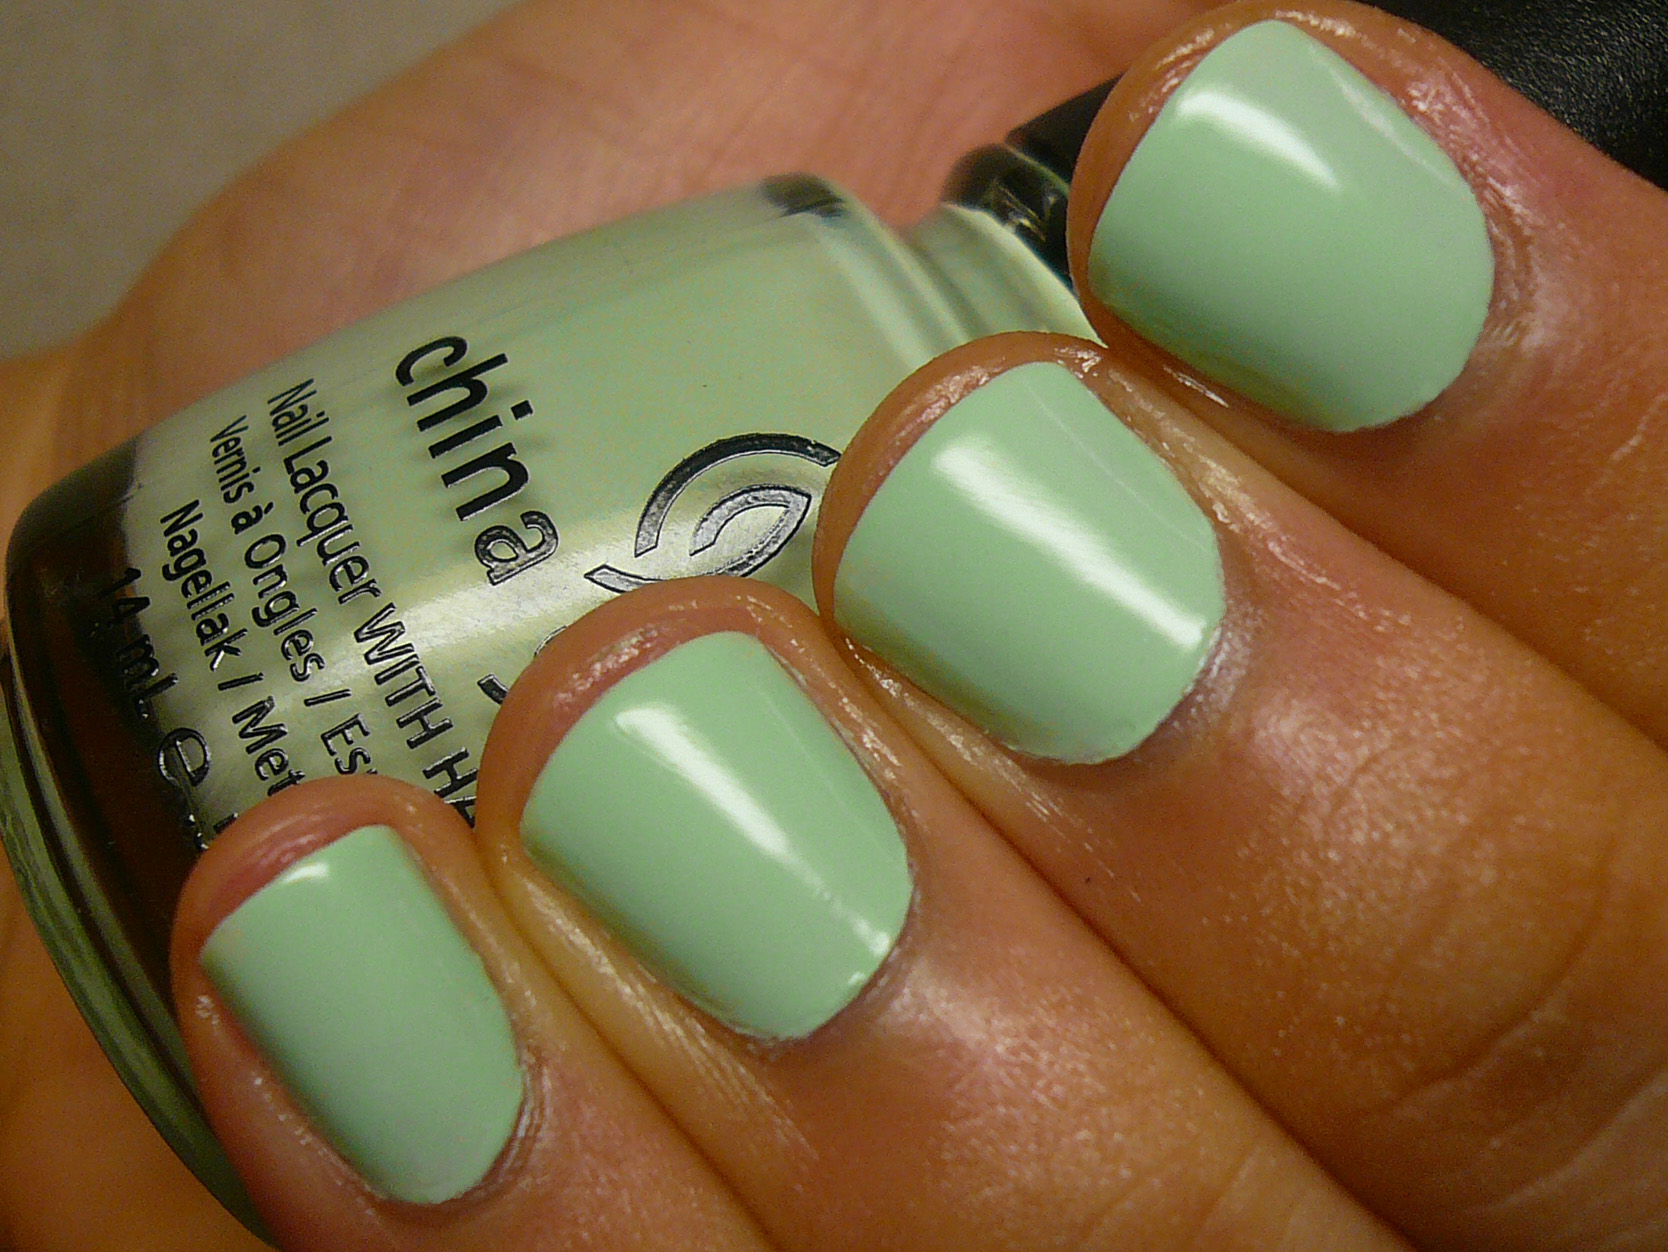
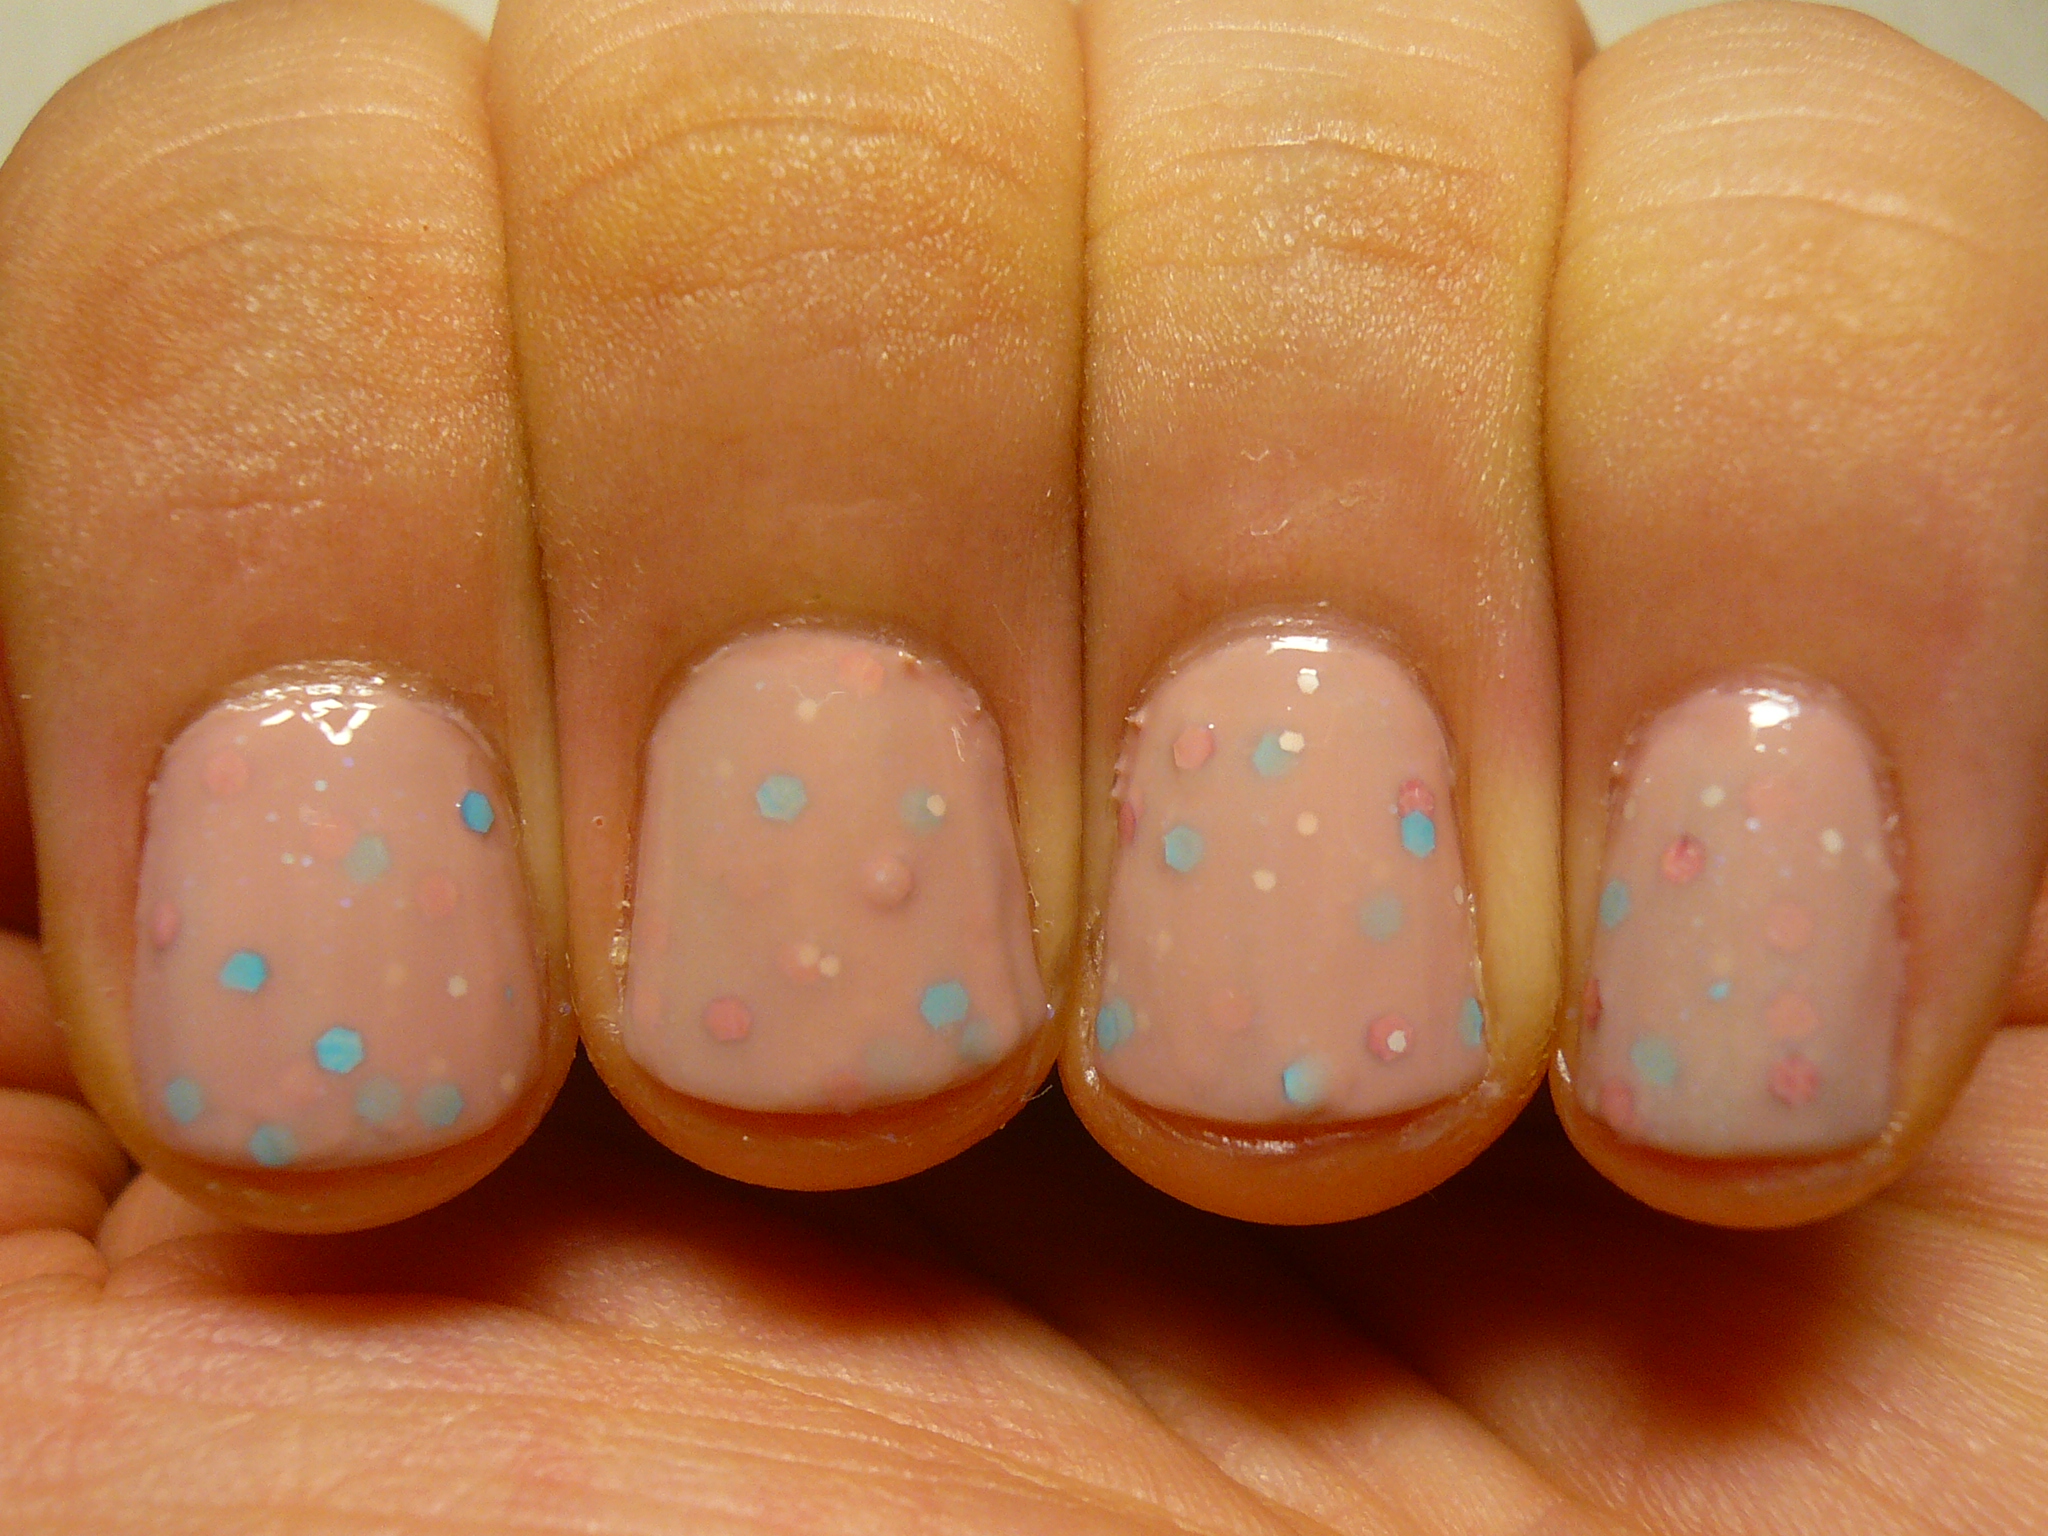
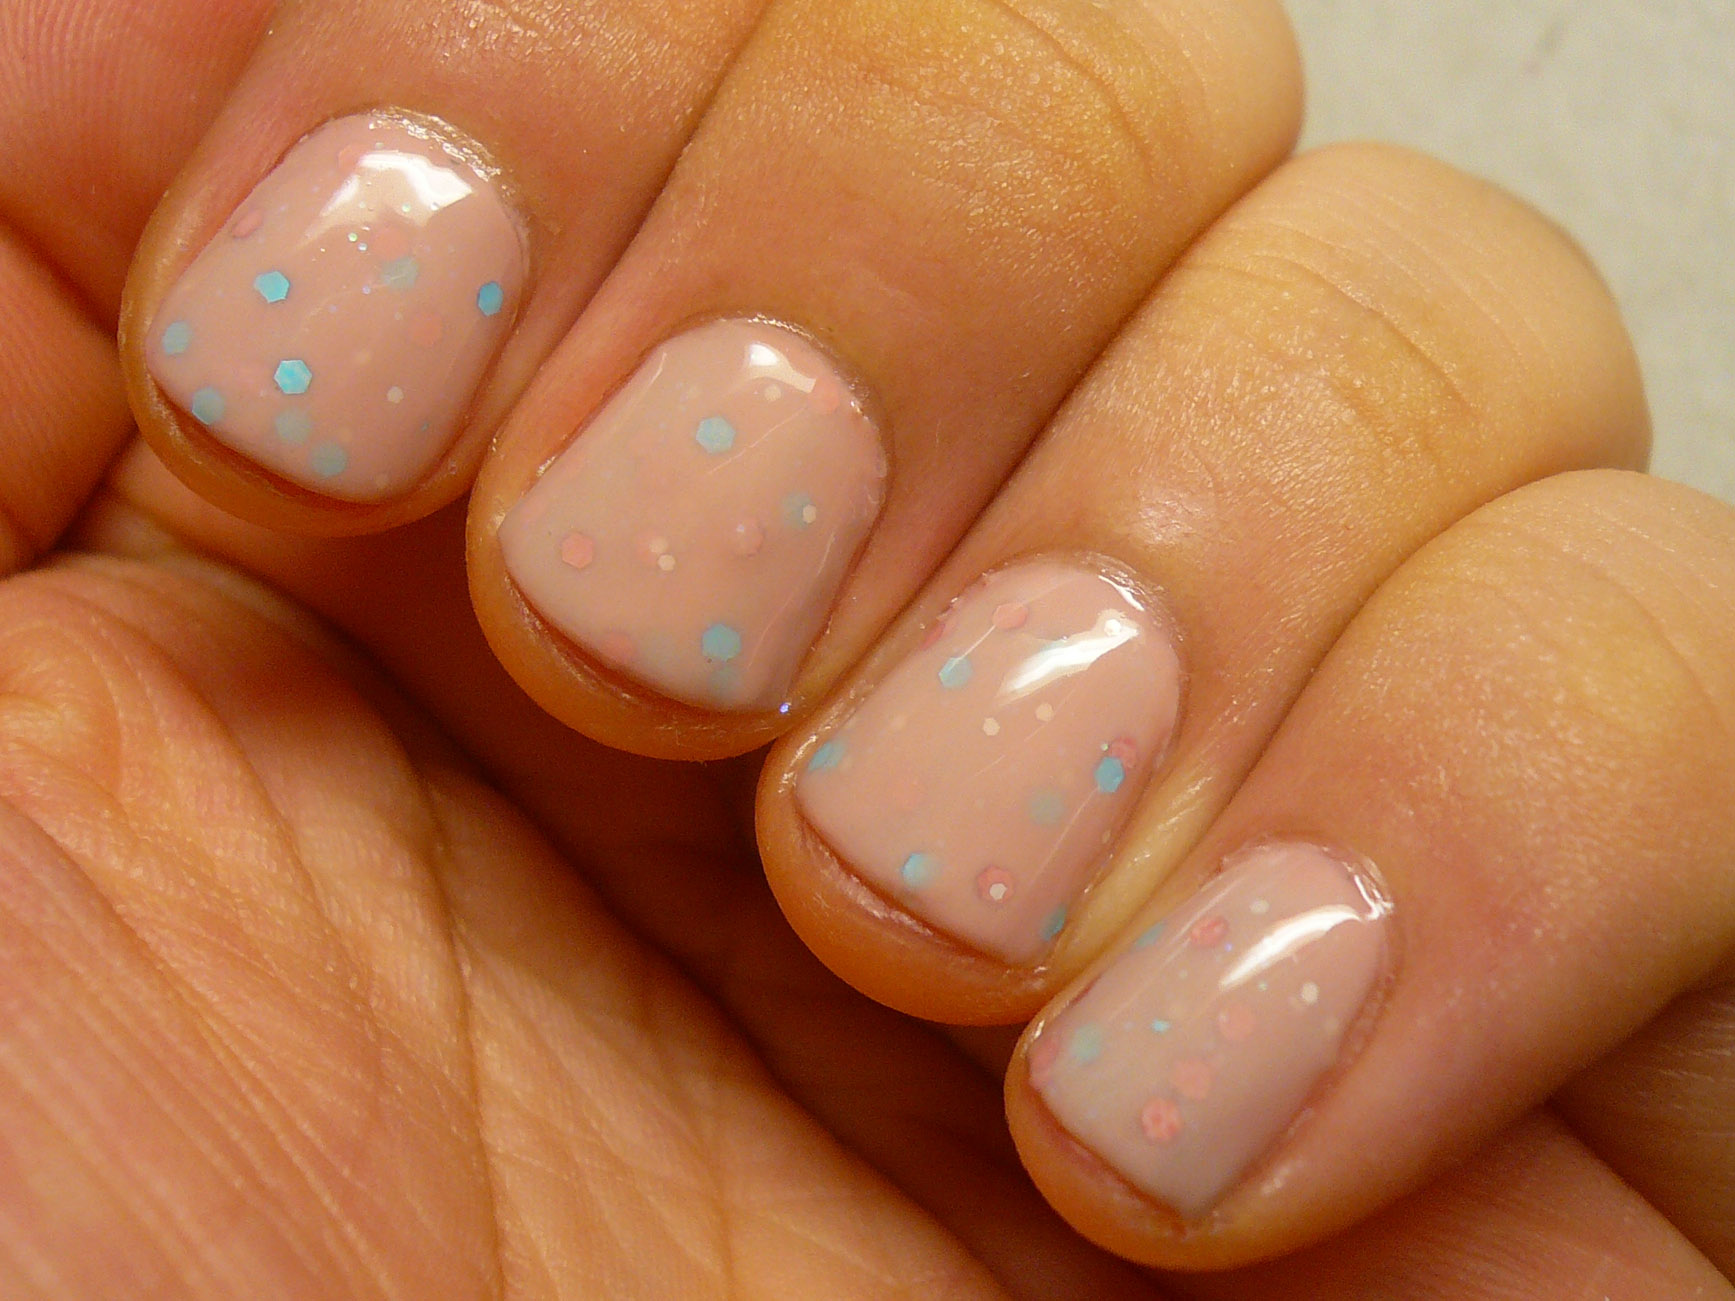
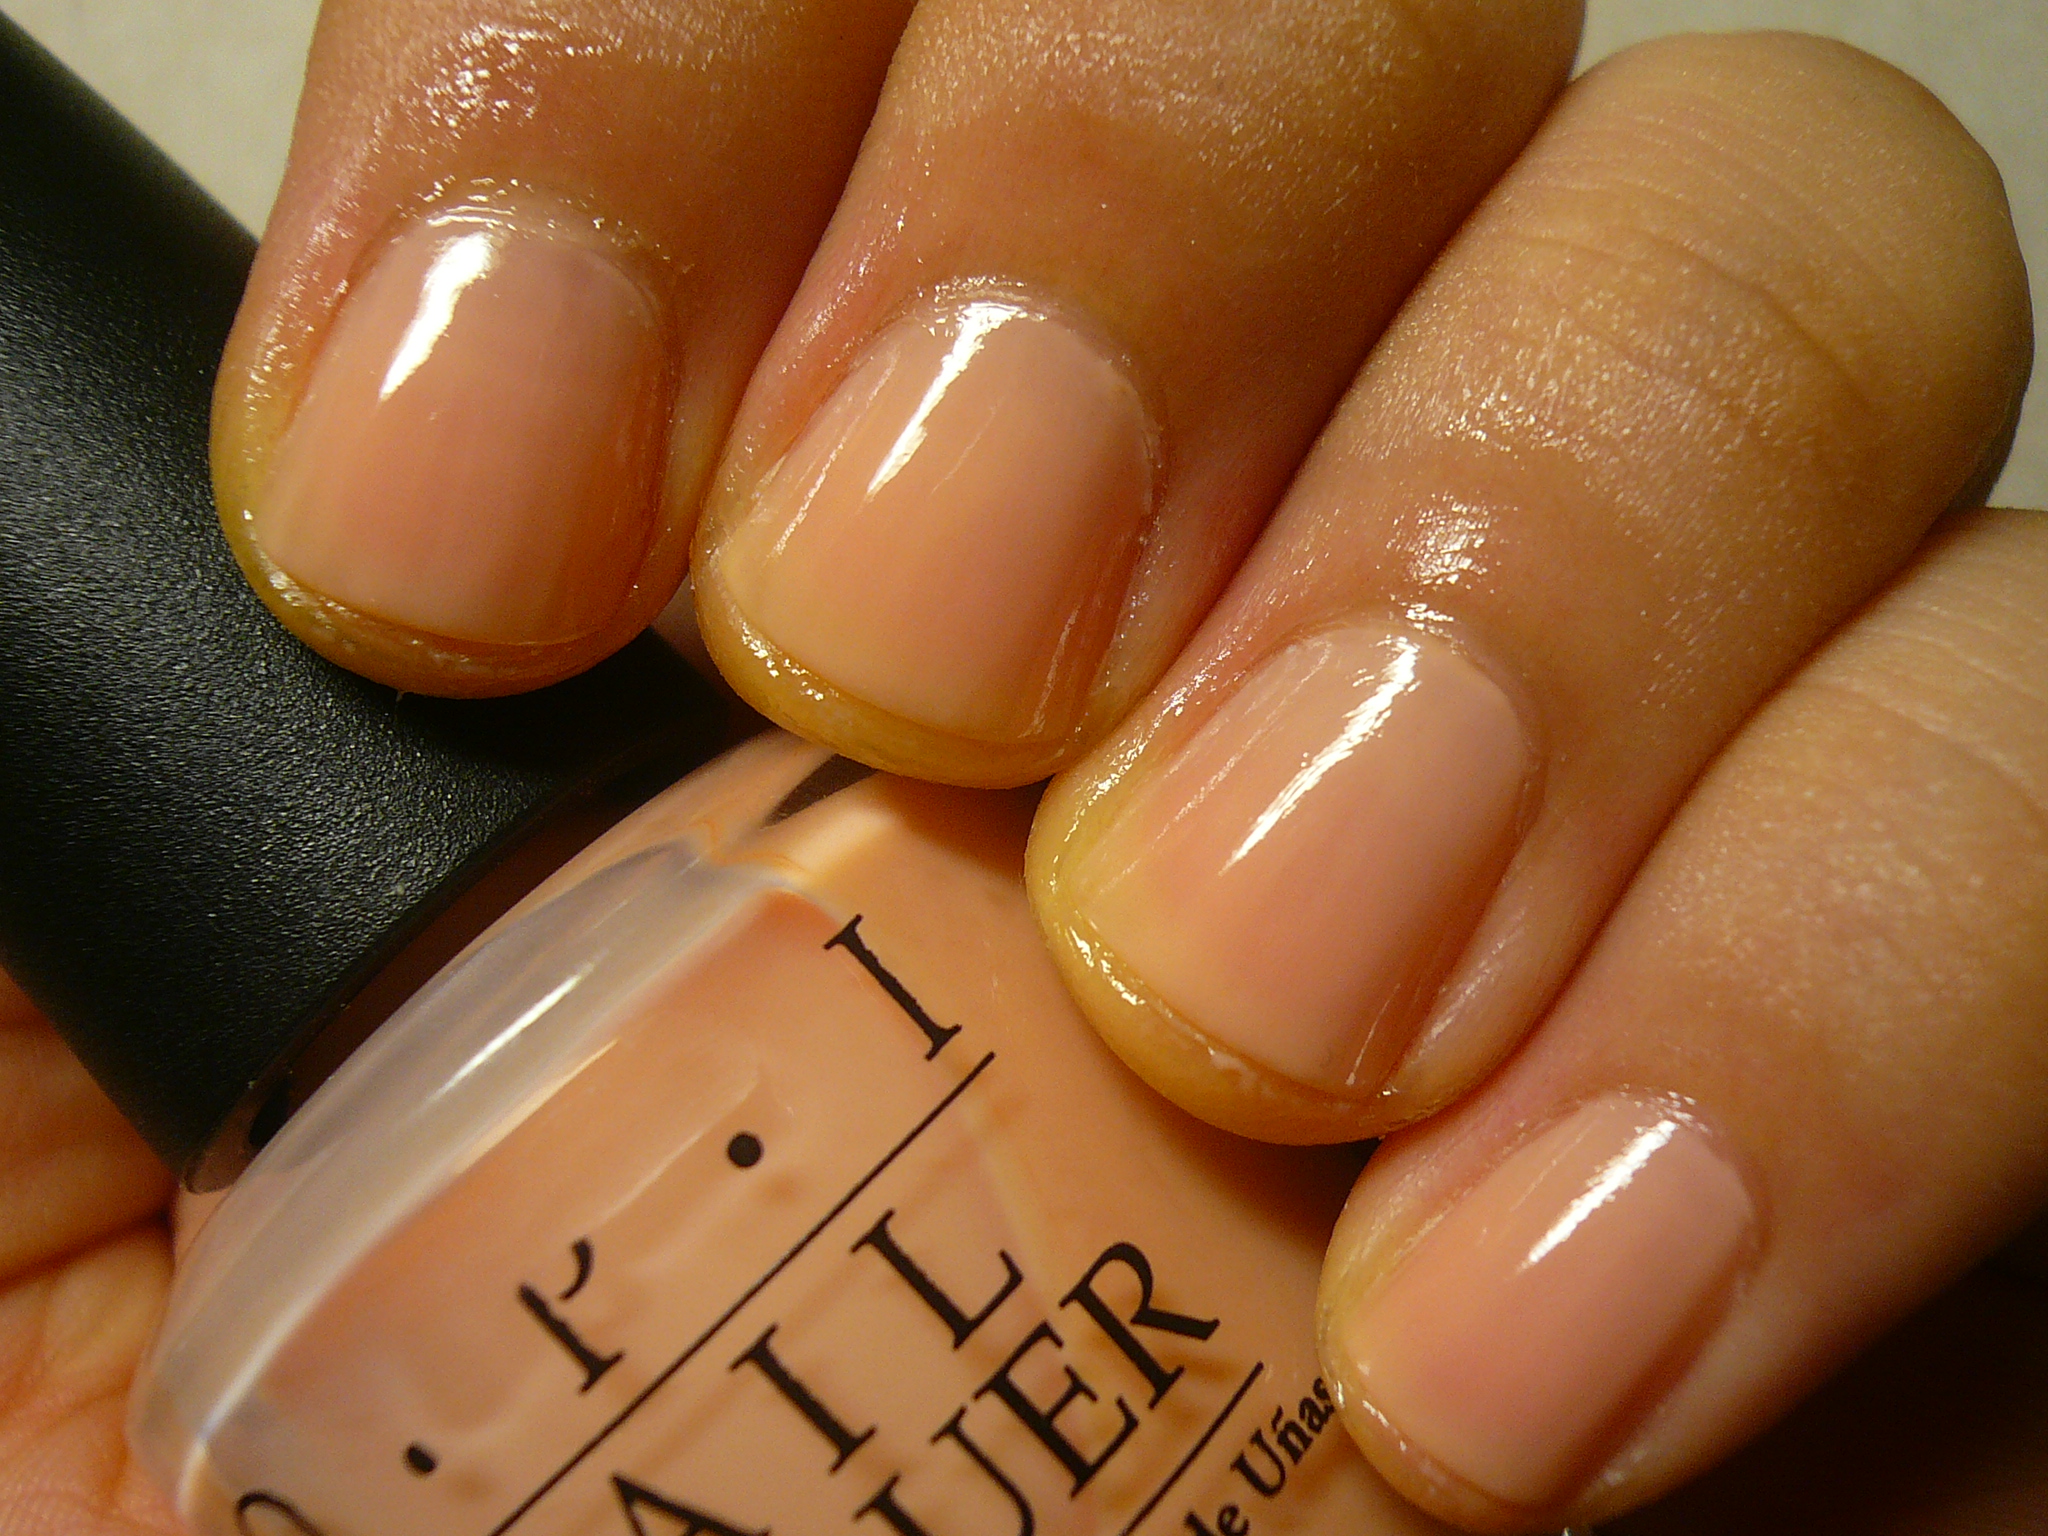
In fact, I was loving the Jelly Sandwich look that I did another jelly sandwich mani, this time using another sheer base, OPI Coney Island Cotton Candy (CICT)! Again, this is two coats of CICT over NailTek Foundation II. CICT isn't a pink, but a skintone shade that didn't streak as much, probably due to OPI's AWESOME pro-wide brush. I swear, the pro-wide brush is a godsent for fat nails like mine.


This is one coat of a super colourful Aritaum glitter polish that I hauled back from Korea, the motherland of pretty glitter polishes!


Since the glitter was dense enough, I just layered on another two thin coats of CICT and one coat of SV and called it a day. GOSH, I just LOVE how the jelly sandwich turns the vibrant glitter into a pastel party! It's a totally different look!


Boy am I glad I finally found a way to way all my crazy glitter polishes to work! It's like having a secret party on my nails, subtle enough for work, but not totally boring!

Are you loving the jelly sandwich trend now? Do check out all these other posts on jelly sandwiches to get you fill your hunger!

Hannah (Polly Polish)
Jen (The Nail Polish Project)
Susy (Susy In Color)
Jenny (Beauty by Jenny)
Mara (Mara in Polishland)
Nail Tart
Salla (OMG Polish Em)
Jasmine
Deborah (Love Varnish)
Kat (Hooked on Polish)
Cassie (Sparkles Make Me Happy)
Pris (Pris Nails)
Julie (Time On My Nails)
Keisha (Refined & Polished)
Lynn (Oh So Lacquered)
Alexis (xoxo Alexis)
Cuti-CLUE-les
Mihaela
Stephanie (Sincerely Stephanie)
Heidi (Pretty Painted Nails)
Sabine (My Polish Stash)
A Lacquered Affair
Chiro (Nail of This Week)
Wendy (Wendy's Delights)
Charlotte (Charlotte's Nails)
Sophia (Unhas a Trois)
Laura (Polished Off)
Carolina(Colores de Carol)
Chrissy (Nailutopia)
Emma (Manicurity)
Ishah (Ishah x Beauty)
Esther (Fab Fingertips)
Kerrie (Pish Posh & Polish)

Sunday, July 1, 2012

Orly Enchanted Forest

Today I have Orly Enchanted Forest to show you! It was a CP from the US because the website that still has this discontinued shade only ships Orly polishes within the US so I asked around and a very kind soul was willing to help buy and send the polish all the way to Singapore. Liz, if you're reading this, THANK YOU! :)

Back to the polish at hand, oh Enchanted Forest, what a glorious, dusty green you are!


This was two coats of Enchanted Forest. It had a surprisingly runny formula but built up really nicely!
What I LOVE about Enchanted Forest is that it looks green in stronger lighting but in the shade, it looked like an almost-back green that reminds me of Deborah Lippmann Billionaire. It's a great take on dark polish especially if you don't want to wear black.

BEST THING? I was hard core guitar strumming for one whole hour and my polish didn't even chip! The cuticle on my thumb even bled from all that strumming but the polish refused to barge. TRUE STORY.
--------------
Where to buy:
Orly Enchanted Forest: Head2Toe Beauty