Monday, February 27, 2012

OPI Samoan Sand

Bought Samoan Sand during my nude polish craze and I was not disappointed!

This was three coats of Samoan Sand. It applied streaky on the first coat, as can be expected of any sheer nude polish but it became opaque in three coats.

Really like how it made my nails look so clean and chic! (:

Thursday, February 23, 2012

CNY Nails

I know I'm SOOOOO late to the CNY manicure party but better late than never right? (;

This was the manicure I did for my grandma for CNY. She wanted a dark red polish and I suggested doing a gold glitter gradient to bling things up.


I used Sally Hansen Brick Wall for the red base and TFS YL702 for the gold glitter gradient.
My grandma really liked the manicure and she told me she got quite a few compliments and my aunt even asked which manicure shop she got her nails done at!

Now, onto my CNY nails...


I bought a red dress to wear on the first day of CNY and I didn't want to look like one huge red packet with red nails so I chose to go with subtle nude nails and decided on OPI Barefoot in Barcelona. Then while I was watching the CNY show on Channel 8, I found out that black was my lucky colour and we all know wearing black during CNY isn't all that auspicious so I added some black polka dots on my thumb and ring finger. Normally, I'd just do an accent mani on my ring finger but I included the thumb as well. Some people do that too and it's been more commonly known as the Blackberry accent mani because you'd use your thumbs to type and it'll draw more attention!

I've never worn Barefoot in Barcelona before and I really like it on me! My mum had previously requested it for her pedi and Barefoot looked quite different on her because she's much tanner than I am. Funny how polish looks so different on people with different skin tones but I'm glad it still worked out fine for me! I also love how subtle the polka dots were (I think partly because I used a smaller dotting tool this time for the dots) and it's be a good way to spice up those boring nudes I'll be stuck wearing for work, without catching too much attention from the drescode patrol people at work!

Also, I couldn't resist taking a picture of my Blackberry mani with my darling BBB!

Monday, February 20, 2012

BeautyAsia 2012

Okay, super quick post here about this year's BeautyAsia fair in case you're thinking of dropping by! It's at Suntec Convention Halls 402-404, from 11am to 7pm, and is open till Wednesday 22 Feb.

Sorry for the lousy picture quality, took them with my phone (ahem, BB, please improve your camera feature)!


China Glaze at $5 per bottle for most of the range and $5.50 for the silver caps! OH, and they have some of the polishes from last year's Tronica Collection, like High Def, Techno Teal and two others I can't remember the names of!


Misa going for $5 too! Their range was pretty extensive! And the people were REALLY friendly. They even offered to help me hold my basket full of polishes while I looked for more and even helped me choose which shades complimented my skin tone better!


Orly at $6 (before tax) but they only had minimal selection. The guy did tell me they're going to bring in more stock tmr afternoon!


LIPPMANN! I ran towards this stand and the sales lady saw me and laughed at my excitement! $19 each (before tax)!


And lastly Zoya going at $7 (before tax) and again, very little selection here. The guy says more will be coming in tmr afternoon!

BTW, Lippmann, Zoya and Orly are all at the same booth so you won't have to run around that much. There are a couple of Chinga Glaze stations but the two bigger ones are both selling at $5 per bottle so just pick any China Glaze place to buy from!

There was also some Nfu Ohs near the back of the hall! My friend said they was going at $10 for cremes and $20 for flakies and holos but when I went there, the lady told me they were $20 and $28 respectively so I don't know, if you're interested, find out the price for yourself?

It's seriously worth the trip down to grab all these polishes at such awesome prices! Sadly, Essie was no where to be found. They had Essie last year and I was really looking forward to buying me some Essie! :(

Saturday, February 18, 2012

January's Haul

I finally squeezed some time to do January's Haul! (The posts you've been reading for the past few weeks were done up a long time ago and were all queued because school's been kinda busy!


Did not think it was a big haul, after seeing December's EPIC haul but on hindsight...
Let's break it down shall we? (:


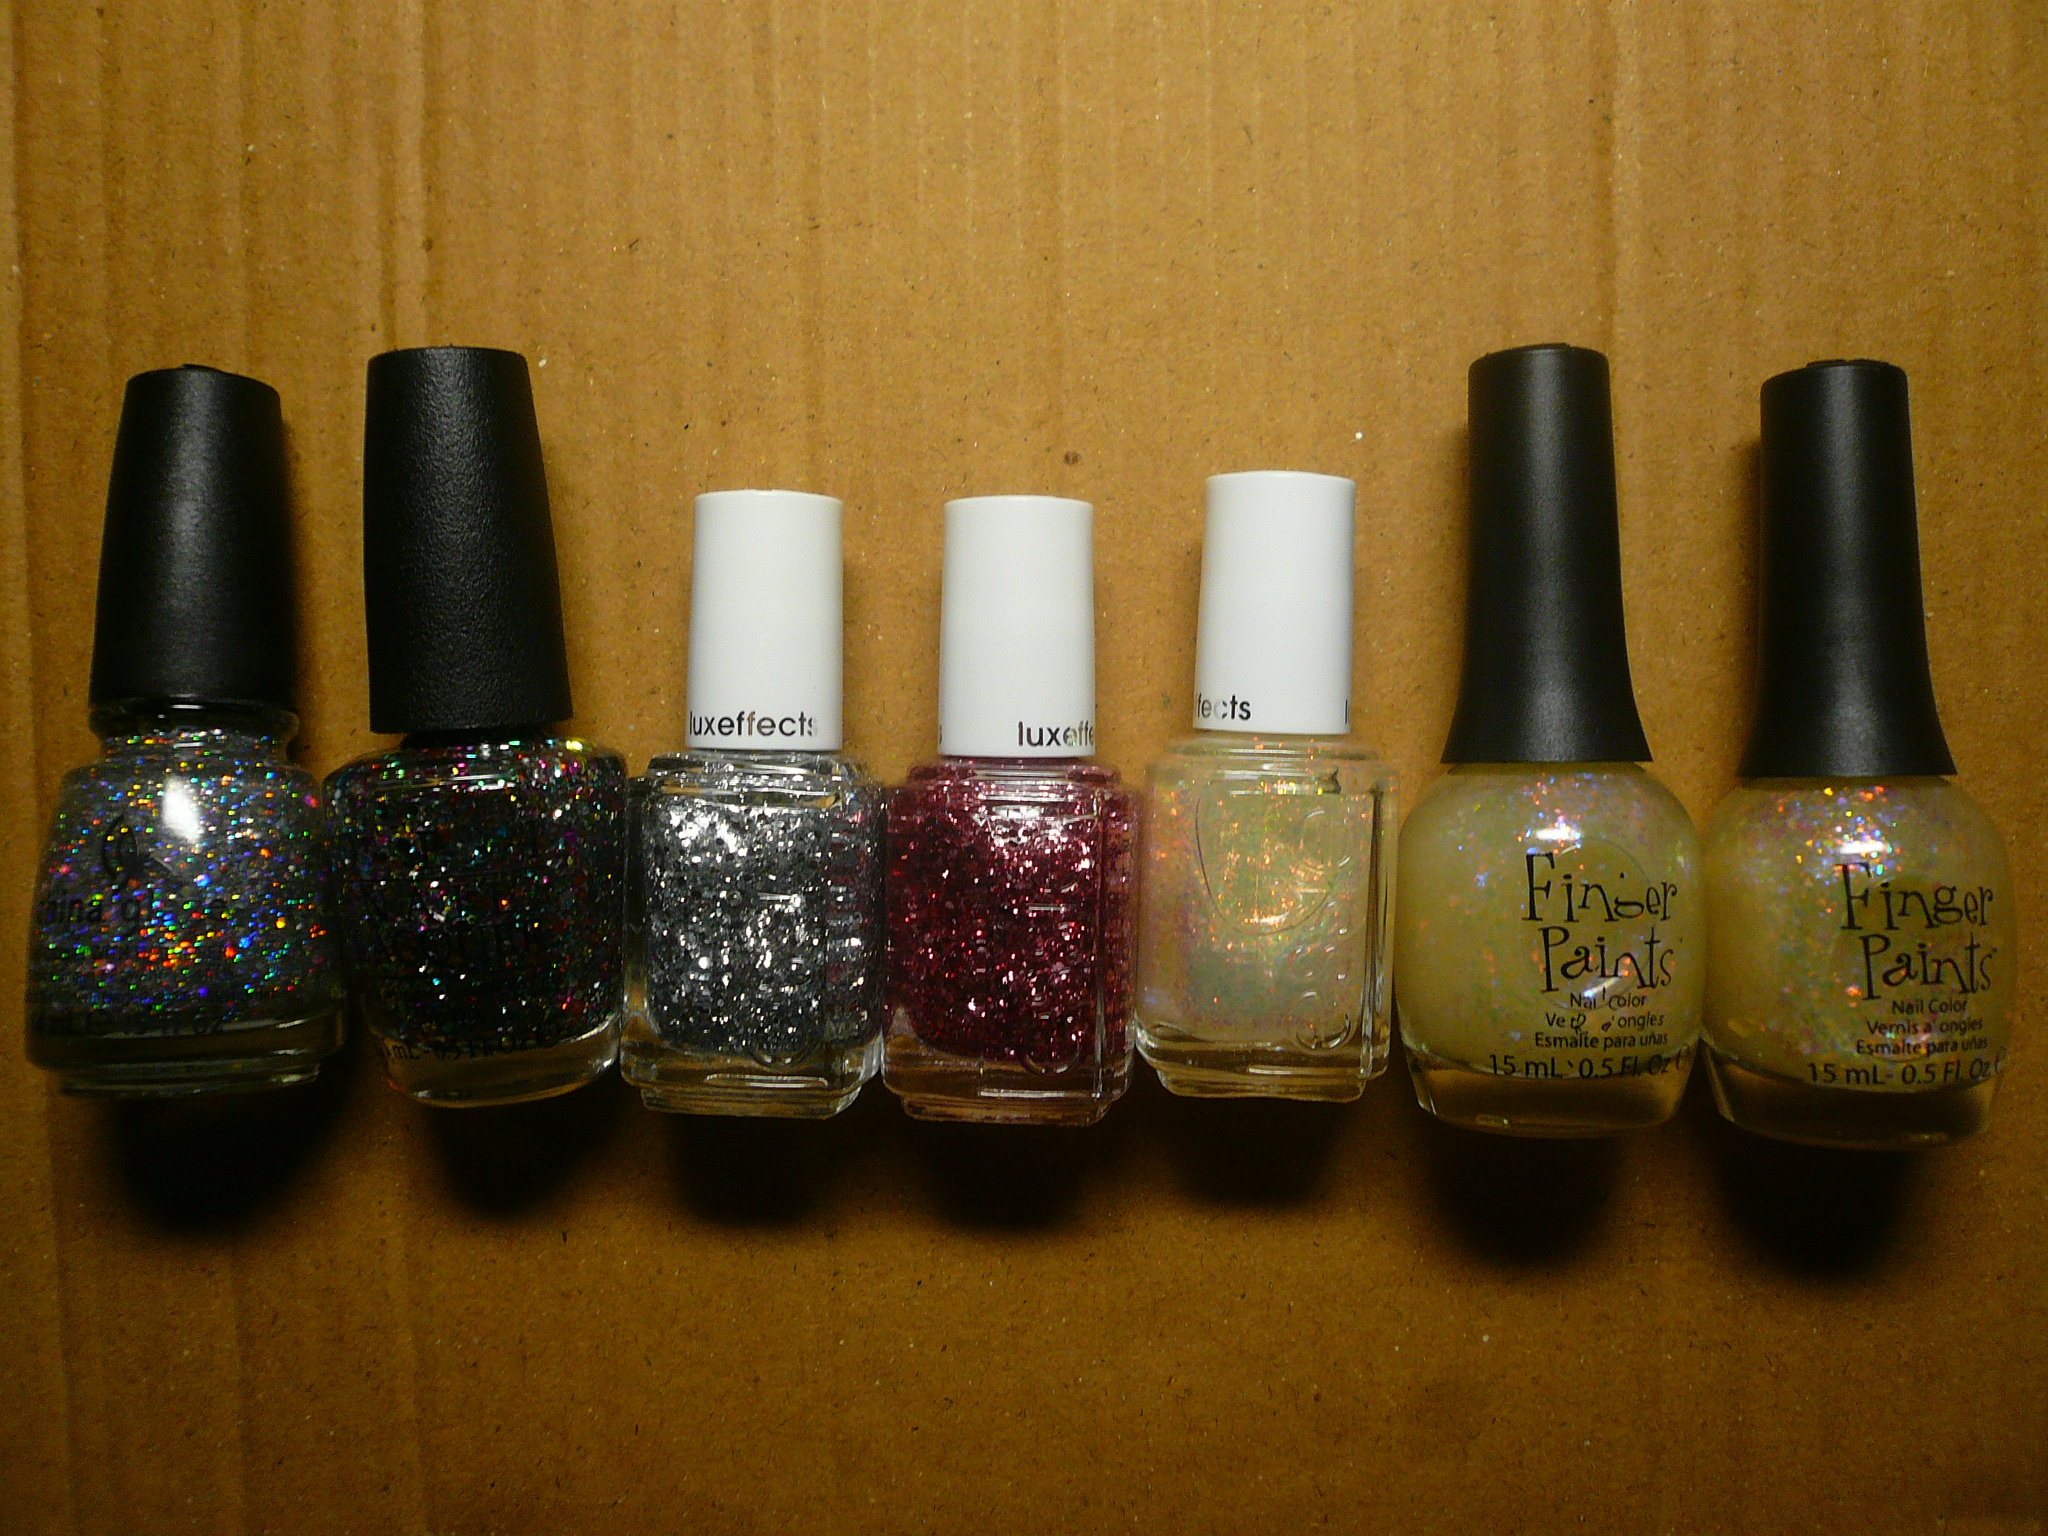
Decorative top coats (L-R): China Glaze Techno, OPI Rainbow Connection, Essie Set in Stone, Essie A Cut Above, Essie Shine of Times, Finger Paints Asylum and Finger Paints Twisted

So happy that Susan managed to help me get the Finger Paints, especially since they've been sold out everywhere! And my polish dealer (yes, that's what I call her now, because she's always helping me get polishes) Cheeying was selling a brand new Rainbow Connection, so I grabbed a bottle before I regretted not doing so!


Next, we have two of the Nicki Minaj OPI colours, Metallic 4 Life and Fly (which is not colour accurate here btw), as well as Stead As She Rose from last year's Pirates collection. I got the Nicki colours from DYON because Fred had them earlier than Smoochiezz but I visited Smochiezz at Juring Point so many times the lady remembered me! *embarrased*


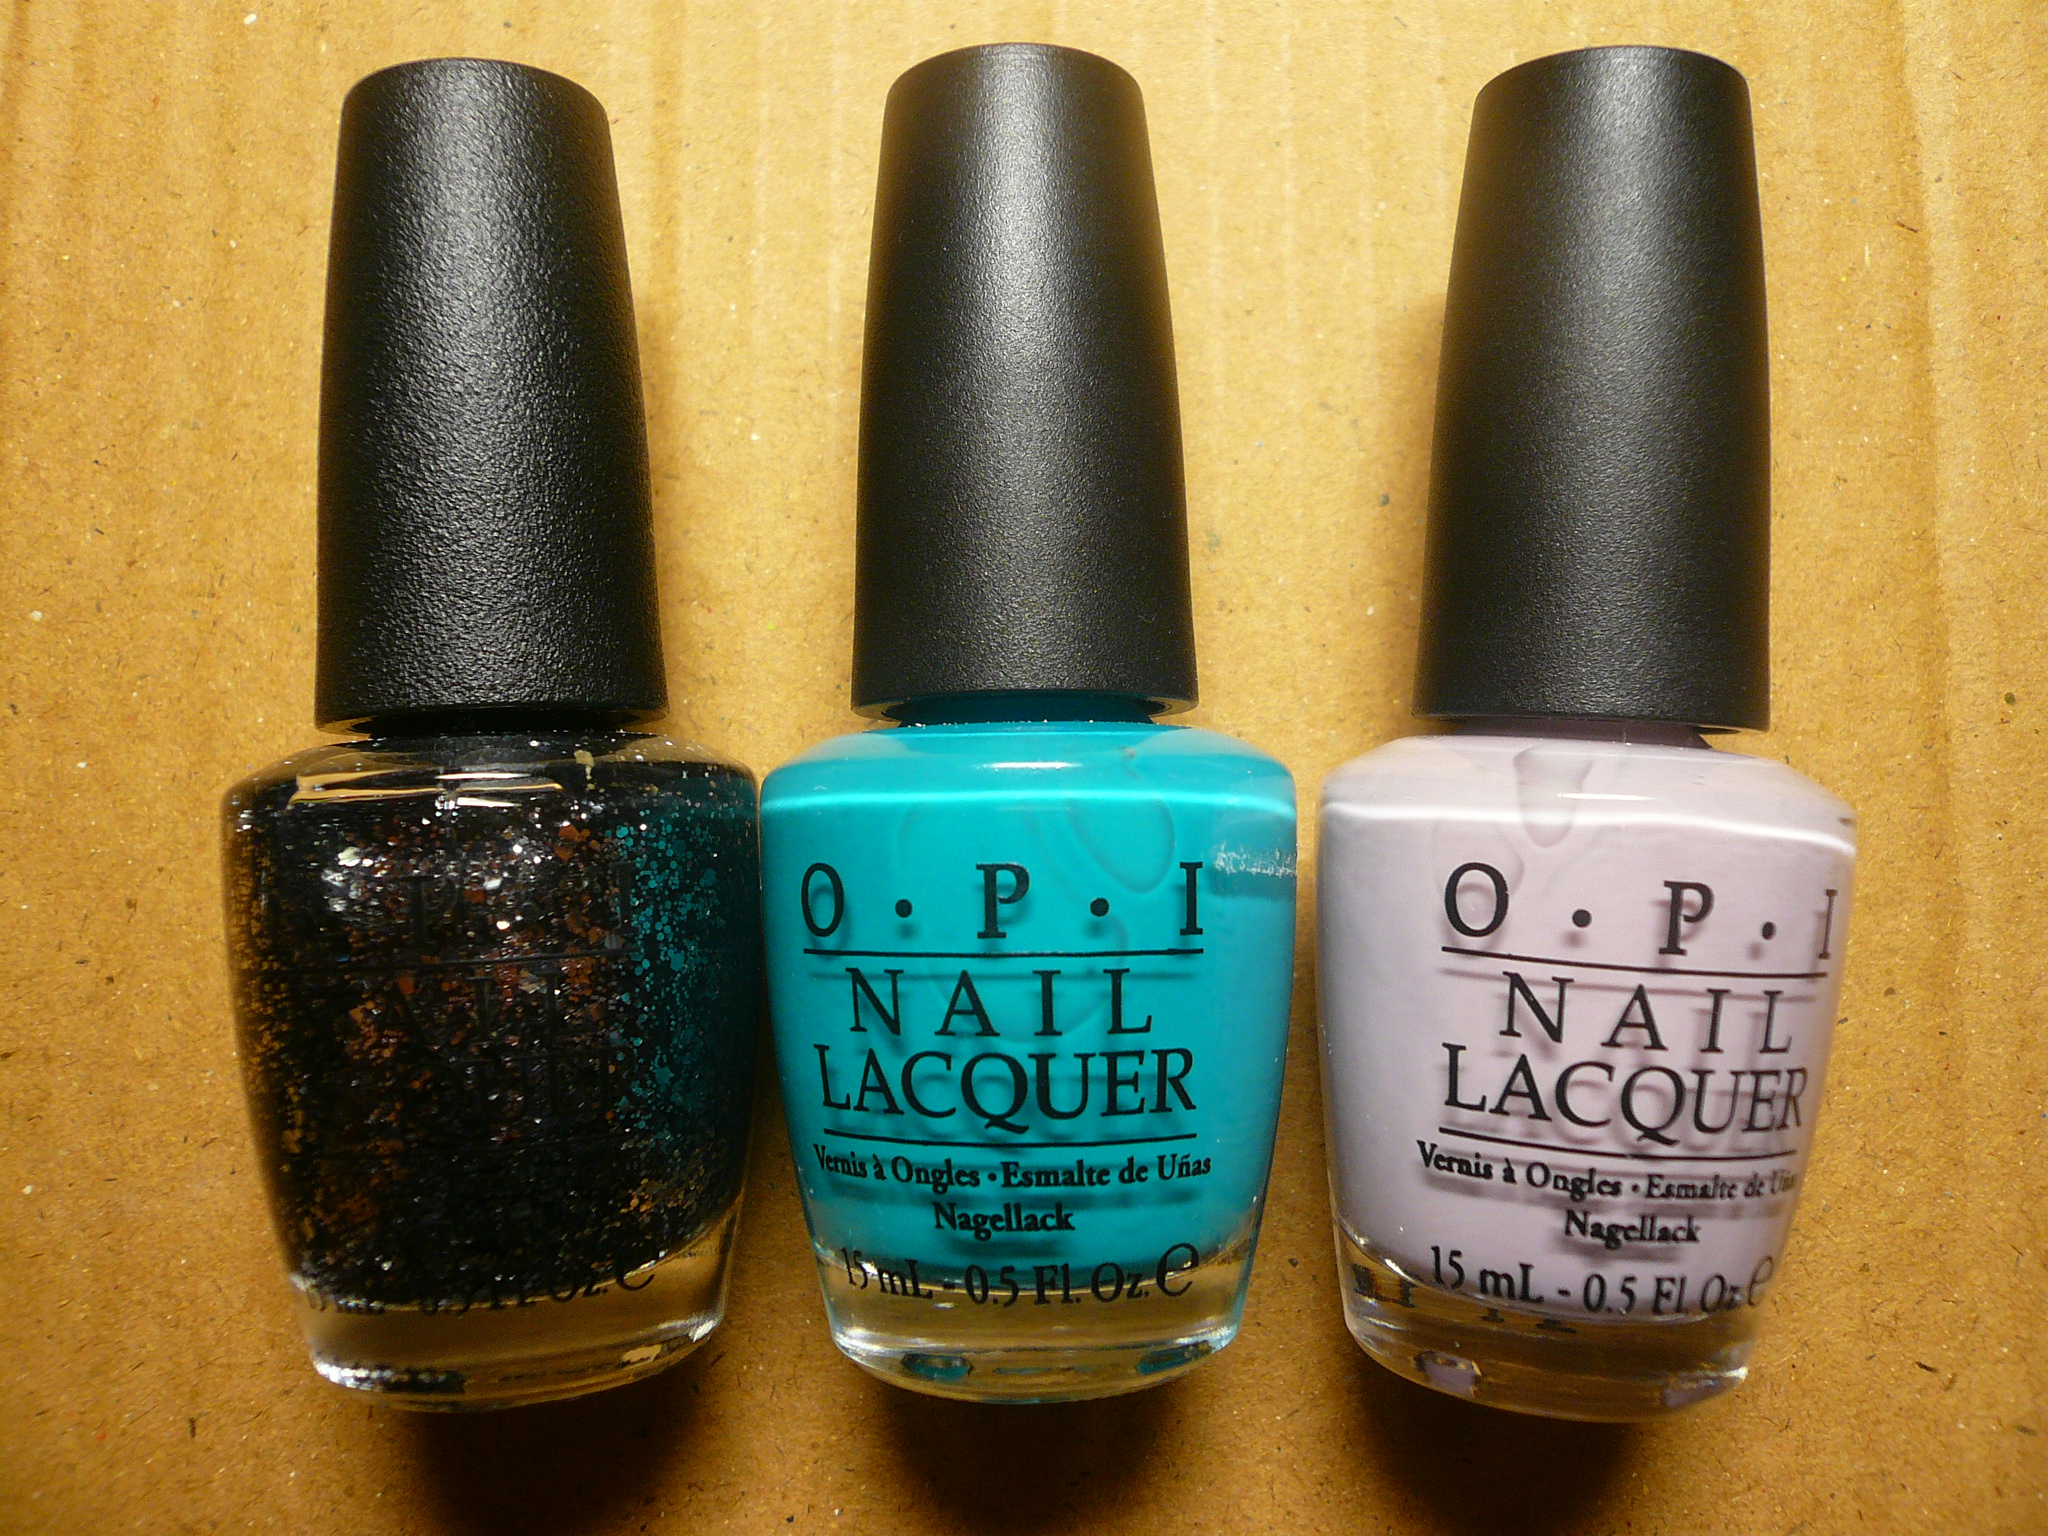
Essence polishes! So glad the brand came to Singapore and I actually had to hunt around for Blue Addicted like a MANIAC! I'm still looking for more bottles for swapping but sadly, it's so elusive. From left to right, we have Choose Me! (which is a Zoya Charla / Orly Haley's Comet / OPI Catch Me In Your Net dupe), Blue Addicted (the Deborah Lippmann Across the Universe dupe) and Lime Up! (which I have found to be a close enough match to OPI Did It On Em, which was why I passed on that one).


Hoho, by an amazing stroke of luck, I managed to find Orly Wandering Vine and Enchanted Forest on an etailer site that only ships to the US, as well as a kind soul who was willing to ship it to me. I'm been lemming for Enchanted Forest since my green phase began (I think it's over now, though I'm not quite sure what new phase I'm in) and when I saw Wandering Vine, I couldn't not get it. They're both OOS everywhere so when I saw them, I knew I had to find a way to make them mine! (:


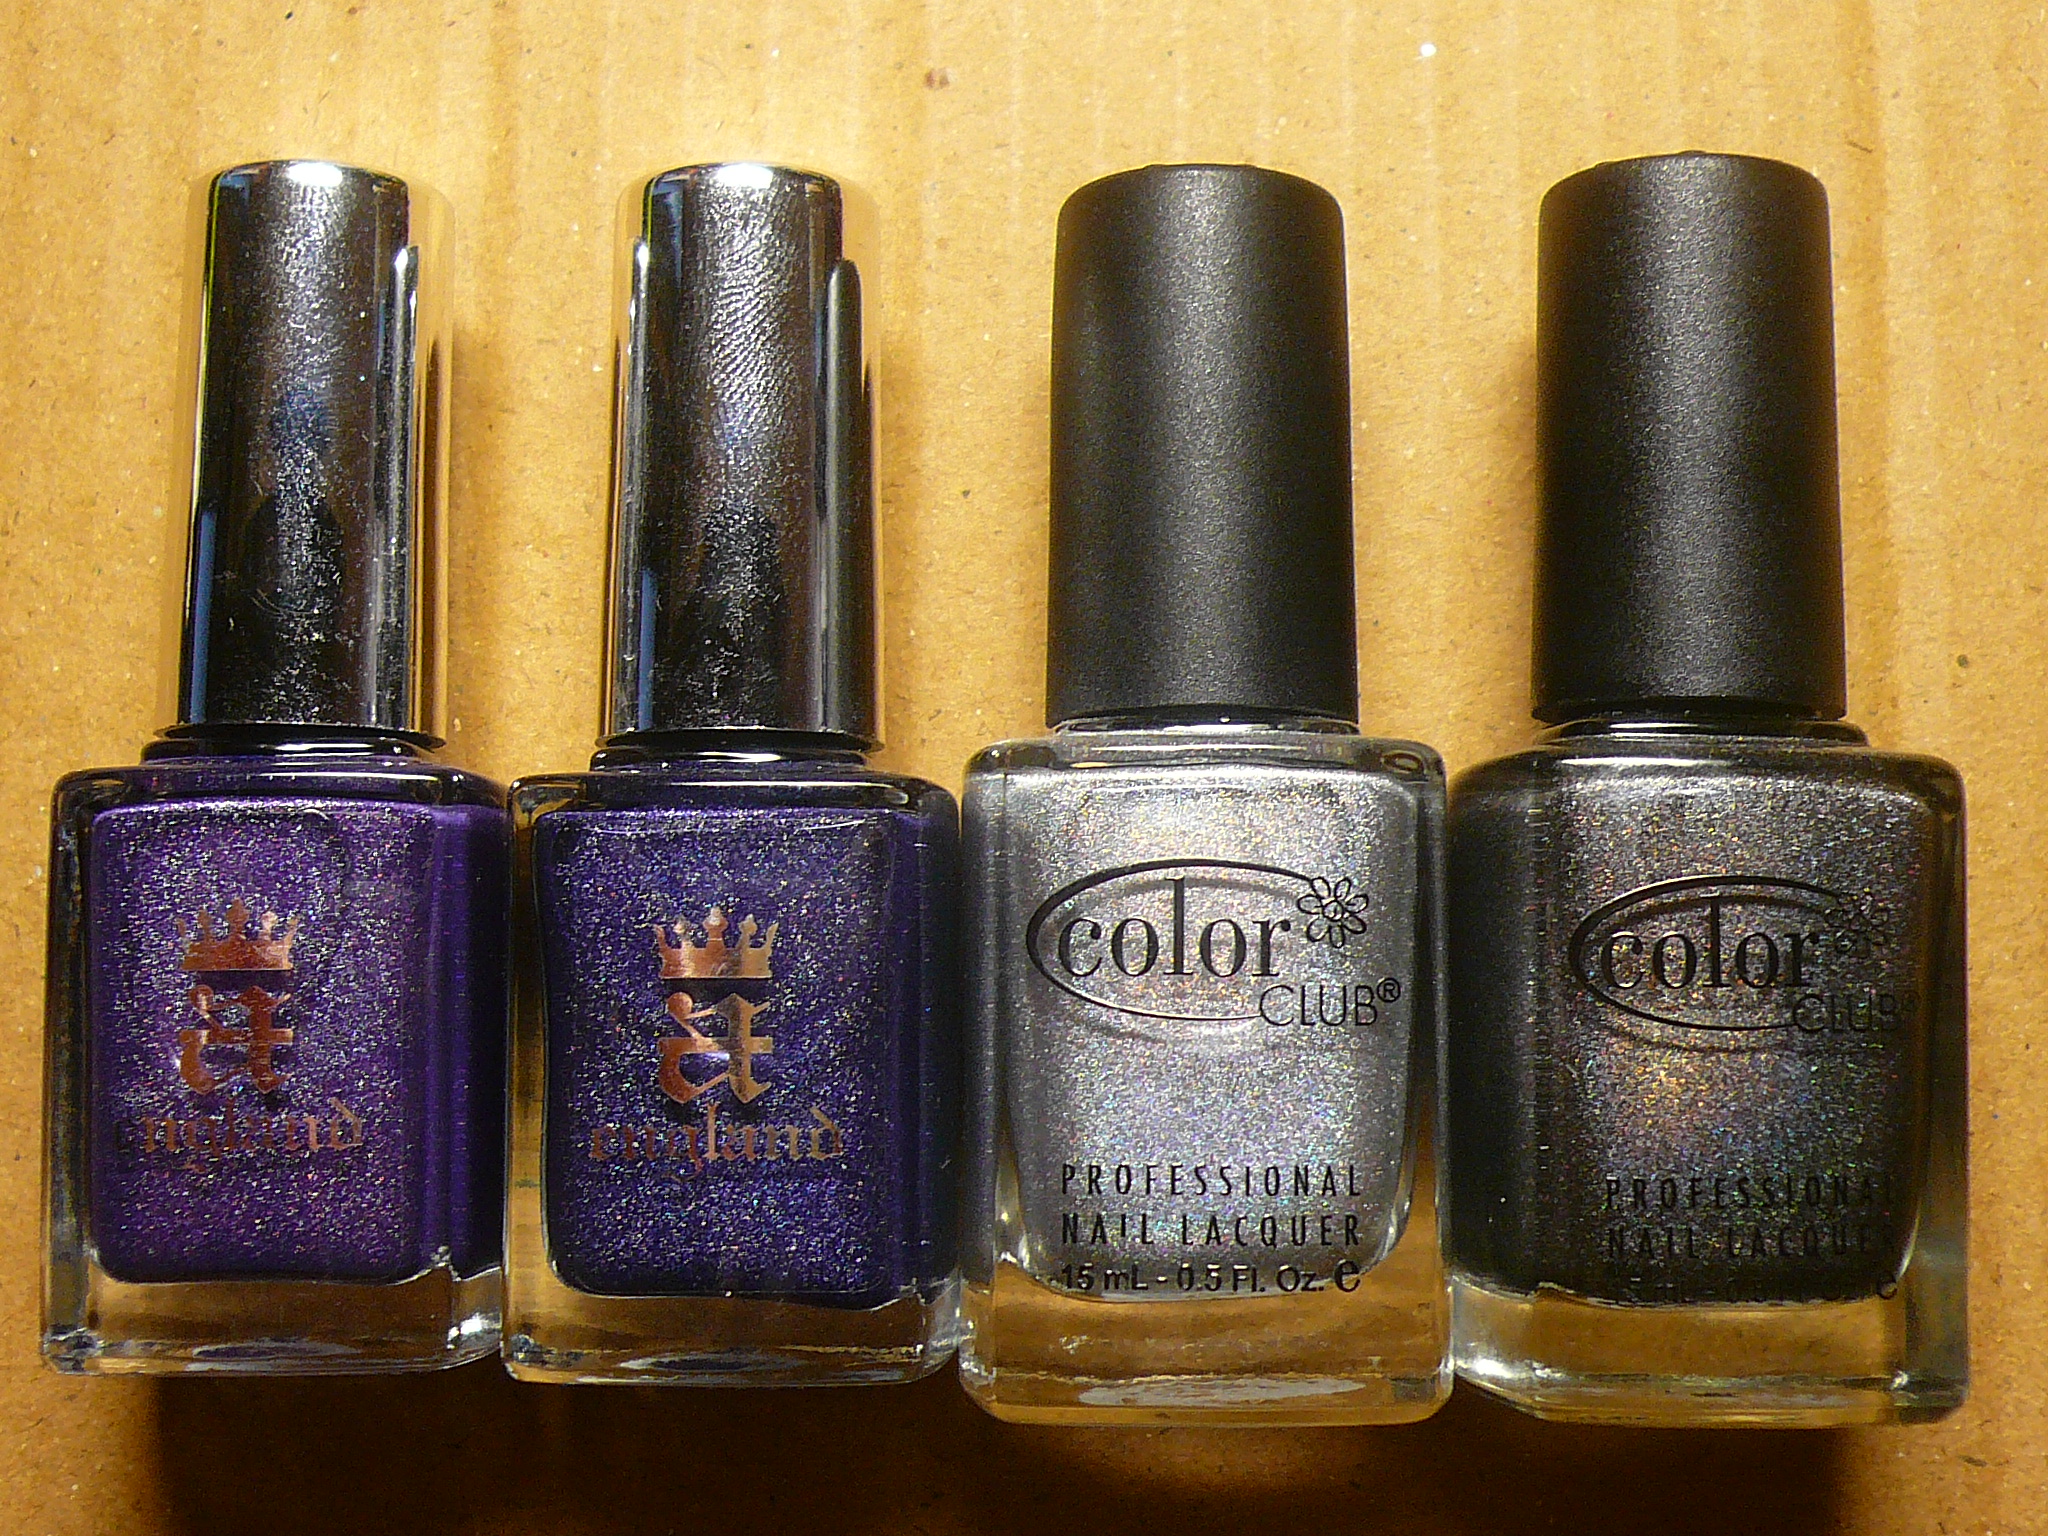
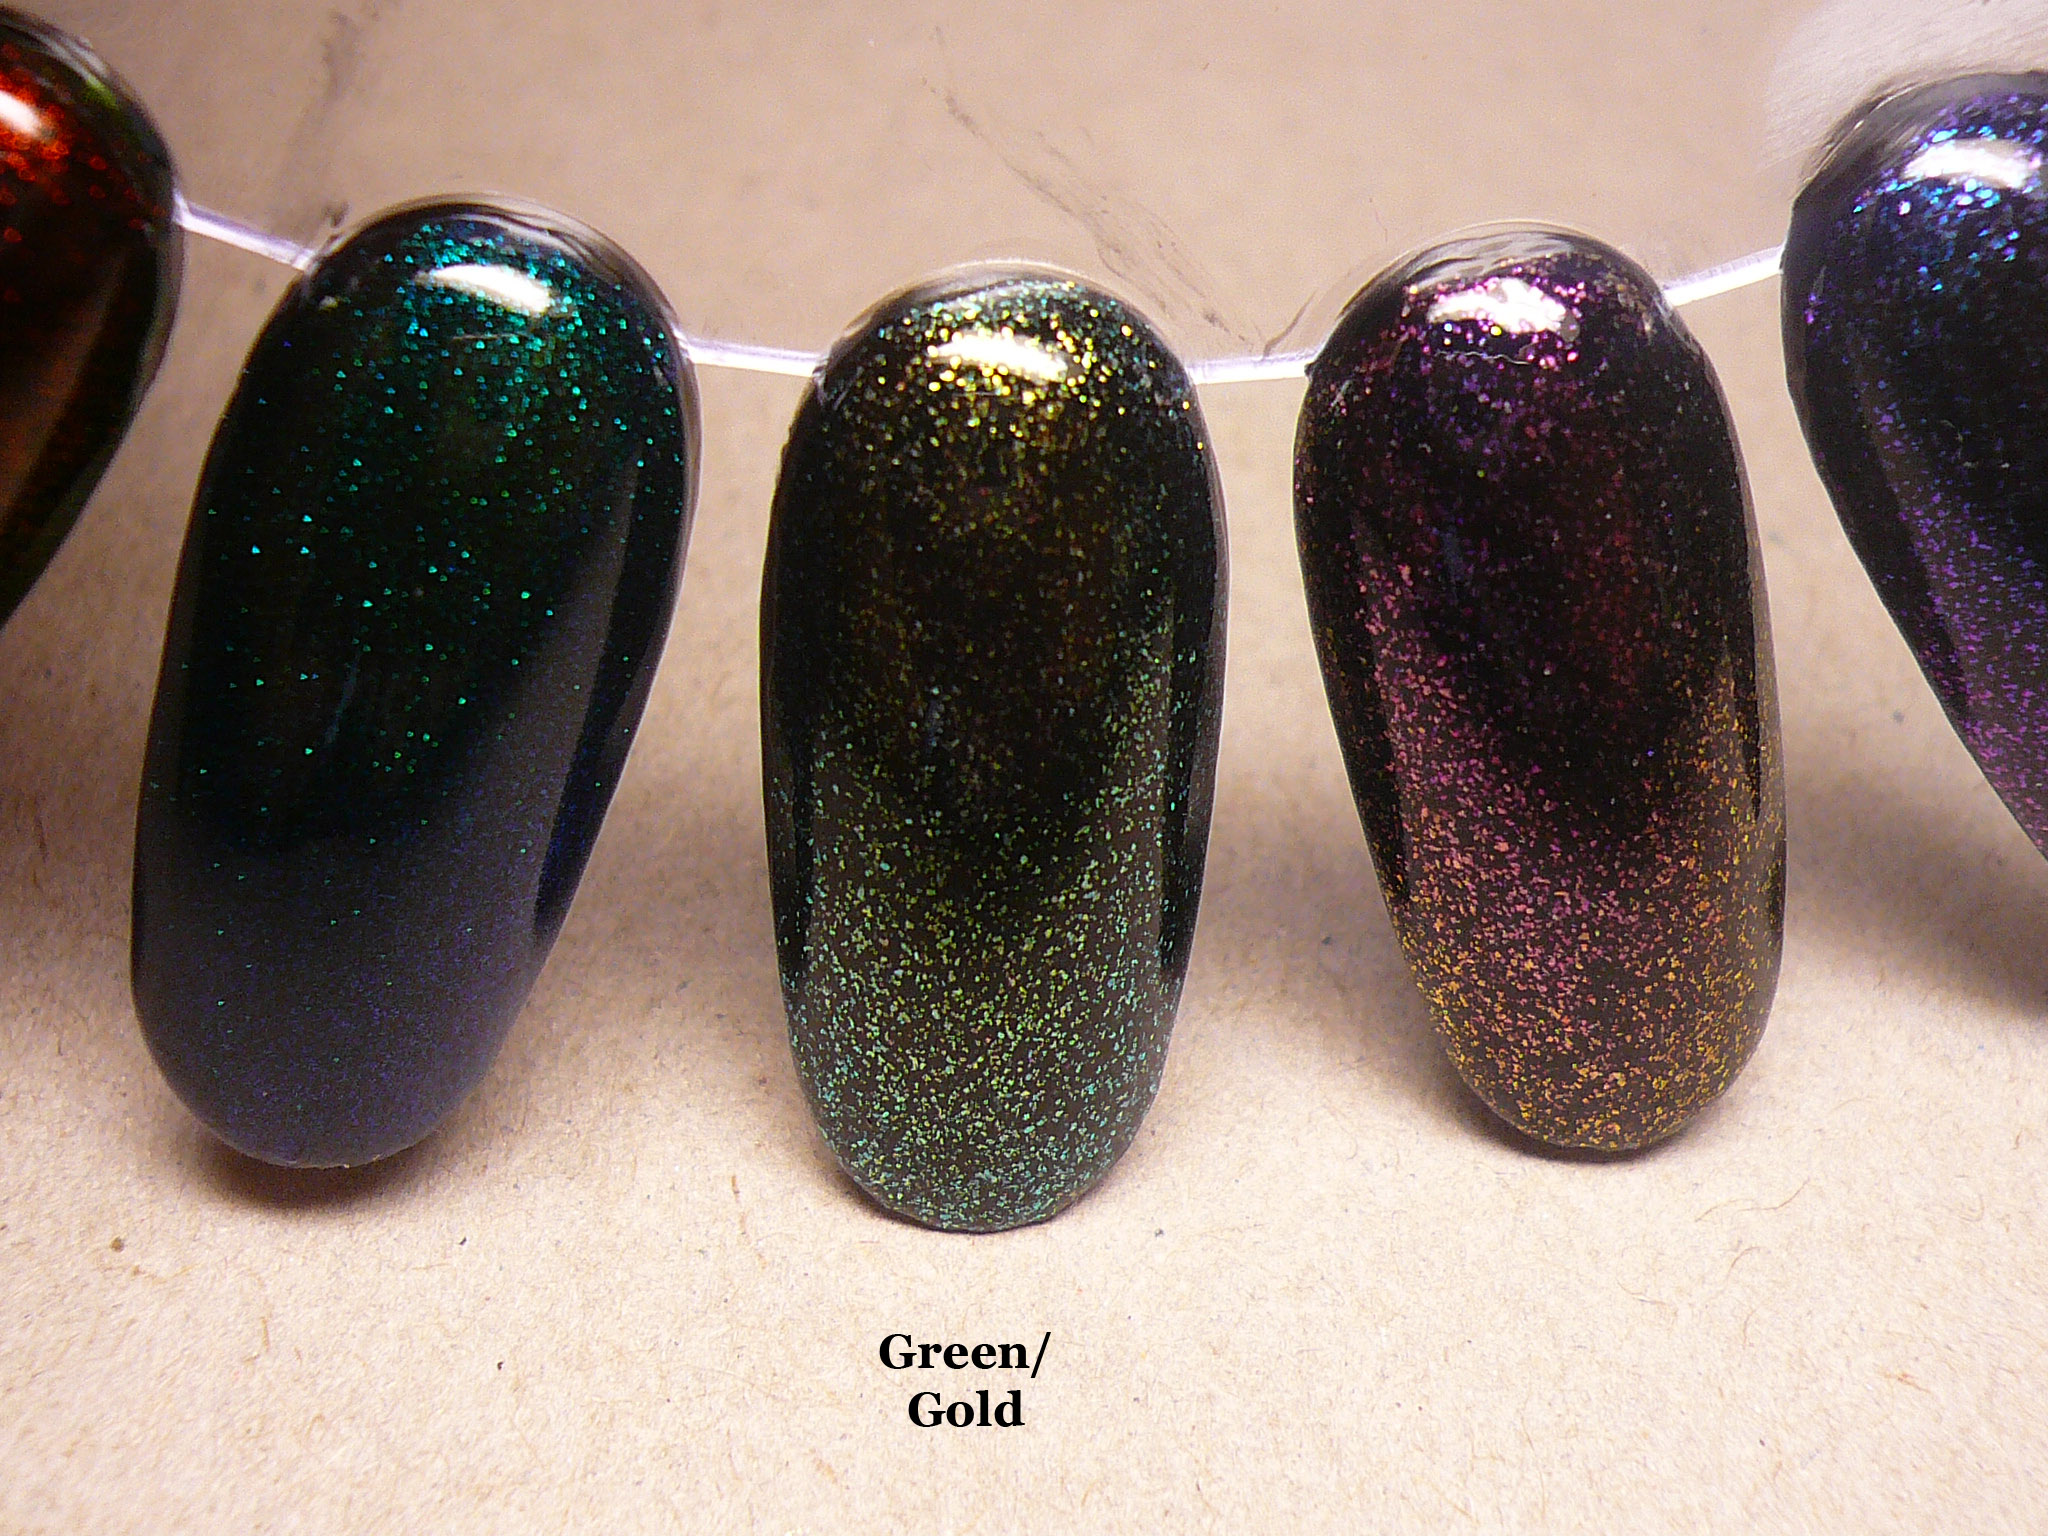
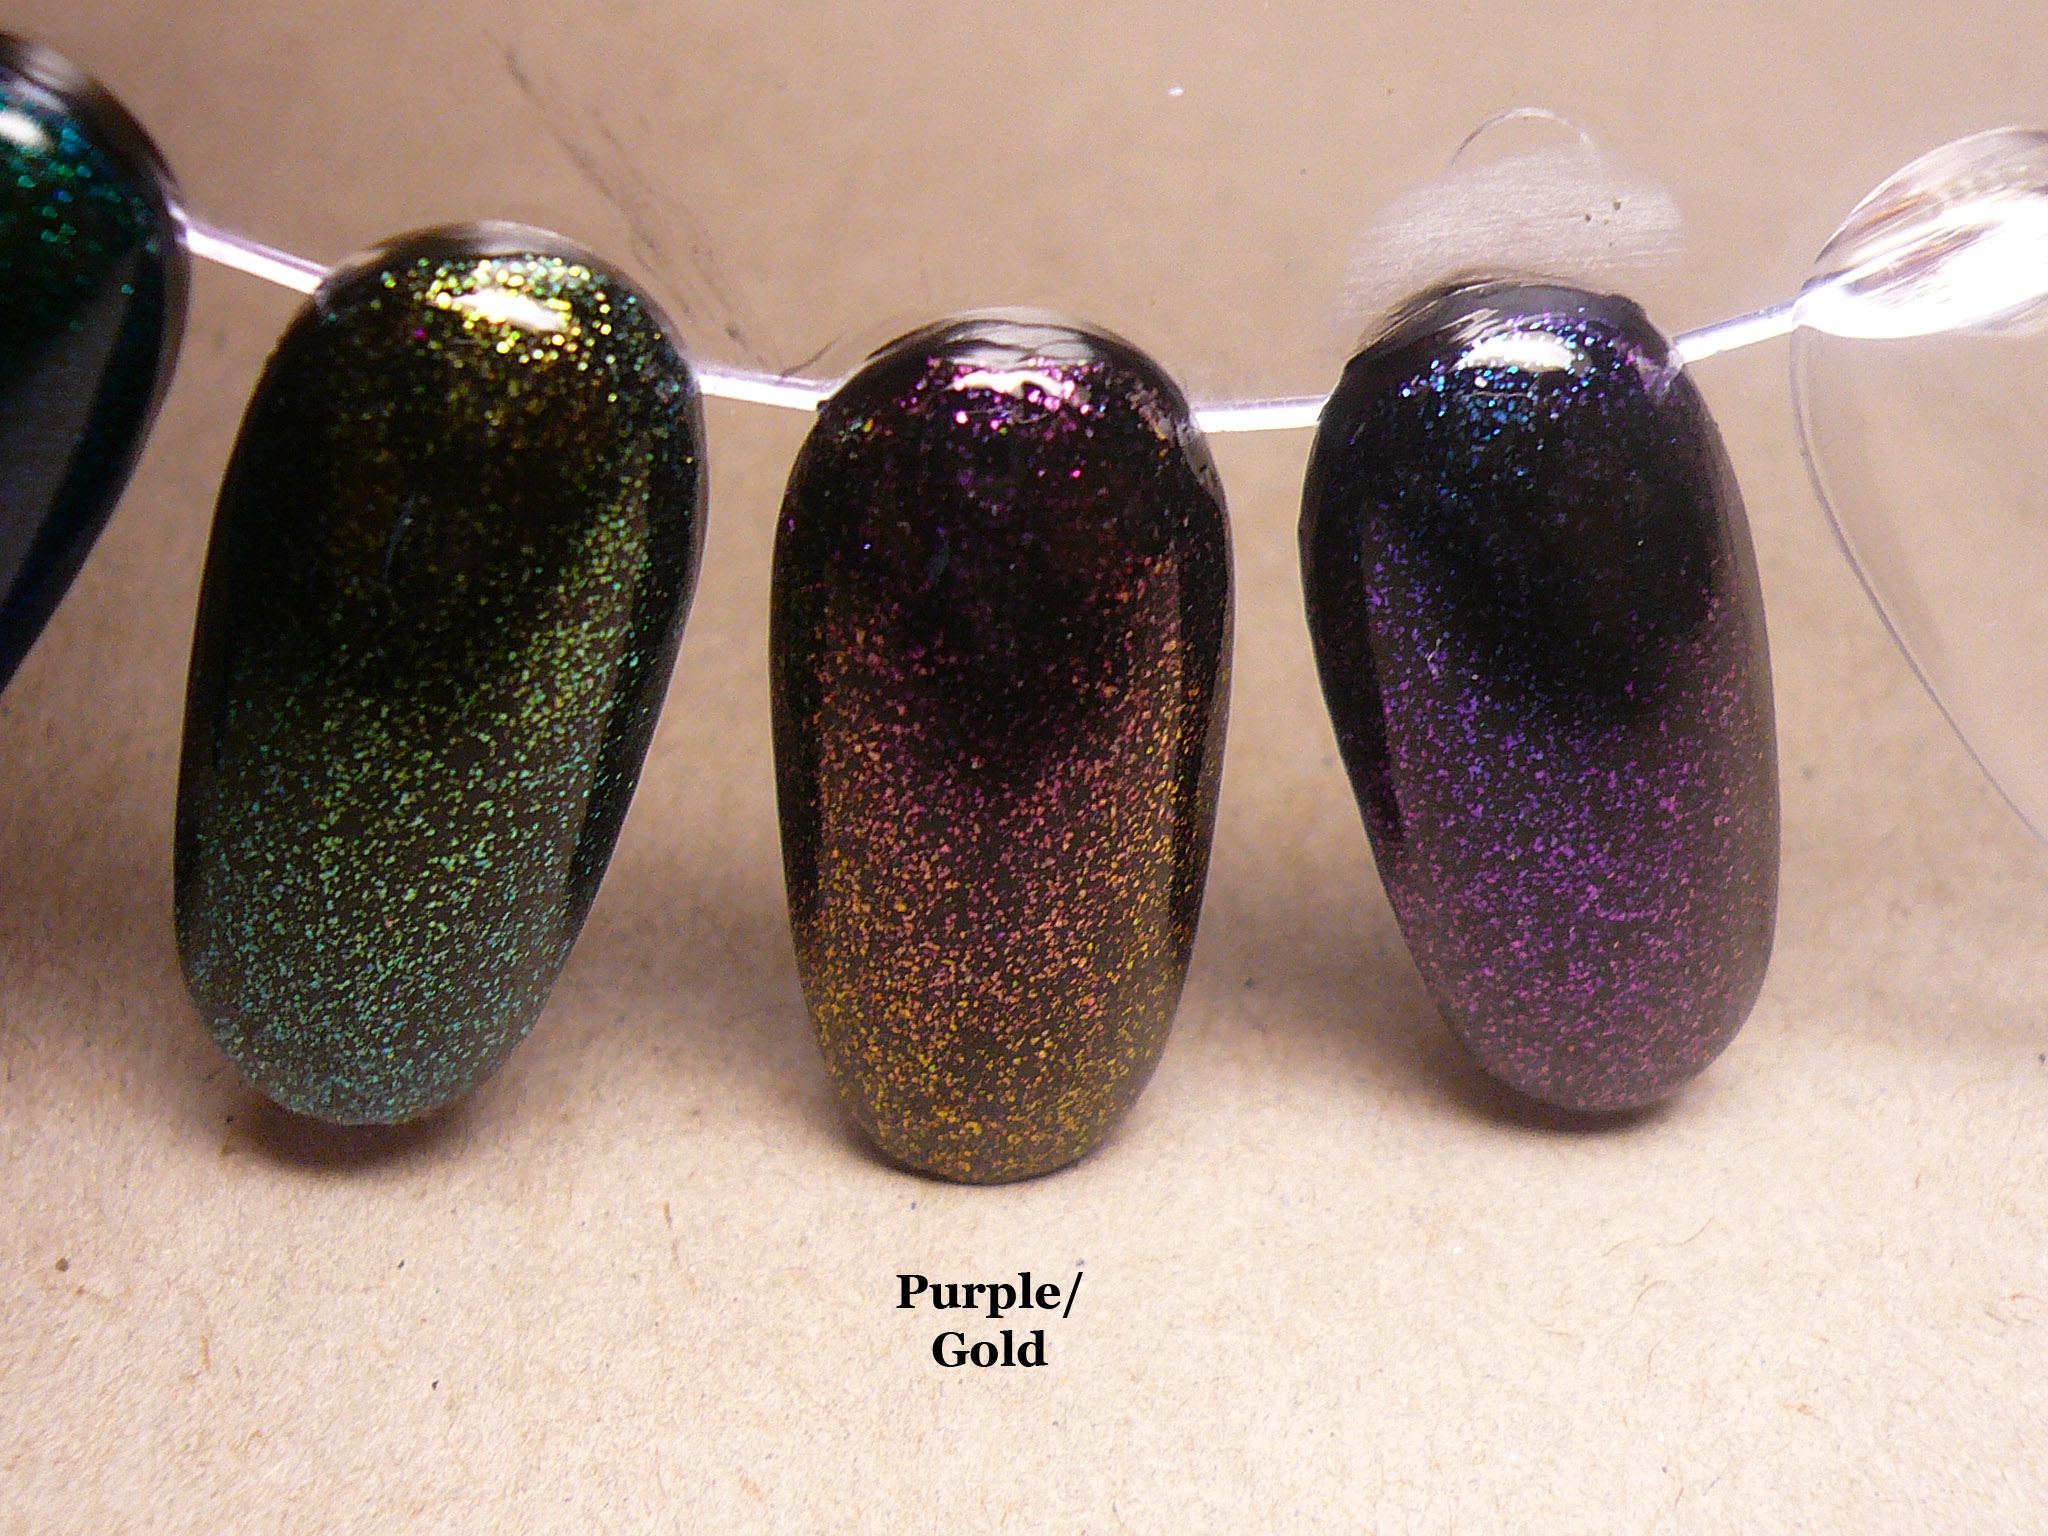
I ordered A-England Lady of the Lake and Tristam during the 30% off sale and they came (all the way from the UK) in a week! Paid around $13 per bottle but it's so worth it! The two of them sparkle like crazy in the sun! I also ordered CC Worth the Risque and  Revvvolution from Candy and they're the stud version so if you're interested, click on the link above to get them before they're gone!


Last but not least, cuticle care. I saw DYON International selling these LE China Glaze Holiday Berry scented cuticle oil for $4 each (inclusive of shipping) and I couldn't resist! They're a bit smaller than your average China Glaze, which was why I got 3 bottles. Oh, and as the name implies, it smells like berries! I must admit, I've been cheating on Lemony Flutter with Holiday Berry. I also purchased the ELF Nourishing Cuticle Pen from Smoochiezz because I wanted to try it out. It contains quite a few good oils (grape seed oil, almond oil, etc) and I wanted someting I could throw into my bag in case I ever feel the need to moisturise my cuticles on the go. I haven't done so yet because I think i'll get weird stares if I whip out the pen and start applying the oil in the train, but what I can tell you is the application is a breeze. The amount that comes out is just enough to moisturing the cuticles and not leave too oily a feeling.

And, I was invited to join a secret fb polish addict group and my god, I'm not the craziest person okay. There are so many people worst than me so I take comfort in that! HAHA! It's actually nice seeing how many polish lovers there are because none of the friends understand why I need so many polishes but the girls int he group do! Hehehe!!

WOKAY. I've been pretty girl so far in February but that's because I'm saving up to bomb big time at BeautyAsia! HAHA! Hopefully things don't go out of proportions there! But I know I'll have Candy and Lynn to help control me so at least I won't go ballistic! :D

Friday, February 17, 2012

OPI Holland Collection

Got some quick swatches for you!

From thum to pinkie: I Have A Herring Problem, Red Lights Ahead... Where?, I Don't Give A Rotterdam, Thanks a Windmillion and A Roll In The Hague

I painted Red Lights Ahead...Where? over my old mani but I did three coats of it so it should have been opaque enough for its true colour to come out. TOTALLY LOVING all these colours and I'm hoping to get Gouda Gouda Two Shoes as well!

Tuesday, February 14, 2012

Color Shifting Top Coat Frankens

I bought a couple of pigments from More Nail Polish and TKB and I added them into some clear polish to make 5 awesome colour shifting top coats! The two pigments I got from More Nail Polish were finer and appeared to have a more shimmer finish while the ones from TKB had a glass flecked finish!

I bought the Red/Green and Blue/Green pigments from More Nail Polish and the Gold/Green, Purple/Gold and Blue/Purple pigments from TKB. Please click on the links above to find out more on the items!

Now, onto peektures! I've typed on the color shifts onto the pictures so it will be less confusing. All the swatches are one coat of the franken top coats on top of two coats of OPI Black Onyx.

Now for close ups and descriptions for each individual top coat:

Red/Green: This one actually morphs from red to gold to green! It's really pretty and if you've been lusting for Clarins 230, this is one pigment you want. All you need to do is make a purple jelly base and add in some of this pigment and BOOM, you have yourself a Clarins 230 franken dupe! And it'd only cost you a fraction of the cost!

Blue/Green: This one reminds me of Catch Me In Your Net / Yodel On My Cell! I'd like to see it in some other polish though!

Green/Gold: This was made from the pigment called Shanika Sun and it's been compared to Orly It's Cot Rocket Science.

Purple/Gold: This one was made from Miranda Star and it's comparable to Galaxy Girl although I personally find it looks closer to Space Cadet!

Blue/Purple: This last one was made from Cherika Moon and again it's comparable to another Orly polish, Lunar Eclipse. I, however feel like it's more similar to Galaxy Girl!

Pretty pretty pretty top coats right? I do think that I should have added less pigments into the clear polish because I intended them for layering and it's a little too dense for the base colour to shine through. The glass fleck top coats do remind me of some CND sparkle effects polishes too. If I'm not wrong, Raspberry Sparkle and Sapphire Sparkle do look similar to two of the frankens I've made so I don't feel the urge to buy them anymore. Yay to saving money! (:


Saturday, February 11, 2012

Color Club Revvvolution Reloaded

I know I've shown you Revvvolution at least three times already but I guarantee you, you've never seen this before. I blinged out my bottle of Revvvolution by adding heap loads of Spectraflair so it's really pretty now! (:
Sadly, the holo effect is only very stongly scattered and not linear at all but it's still gorgeous nonetheless.


Look how linearly holo it is in the bottle!!!! The three pictures above were taken indoors, under my lamp.
And then by some miracle, the SUN CAME OUT! Do click on the pictures because the holo looks better when the picture's bigger.


HOLY HOLO BATMAN!


Here's a comparison I did on my nail wheels. I've got the original Revvvolution on top, my blinged out Revvvolution on the bottom left, and Revvvolution with my SF Top Coat on the bottom right. You can see how much more holo my blinged out version is compared to the original one!

But, but, but, I'm somehow still not satisfied with the holo effect so I'm gonna figure out how to make it more holo. I read somewhere that someone added SF to her dud bottle of Revvv too and she used 1/4 gram of SF? THAT'S INSANE. Too much SF for me to be willing to let go of.

Wednesday, February 8, 2012

Dark Holographic Comparison

Yes, I am aware of my holo craze. I do apologize if you're sick of seeing holo posts from me but I still haven't gotten enough of them yet.

Today, I have a comparison of my darker holos. I swatched them on a nail plate because I already had 2 shades painted on previously. As with all holo swatches, please click on the pictures to enlarge them cuz the holo effect will look better! I really wanted to type the names of the polish on the picture itself but my photoshop's a bit cranky today and the text tool is not cooperating with me so I'll just type the names here and I hope you won't get confused!


(L-R) OPI My Private Jet (Holo Version) (which I swatched at BHG despite stares from the OPI lady), my own franken of a holo MPJ, Color Club Revvvolution, TFS BK901 (this one is the charcoal holo, not the OPI Unrippen dupe, because TFS has 2 polishes with the same name) and lastly Glitter Gal Lizard Belly.


Here's a blurry shot so the holo effect is a little more apparent. The others are reversed, from L-R, from the above picture, with Lizard Belly being the first one from the left.

And now it's close-up time!


(L-R) MPJ, Franken, Revvvolution


(Top - bottom) Revvvolution, Franken and MPJ


(L-R) Franken, Revvvolution, BK901 and Lizard Belly


Same order as above.


(L-R) Revvvolution, BK901 and Lizard Belly


(L-R) BK901 and Lizard Belly

Took these last three shots when the sun FINALLY appeared.


Please ignore the blue polish. It was from a previous swatch.


That's what I'm talking about, Lizard Belly!

WOWZA! I'm so happy I did these swatches and here are my mental notes when was doing the swatches and reviewing the pictures:

1) I finally managed to capture some holoness from MPJ! If you have been reading my blog for a while now, you'd know that I came across a magical holo bottle of MPJ at BHG but the sales lady refused to sell it to me so I grew a pair, went back the next day and swatched the damn thing on my nail plate so at least I'd have a momento of it. Because it was rather sheer, the holoness was a bit hard to capture but I was pleasantly surprised when I saw the pictures!

2) Again, I have not captured Revvvolution this holographic before! Just look at the second, fifth and sixth pictures! WOW OH WOW! I always thought I owned a dud version but this dud ain't that bad after all!

3)   I'm not sure if Singapore is already selling BK901 because I got my bottle in Malacca. I paid roughly S$10 for it and there was a pink holo for sale there too. Not really a pink polish kinda girl so I gave it a miss. This polish was the lightest and most grey out of the five but it's holoness is probably the best!

4) Lizard Belly was a little weird. In the process of drying, it started to appear matte and I had to fight the urge to touch it immediately and try to wipe it with a cloth or something. Ultimately, it did dry glossy but I just found the whole thing so weird. And it's so hard to capture the holoness of Lizard Belly! It looks so holo irl but my camera just refuses to let Lizard Belly shine! Maybe it's due to how dark Lizard Belly is? I don't know. Oh, and Lizard Belly is actually a really dark green. It looks black in a lot of swatches but trust me when I say it's definitely green.

5) If you don't own any holographic polishes, WHAT ARE YOU WAITING FOR? The world is so much better with rainbows on your nails!

Saturday, February 4, 2012

Nail Polish Rings

UPDATE: I'm shipping the rings worldwide now! Drop me an email if you're interested! :D

----------------------

Just completed some nail polish rings after having seen so many pretty ones online!

I'm selling them online for $12 each and they will come in a drawstring bag like so.

Here's how they'll look like:

Top view

Bottom view

I've already made rings painted with Lippmann Acrosss the Universe, Nfu Oh 40 over black, Nfu Oh 51, Color Club Magic Attraction, Cult Nails Clairvoyant, OPI DS Glamour, China Glaze Meteor Shower as well as a black holo that I've frankened.

Here are how they looked like before I mounted the glass on the rings.

The glass on each ring are not symmetrical circles or ovals so they are pretty unique in how they look and that's what makes each ring so special. Each ring is also adjustable in size and they'll fit anywhere from Diva ring size S to L! Plus they're handmade with love, and they'll make very pretty presents!

I used a really strong and waterproof glue so you won't have to worry about the glass dropping out. Also, I've also sealed the design so it won't fade or get nicked easily.

What are you waiting for? Click here for more pictures and do drop me an email at my.polish.adventures@gmail.com if you'd like to purchase a ring! (: