Showing posts with label Franken. Show all posts

Wednesday, November 14, 2012

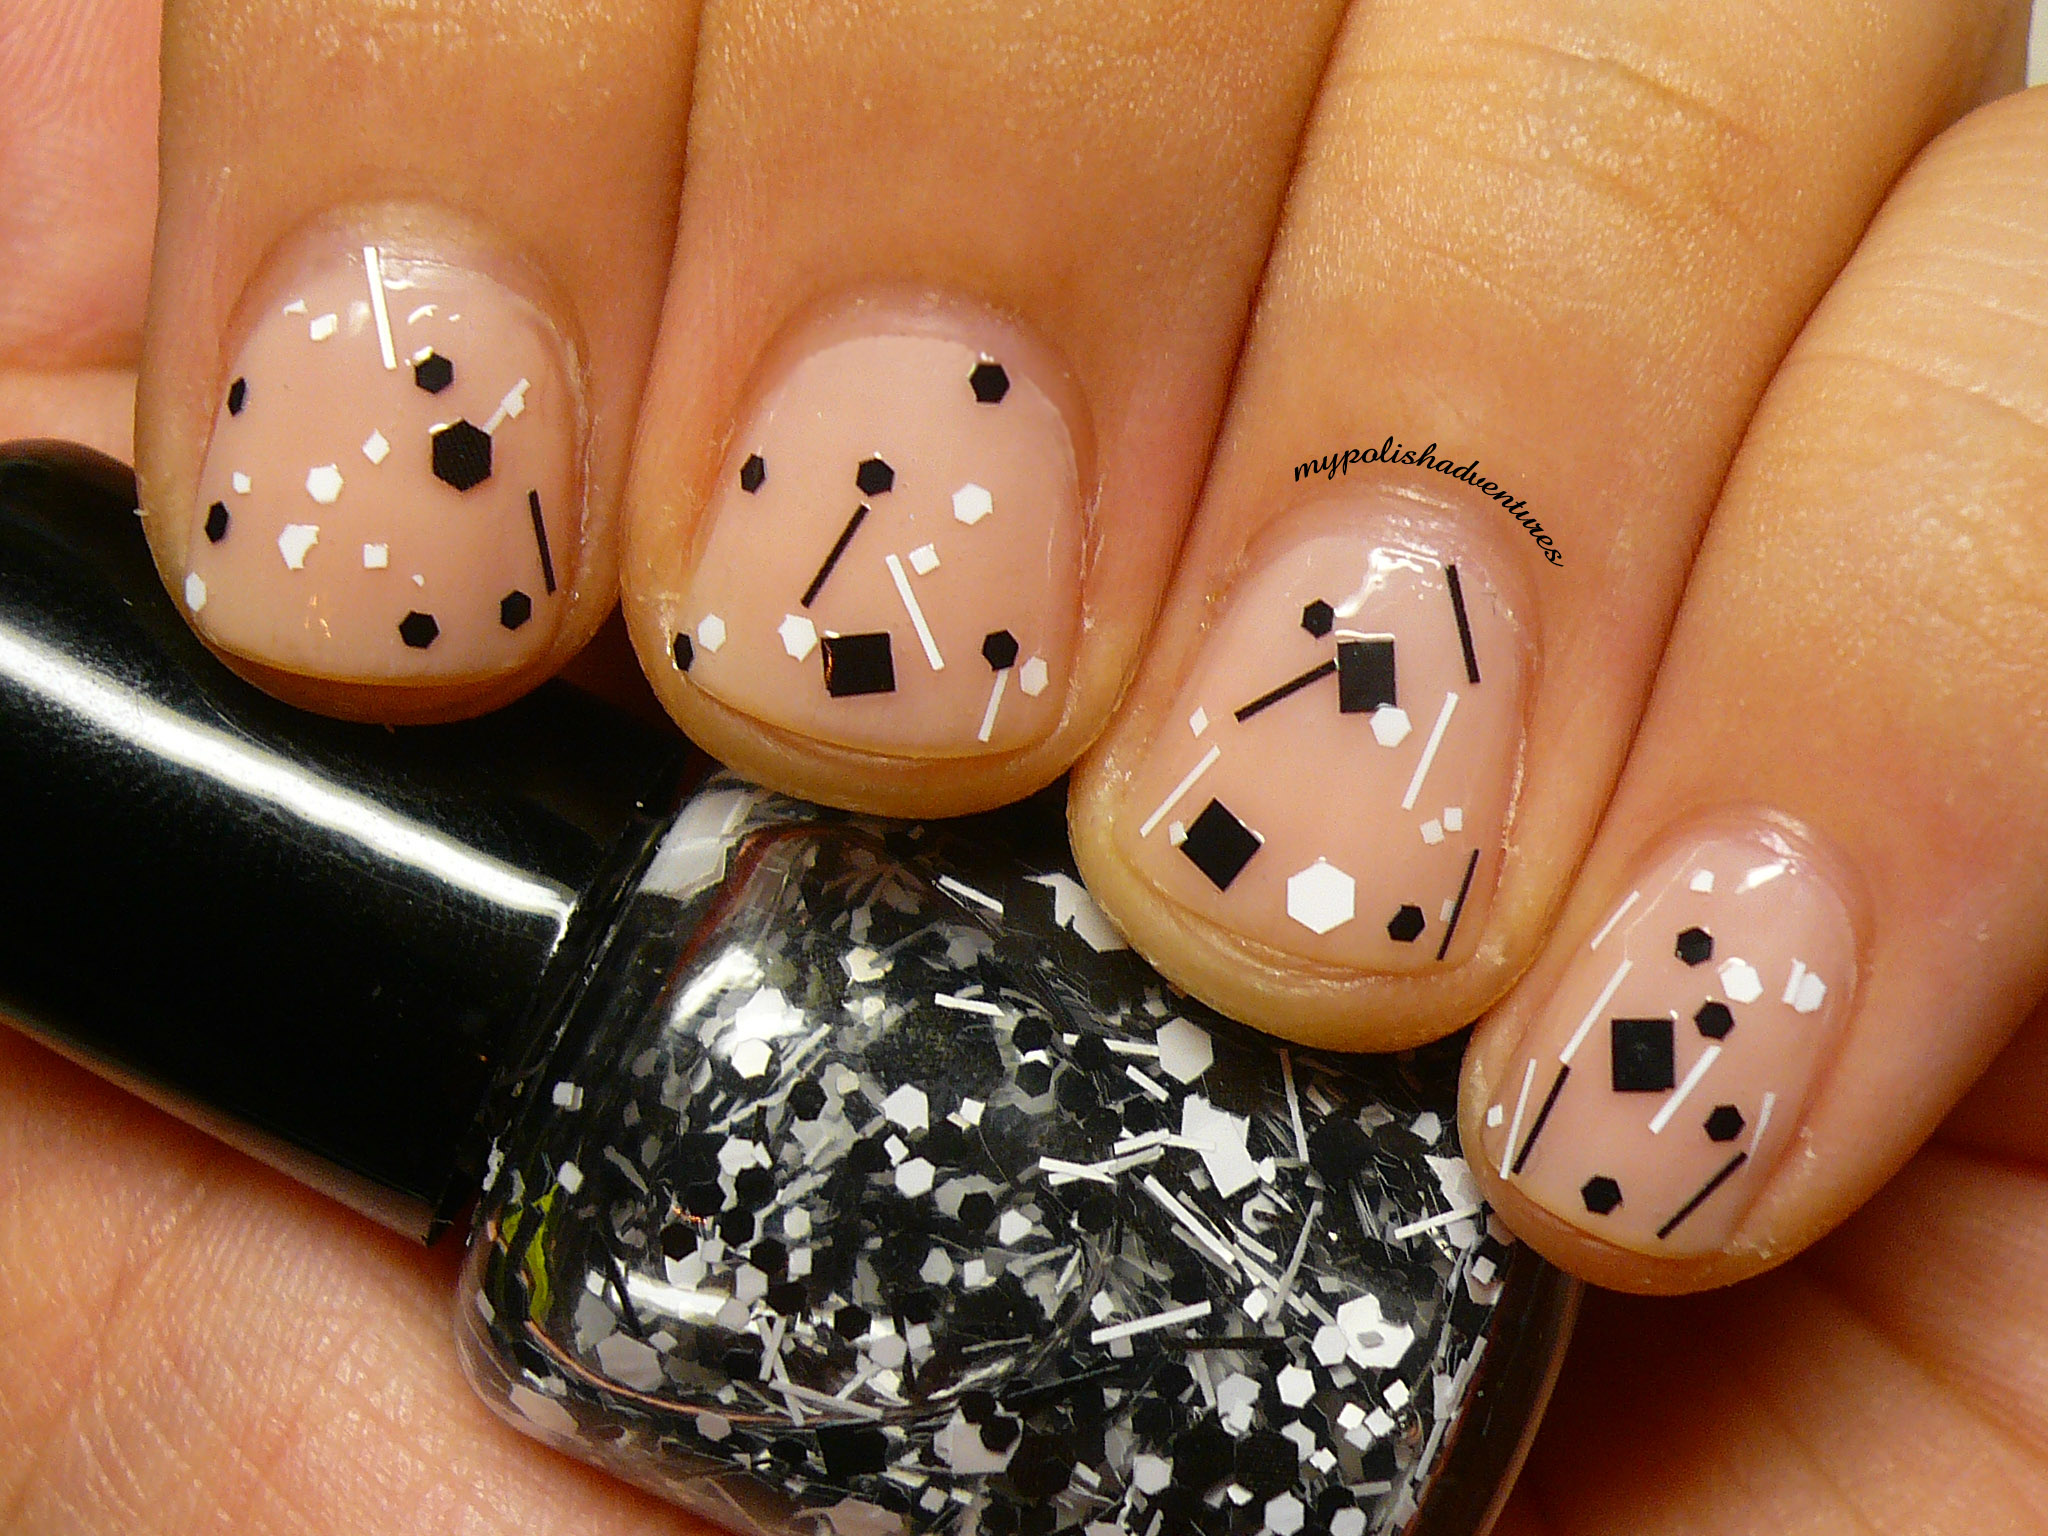
Black and White Glitter Bomb

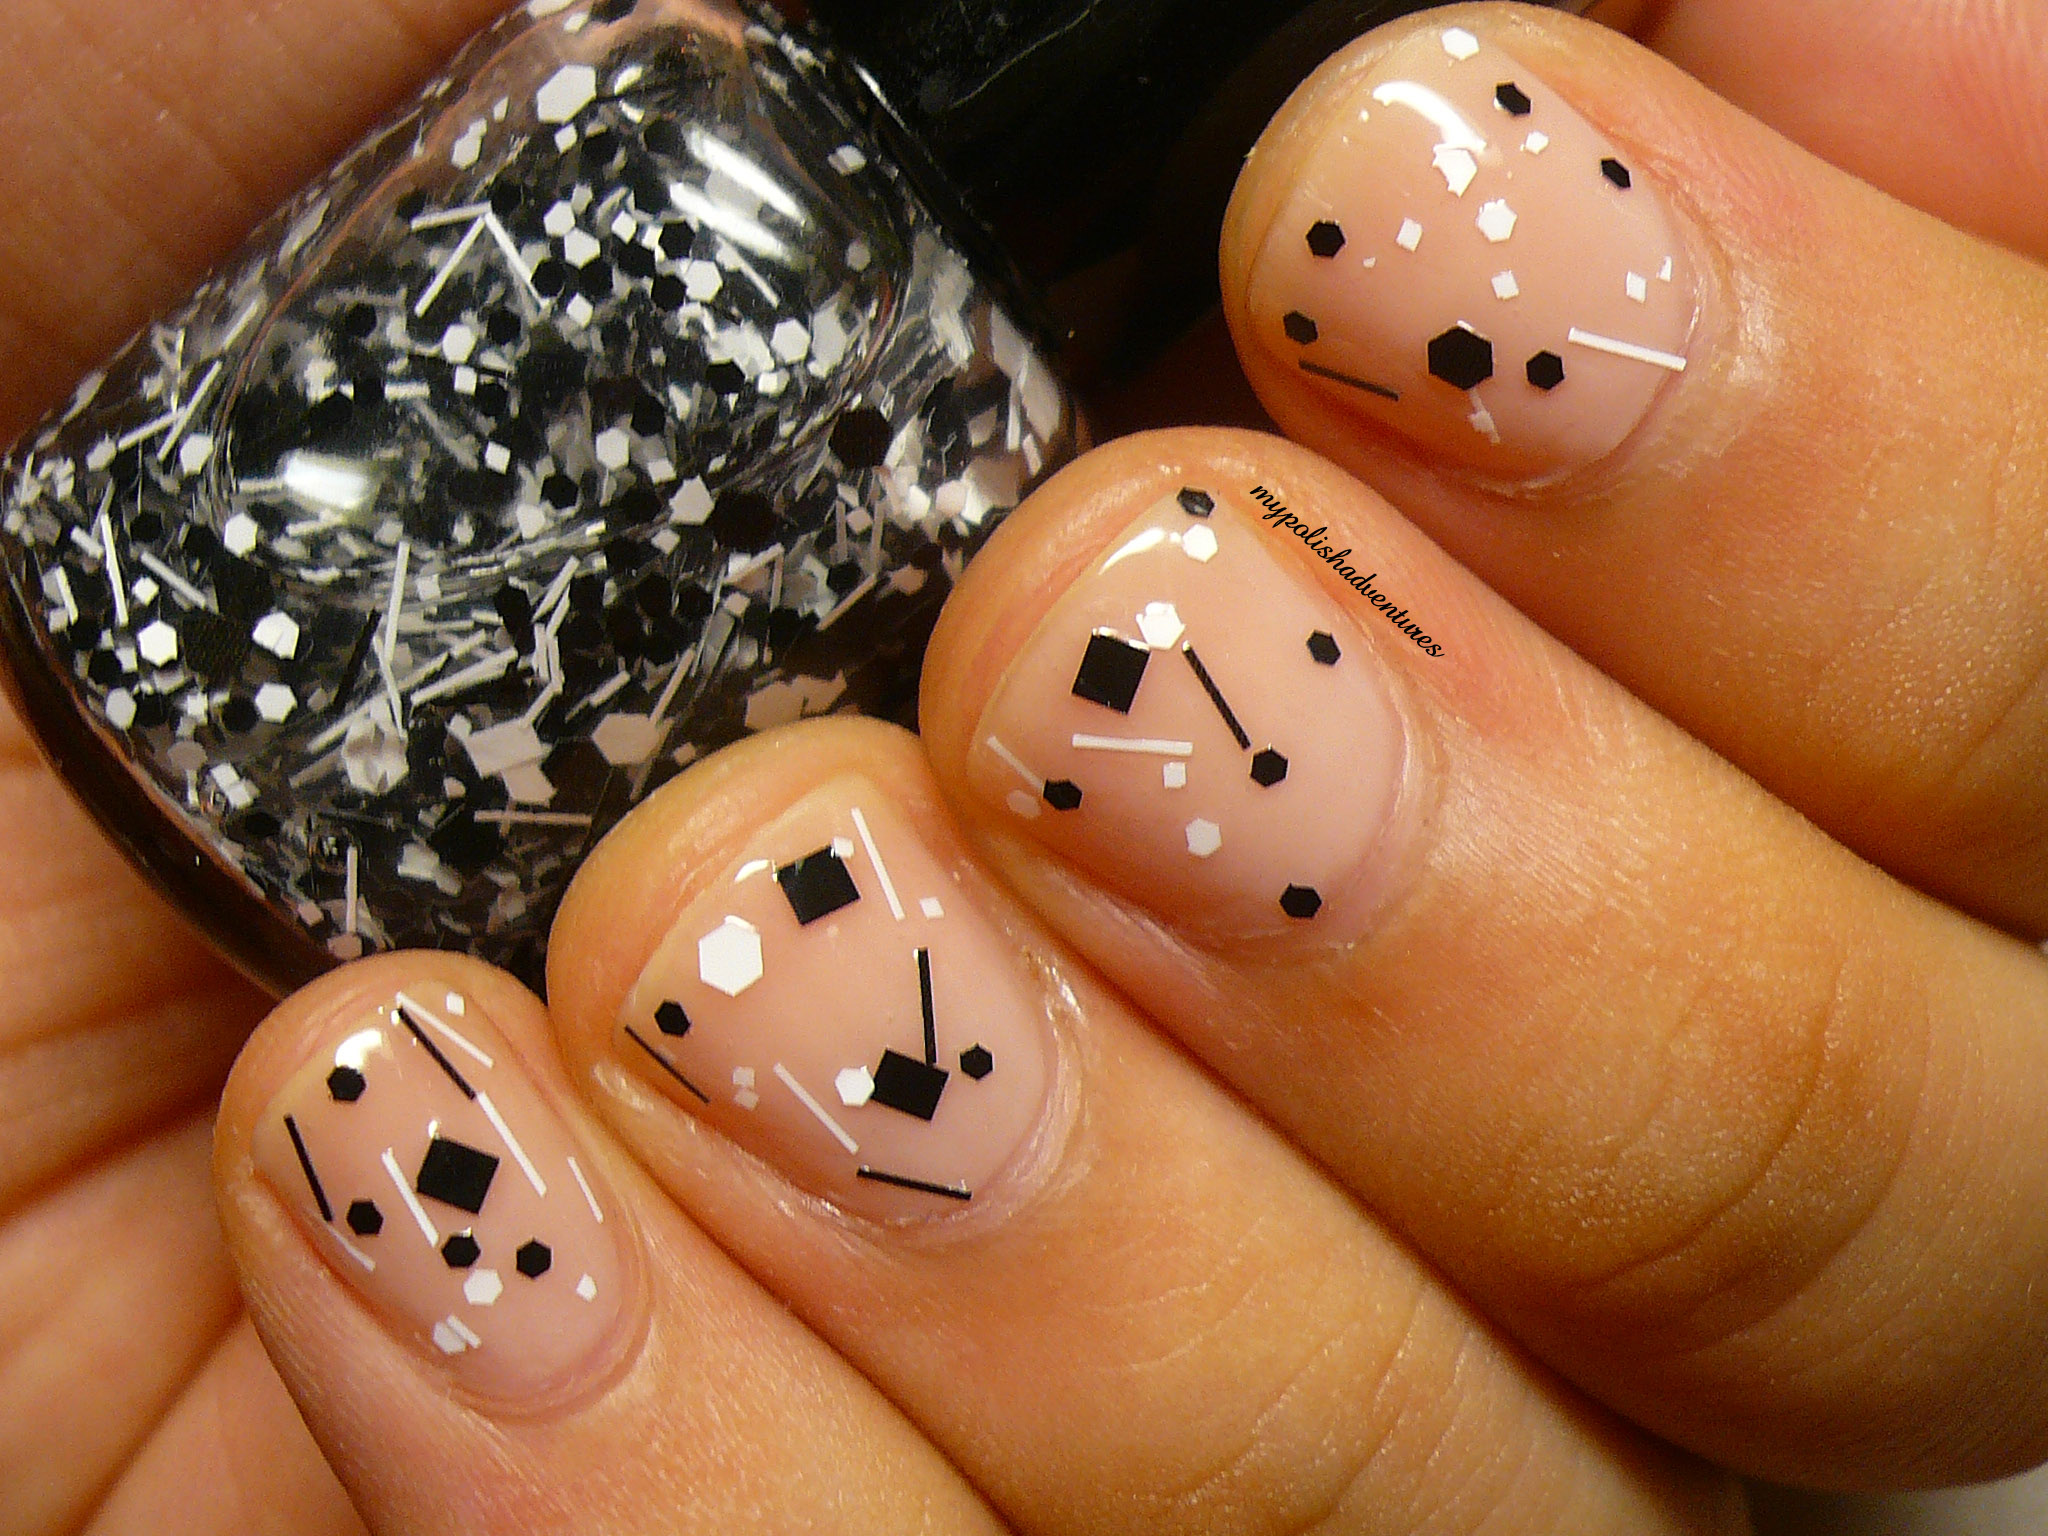
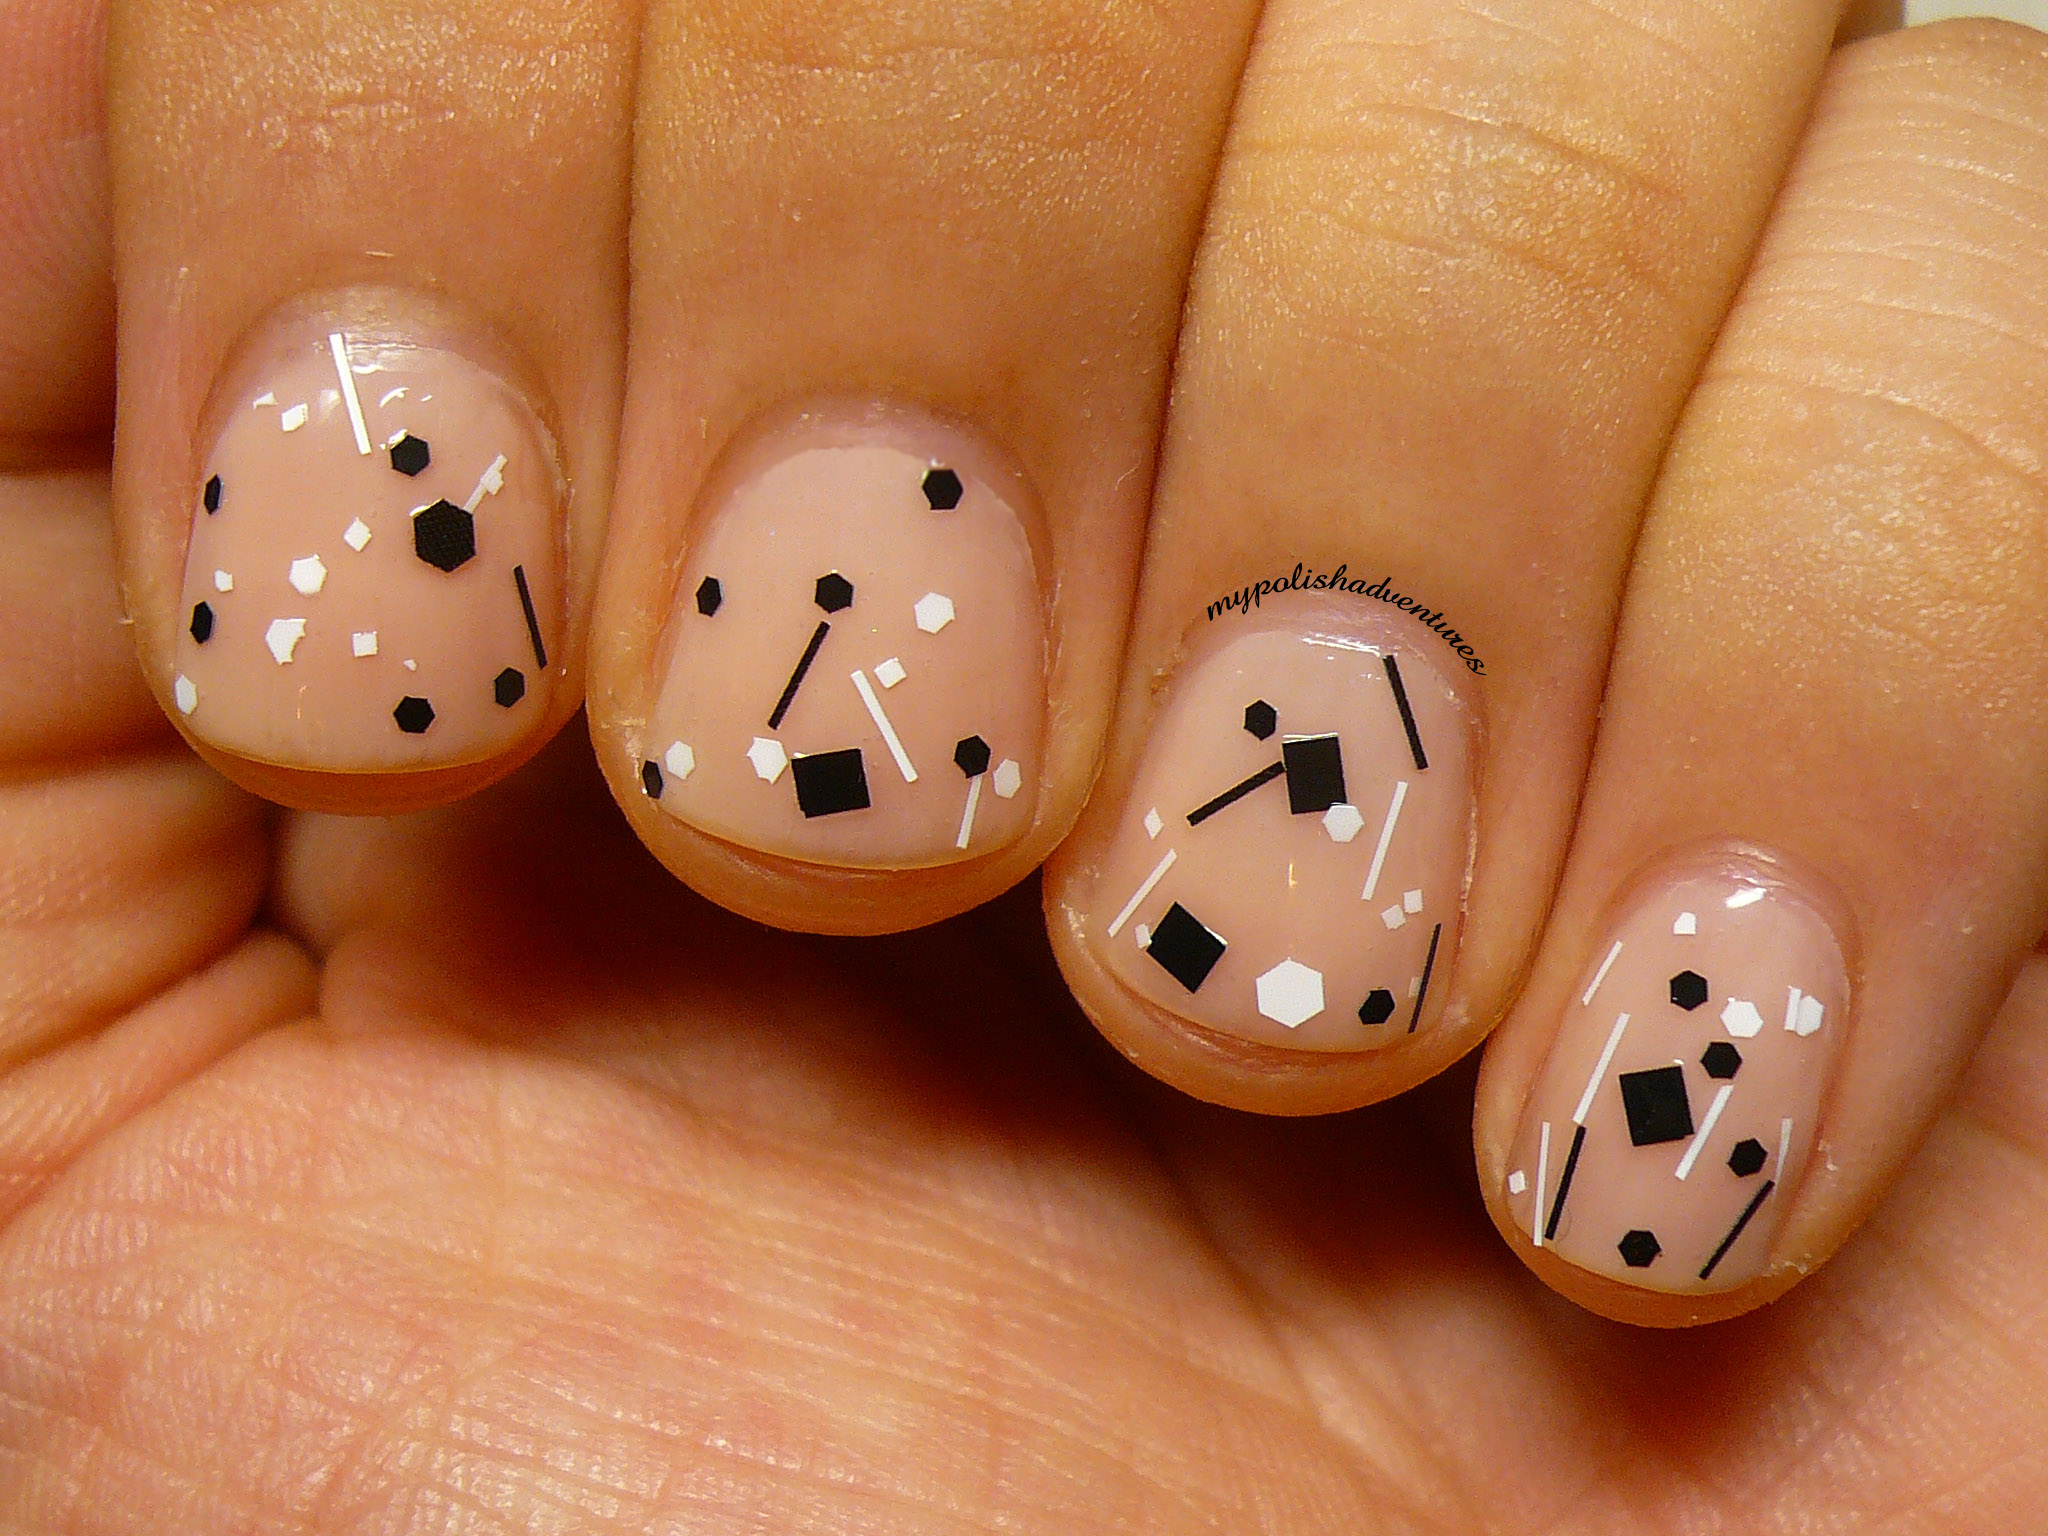
It all started with Lynnderella Connect The Dots. The black and white glitters had me at hello and then all the indie brands started making their own dupe versions. I almost caved a couple of times for a couple of them but then TKB started selling black and white glitters in all these various shapes and sizes and that was when I finally caved!

I bought the squares, hexes, diamond and bar glitters in a variety of sizes but I held back with the diamonds for this franken because I didn't want to go to town with it. Besides, I can always do some variations with the whole mix n match thing.

This is 3 coats of OPI Bubble Bath and 1 coat of my franken which I've named Technicolour Dreams, after a phrase from Matchbox Twenty's song, Black and White People.

Black and white glitter polish lemming KILLED! And at a fraction of the cost of a bottle of Connect The Dots!

SCORE!

Till my next post! :)

Sunday, May 27, 2012

Teal Party (Franken)


The moment I saw Pretty and Polished Pool Party, I knew I had to have it!

(picture credit)

(picture credit)

I mean come on. How much prettier can a polish get? Favourite polish colour (blue): Check. Favourite trend right now (chunky glitters): Check.

But again, I just didn't have an affinity with Pretty and Polished polishes. They just kept selling out too quickly on etsy.

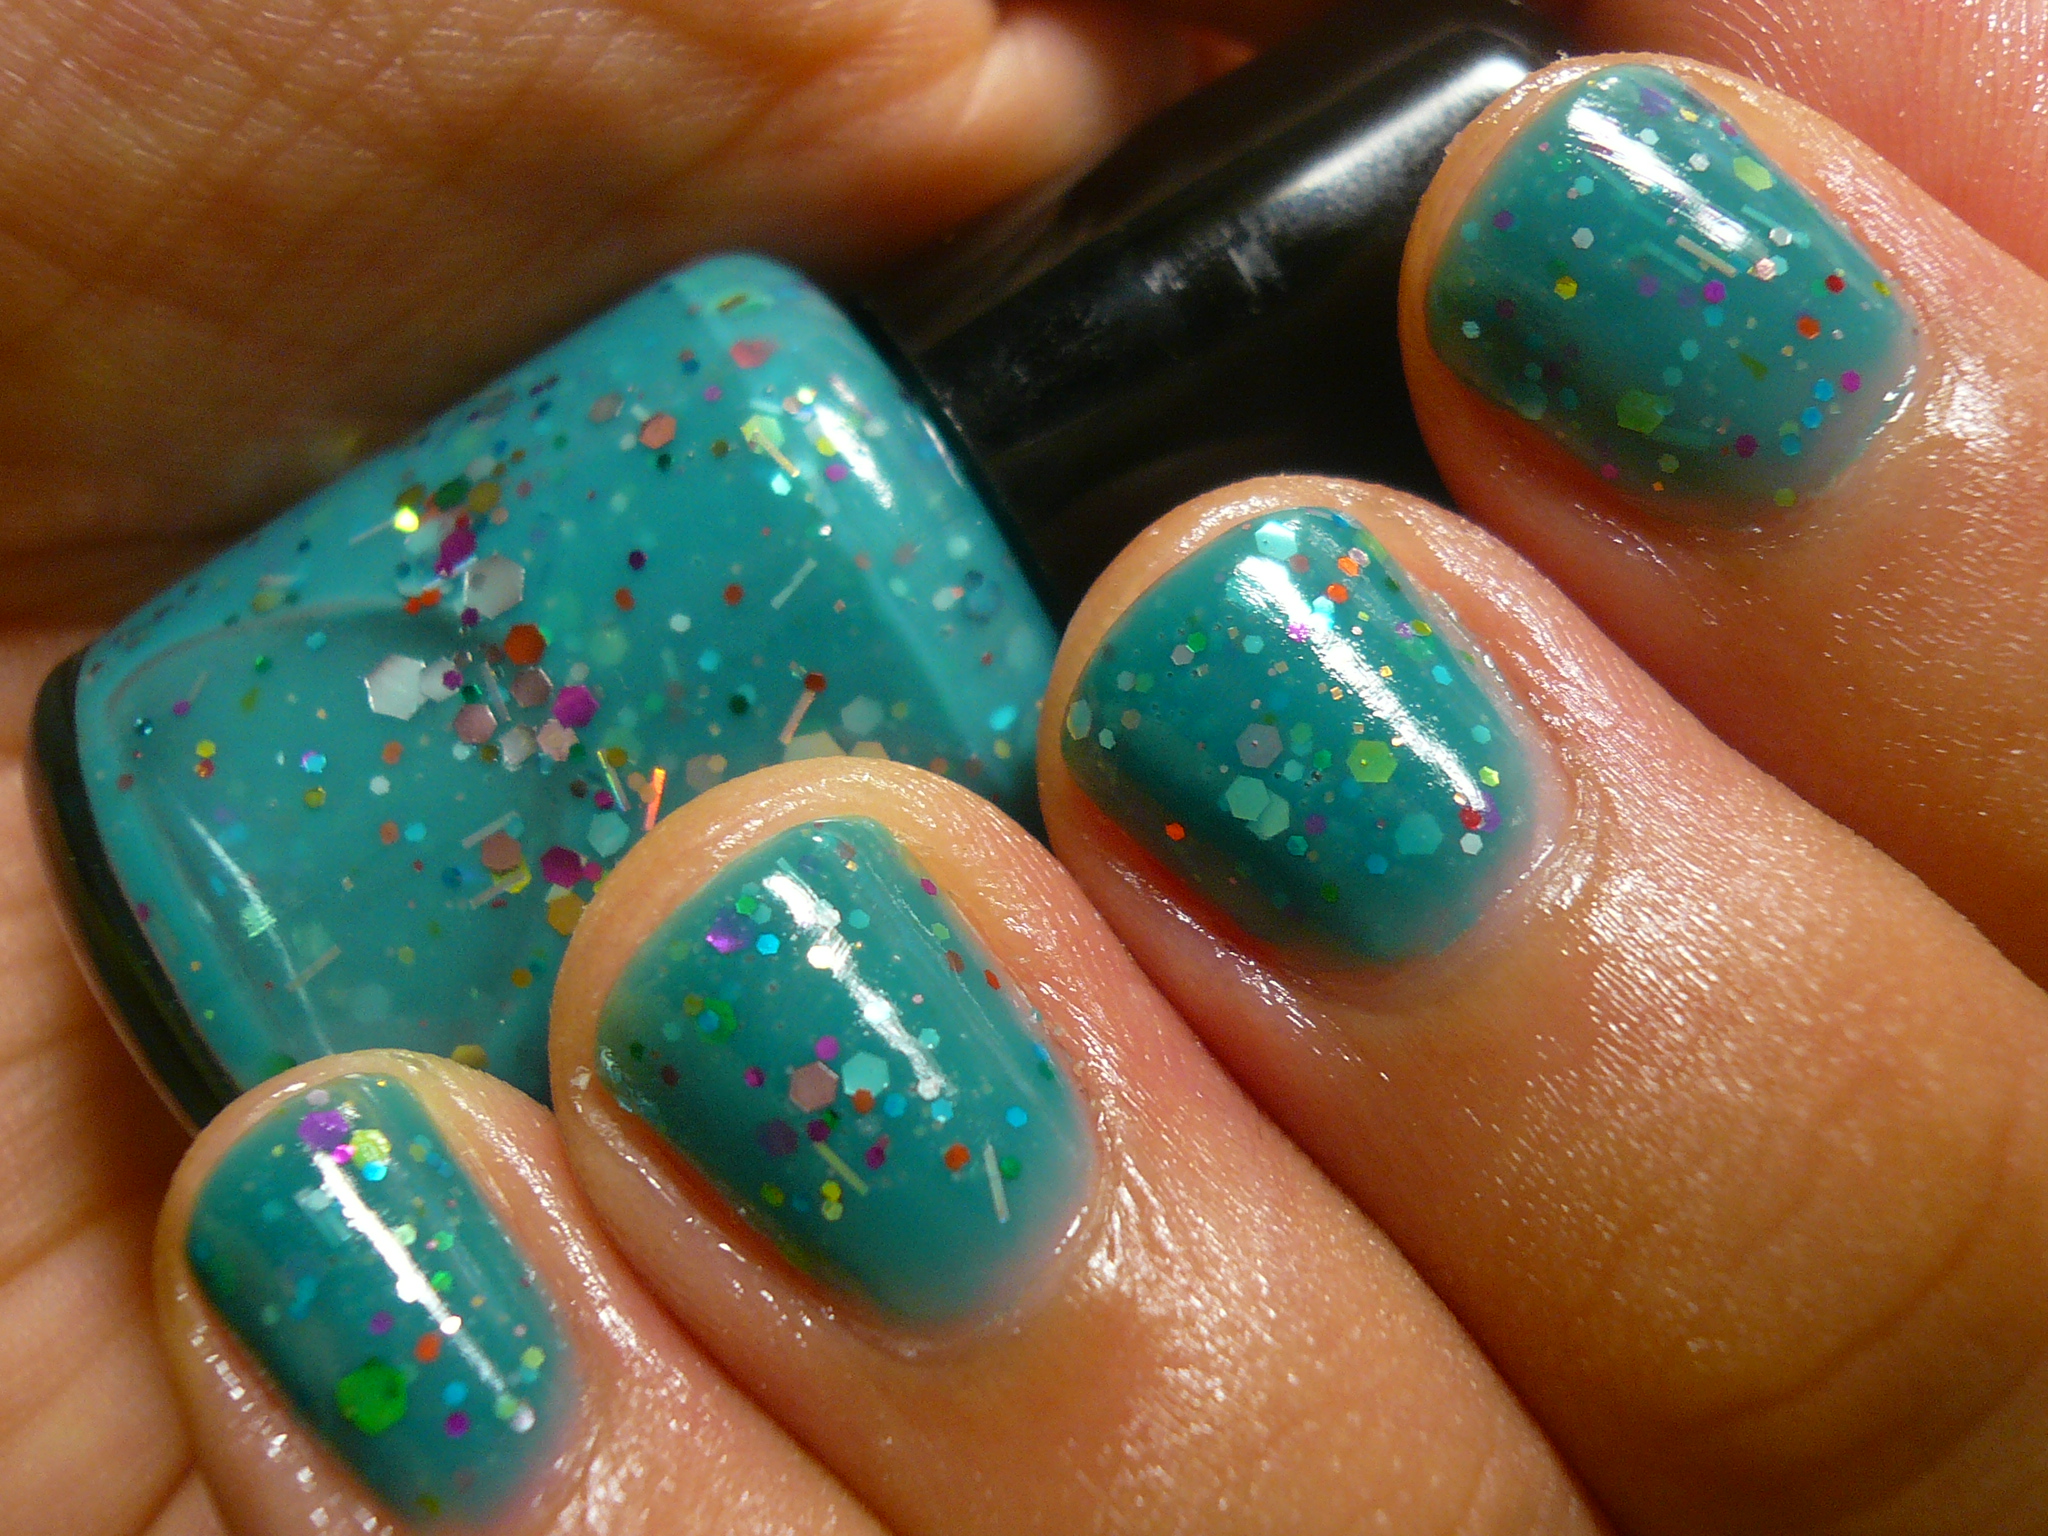
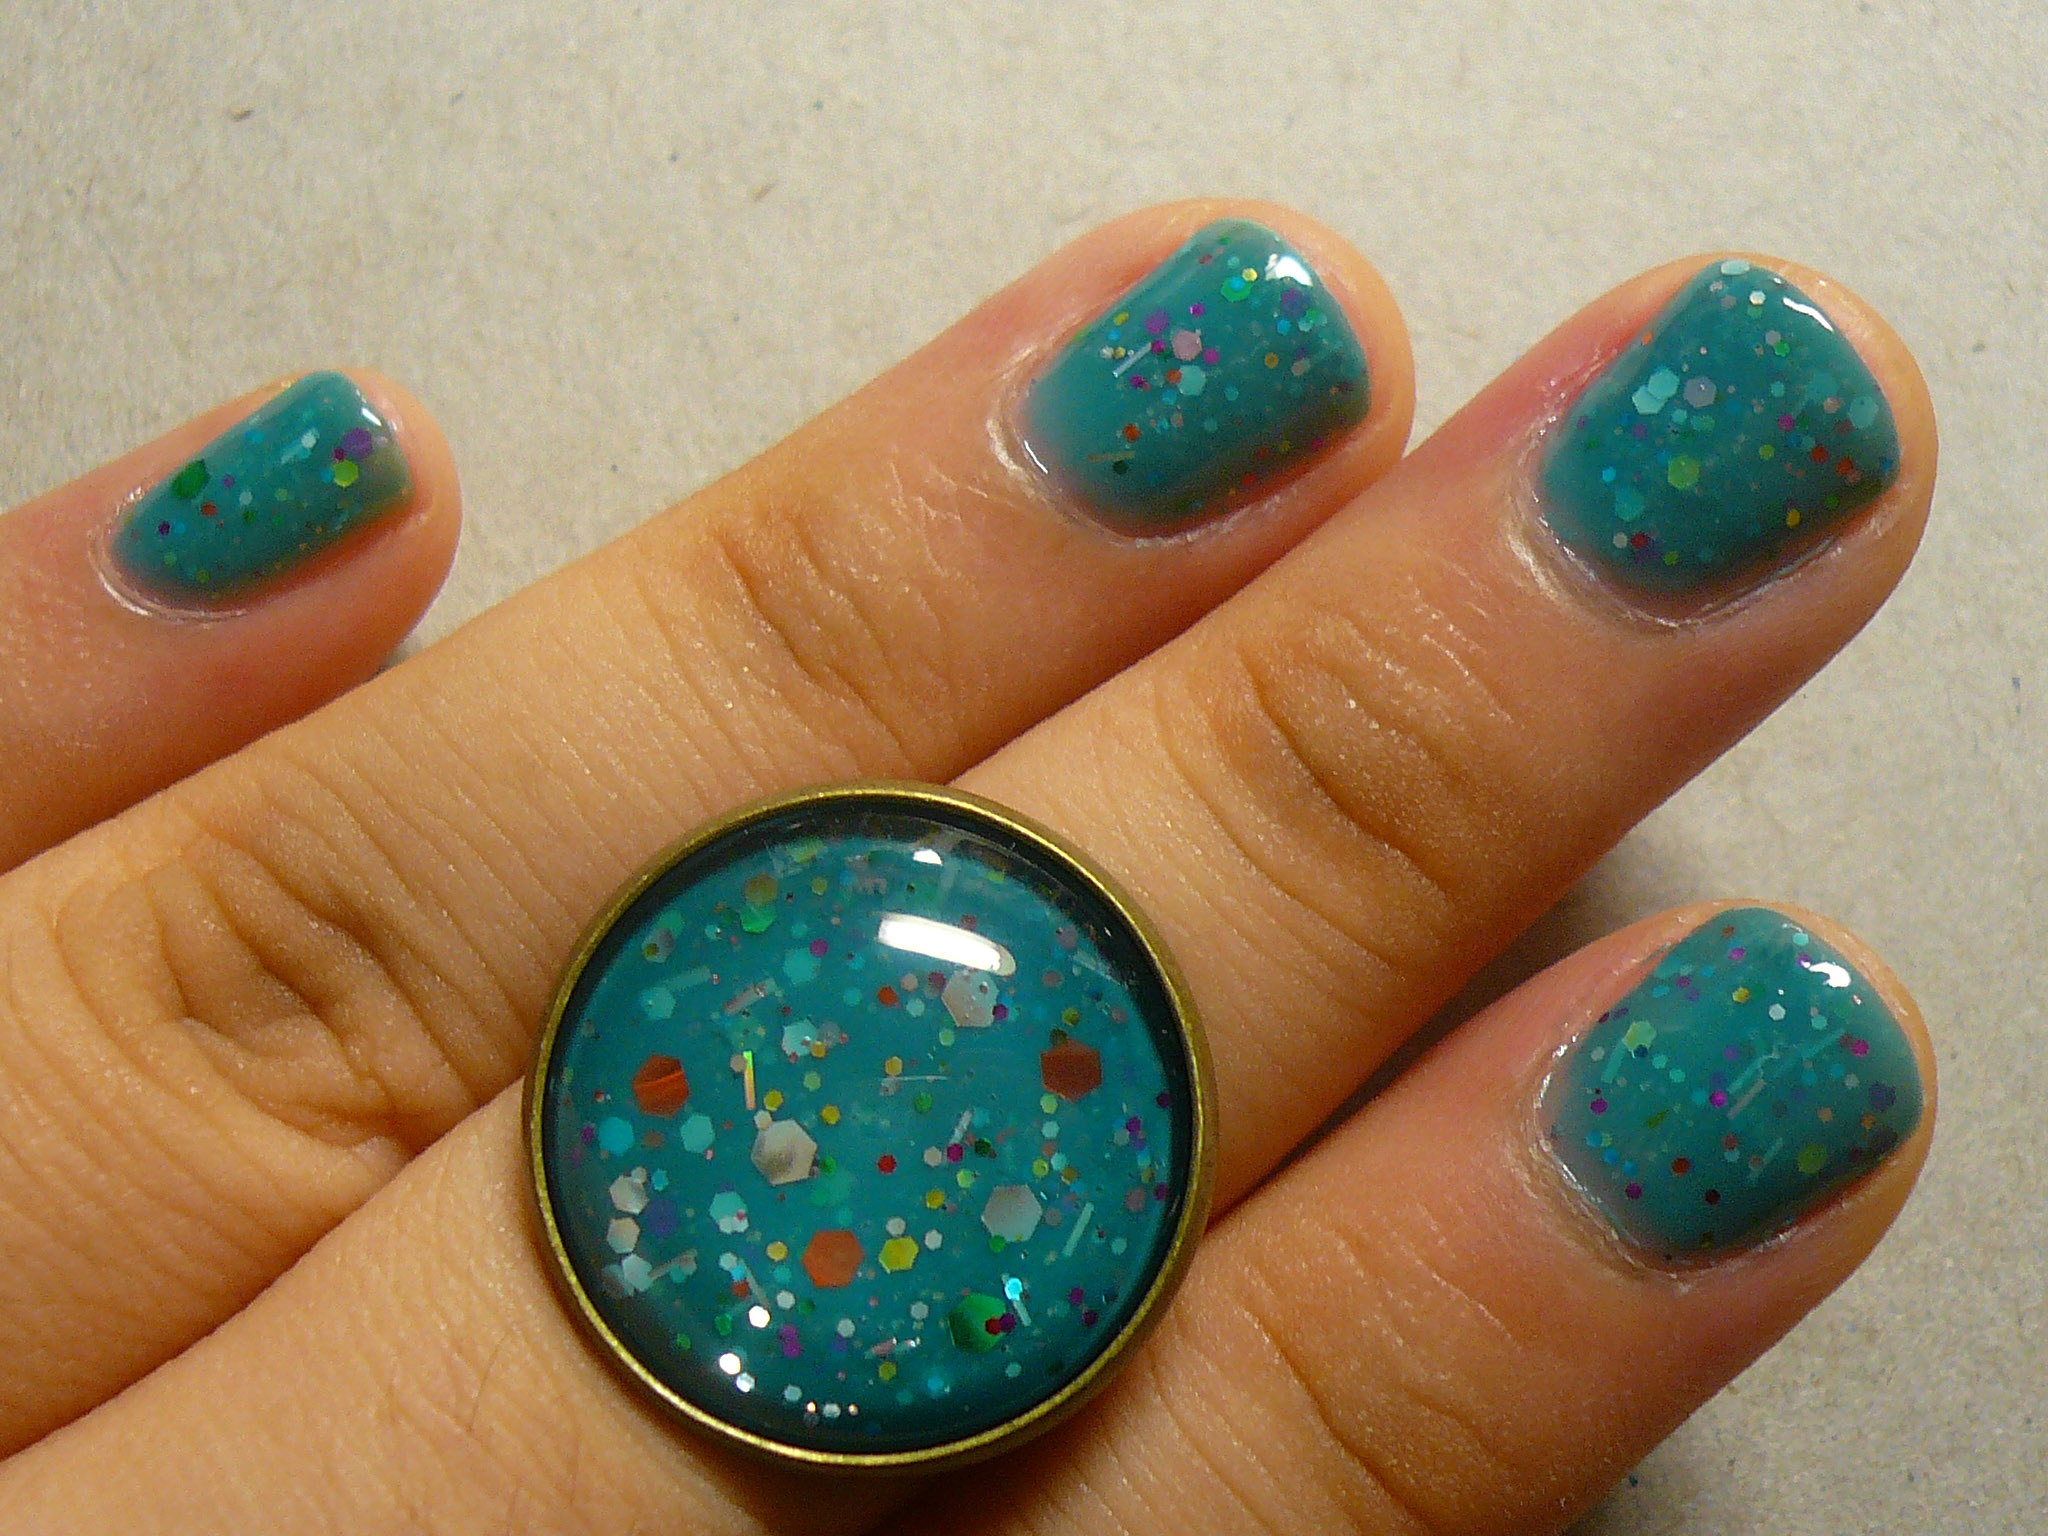
So I turned to what I knew how to do. Frankening. I wanted my franken to be a little different because I knew I was eventually going to lay my polished claws on Pool Party so I created a polish with a teal jelly base. And now, I present to you, Teal Party!

Once again, I loved the franken so much I made it into a ring and ear studs and drop earrings for Posh Polish.

The moment I saw the ear studs, I was so angry that I don't have ear holes because I'd love to wear Teal Party on my ears! :( (I can't pierce my ears because I have non-cancerous cysts that grow on my ear lobes from time to time.)

Thankfully, Pretty and Polished had a pre order and I can now look forward to getting Pool Party! :)

That's it for my newest frankens worthy of showing you all. I'll get down to doing up the new MAC Blue India comparison post I promised earlier on!

--------------

In my Giveaway post, I asked you guys for any suggestions / requests and I got some comments asking me to review more local polish. Most of the polish I blog about, like OPI, China Glaze, Essie, etc, are available locally through places like Smoochiezz or DYON International but just for your convenience, I'm gonna try to list down where I bought the polishes featured in each post from now on!


Where to buy:

Pretty and Polished Pool party: Pretty and Polished on Etsy


Wednesday, May 23, 2012

Easter In A Bottle (New Franken)

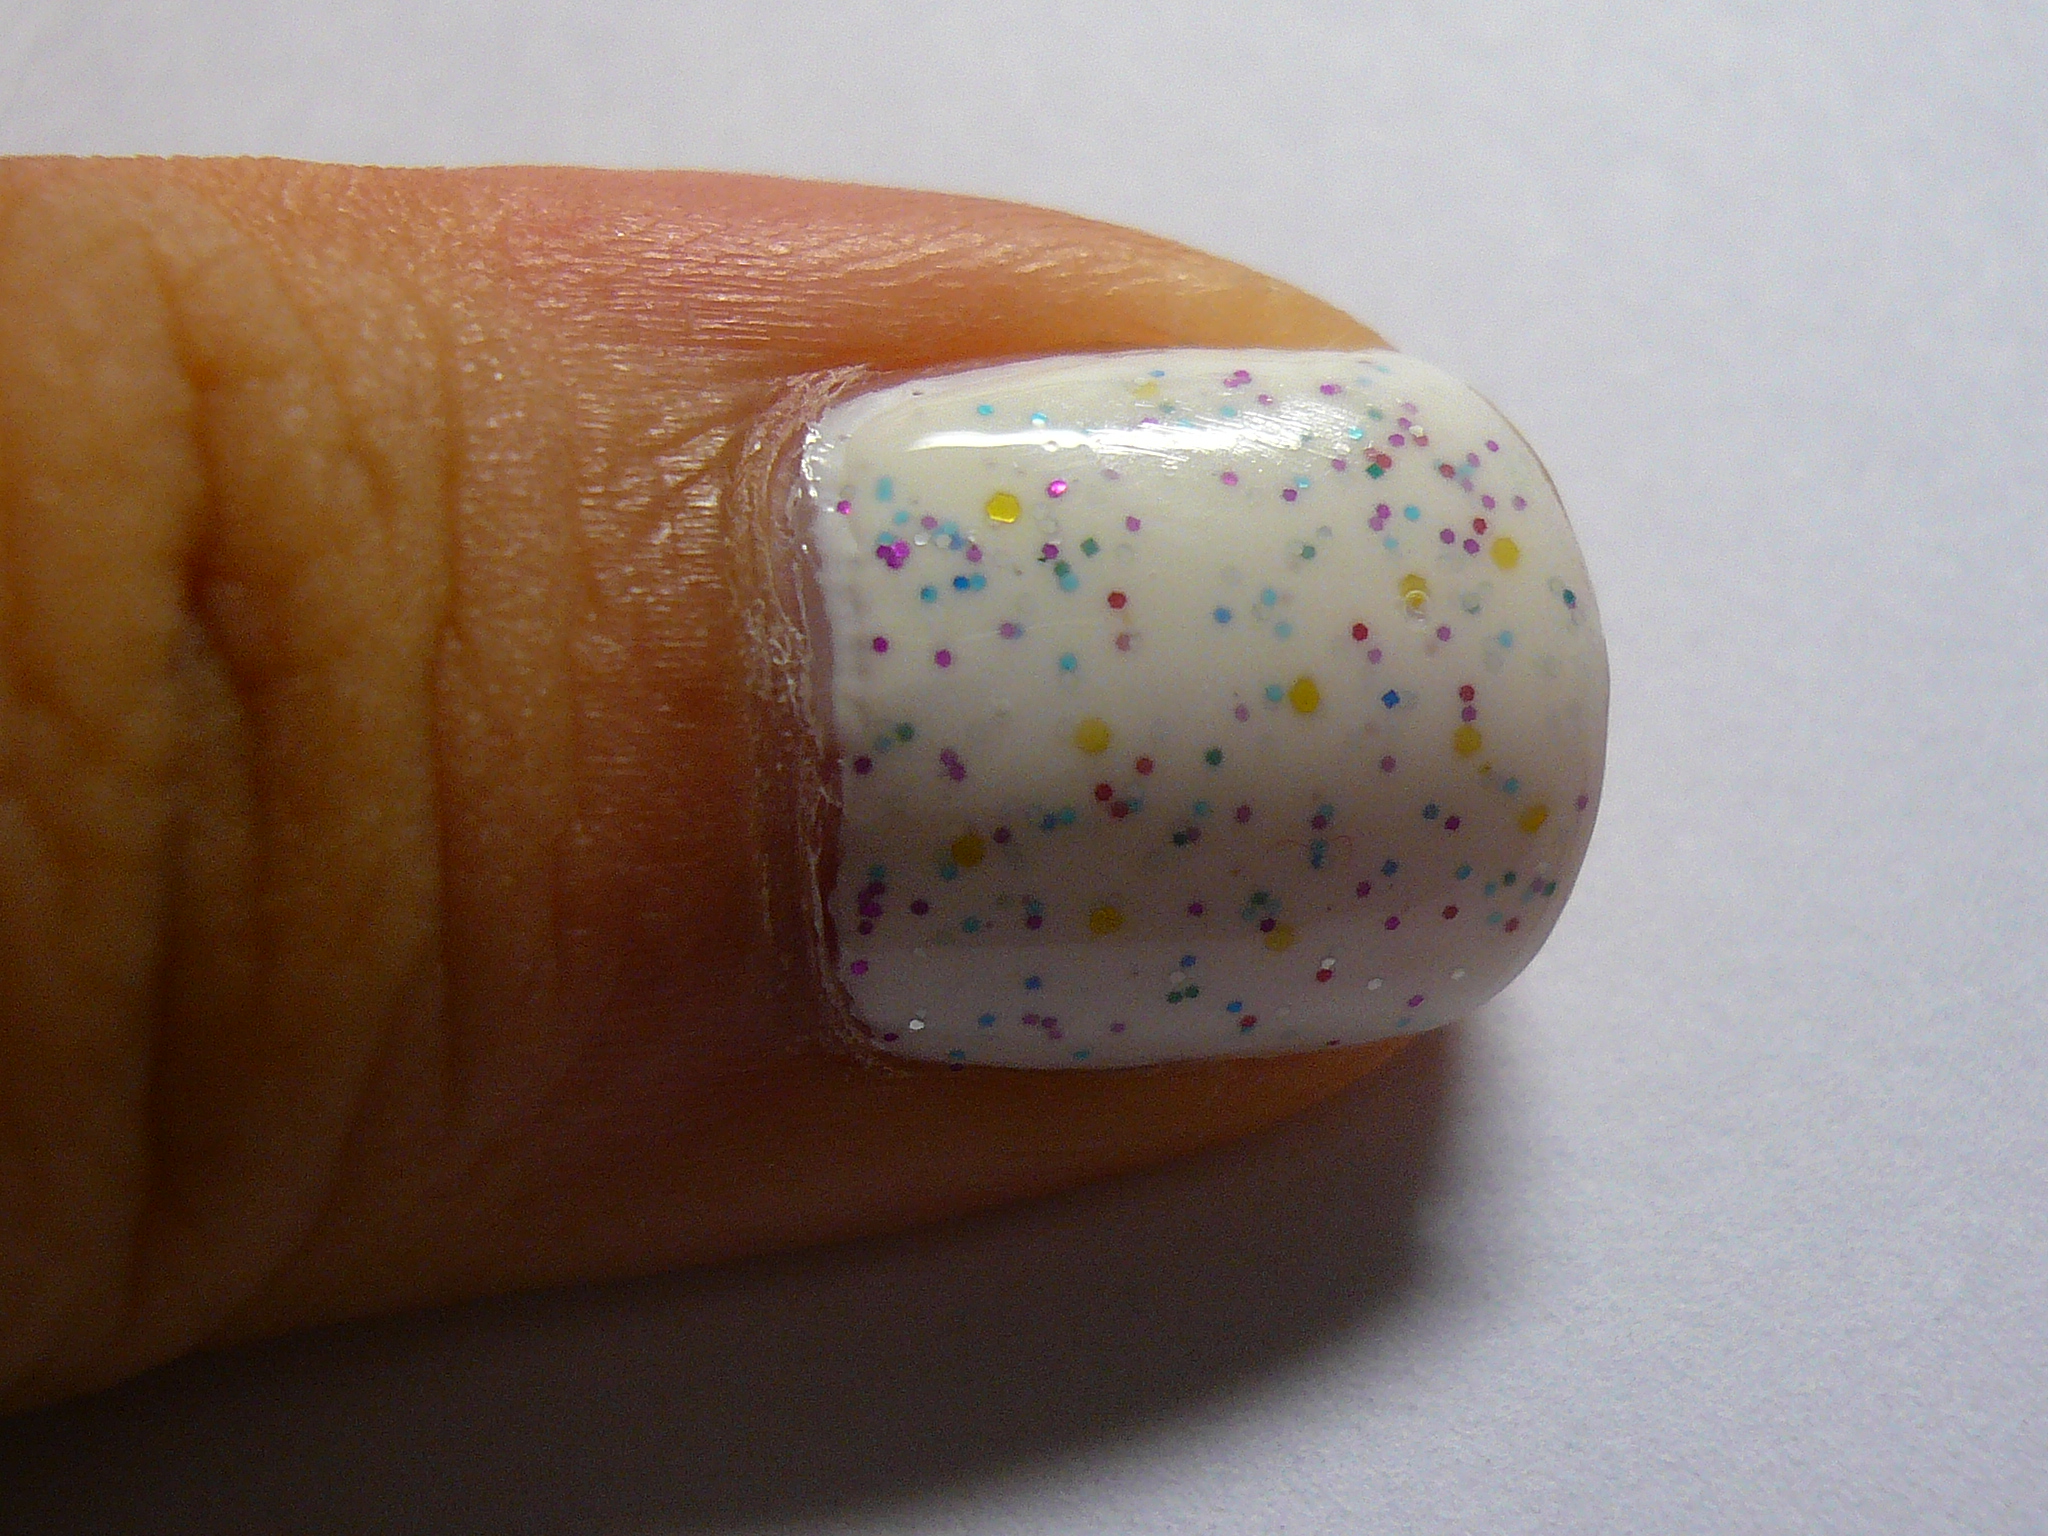
The moment I saw Pretty and Polished Party on my Yacht, I knew I had to have it but it's been proving to be a polish that's quite hard to get (but thank goodness for the pre-order thing now!) so I frankened a white-based glitter polish just to fulfill my POMY lemming for the timebeing.

This was what I came up with:

I know it's pretty different but it was good enough for me!

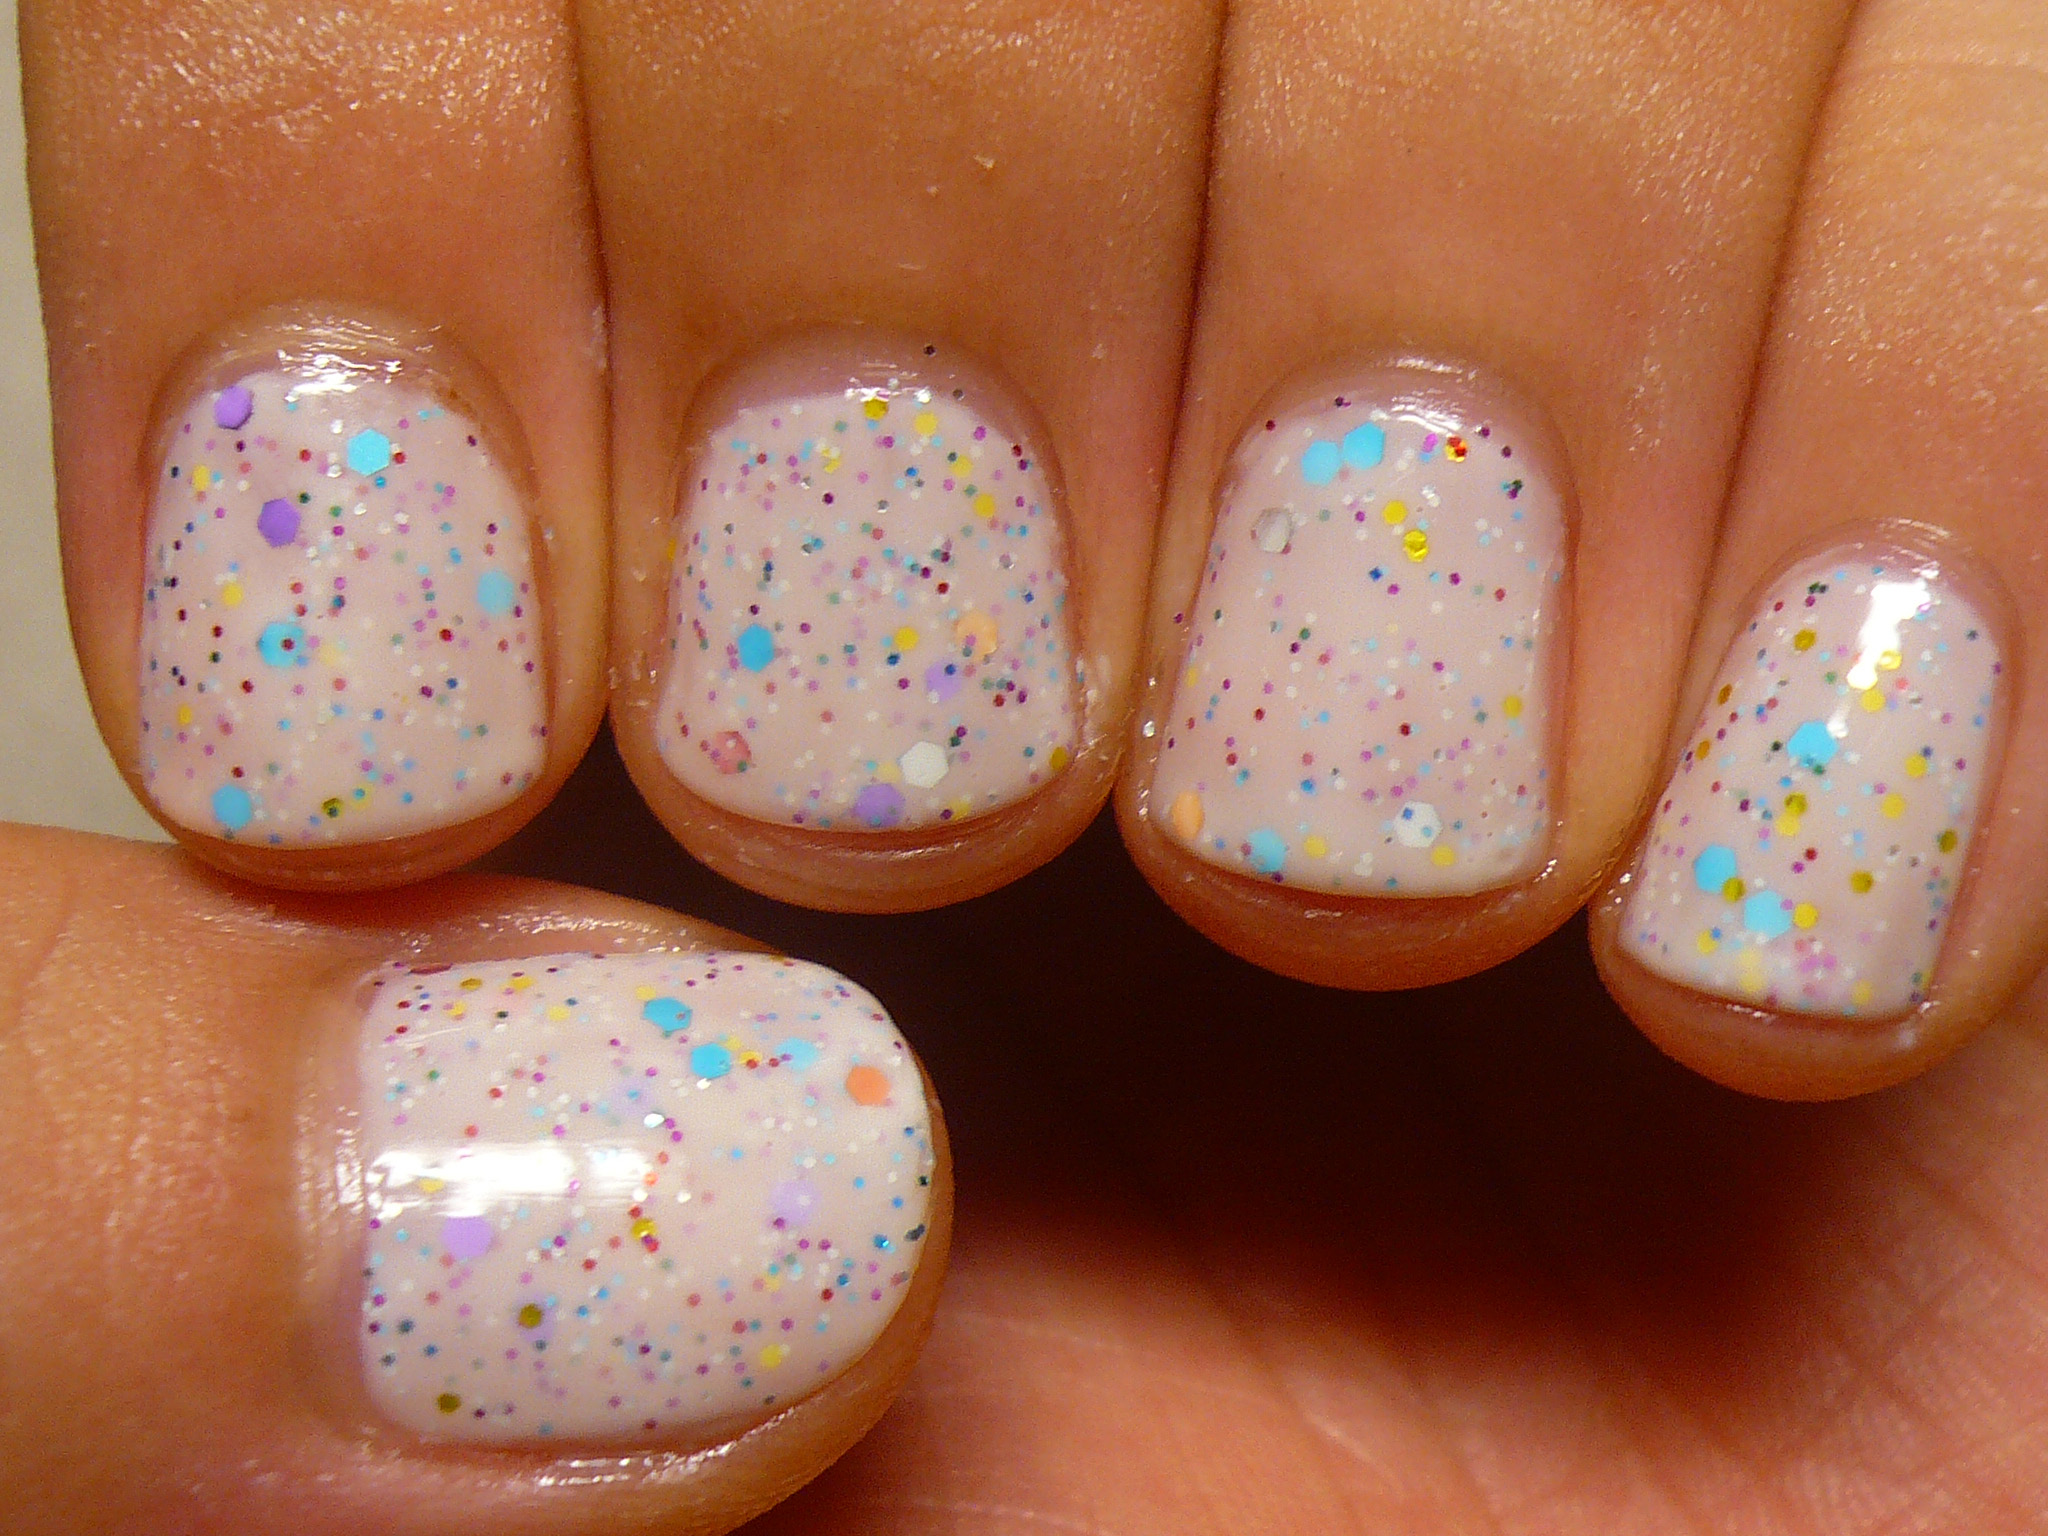
But after I came back from Korea, I added in a couple of the glitter polishes that I bought over there and this happened:

Somehow the extra chunky glitters I added changed the base colour of the polish to a less stark white, more like a very extremely light pink, which turned out to be a nice surprise. It gave the polish a softer look and looking at all the colours, I decided to name my franken Easter In A Bottle becase the colours reminded me of easter eggs!

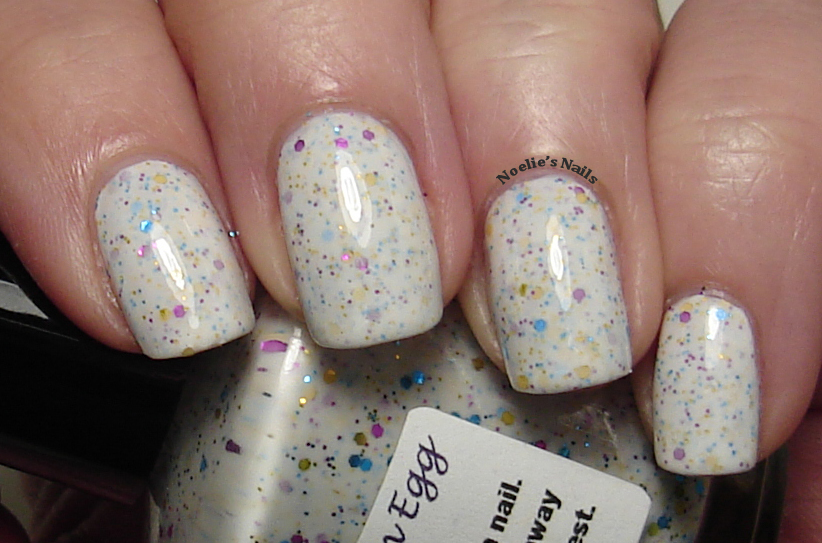
I happened to be browsing through some blogs the other day when I came across a swatch of Nail-venturous Lacquers Robin Laid an Egg...

(picture credit)

...and I was so shocked to find out how close my franken looks to it! YAY! Money saved! :)

The polish was so pretty I decided to use it to make a ring!

Gonna list it on Posh Polish in a couple of weeks (because I already have some collections worked out)!

Anyway, I have another Pretty and Polished-inspired franken post coming up soon. Yes, I'm loving her polishes so much and once again, I'm so glad for her new pre-order system!


Monday, March 5, 2012

Revamping My Franken Bottles

This was how my frankens look like. I used to simply write their names with a black marker on the glass but that got erased easily whenever I rub my fingers over it. I then realised that if I pasted a piece of tape over the glass and then write on the tape, the writings will last a little longer but it will still fade like in the picture above.

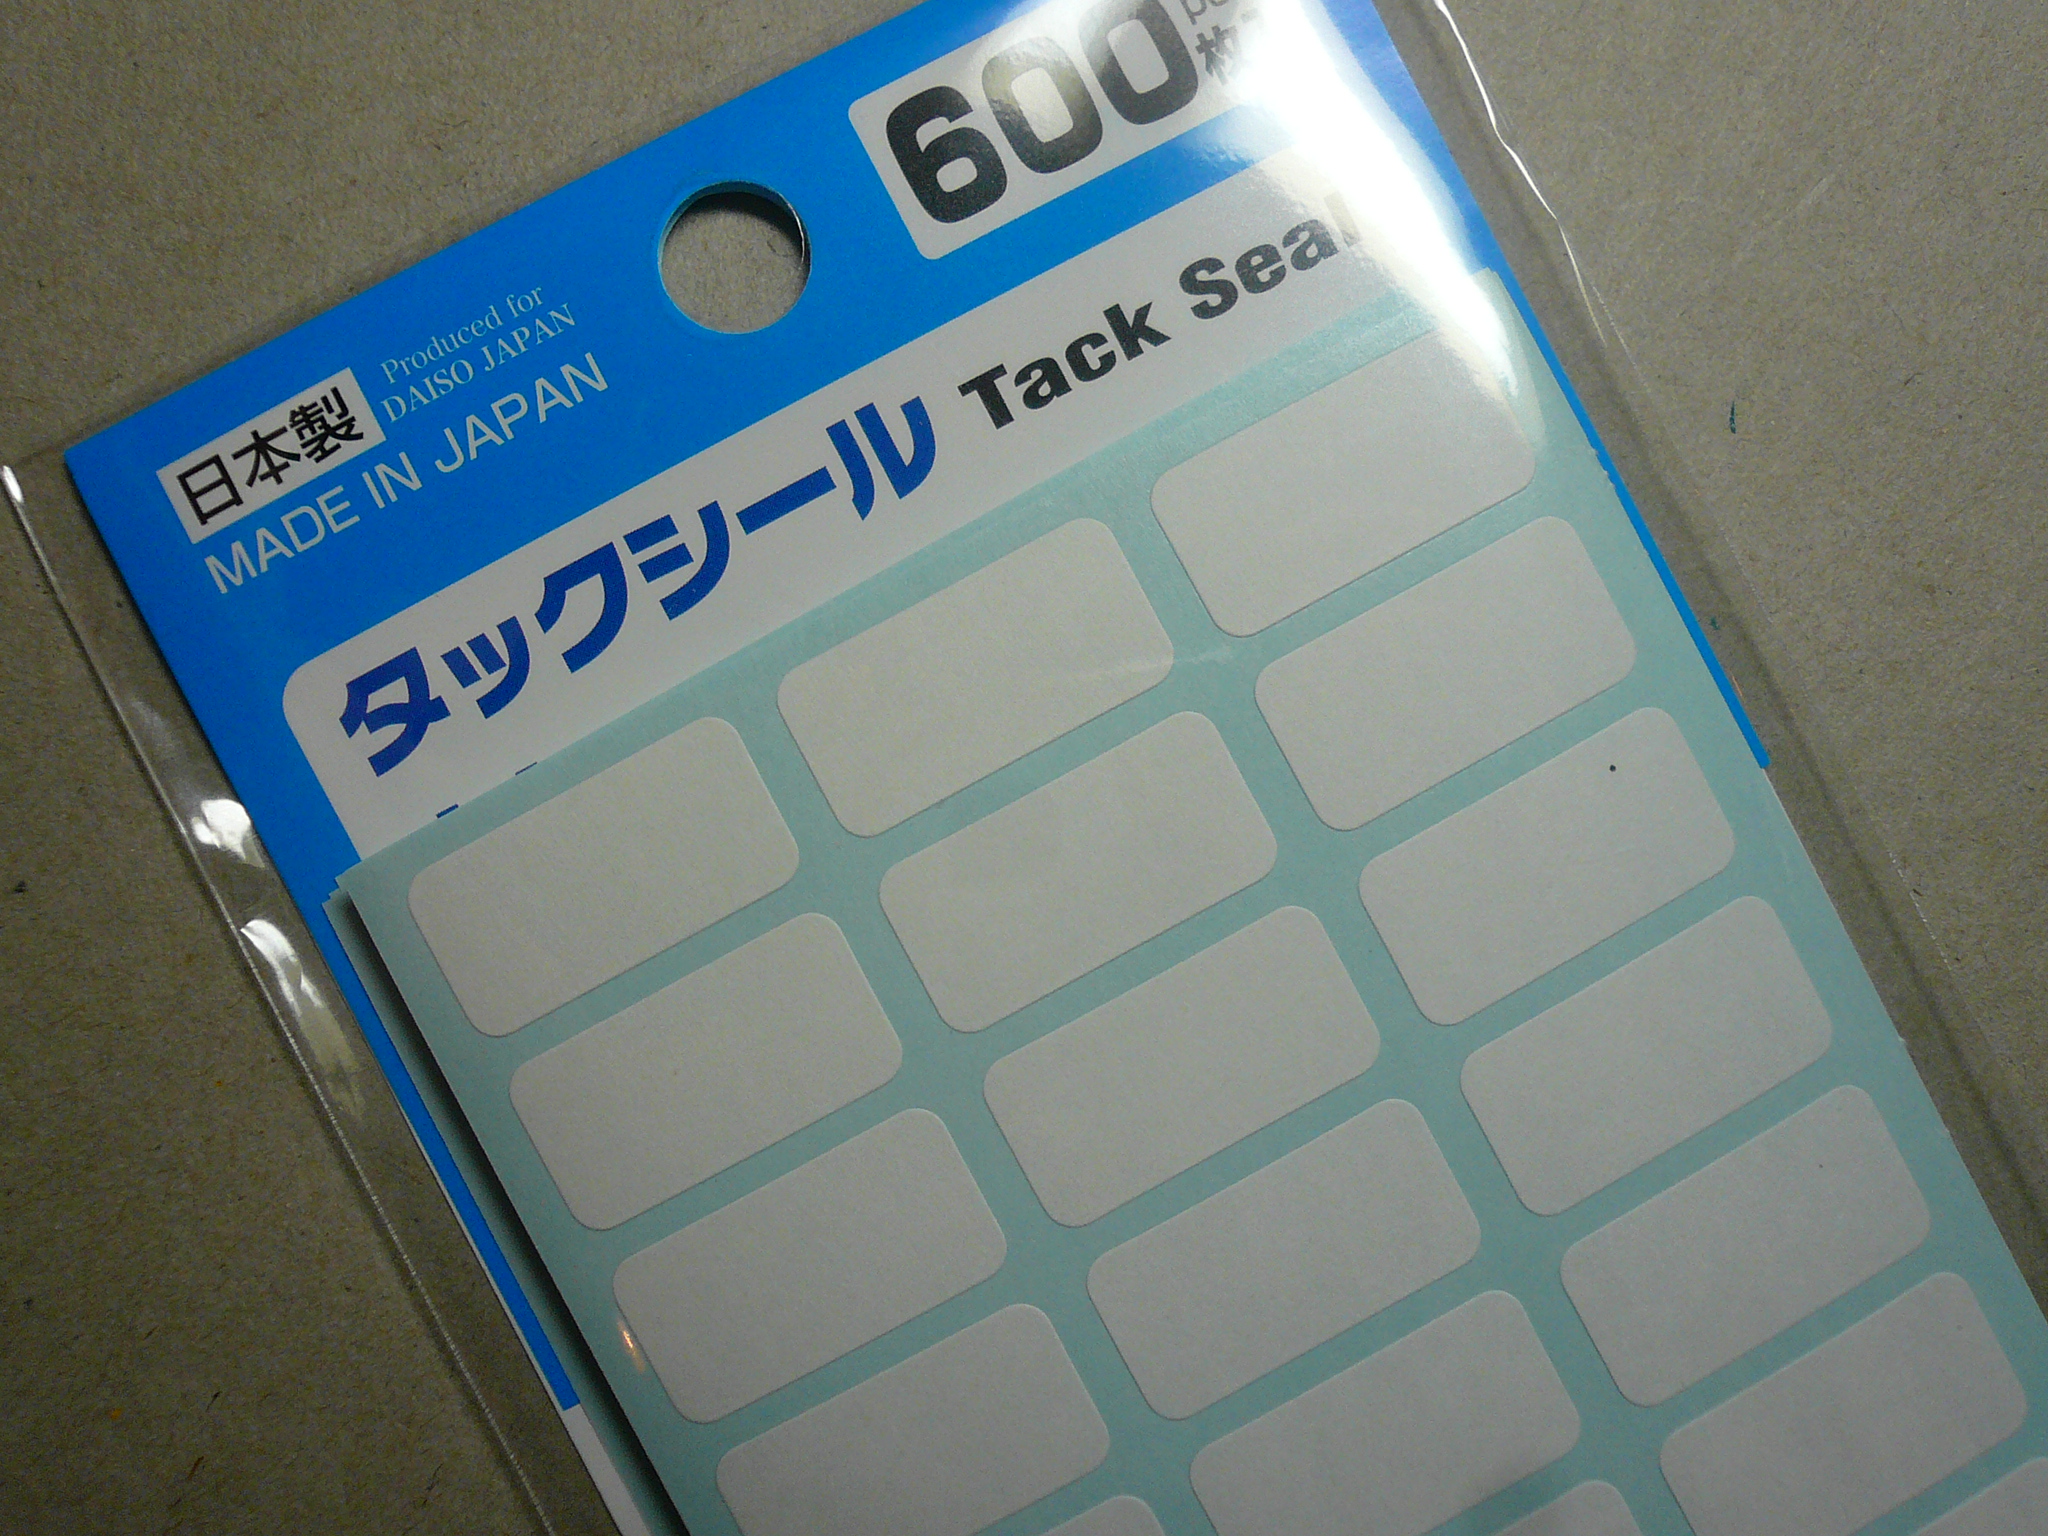
When I saw Lynderella's polishes, I loved how she used circular stickers and wrote the names of the polishes. It made the polishes look more handmade and precious. I wanted to find circular stickers like hers but I couldn't find any big enough. Then the other day when i was at Daiso, I saw these rectangular stickers that looked big enough to write the names of the polishes on, without covering too much of the glass surface so I could still see the colour of the polish!

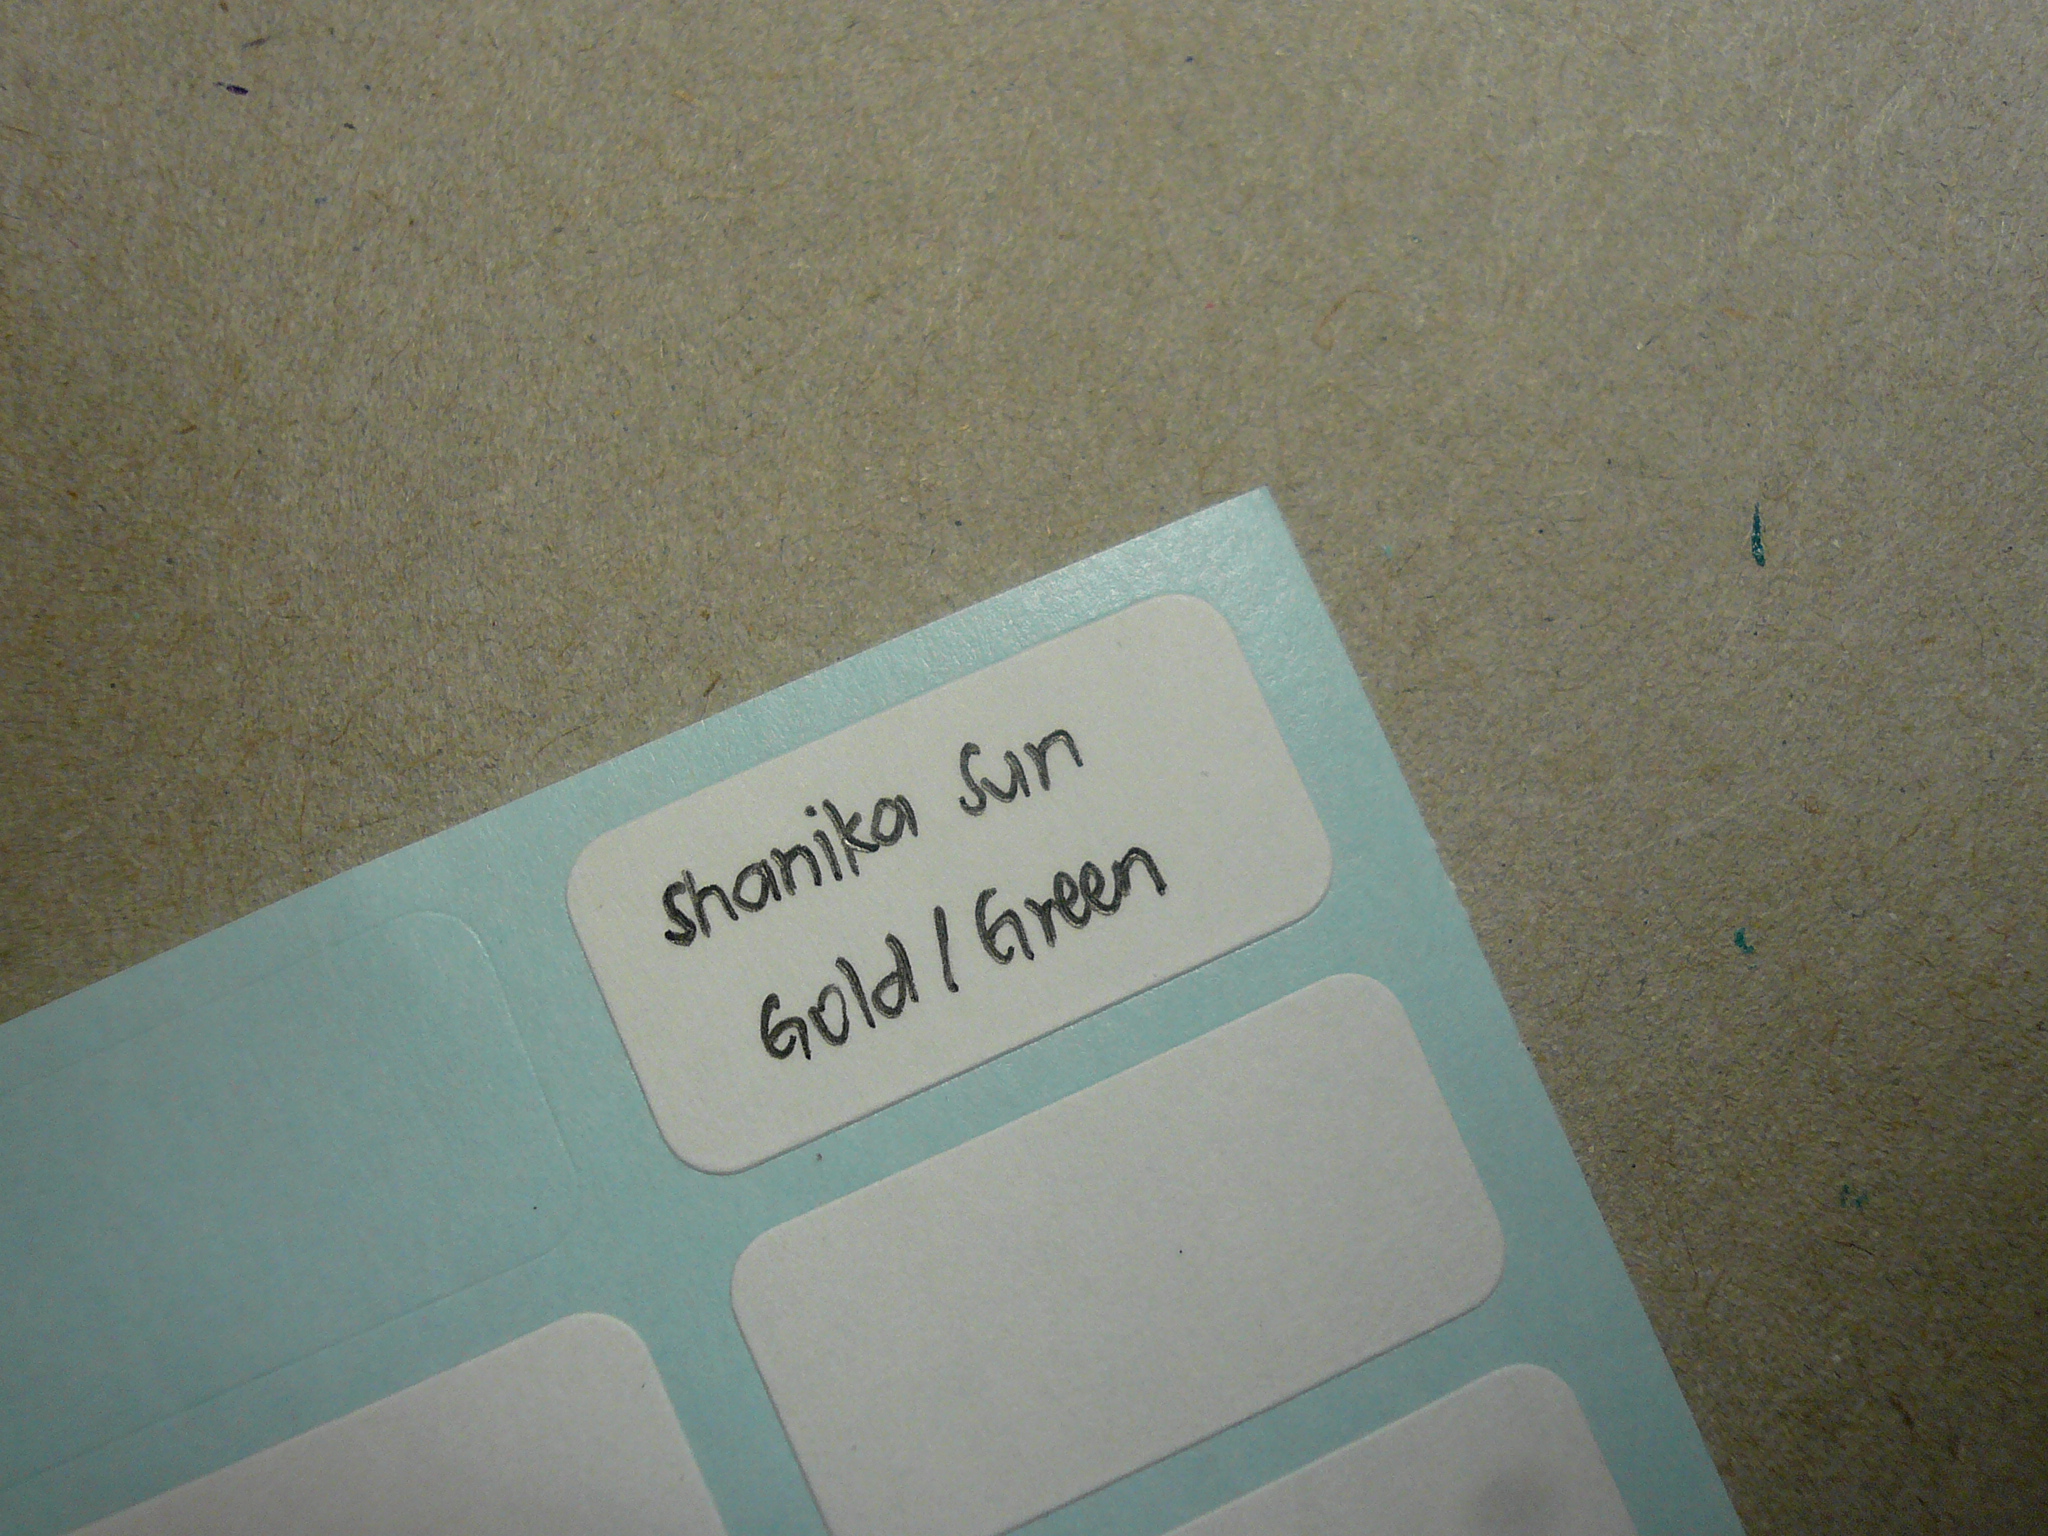
On goes the name of the polish...

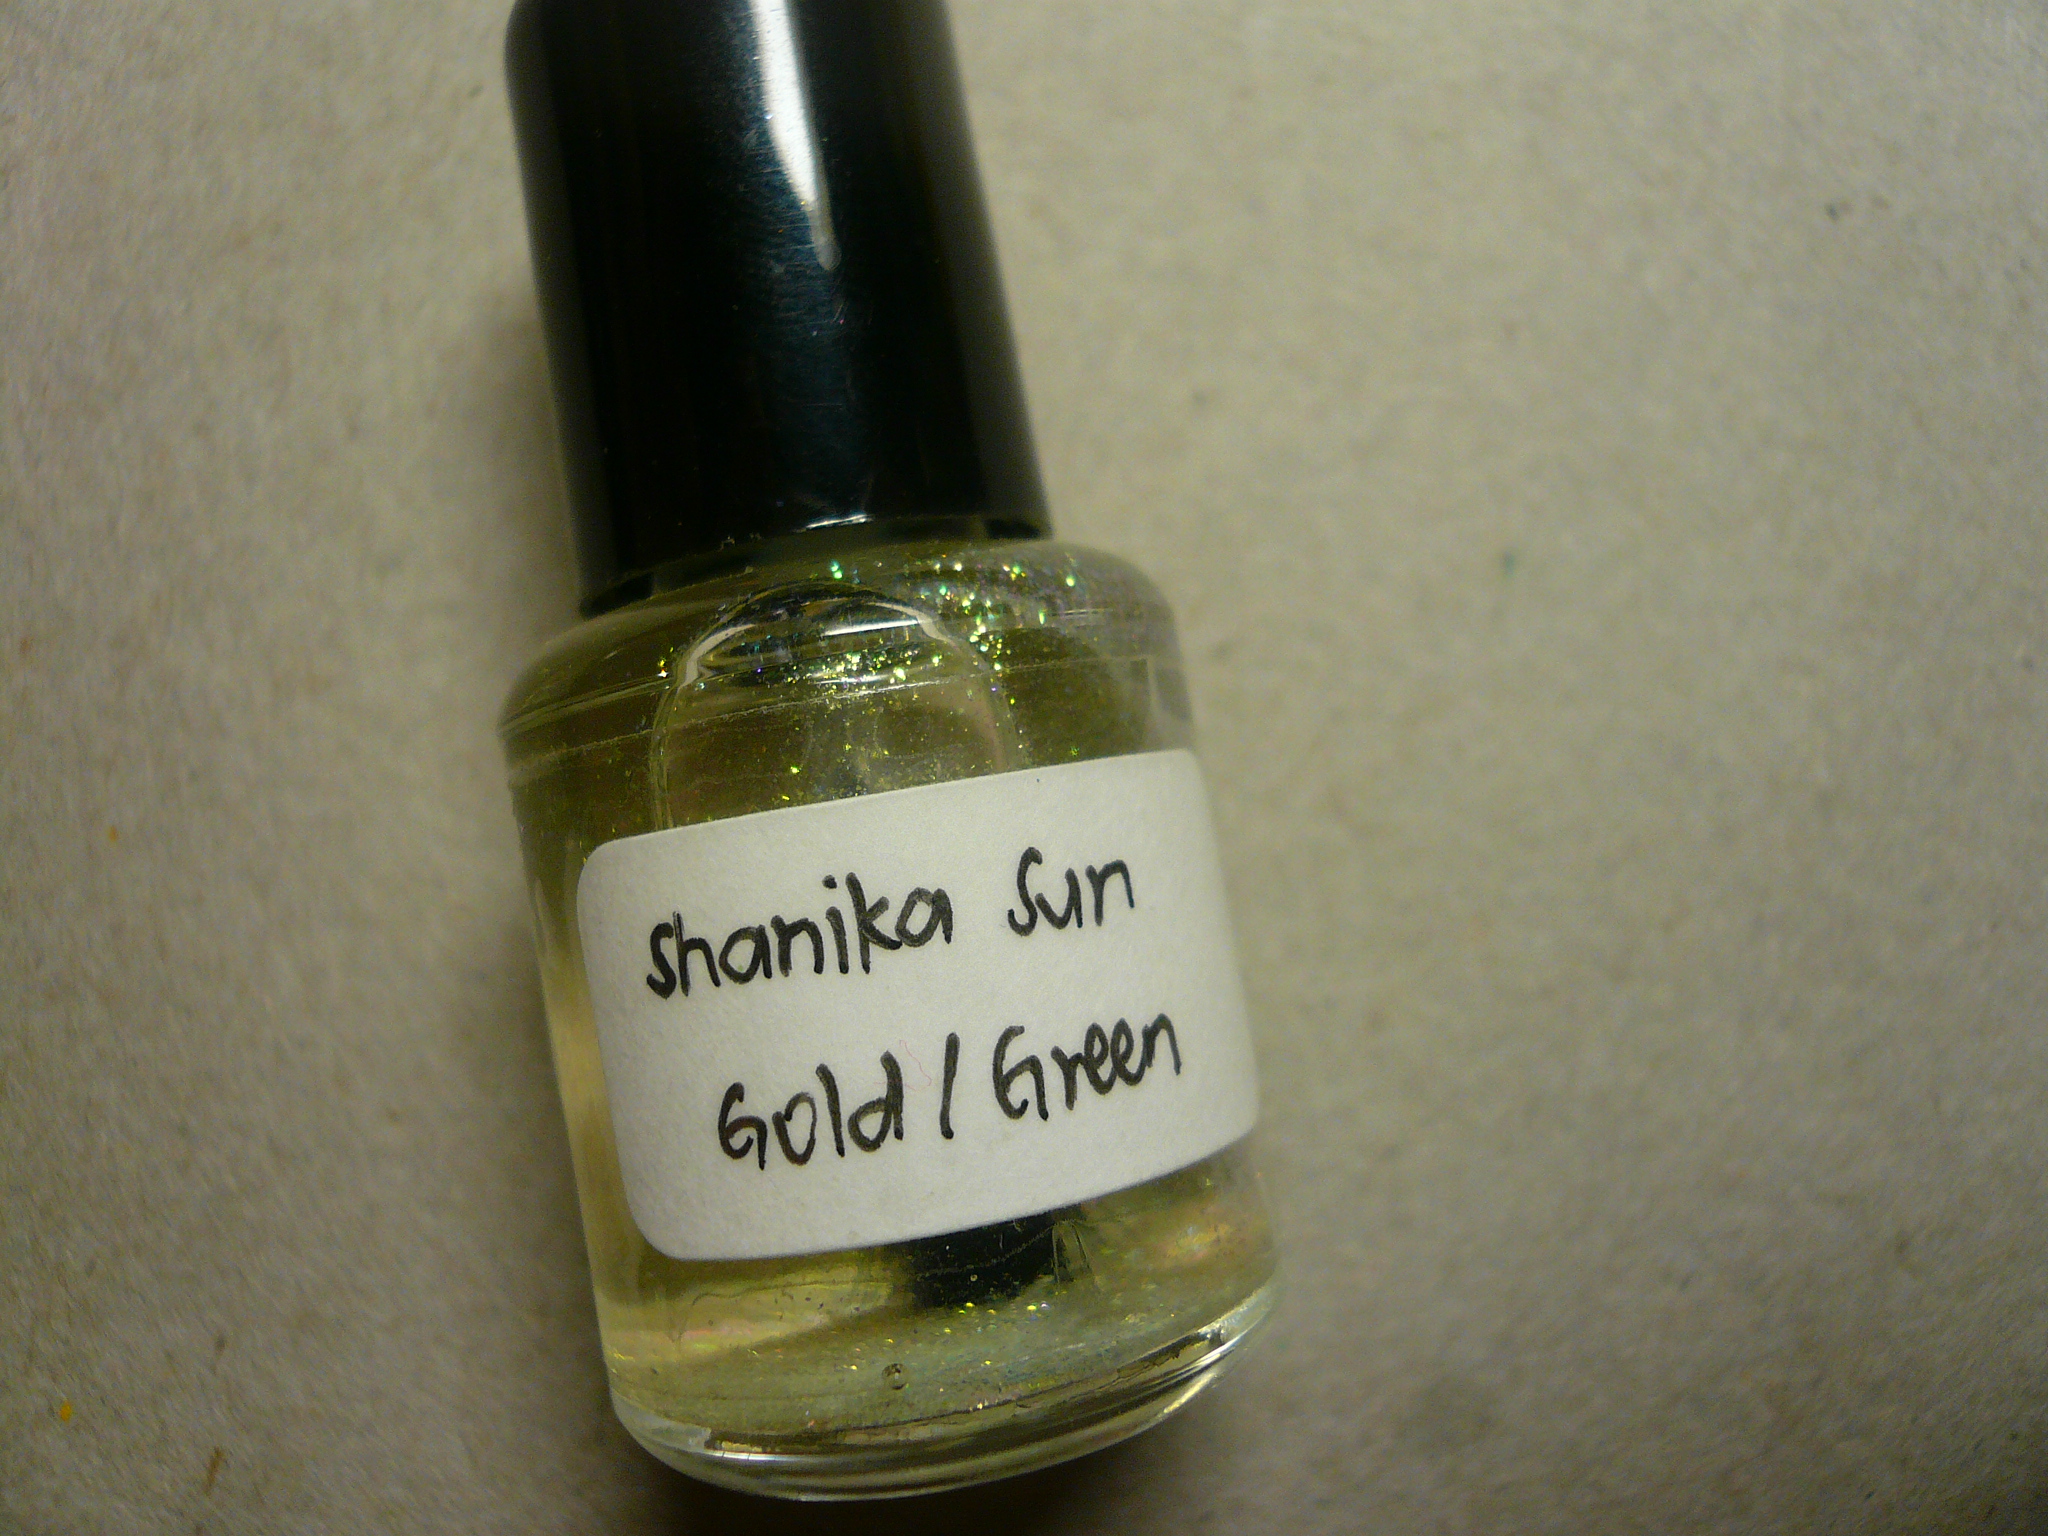
Then I stuck a piece of tape over the sticker to keep it "waterproof".

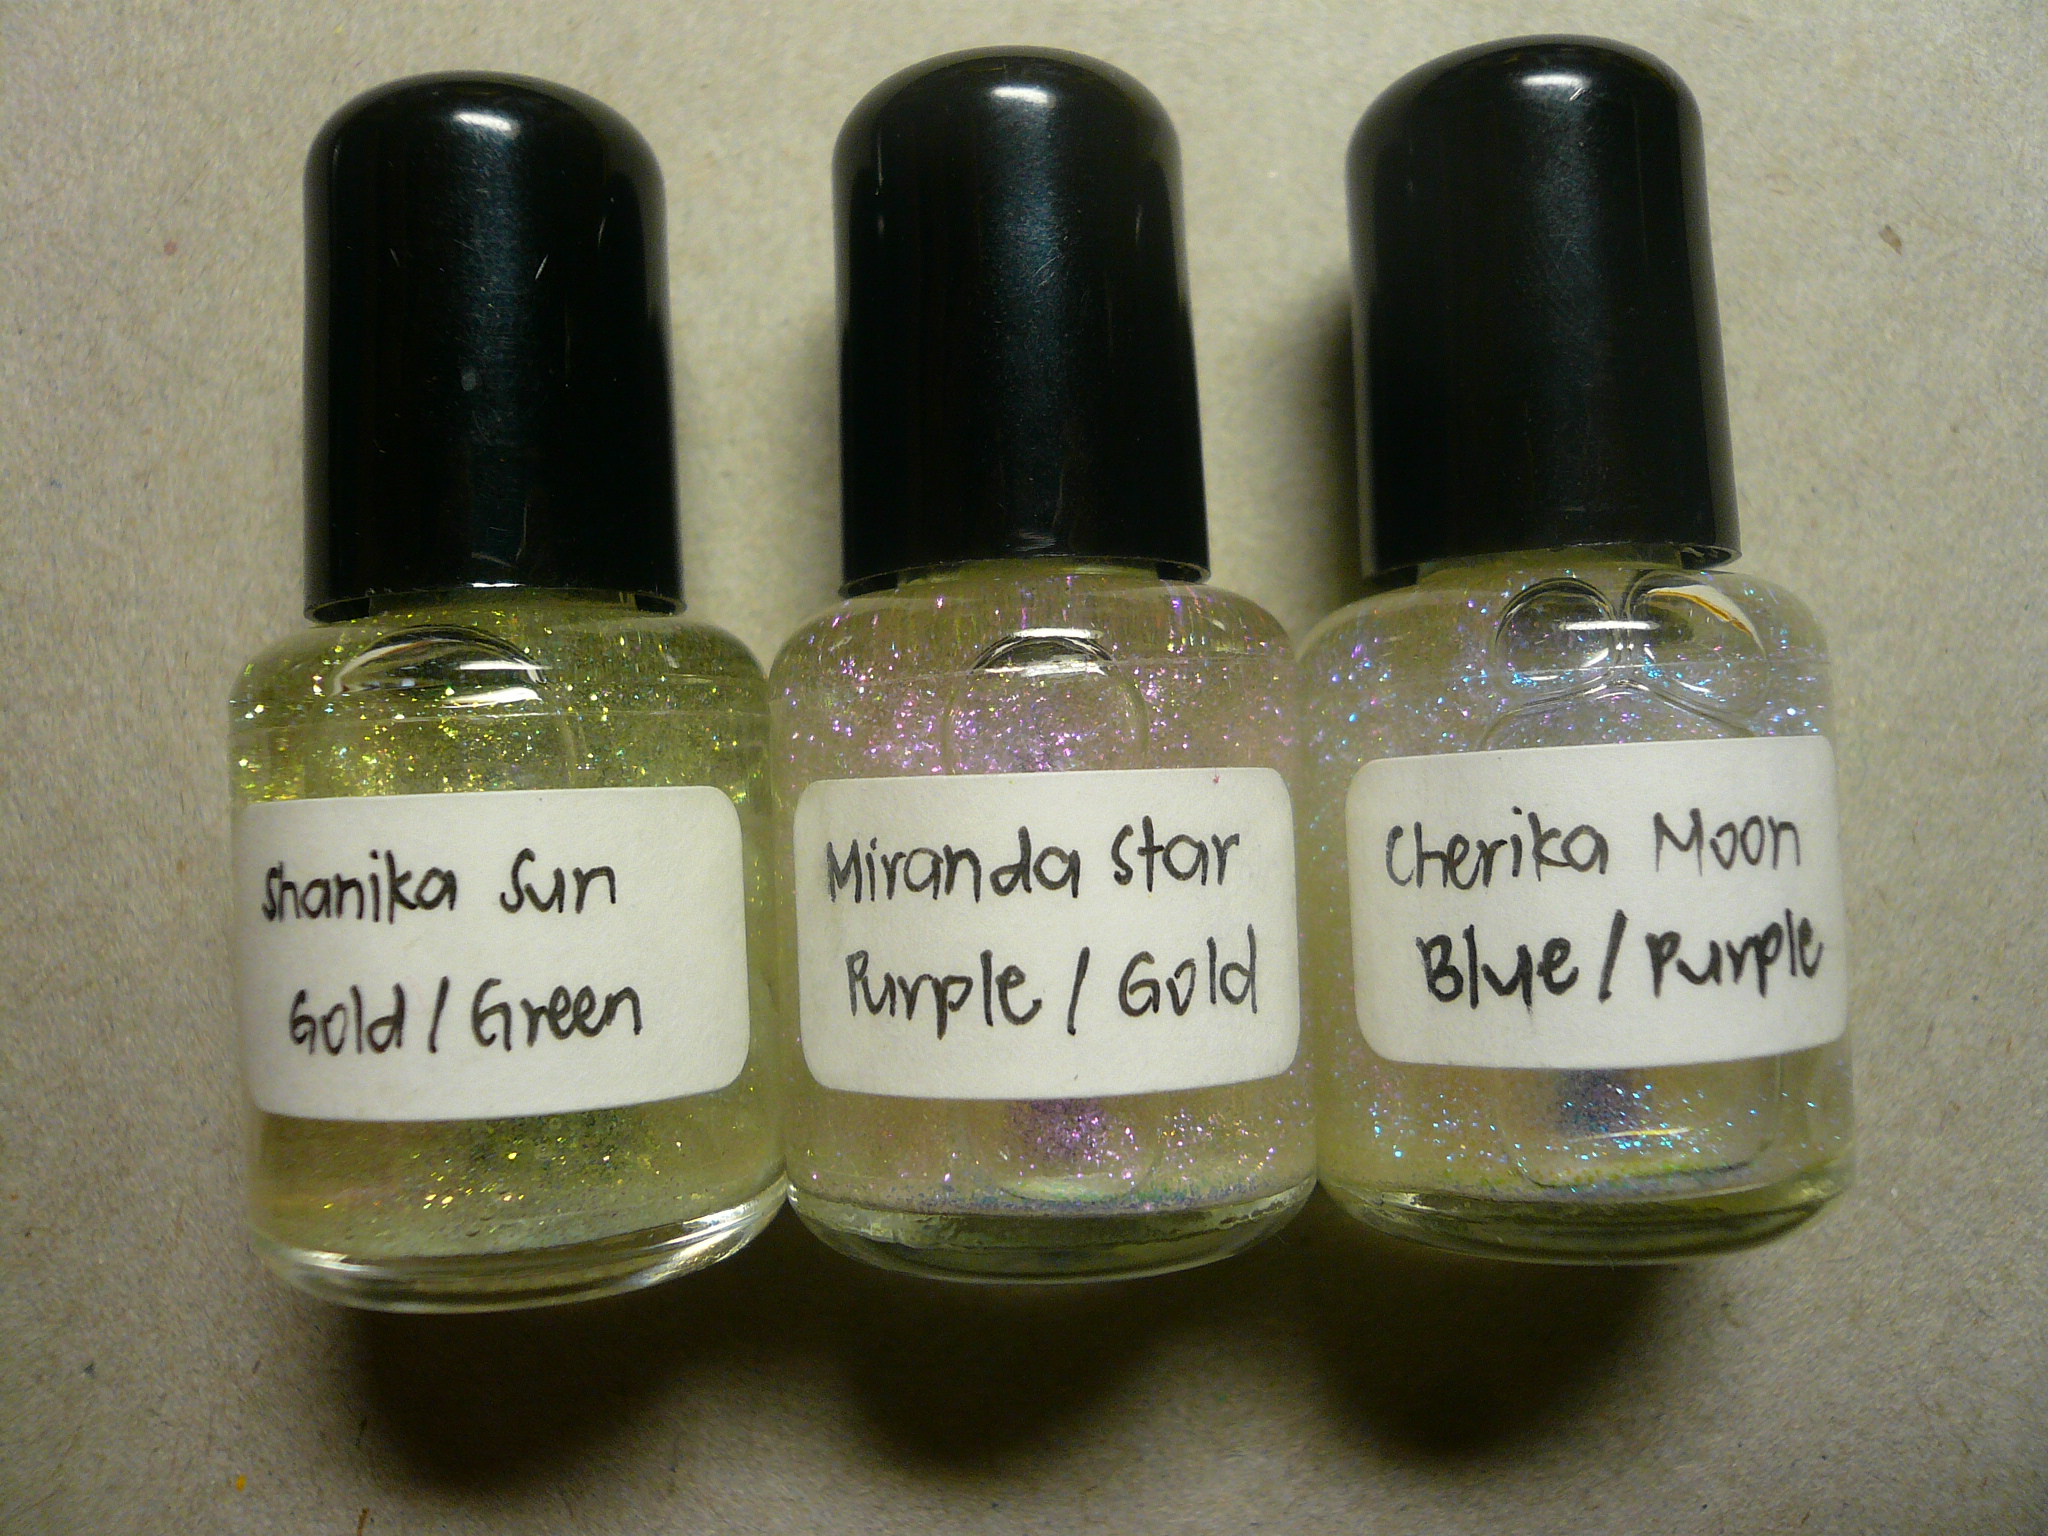
And tadah! New look for all my frankens!

I redid all the labels for my frankens and now they look more "professionally done"! LOL!

Tuesday, February 14, 2012

Color Shifting Top Coat Frankens

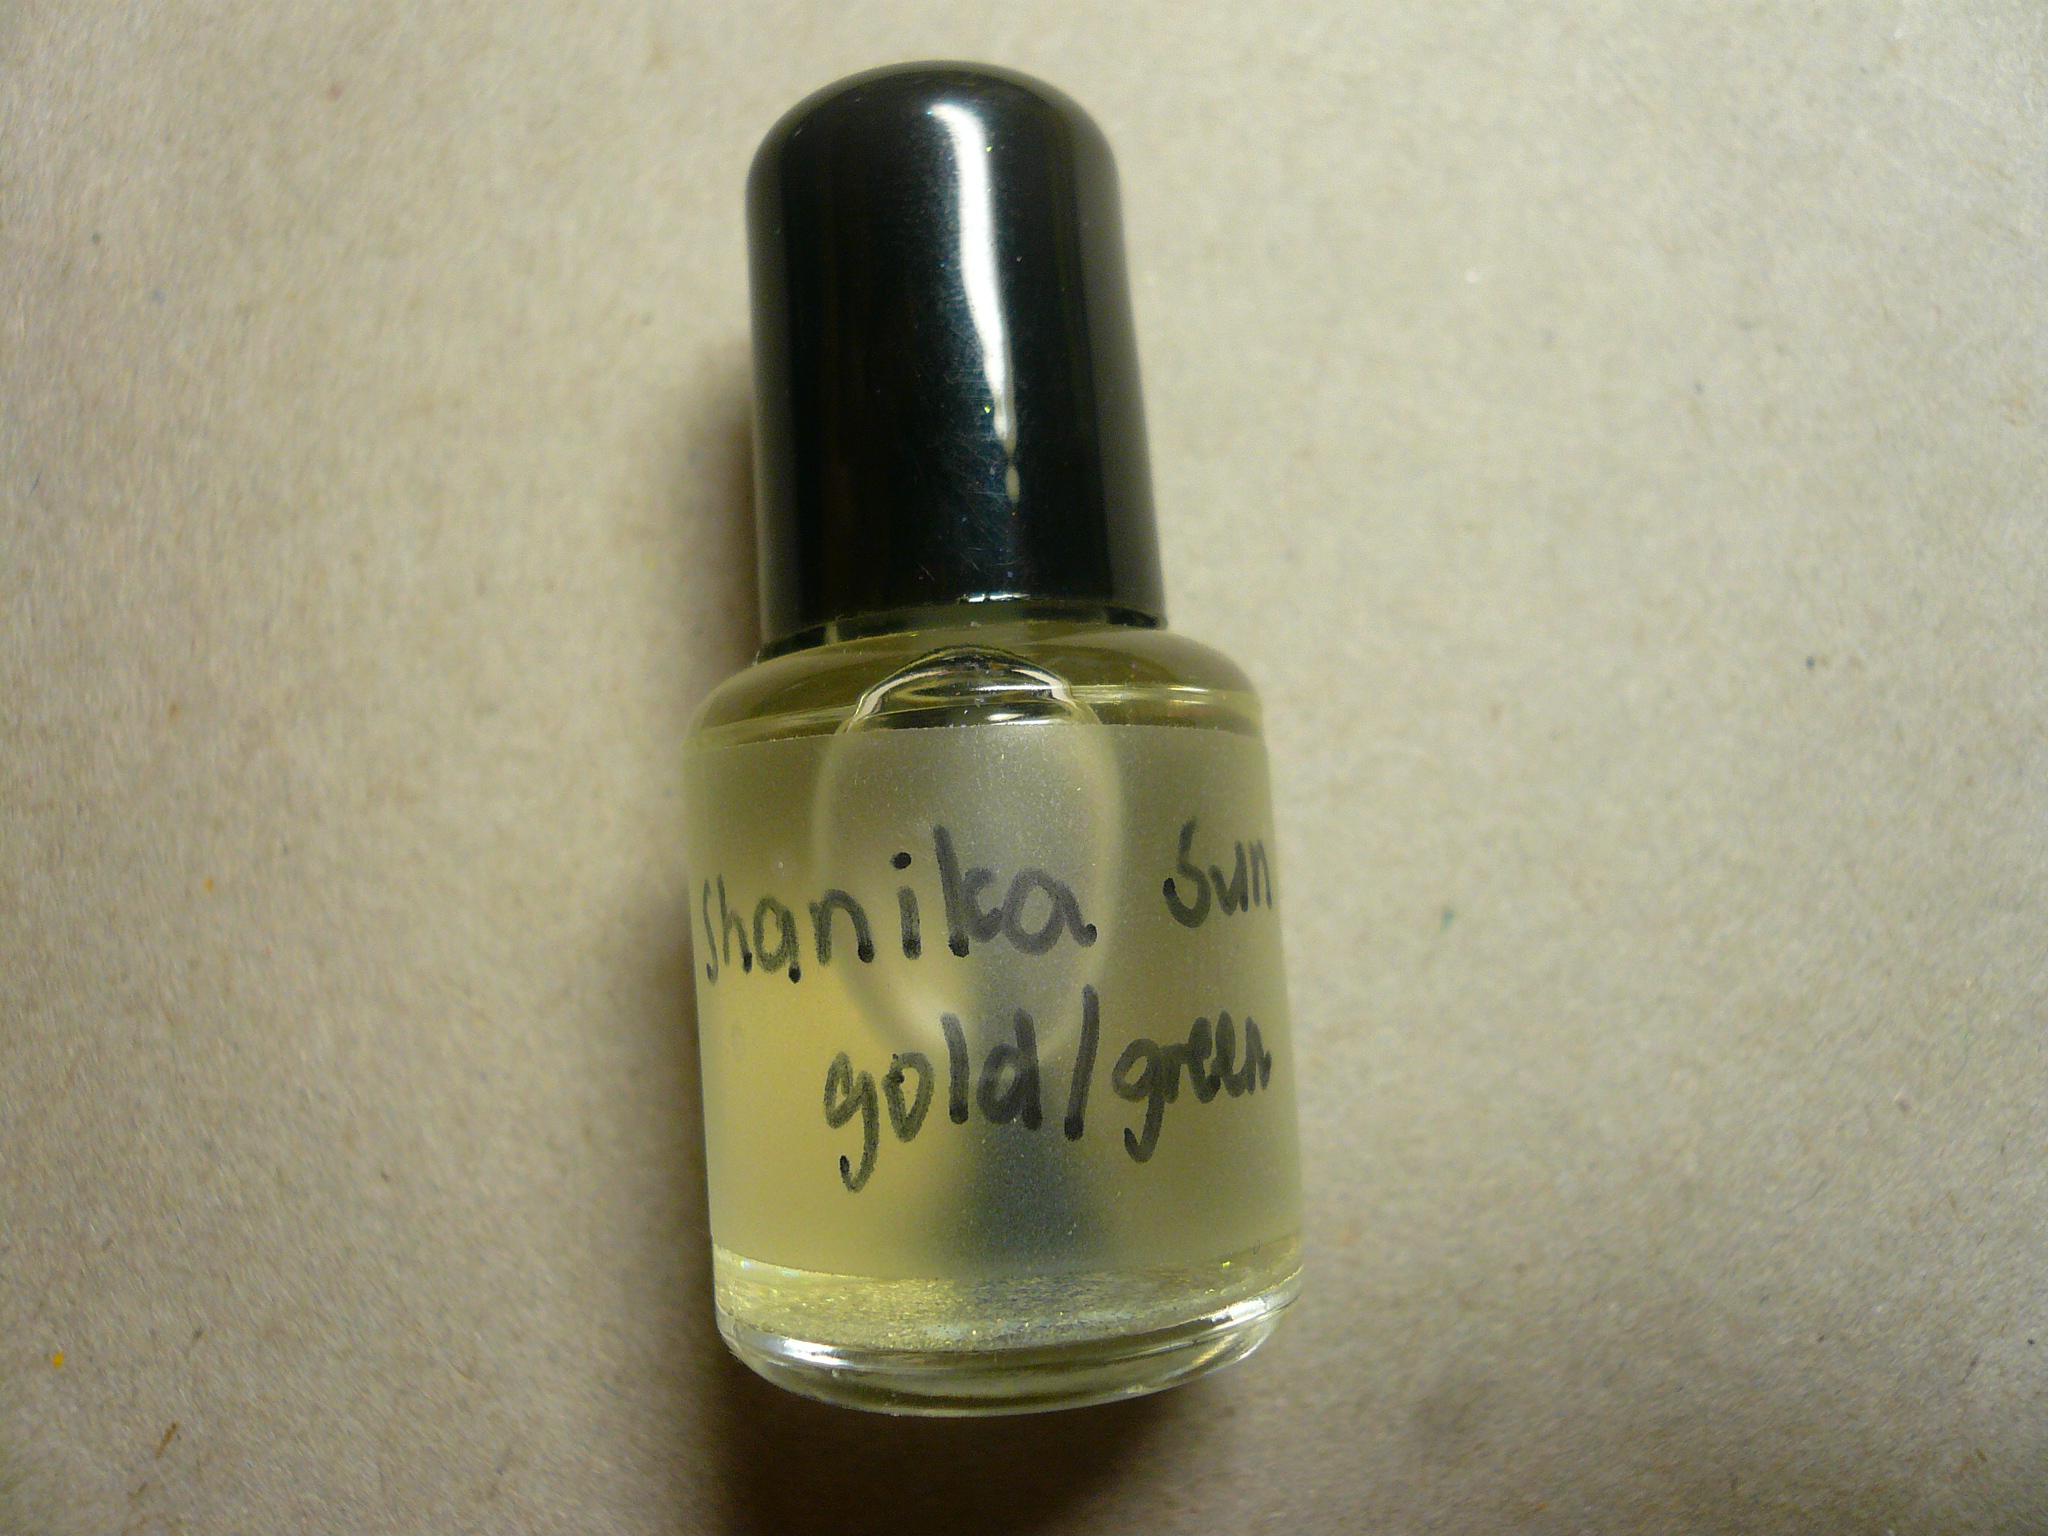
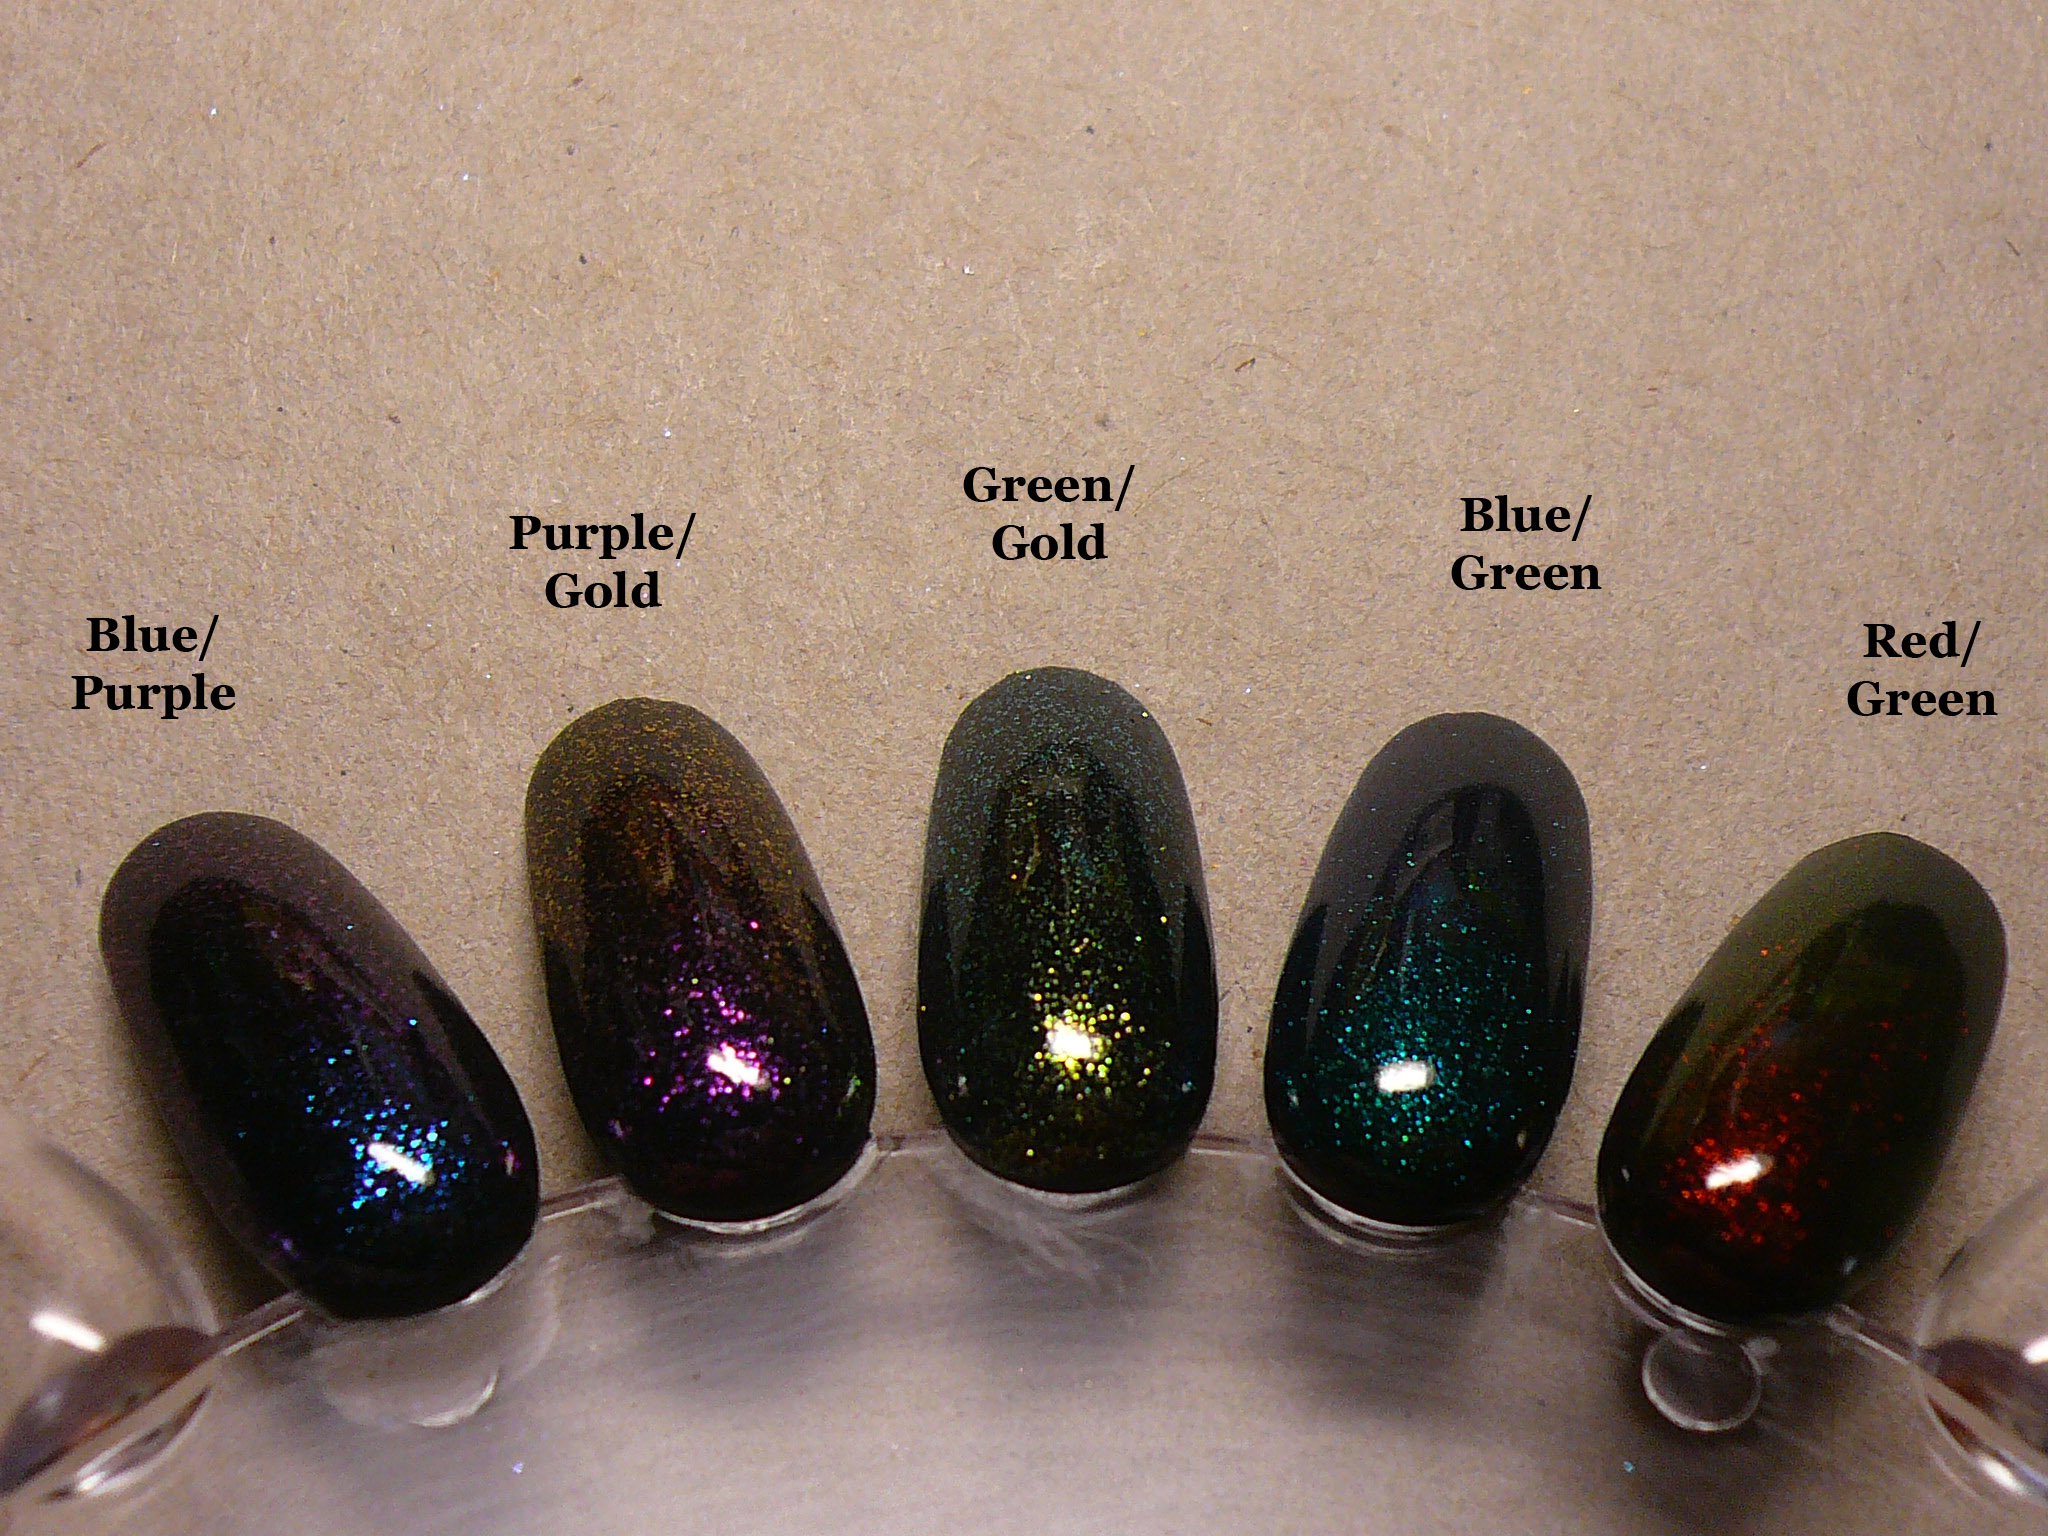
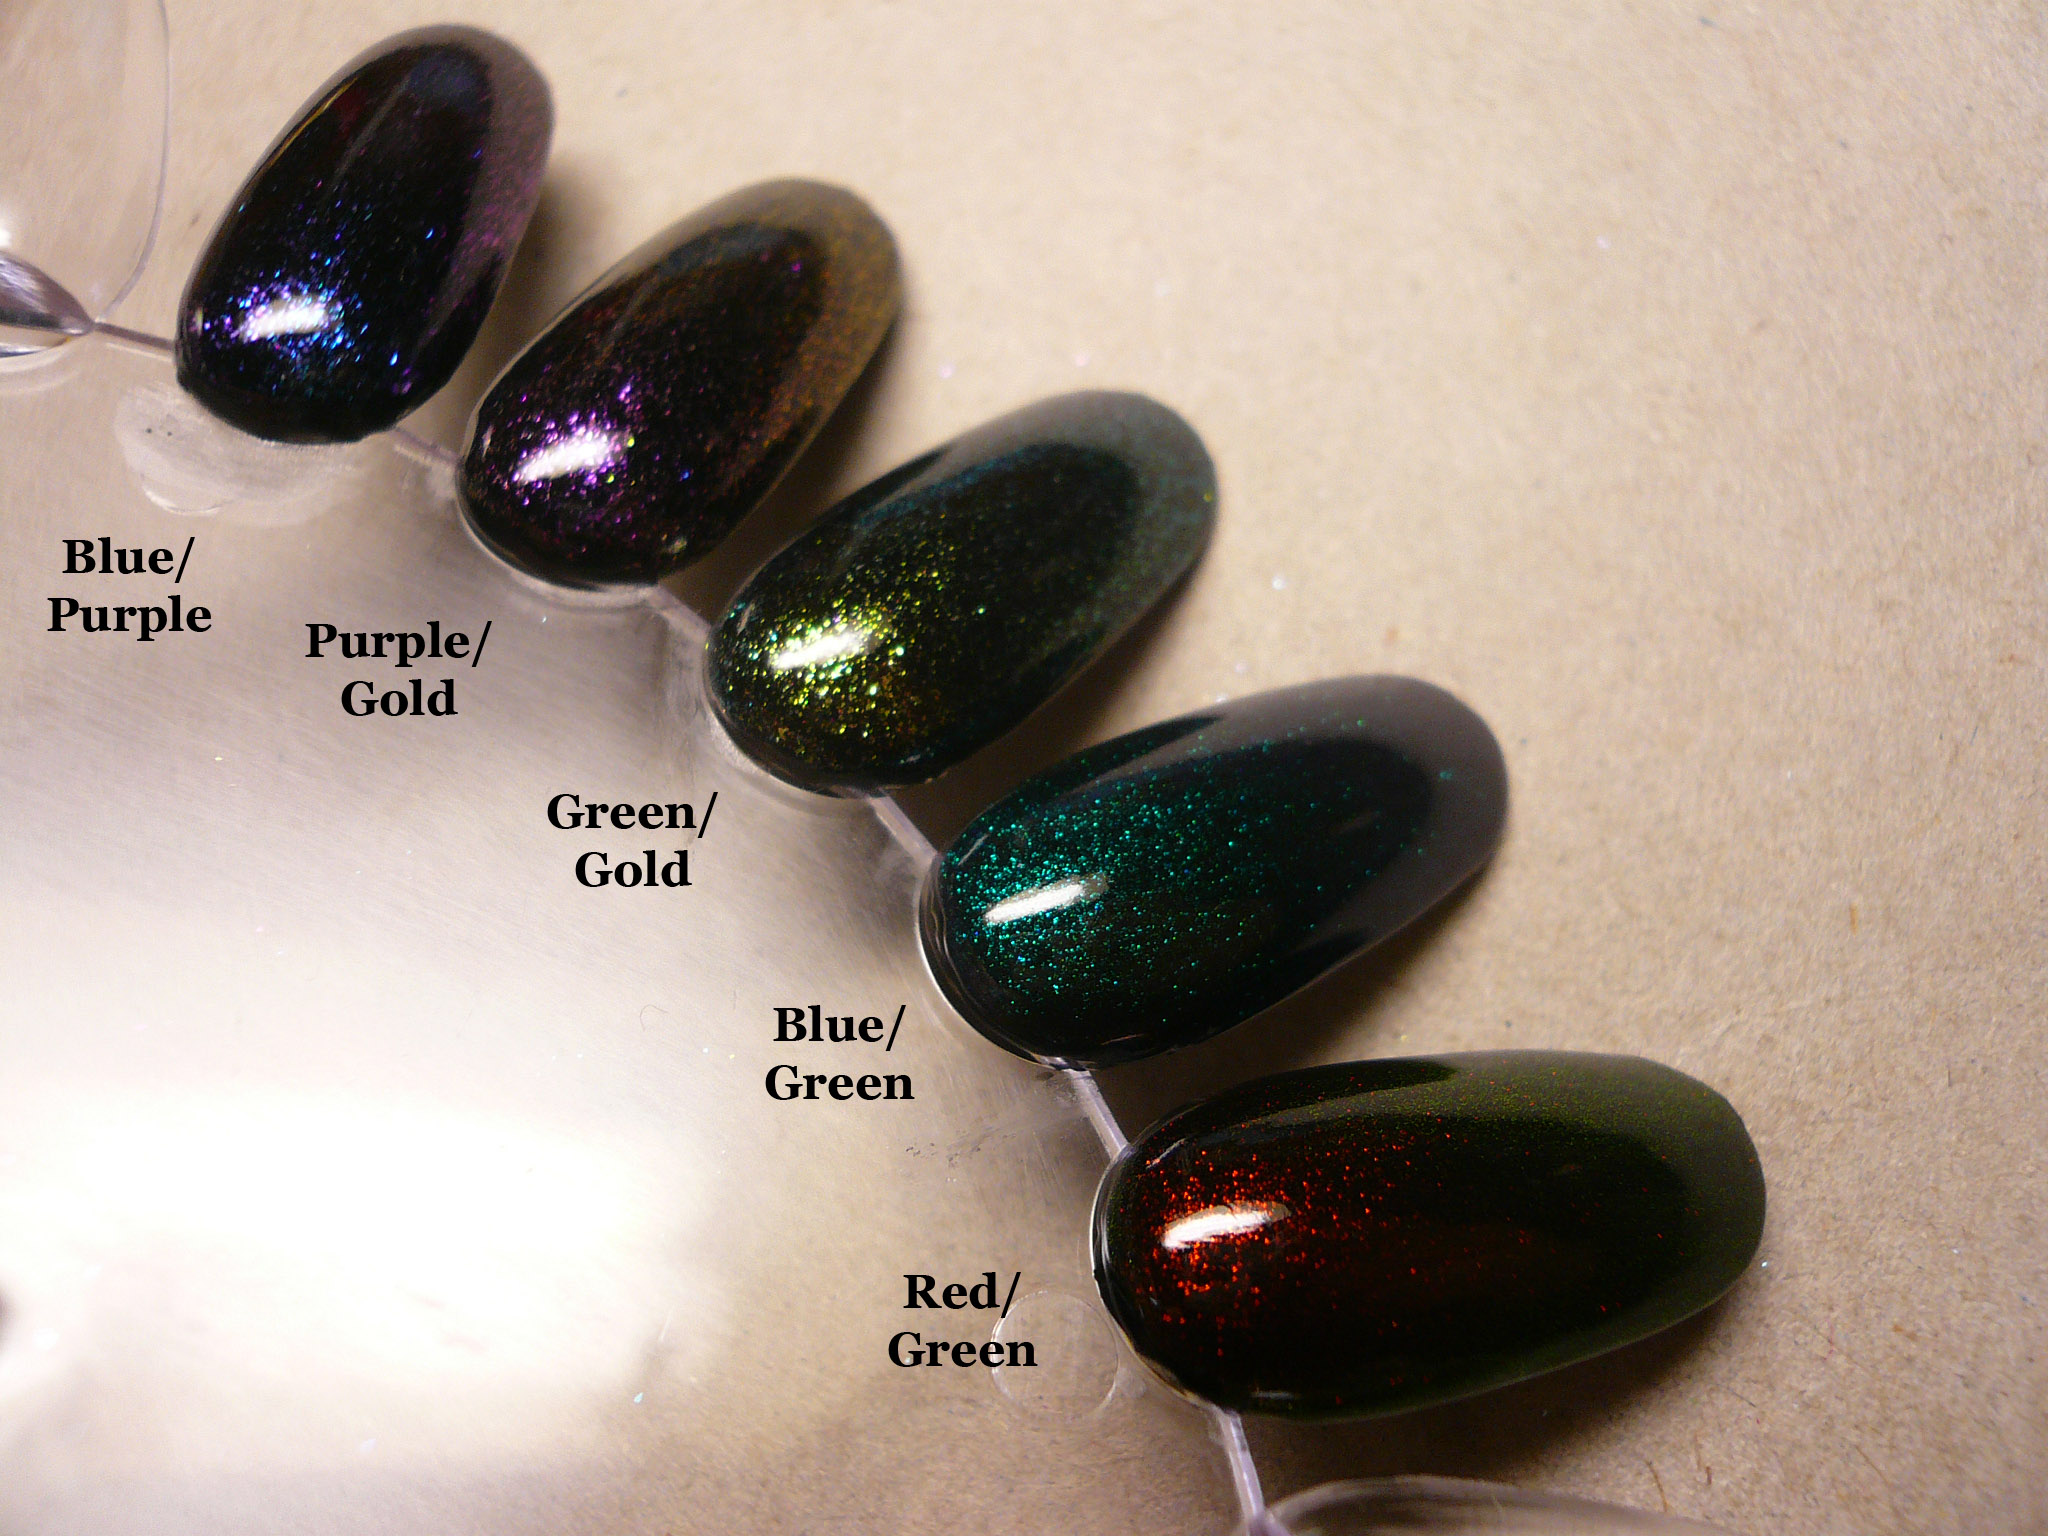
I bought a couple of pigments from More Nail Polish and TKB and I added them into some clear polish to make 5 awesome colour shifting top coats! The two pigments I got from More Nail Polish were finer and appeared to have a more shimmer finish while the ones from TKB had a glass flecked finish!

I bought the Red/Green and Blue/Green pigments from More Nail Polish and the Gold/Green, Purple/Gold and Blue/Purple pigments from TKB. Please click on the links above to find out more on the items!

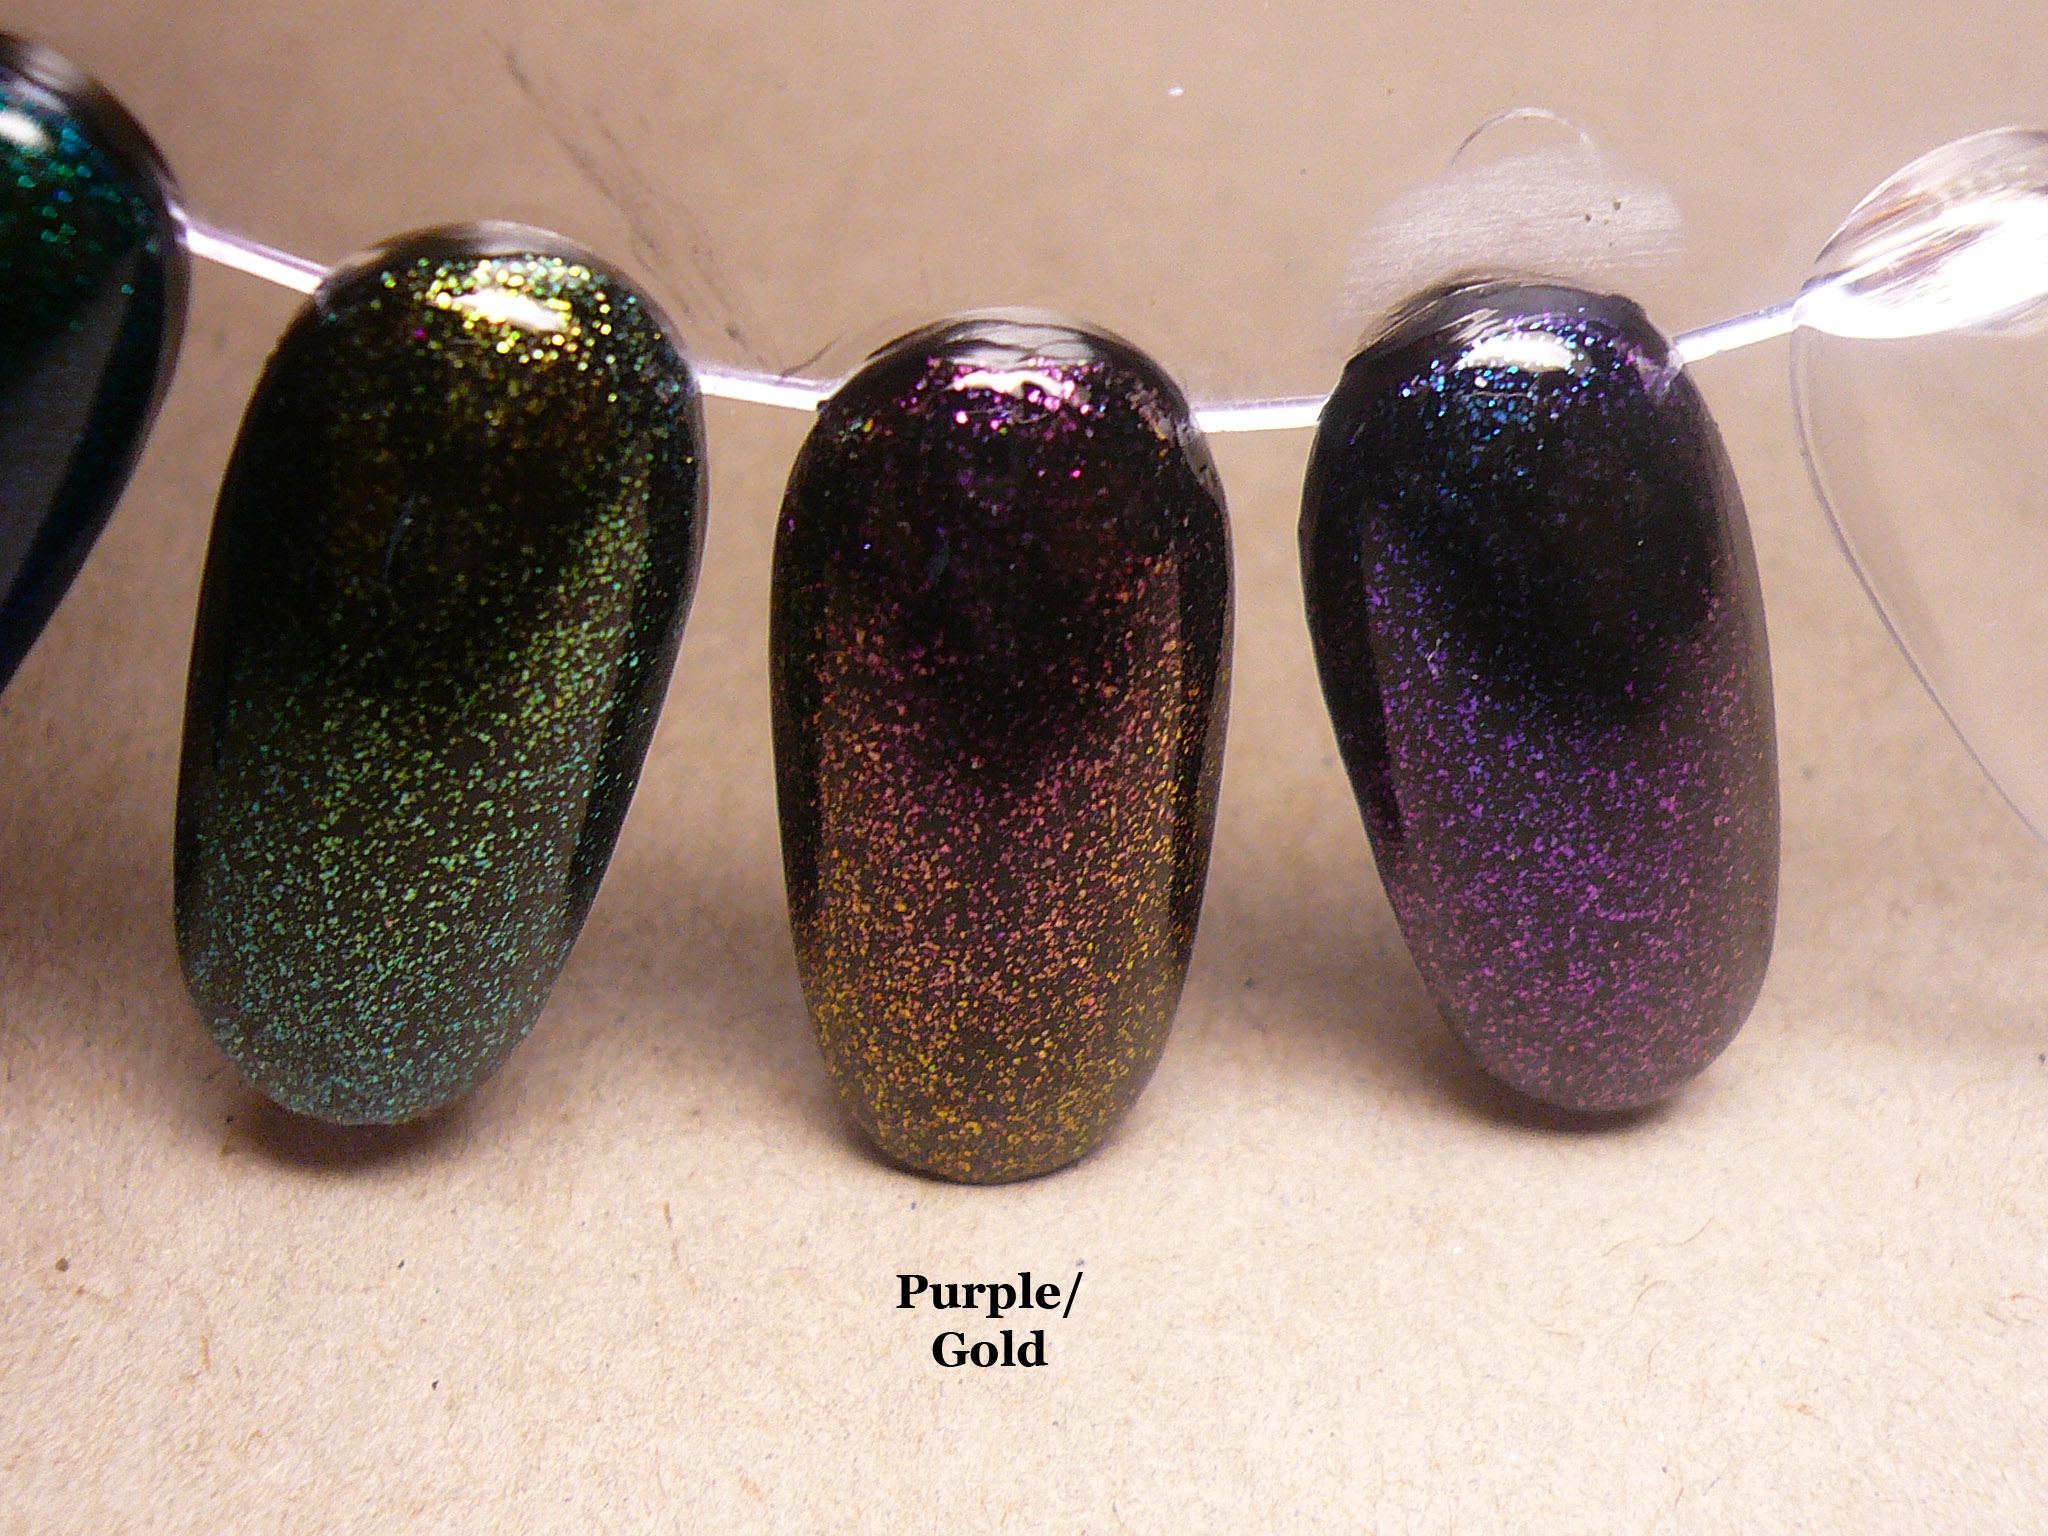
Now, onto peektures! I've typed on the color shifts onto the pictures so it will be less confusing. All the swatches are one coat of the franken top coats on top of two coats of OPI Black Onyx.

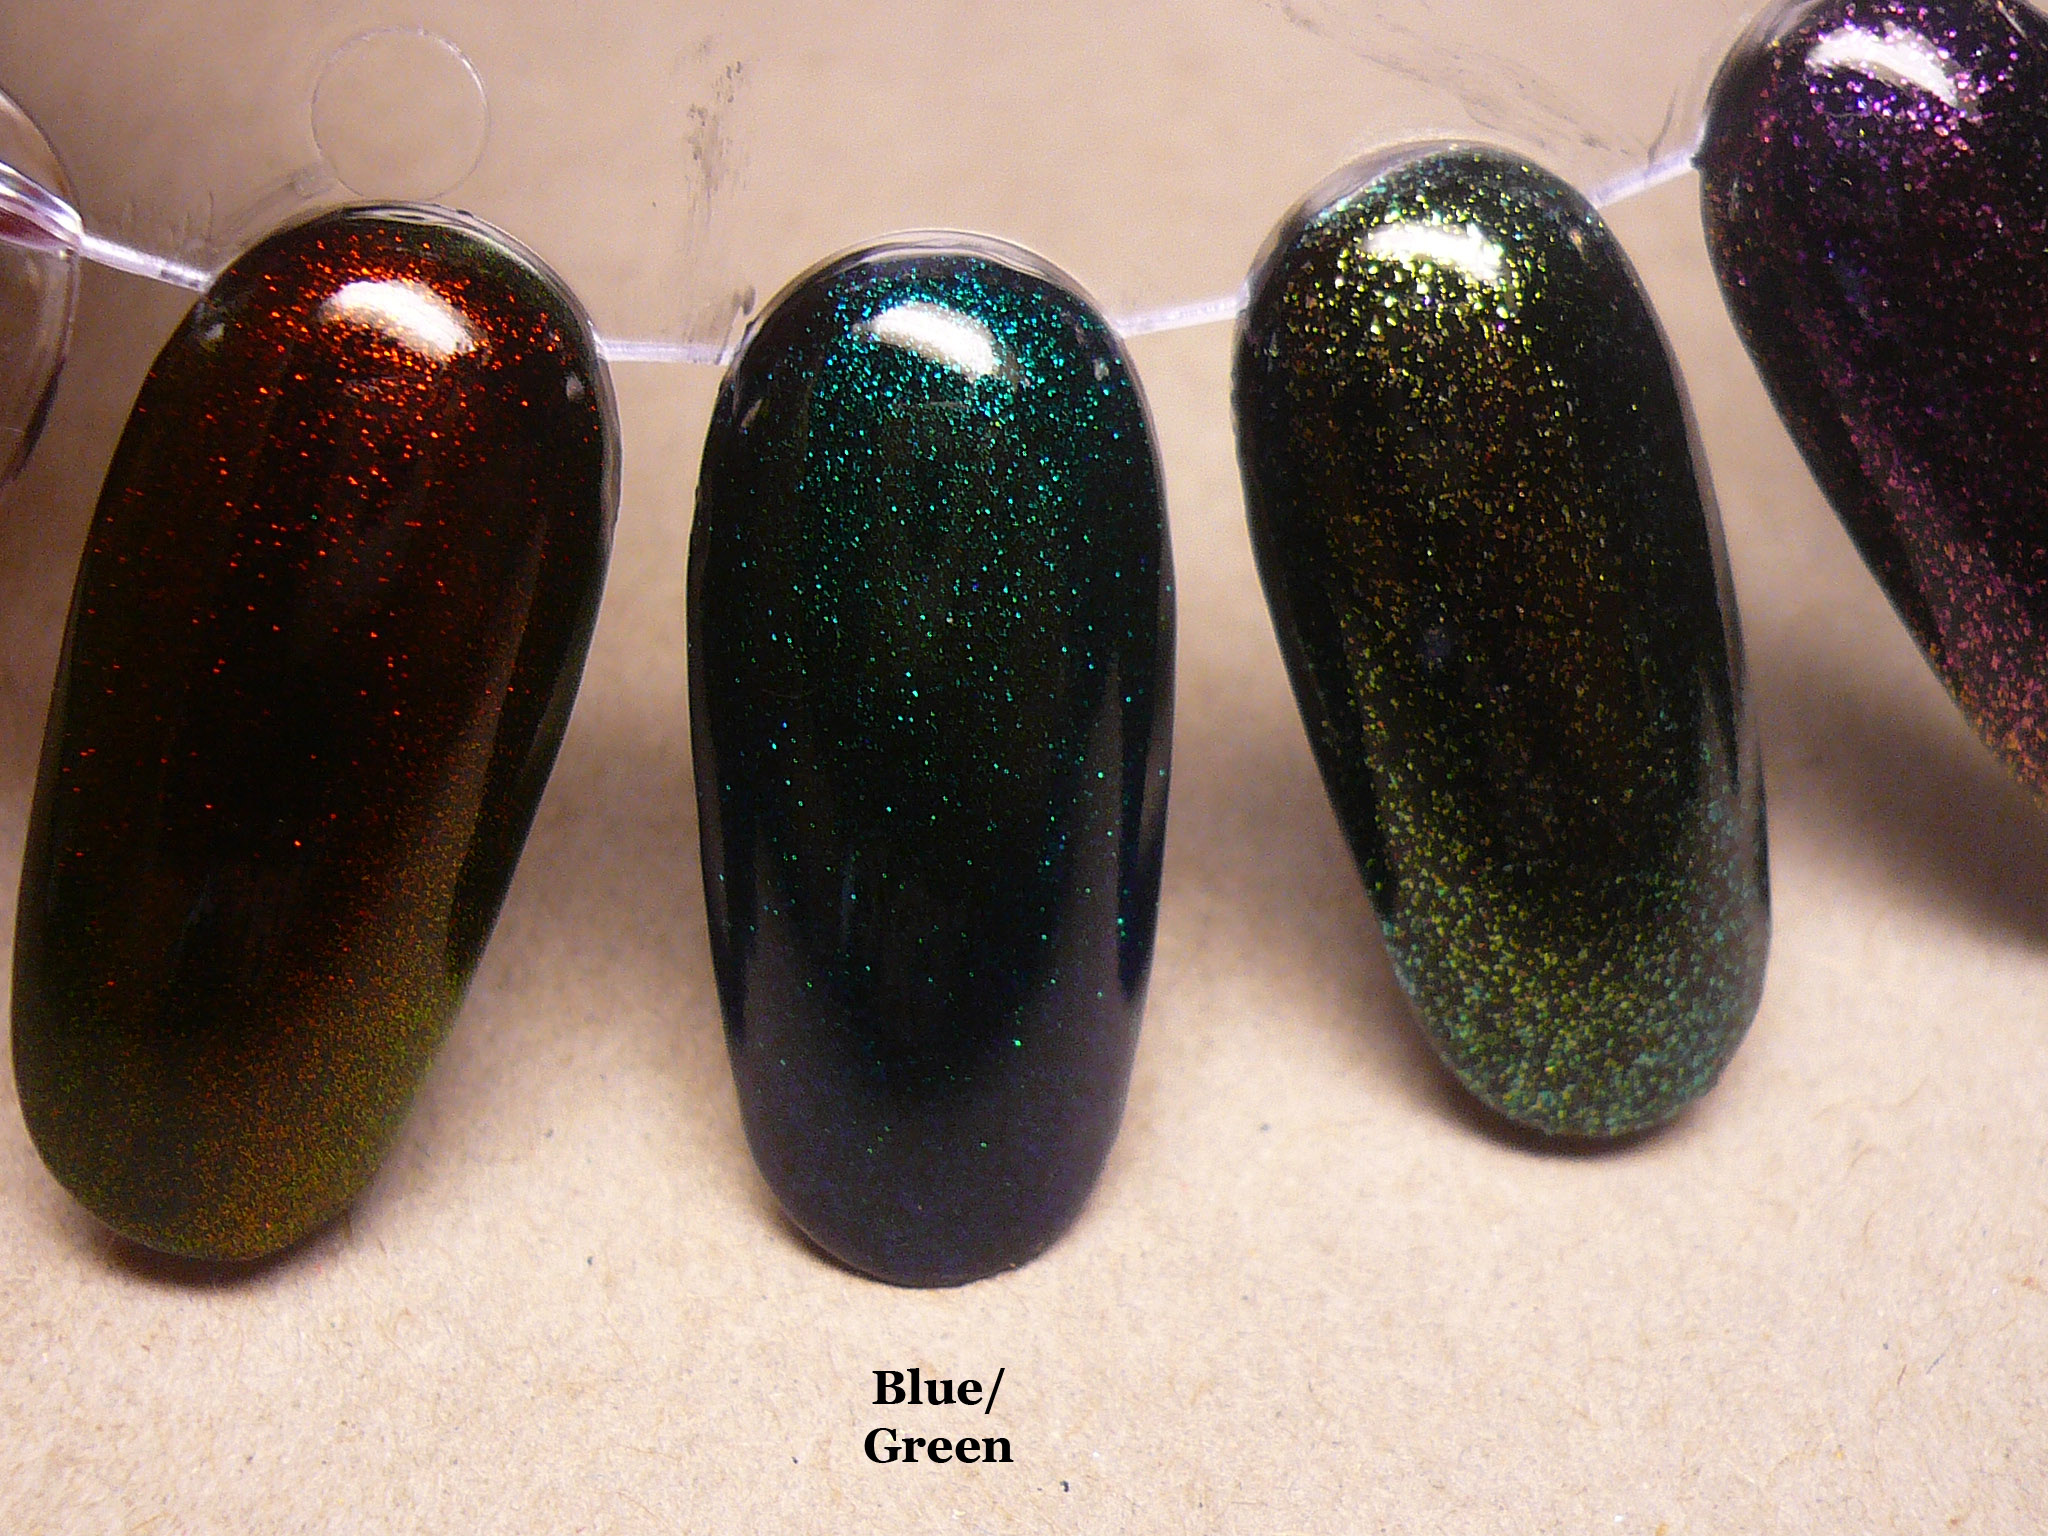
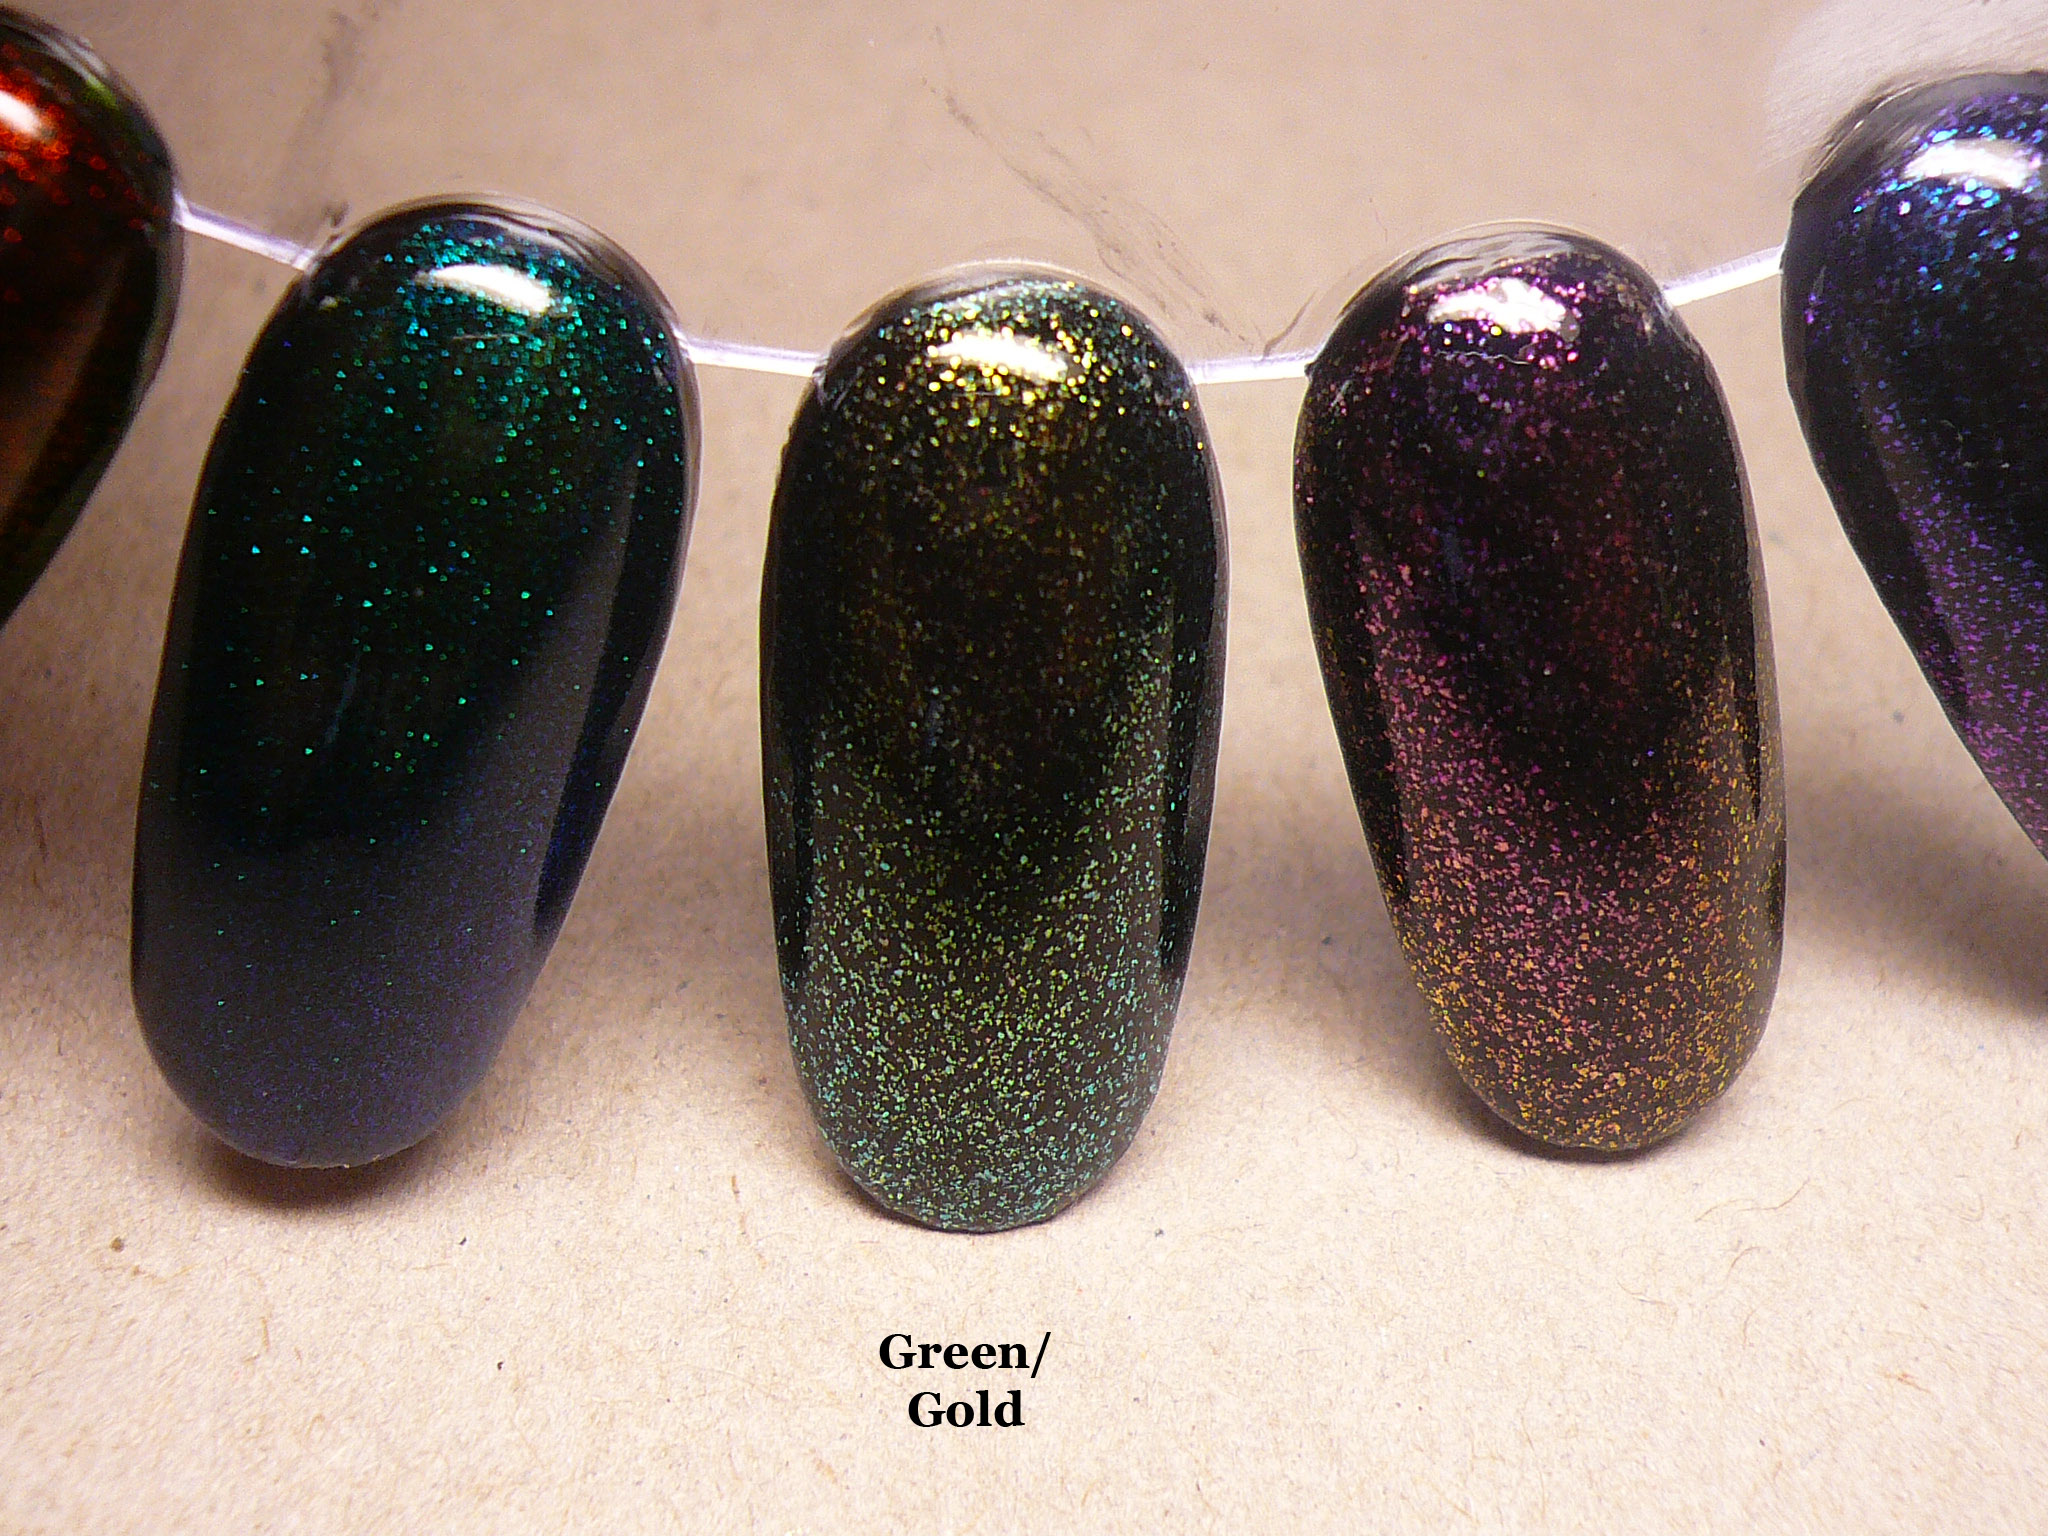
Now for close ups and descriptions for each individual top coat:

Red/Green: This one actually morphs from red to gold to green! It's really pretty and if you've been lusting for Clarins 230, this is one pigment you want. All you need to do is make a purple jelly base and add in some of this pigment and BOOM, you have yourself a Clarins 230 franken dupe! And it'd only cost you a fraction of the cost!

Blue/Green: This one reminds me of Catch Me In Your Net / Yodel On My Cell! I'd like to see it in some other polish though!

Green/Gold: This was made from the pigment called Shanika Sun and it's been compared to Orly It's Cot Rocket Science.

Purple/Gold: This one was made from Miranda Star and it's comparable to Galaxy Girl although I personally find it looks closer to Space Cadet!

Blue/Purple: This last one was made from Cherika Moon and again it's comparable to another Orly polish, Lunar Eclipse. I, however feel like it's more similar to Galaxy Girl!

Pretty pretty pretty top coats right? I do think that I should have added less pigments into the clear polish because I intended them for layering and it's a little too dense for the base colour to shine through. The glass fleck top coats do remind me of some CND sparkle effects polishes too. If I'm not wrong, Raspberry Sparkle and Sapphire Sparkle do look similar to two of the frankens I've made so I don't feel the urge to buy them anymore. Yay to saving money! (:


Wednesday, October 26, 2011

OPI DS Glamour

I received such an awesome nail mail last night. When I saw my package waiting for me on my dining room table, I think I did a little polish dance!

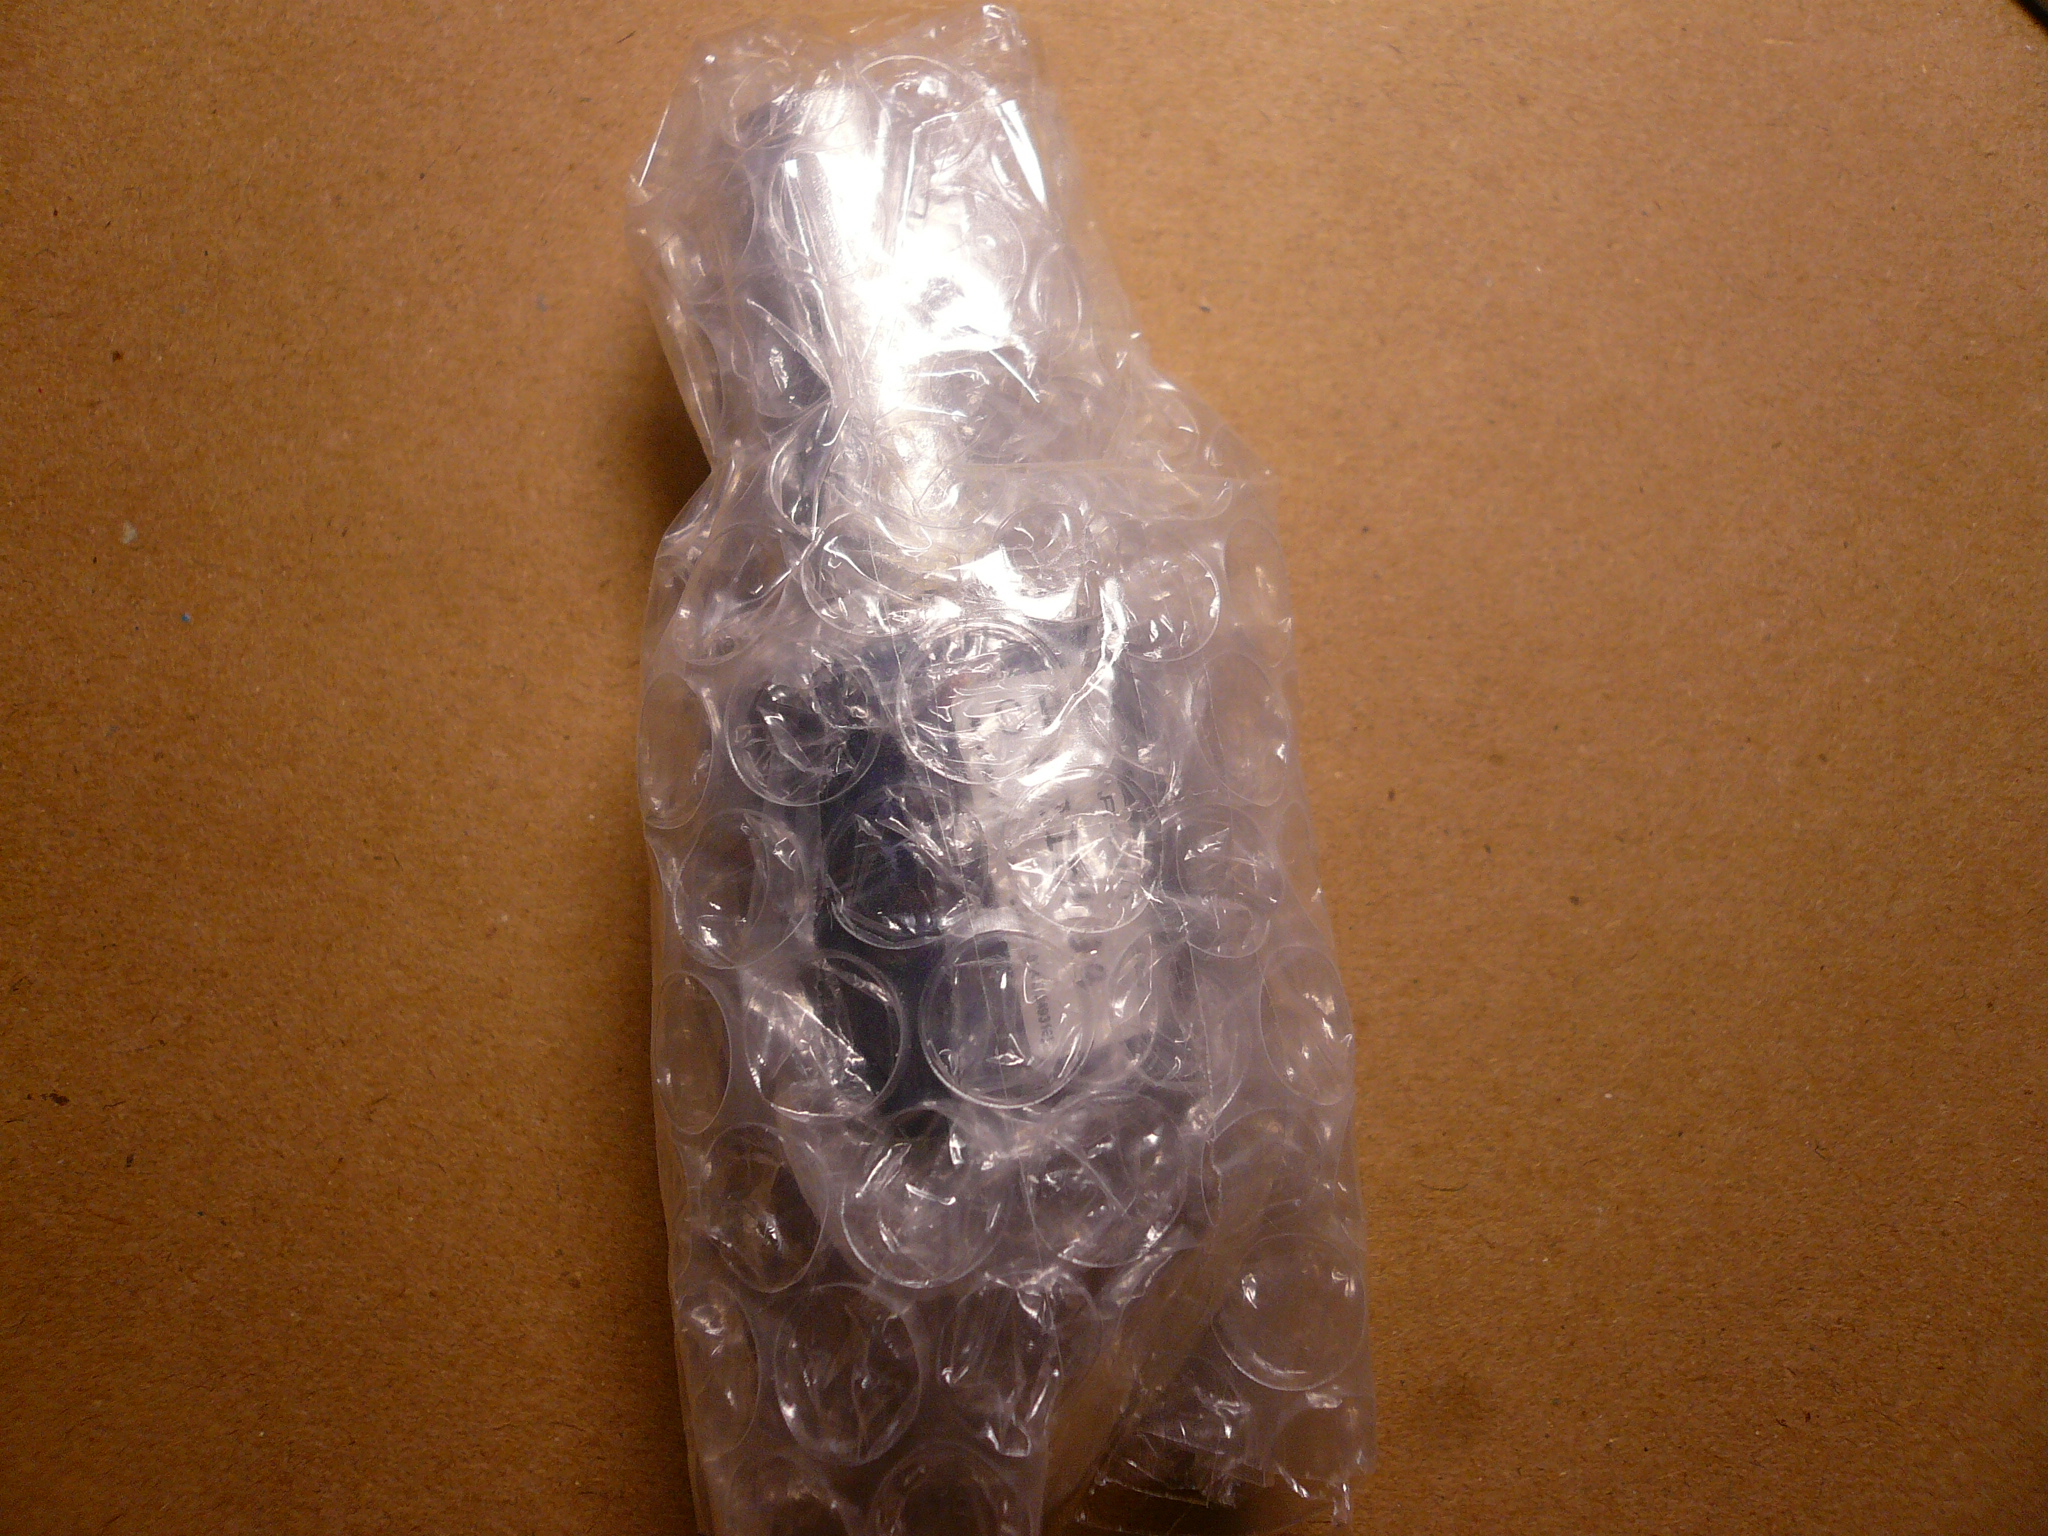
Couldn't wait to unwrap it! And I was a tiny bit worried it might break in the mail (yes, my polish has broke in the mail before, lucky I found out it was a fake OPI if I'd be even more sad), considering how much I paid for this baby. This is my most expensive polish to date, way more expensive than Chanel or MUS, simply because it's discontinued and super HTF. But after looking at the prices it was selling for on ebay, I think I got a good deal.

I finally managed to unwrap the bubble wrap without ripping it apart (I like to keep the bubble wrap)!

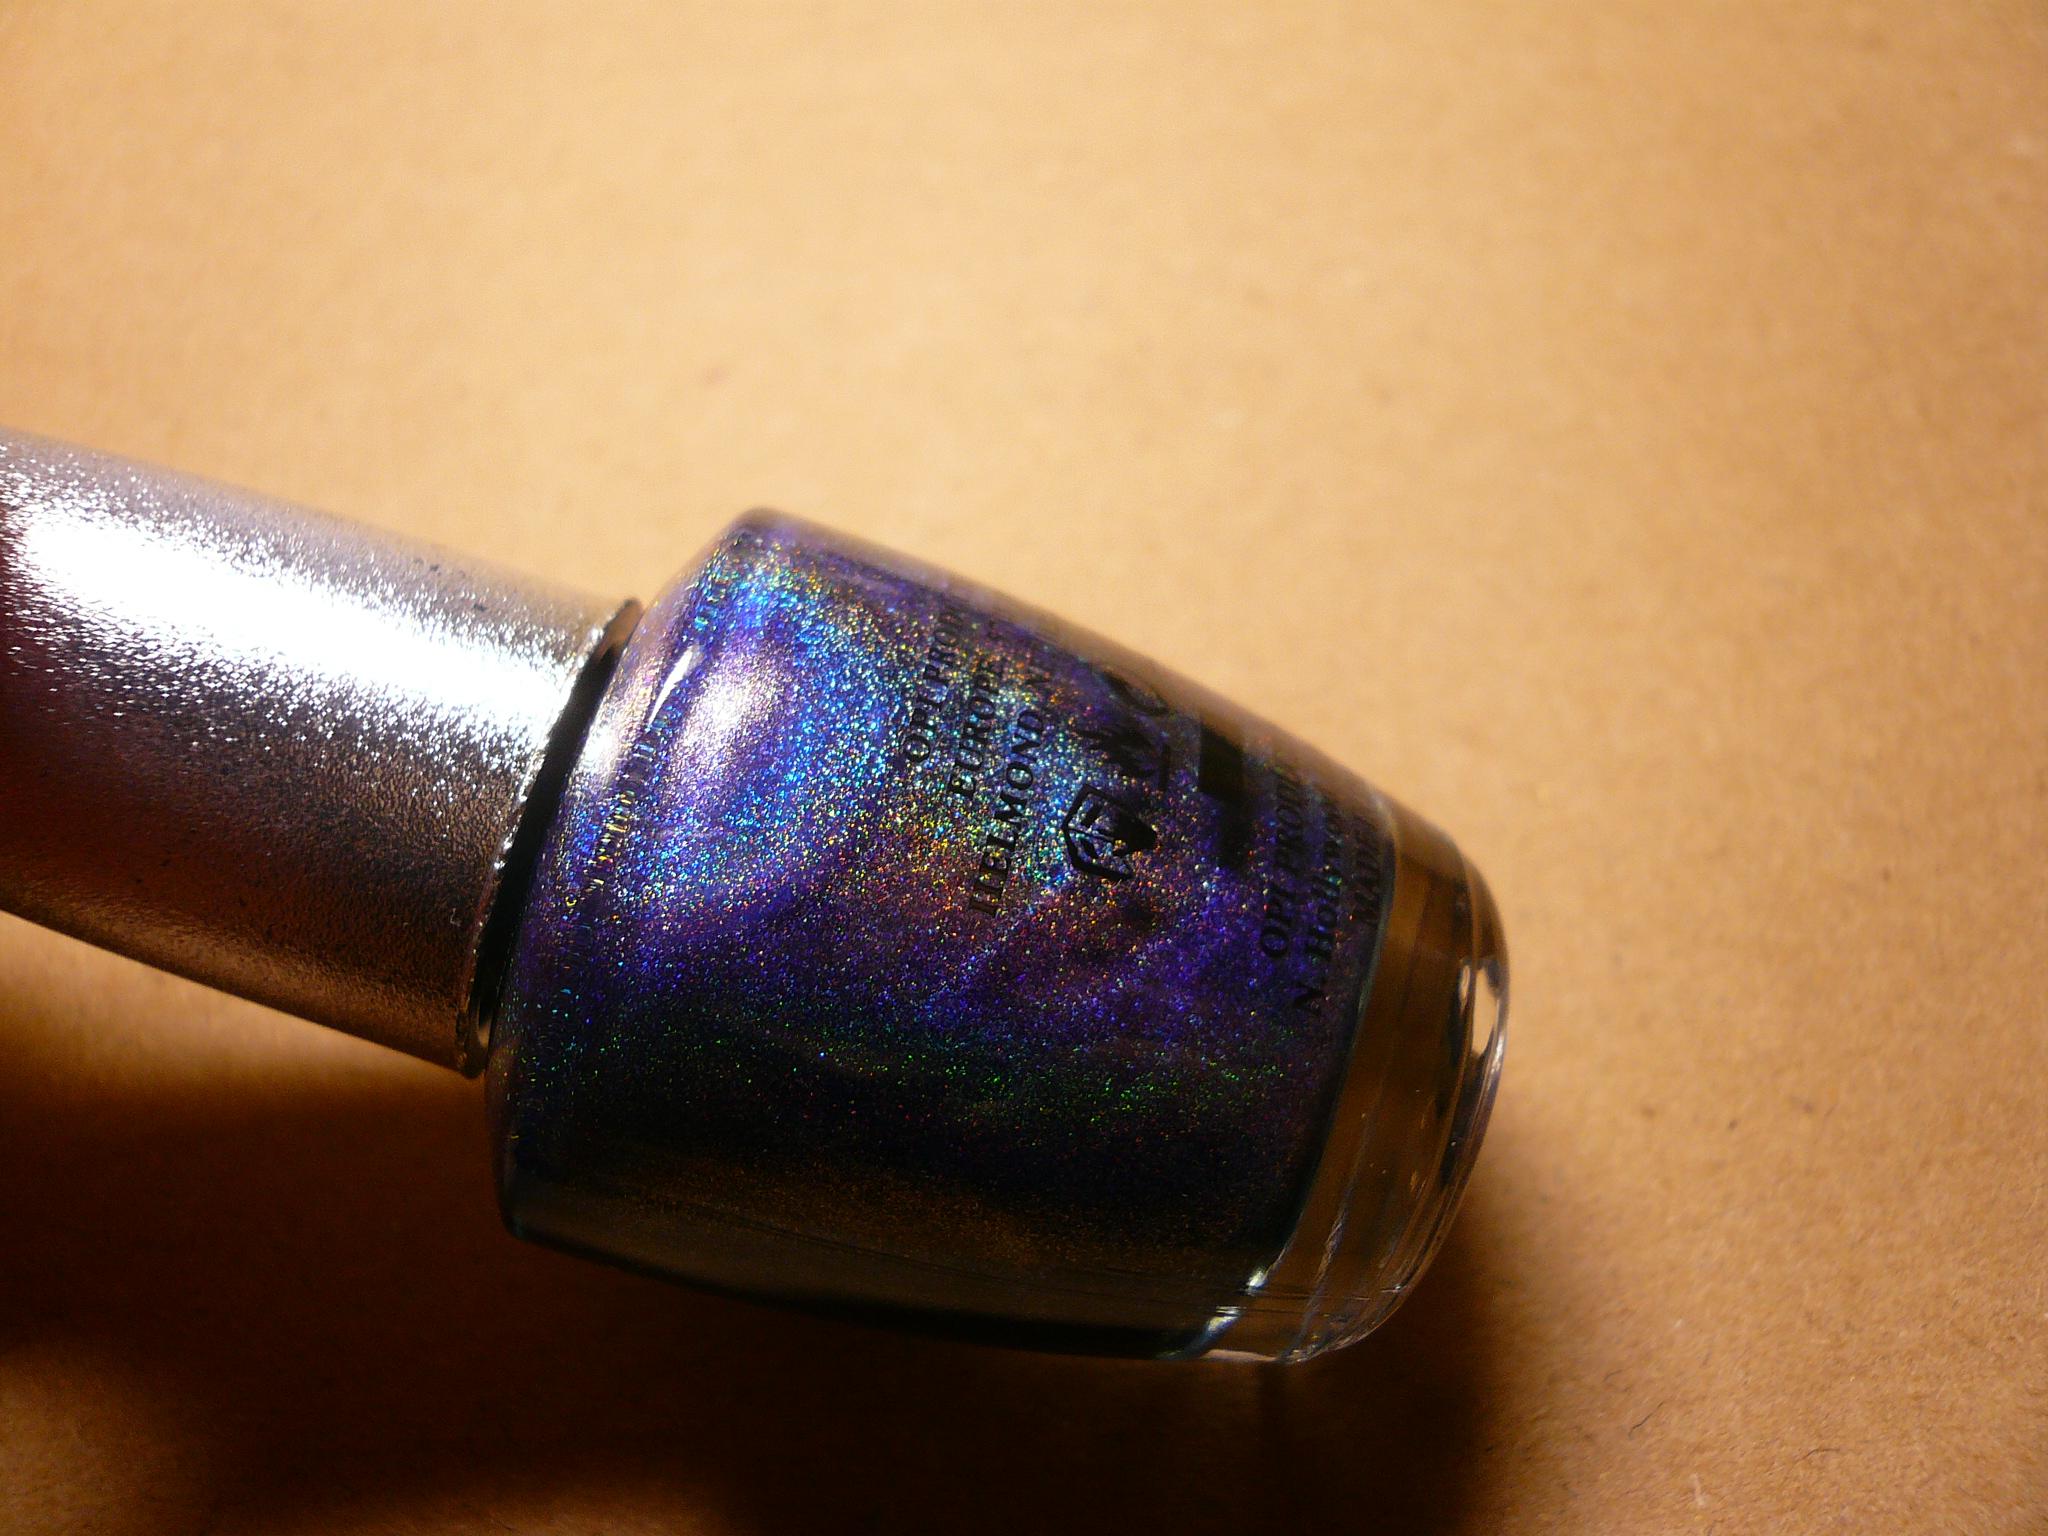
Look at this beauty! JOLIE! C'est belle! (Haha, I'm learning French now so might as well practice some vocab)

This picture was taken with flash to bring out the holo effect.

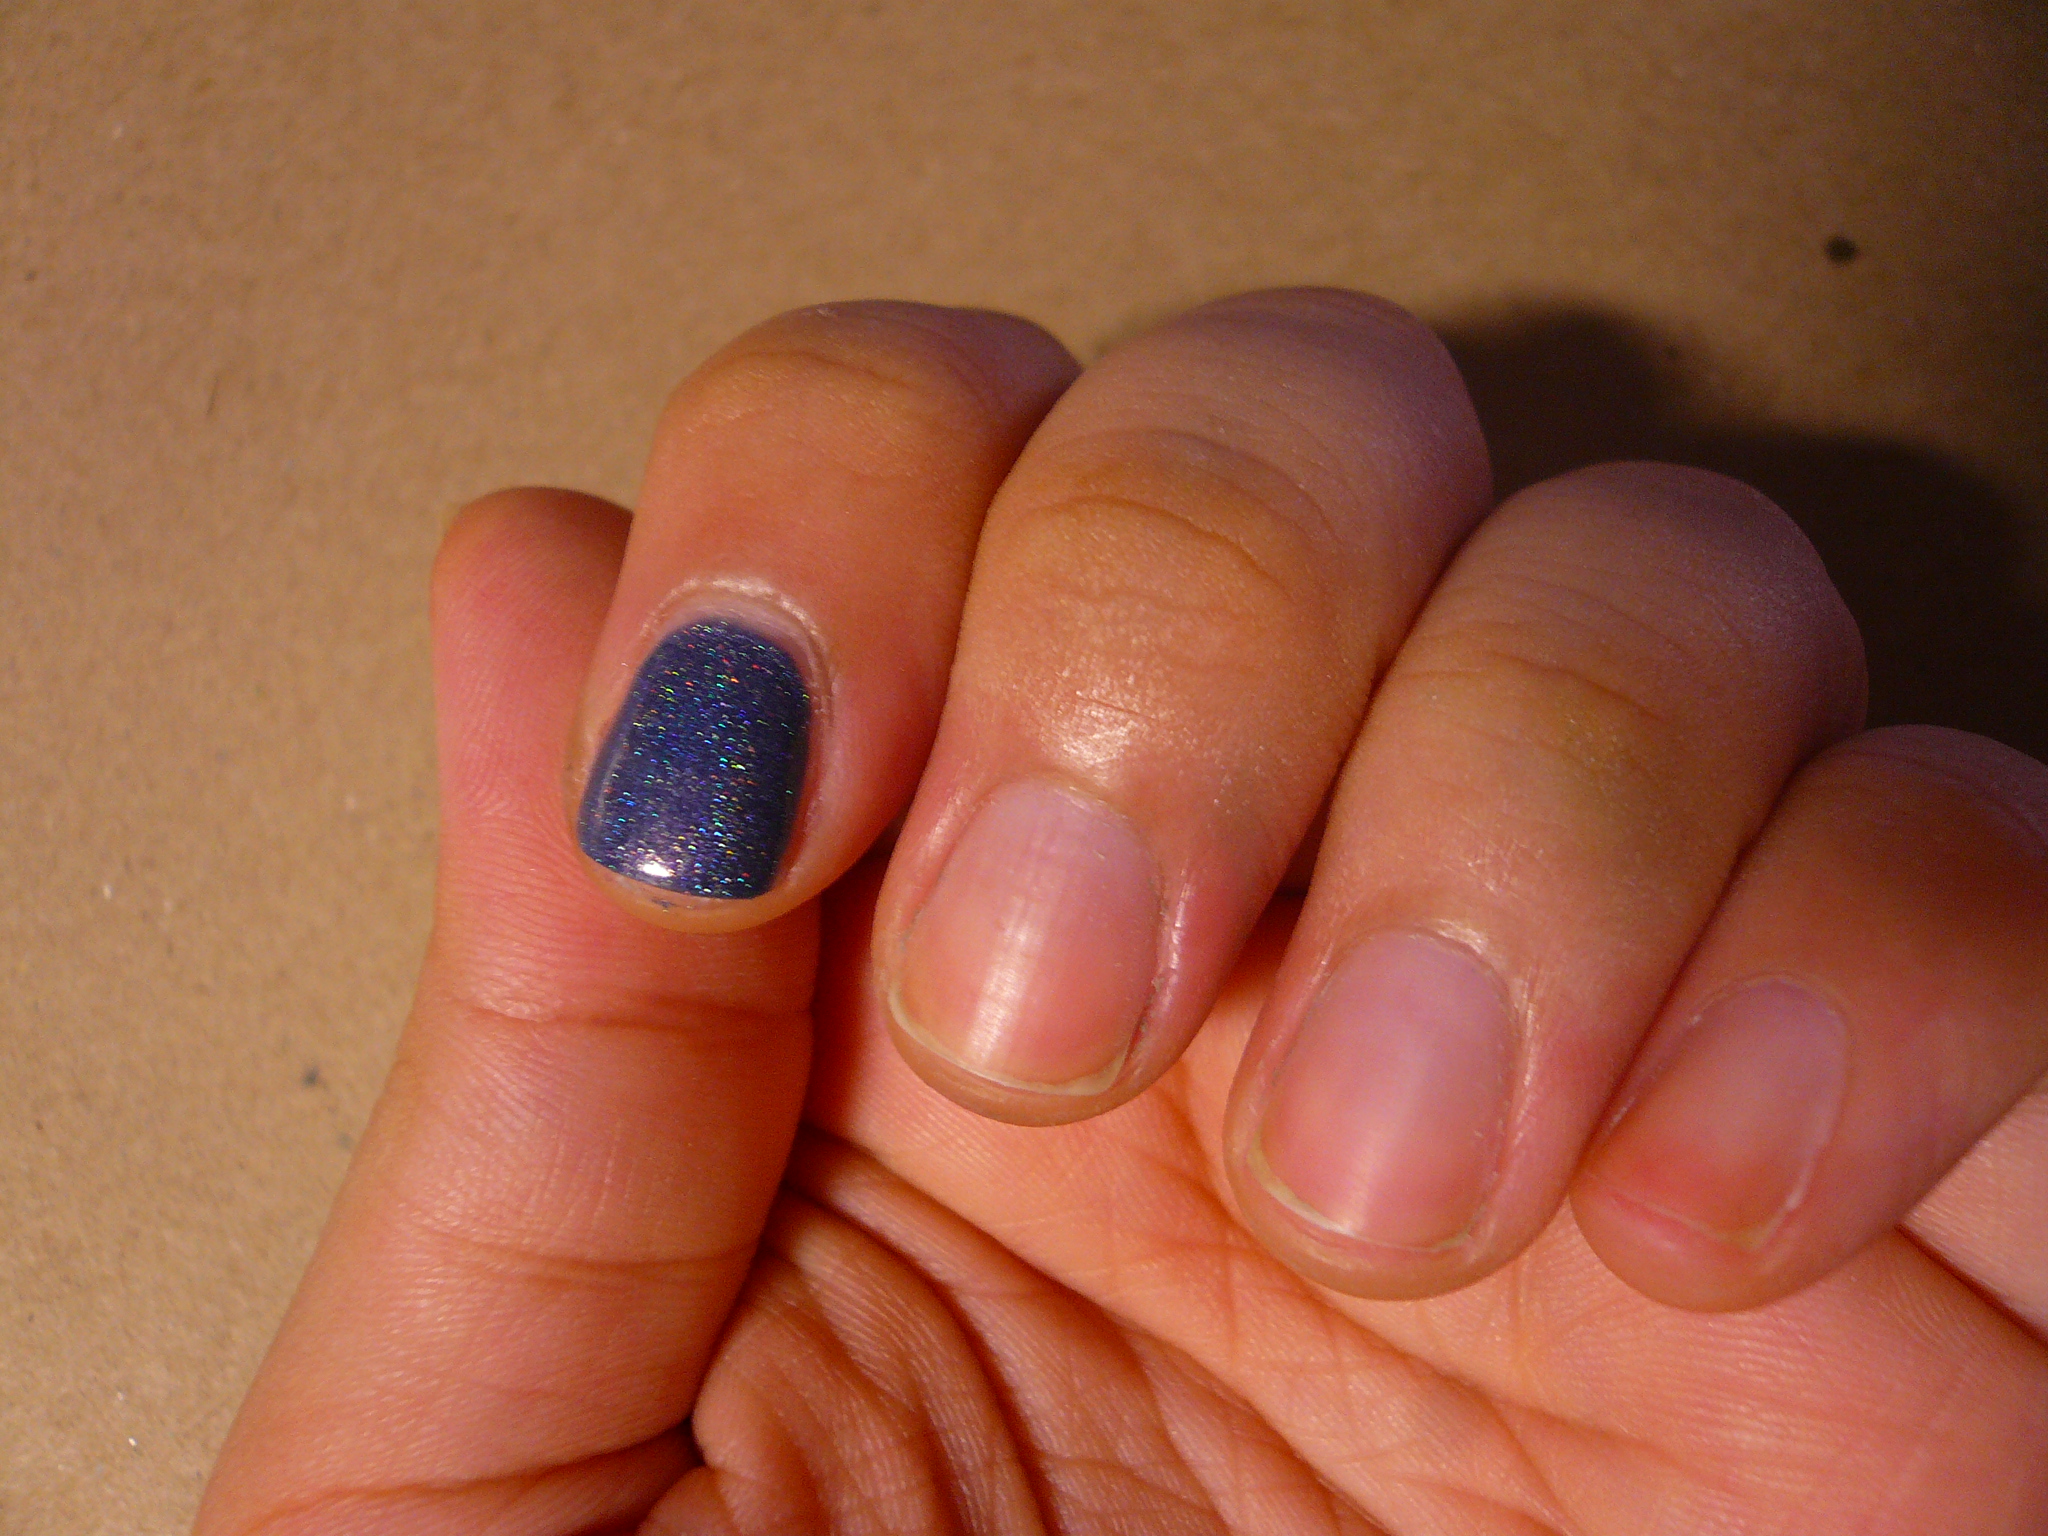
Since this polish cost so much, I didn't want to waste it by swatching all my fingers so I do apologize for only swatching one finger but let me make it up to you by showing you more pictures!

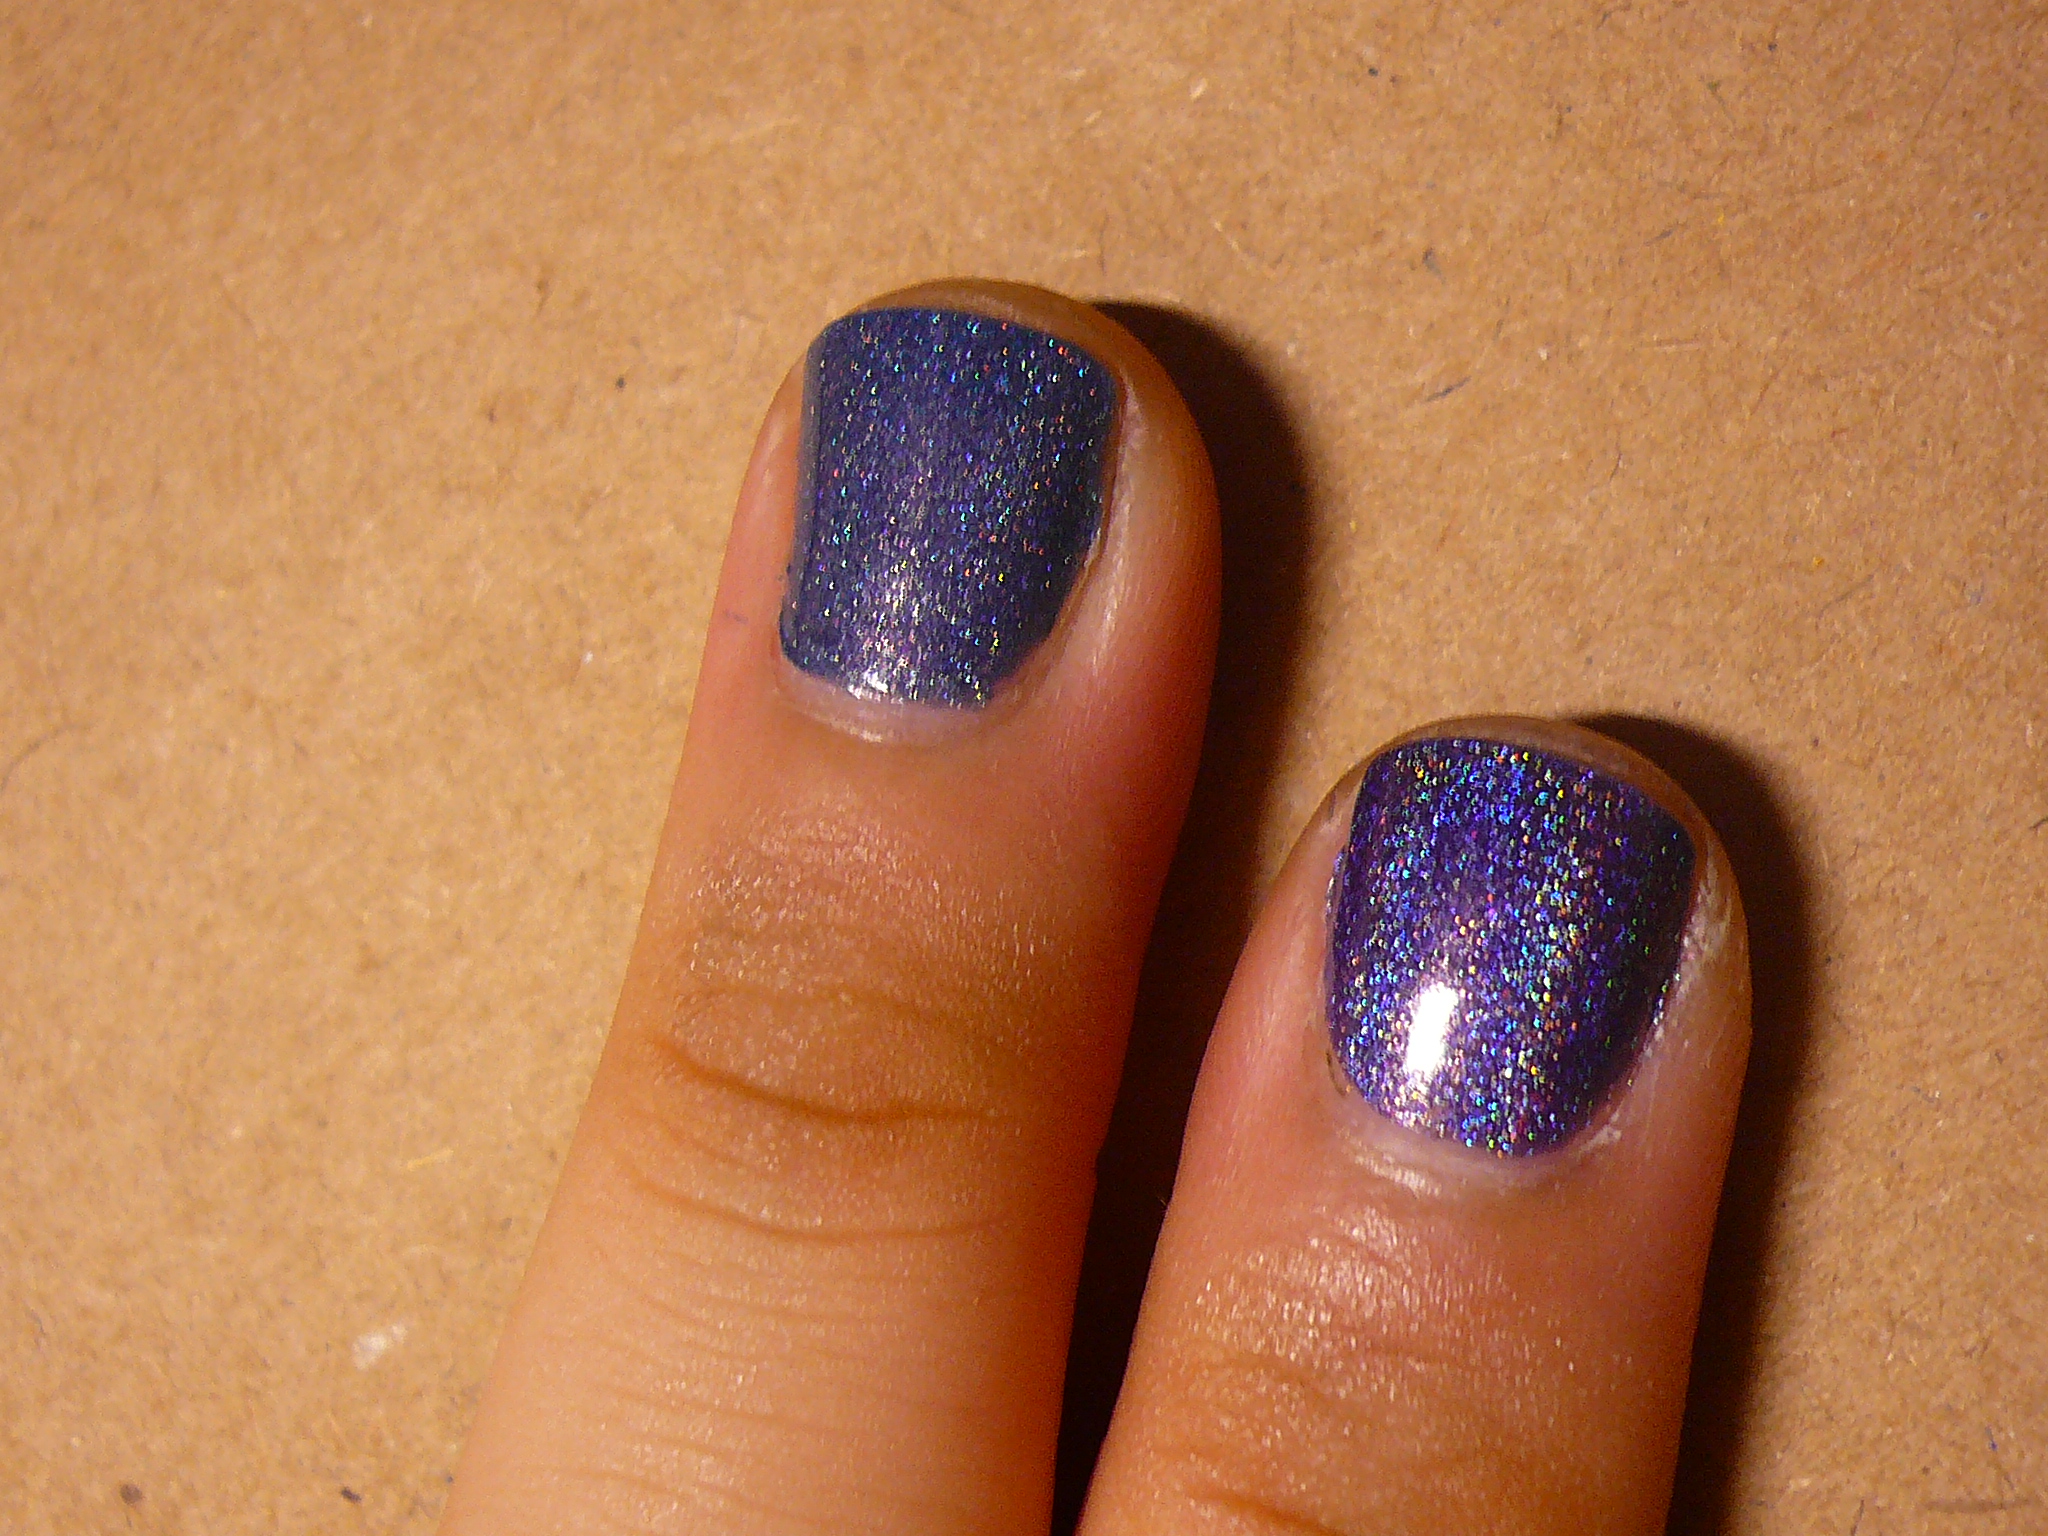
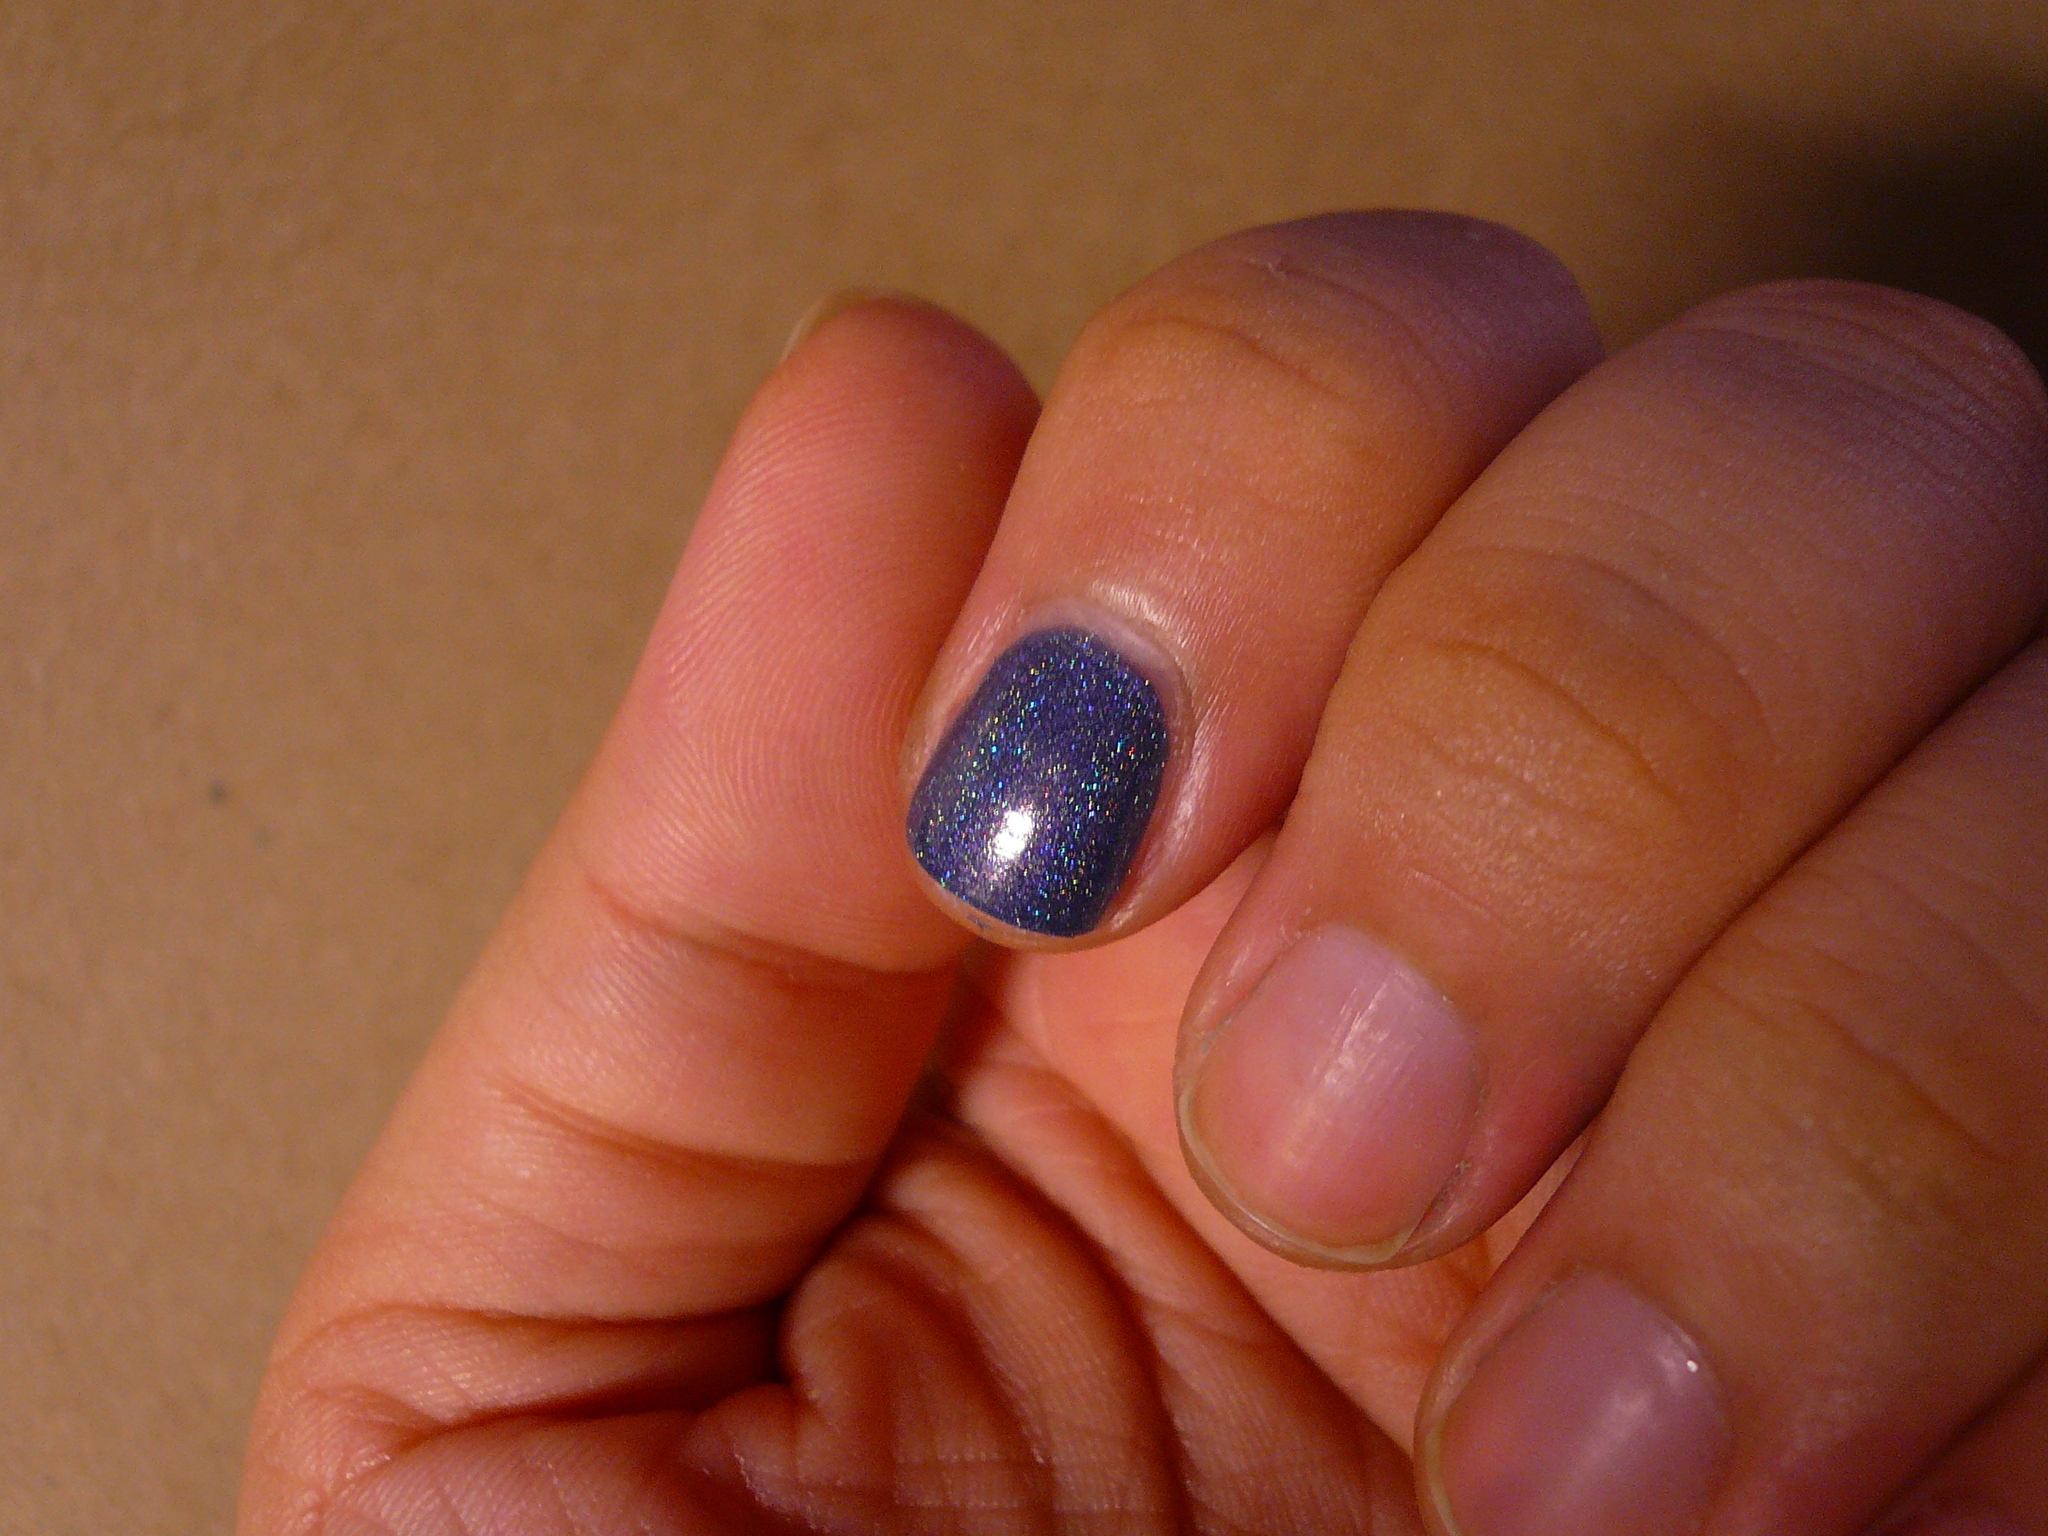
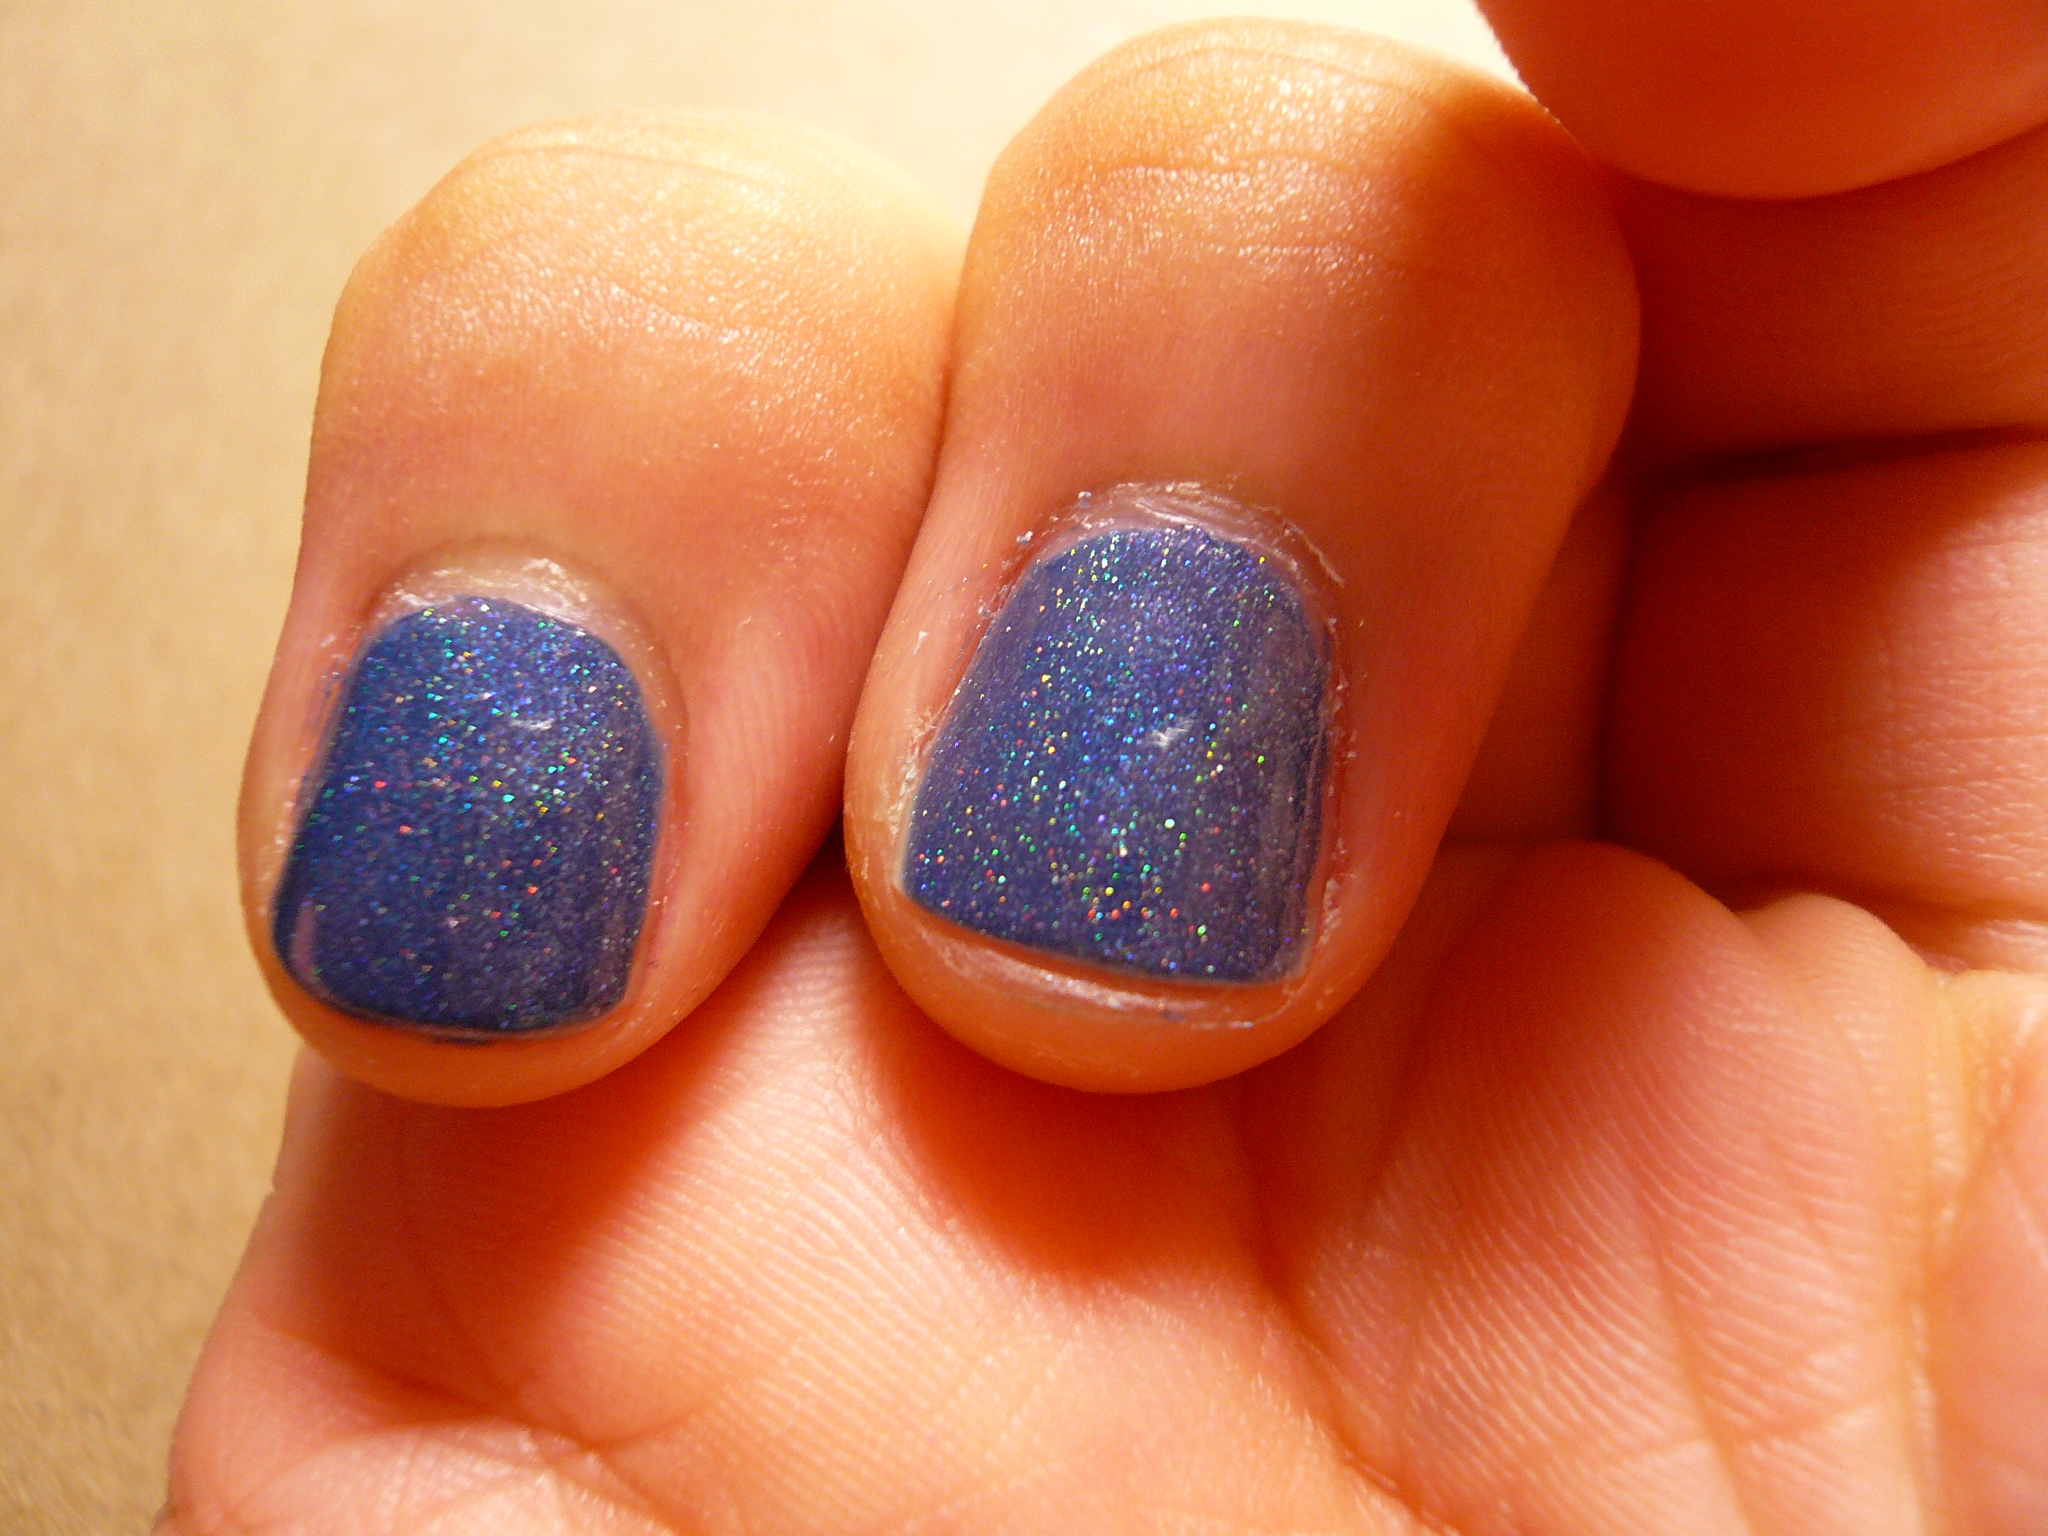
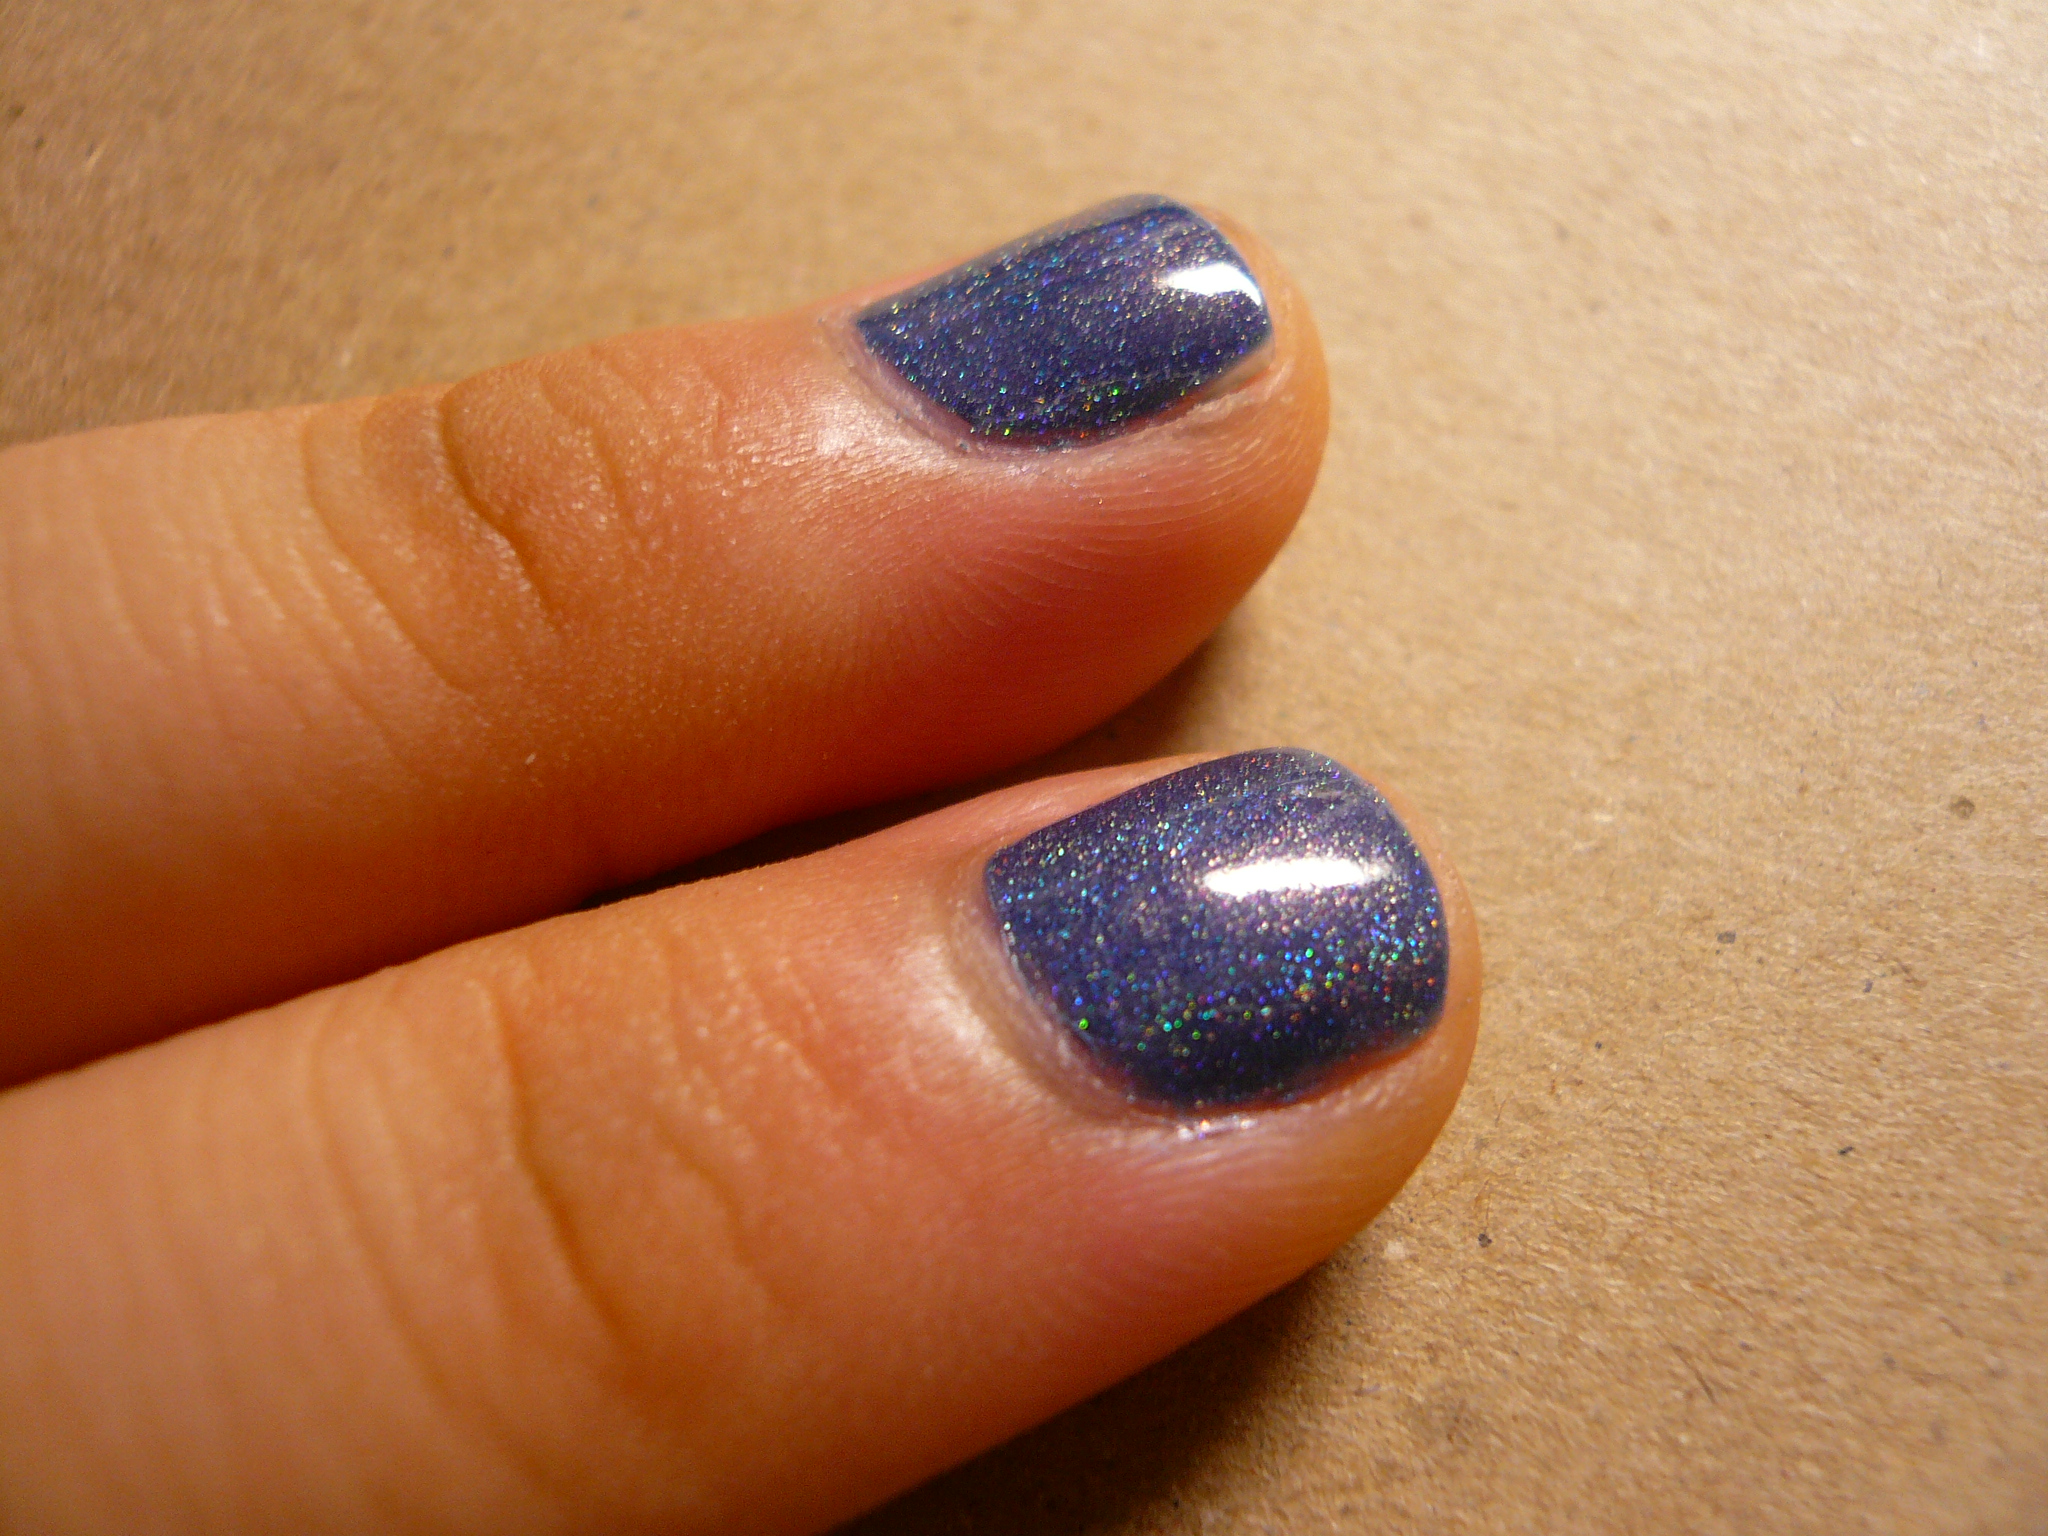
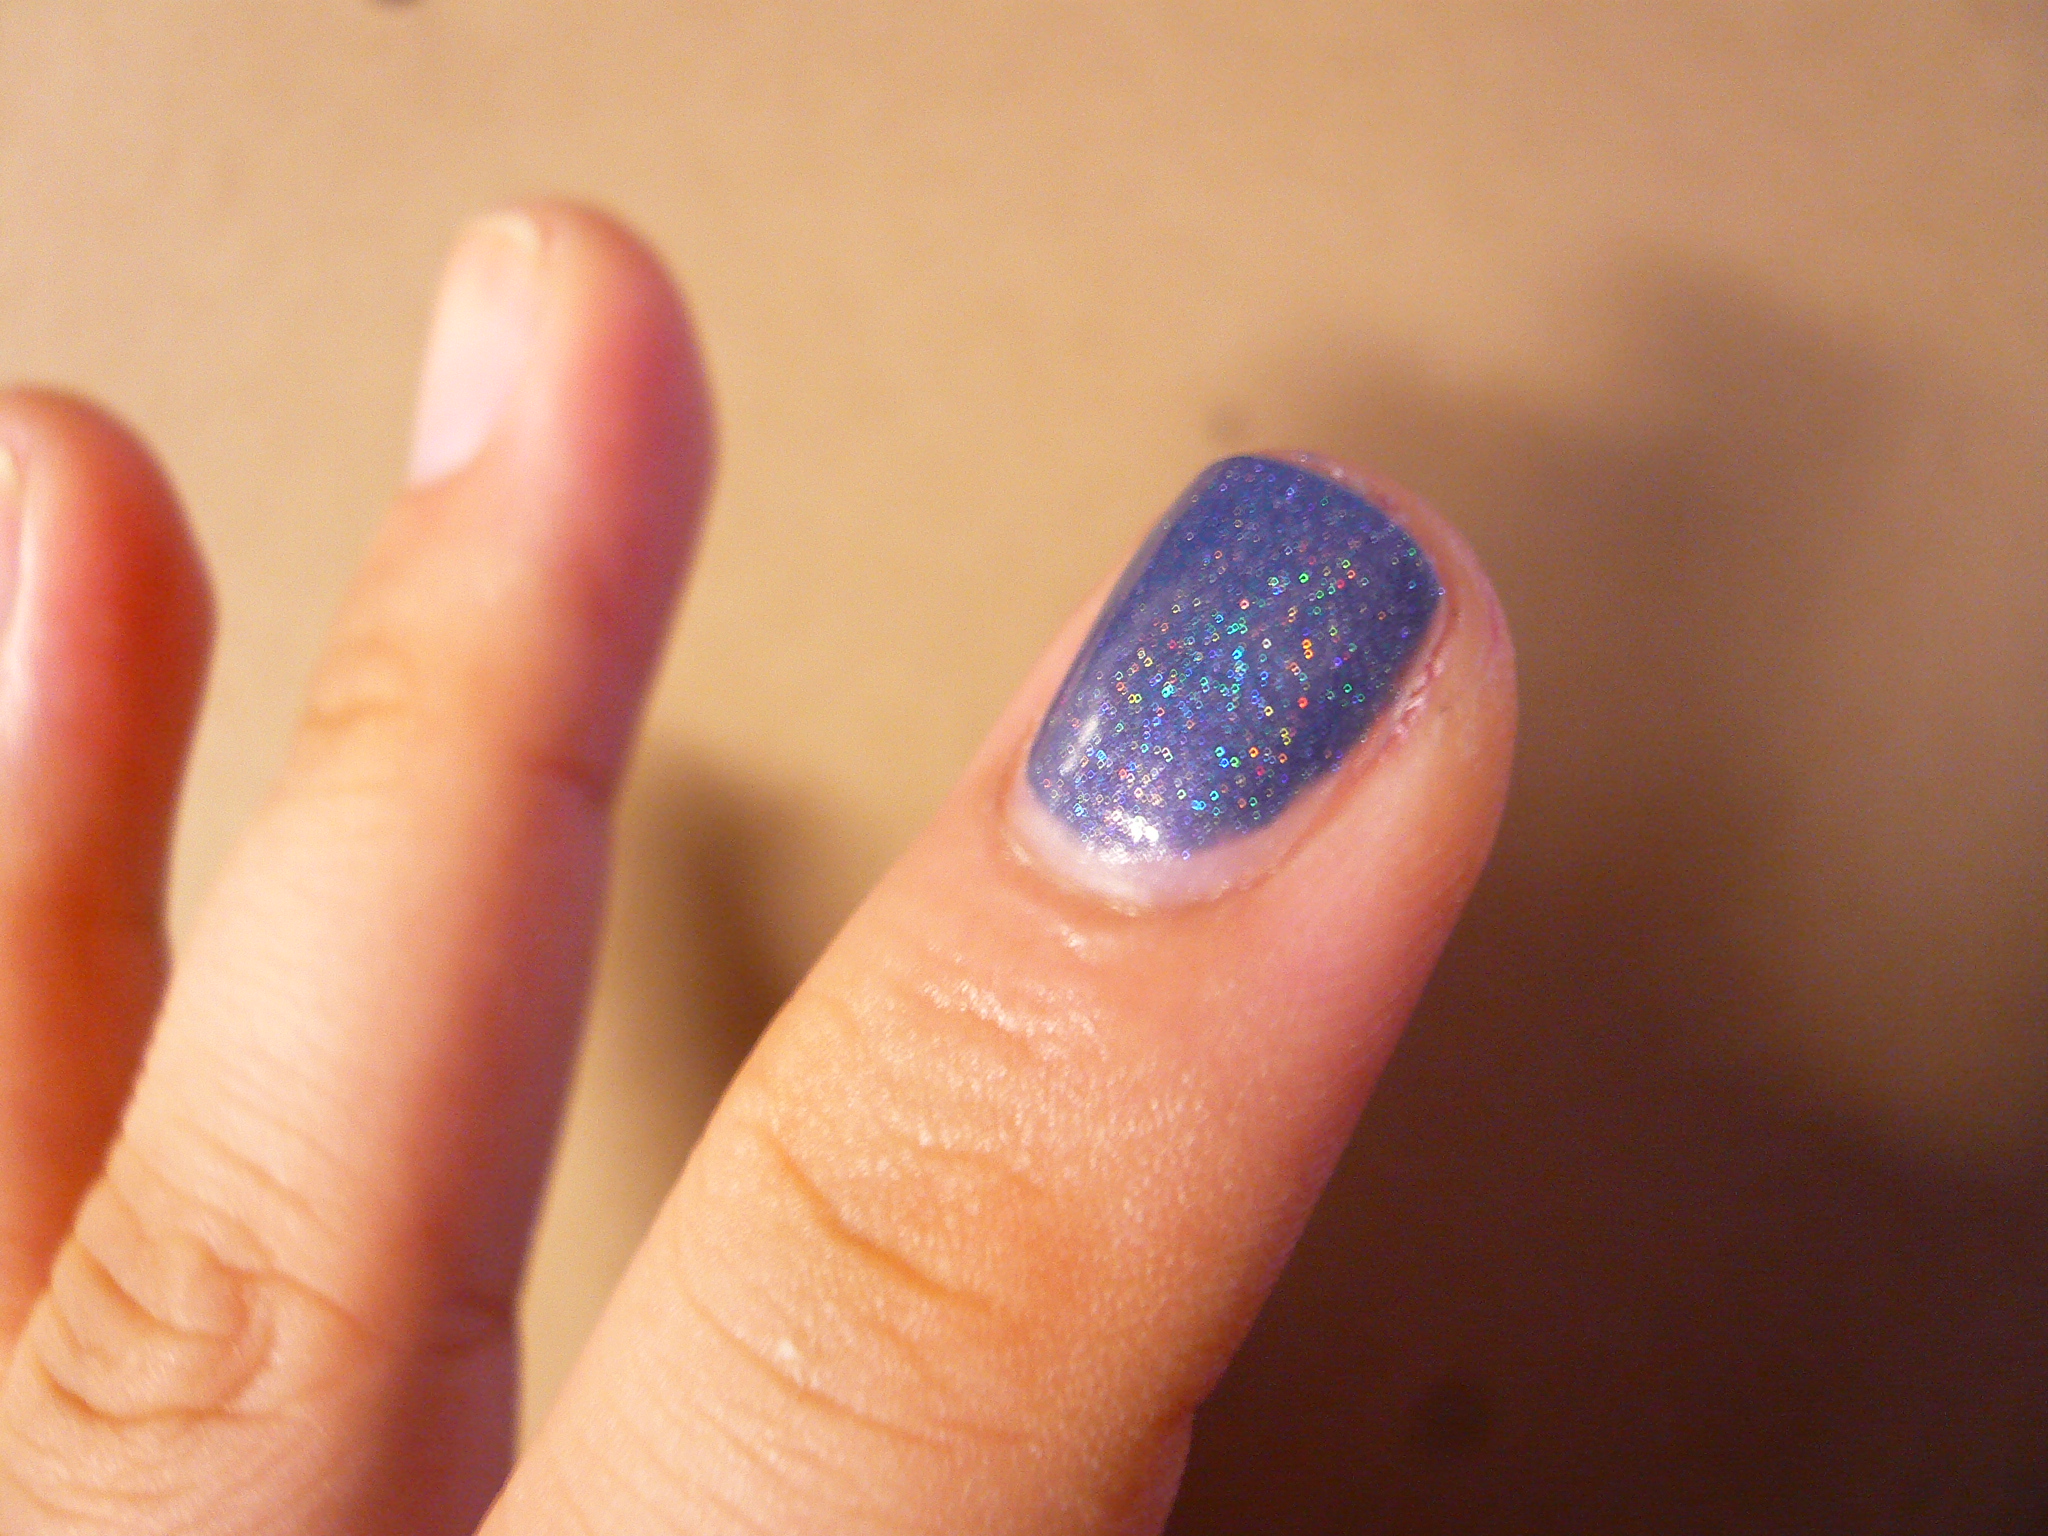
Remember my franken Glamazon? Here, I'm wearing Glamazon on my middle finger (left) and Glamour on my index finger (right).

Glamazon on top and Glamour at the bottom.

Glamazon on the left and Glamour on the right.

I was so in love with Glamazon but now that I have the real deal, Glamour is so much more, well, glamourous! The holoness is crazy pretty and although Glamazon by itself looked so fab, next to Glamour, it just paled in comparison. I'm thinking of adding some spectraflair into Glamazon once it arrives to spruce it up a little!

I am such a happy bunny (just picture Happy Bunny minus all the sarcasm) now that I actually own DS Glamour. Whoooo. My drawer full of blues will definitely welcome it into the Helmer family! Merci beaucoup to the two wonderful girls from inkypolisholicious for helping me to lay my polished paws on DS Glamour!
Friday, September 30, 2011

Glamazon

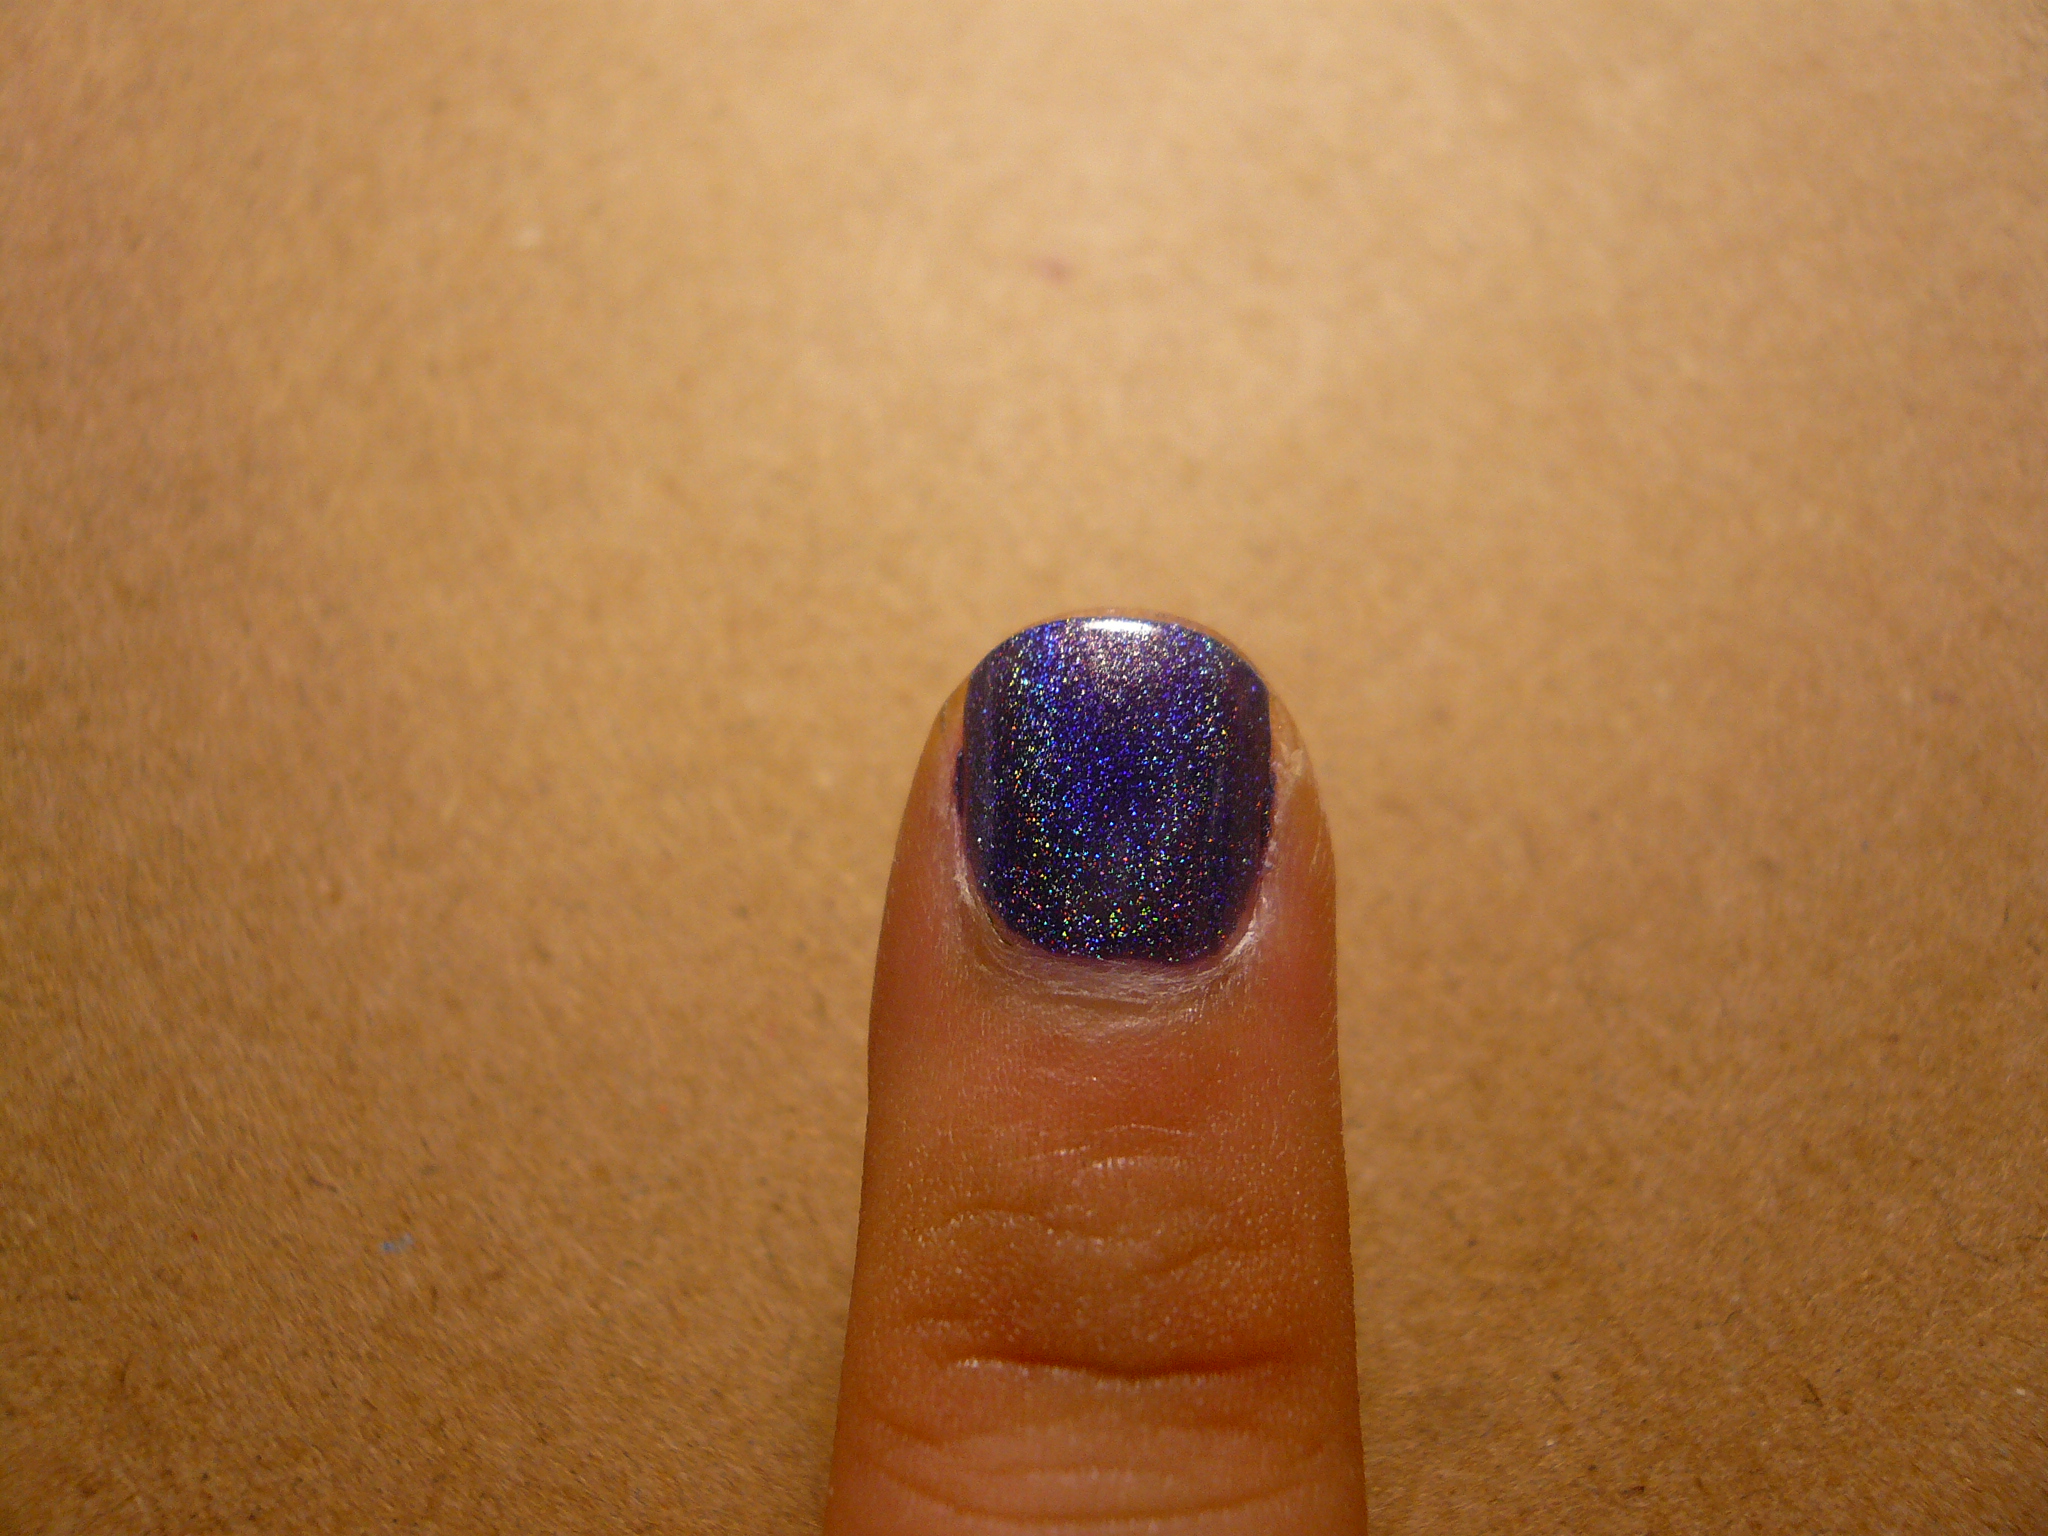
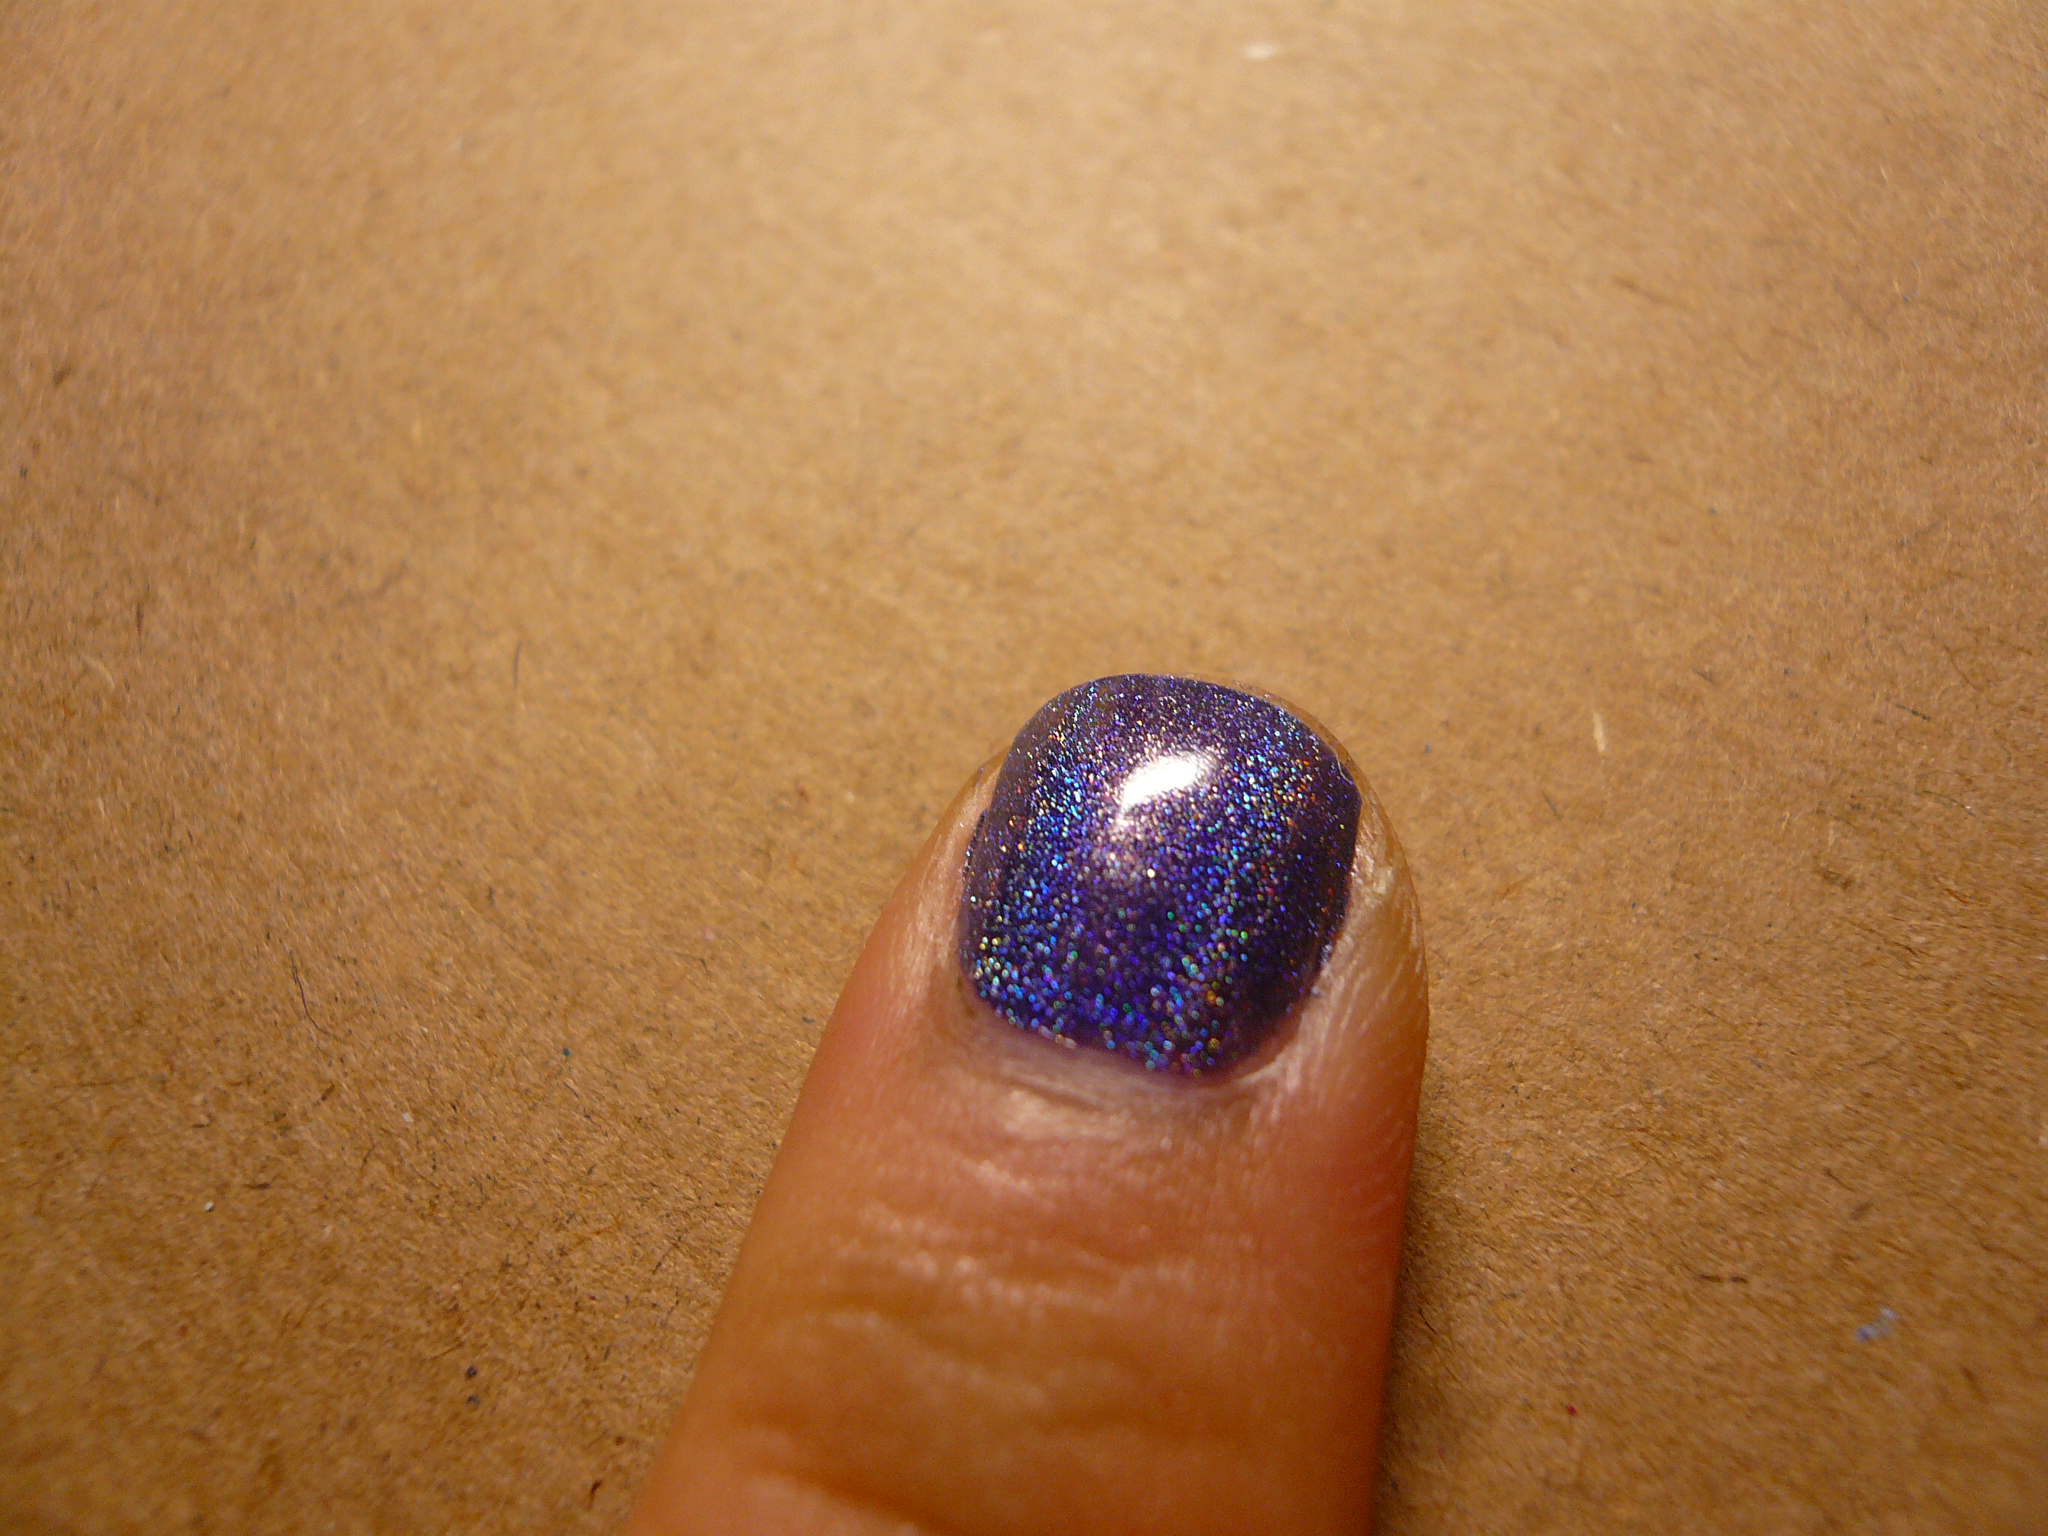
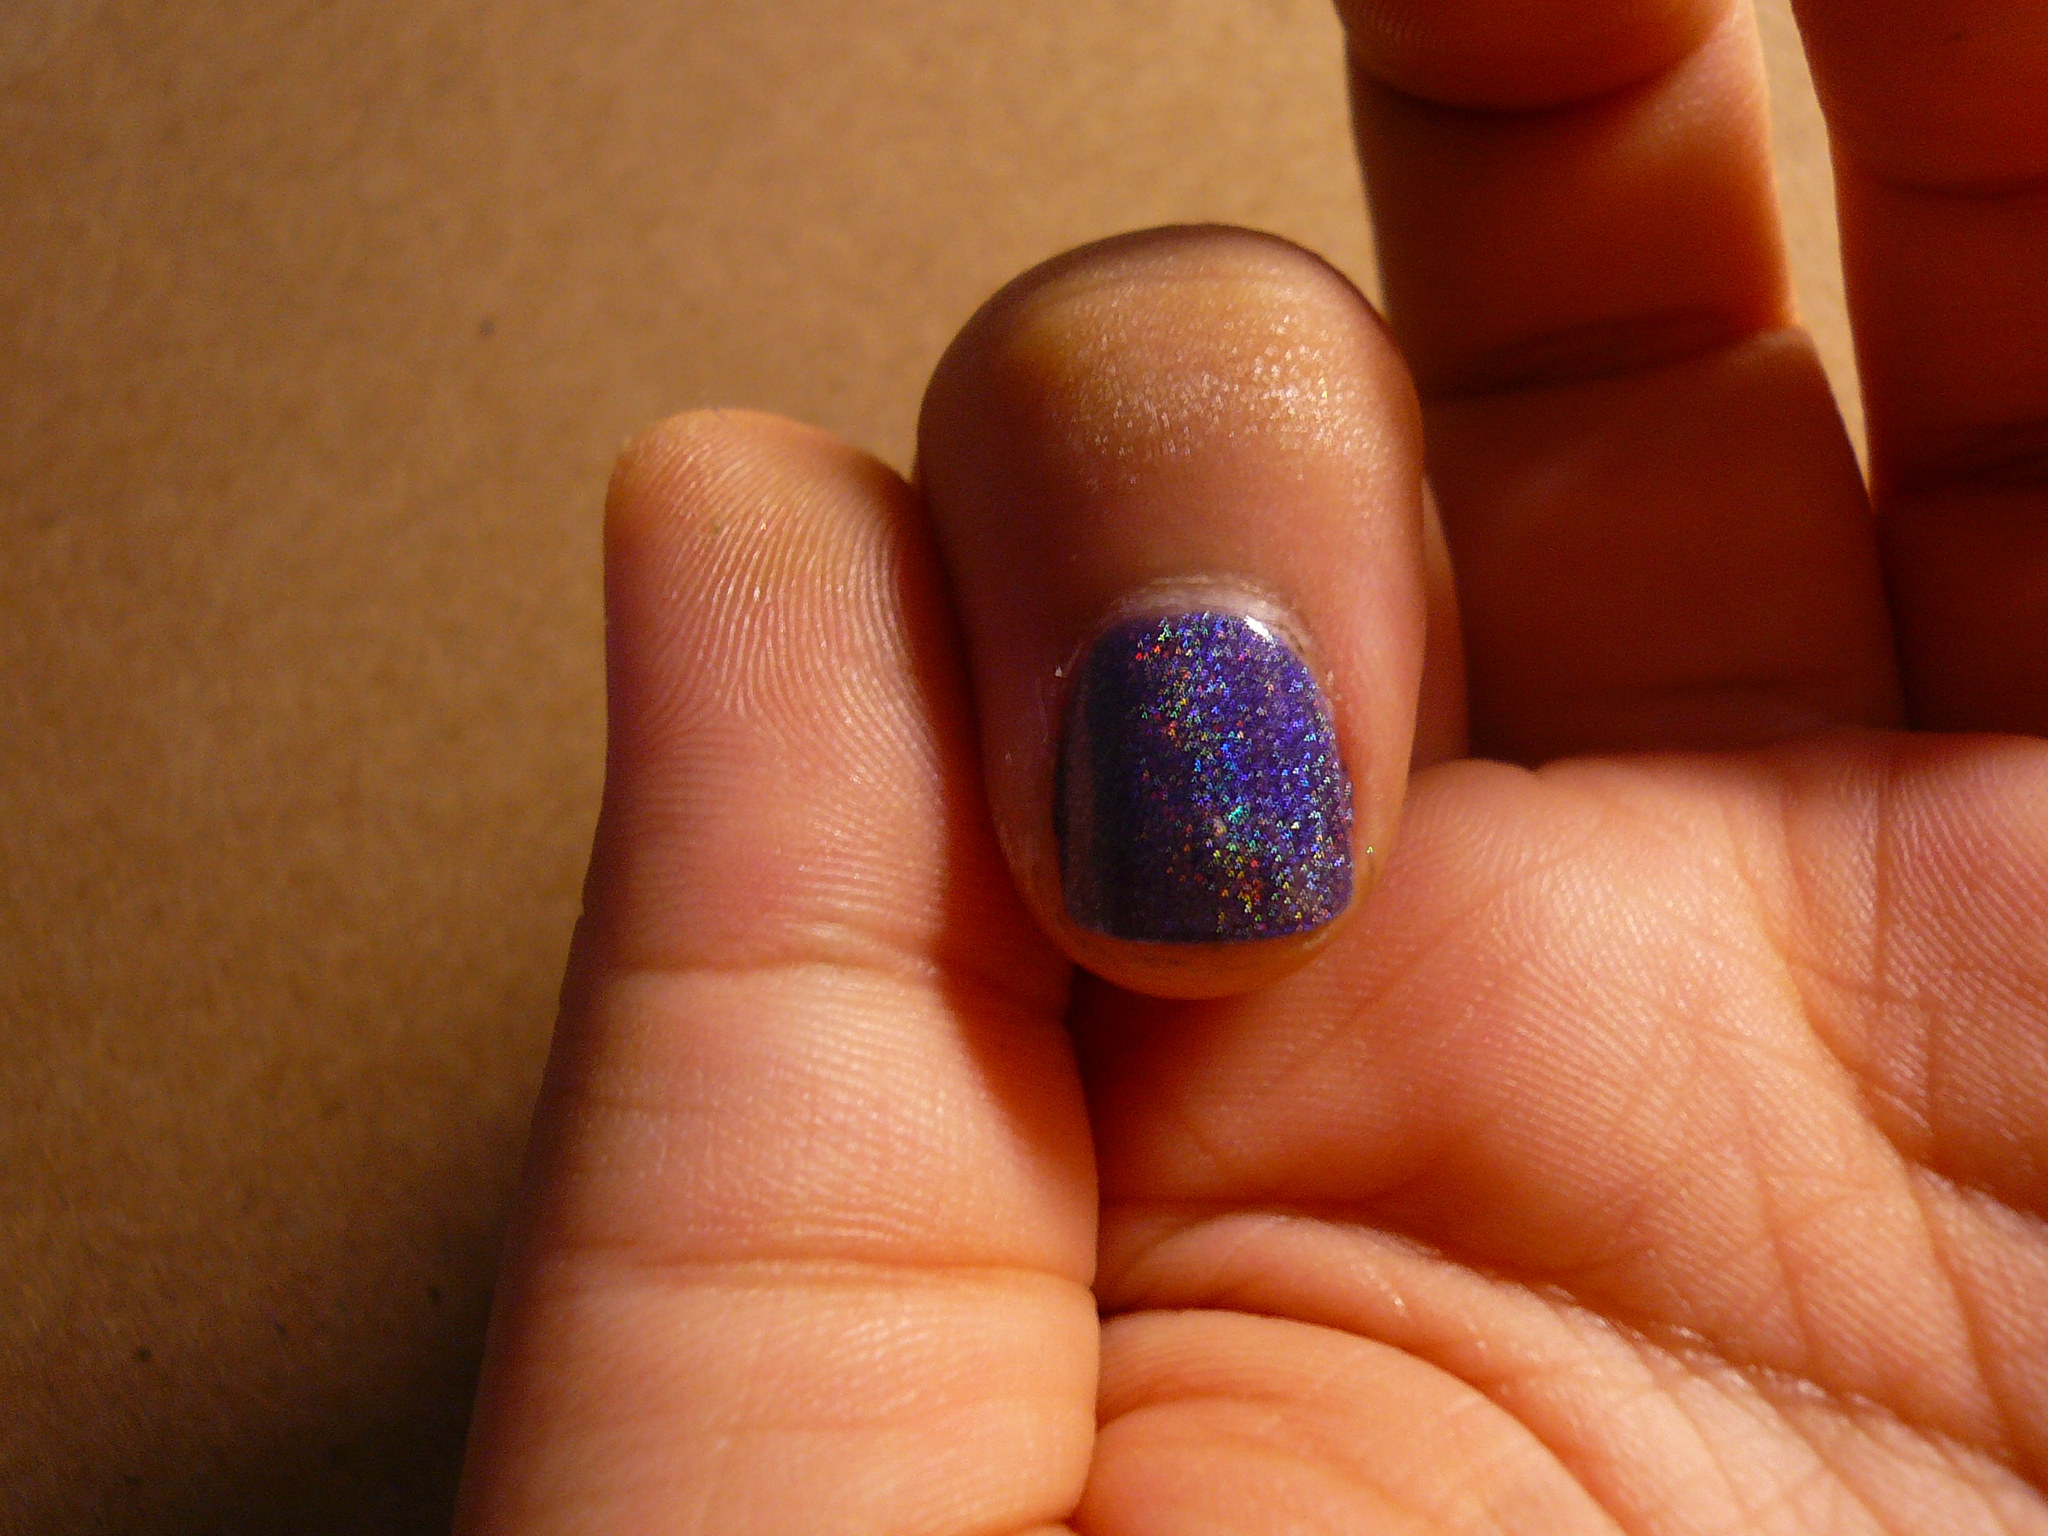
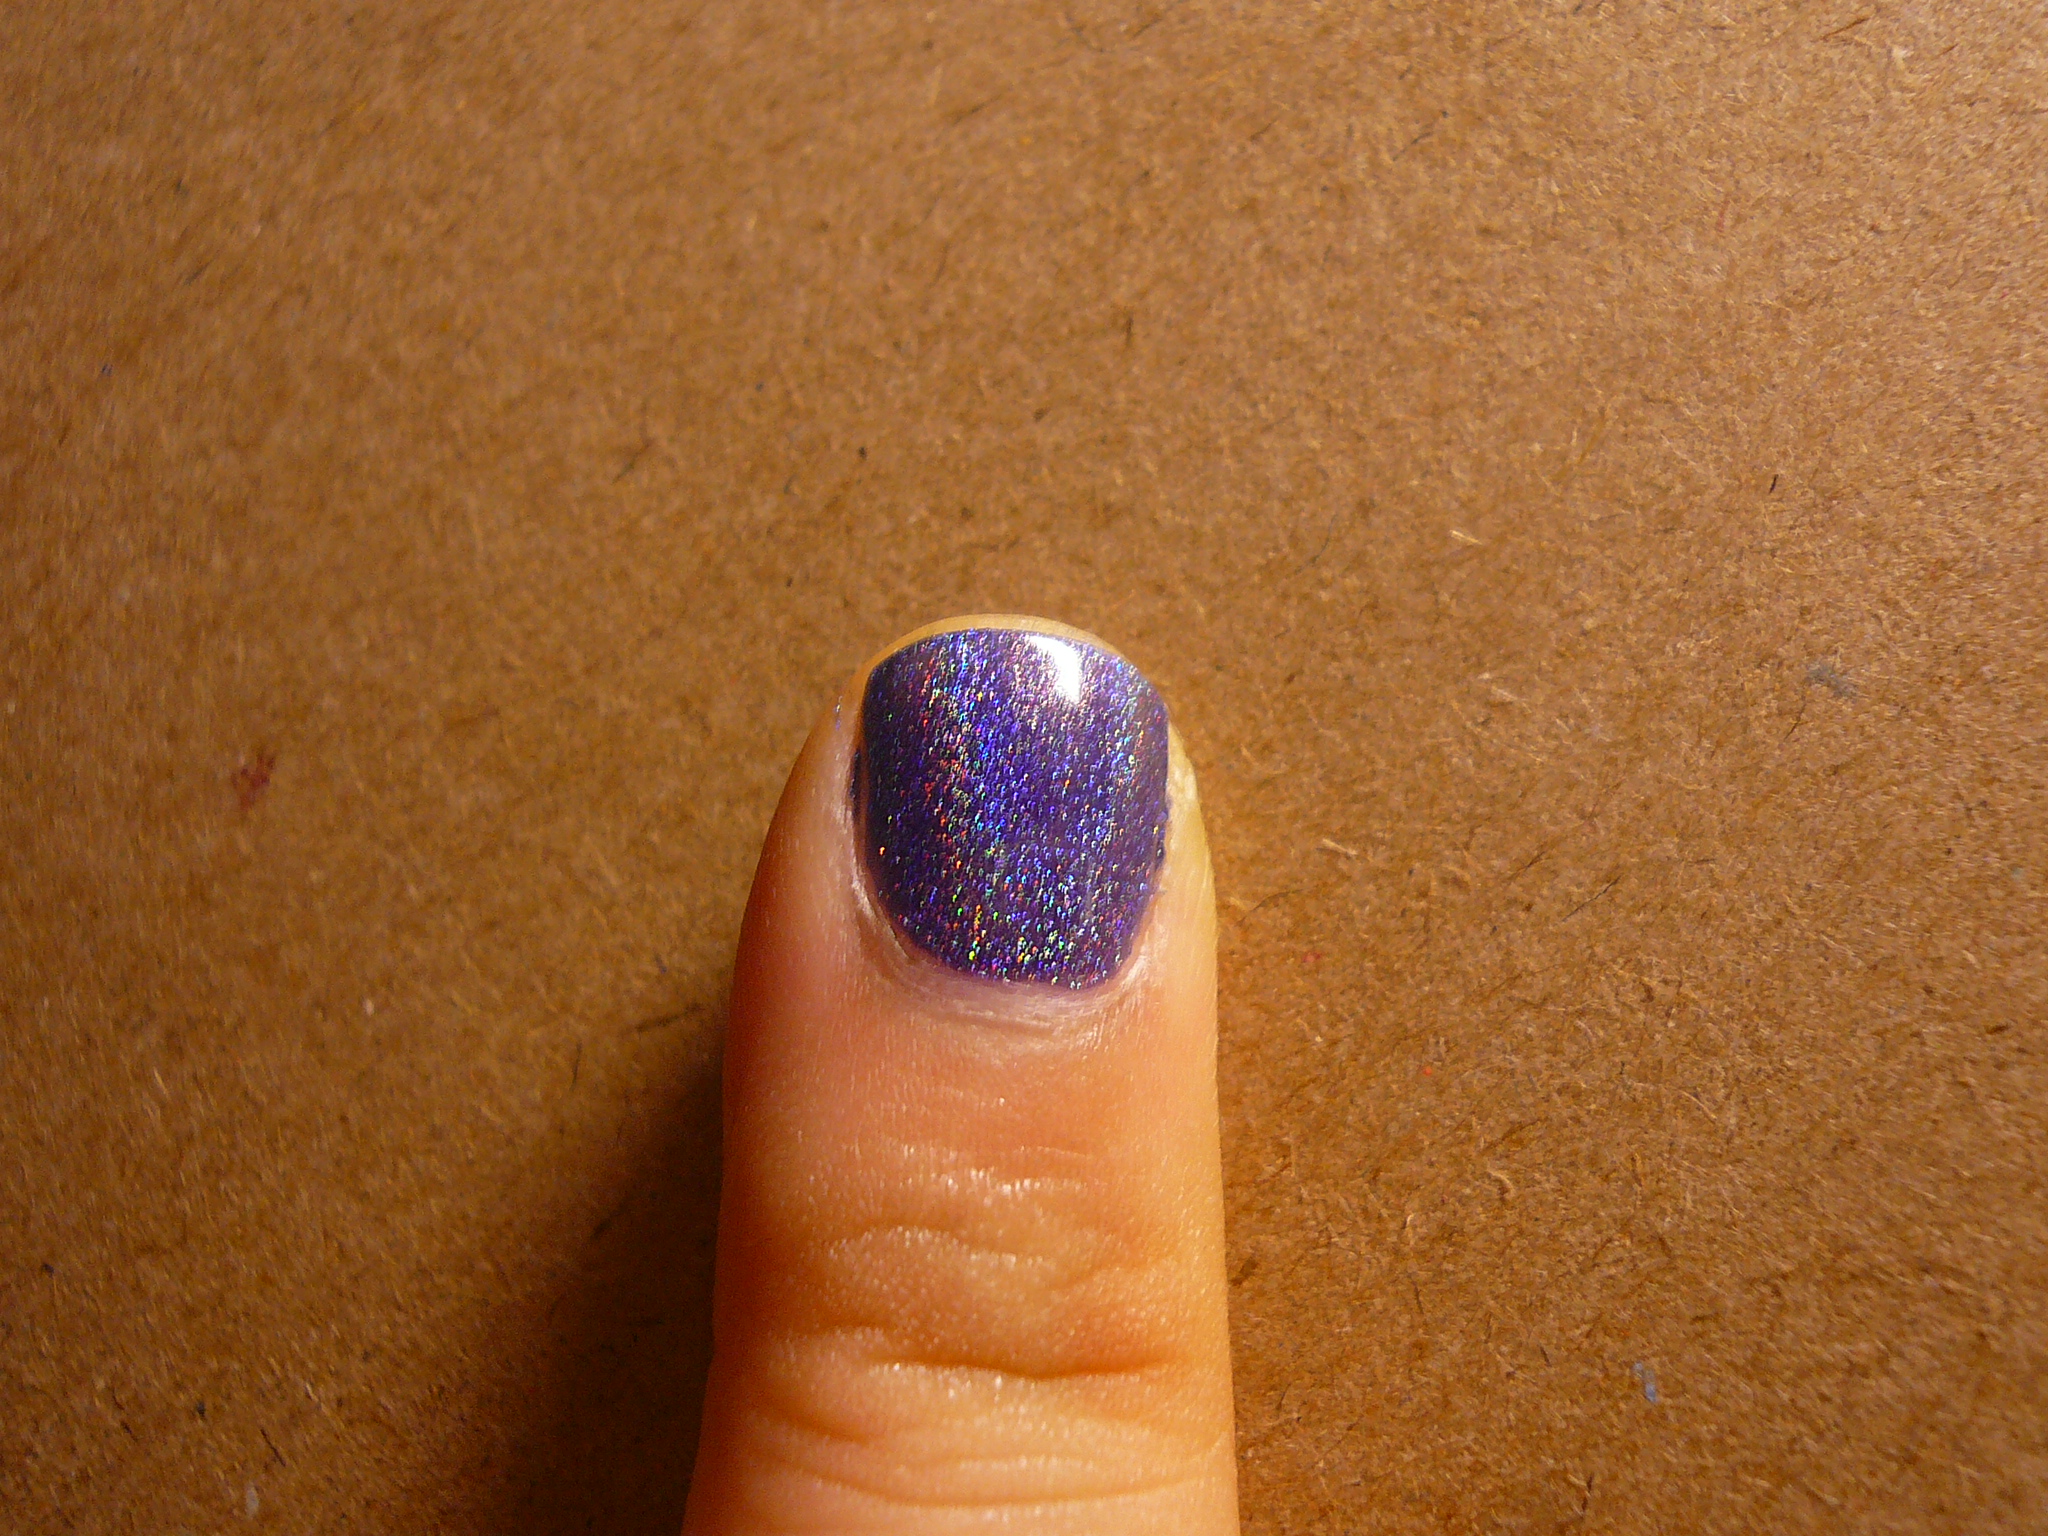
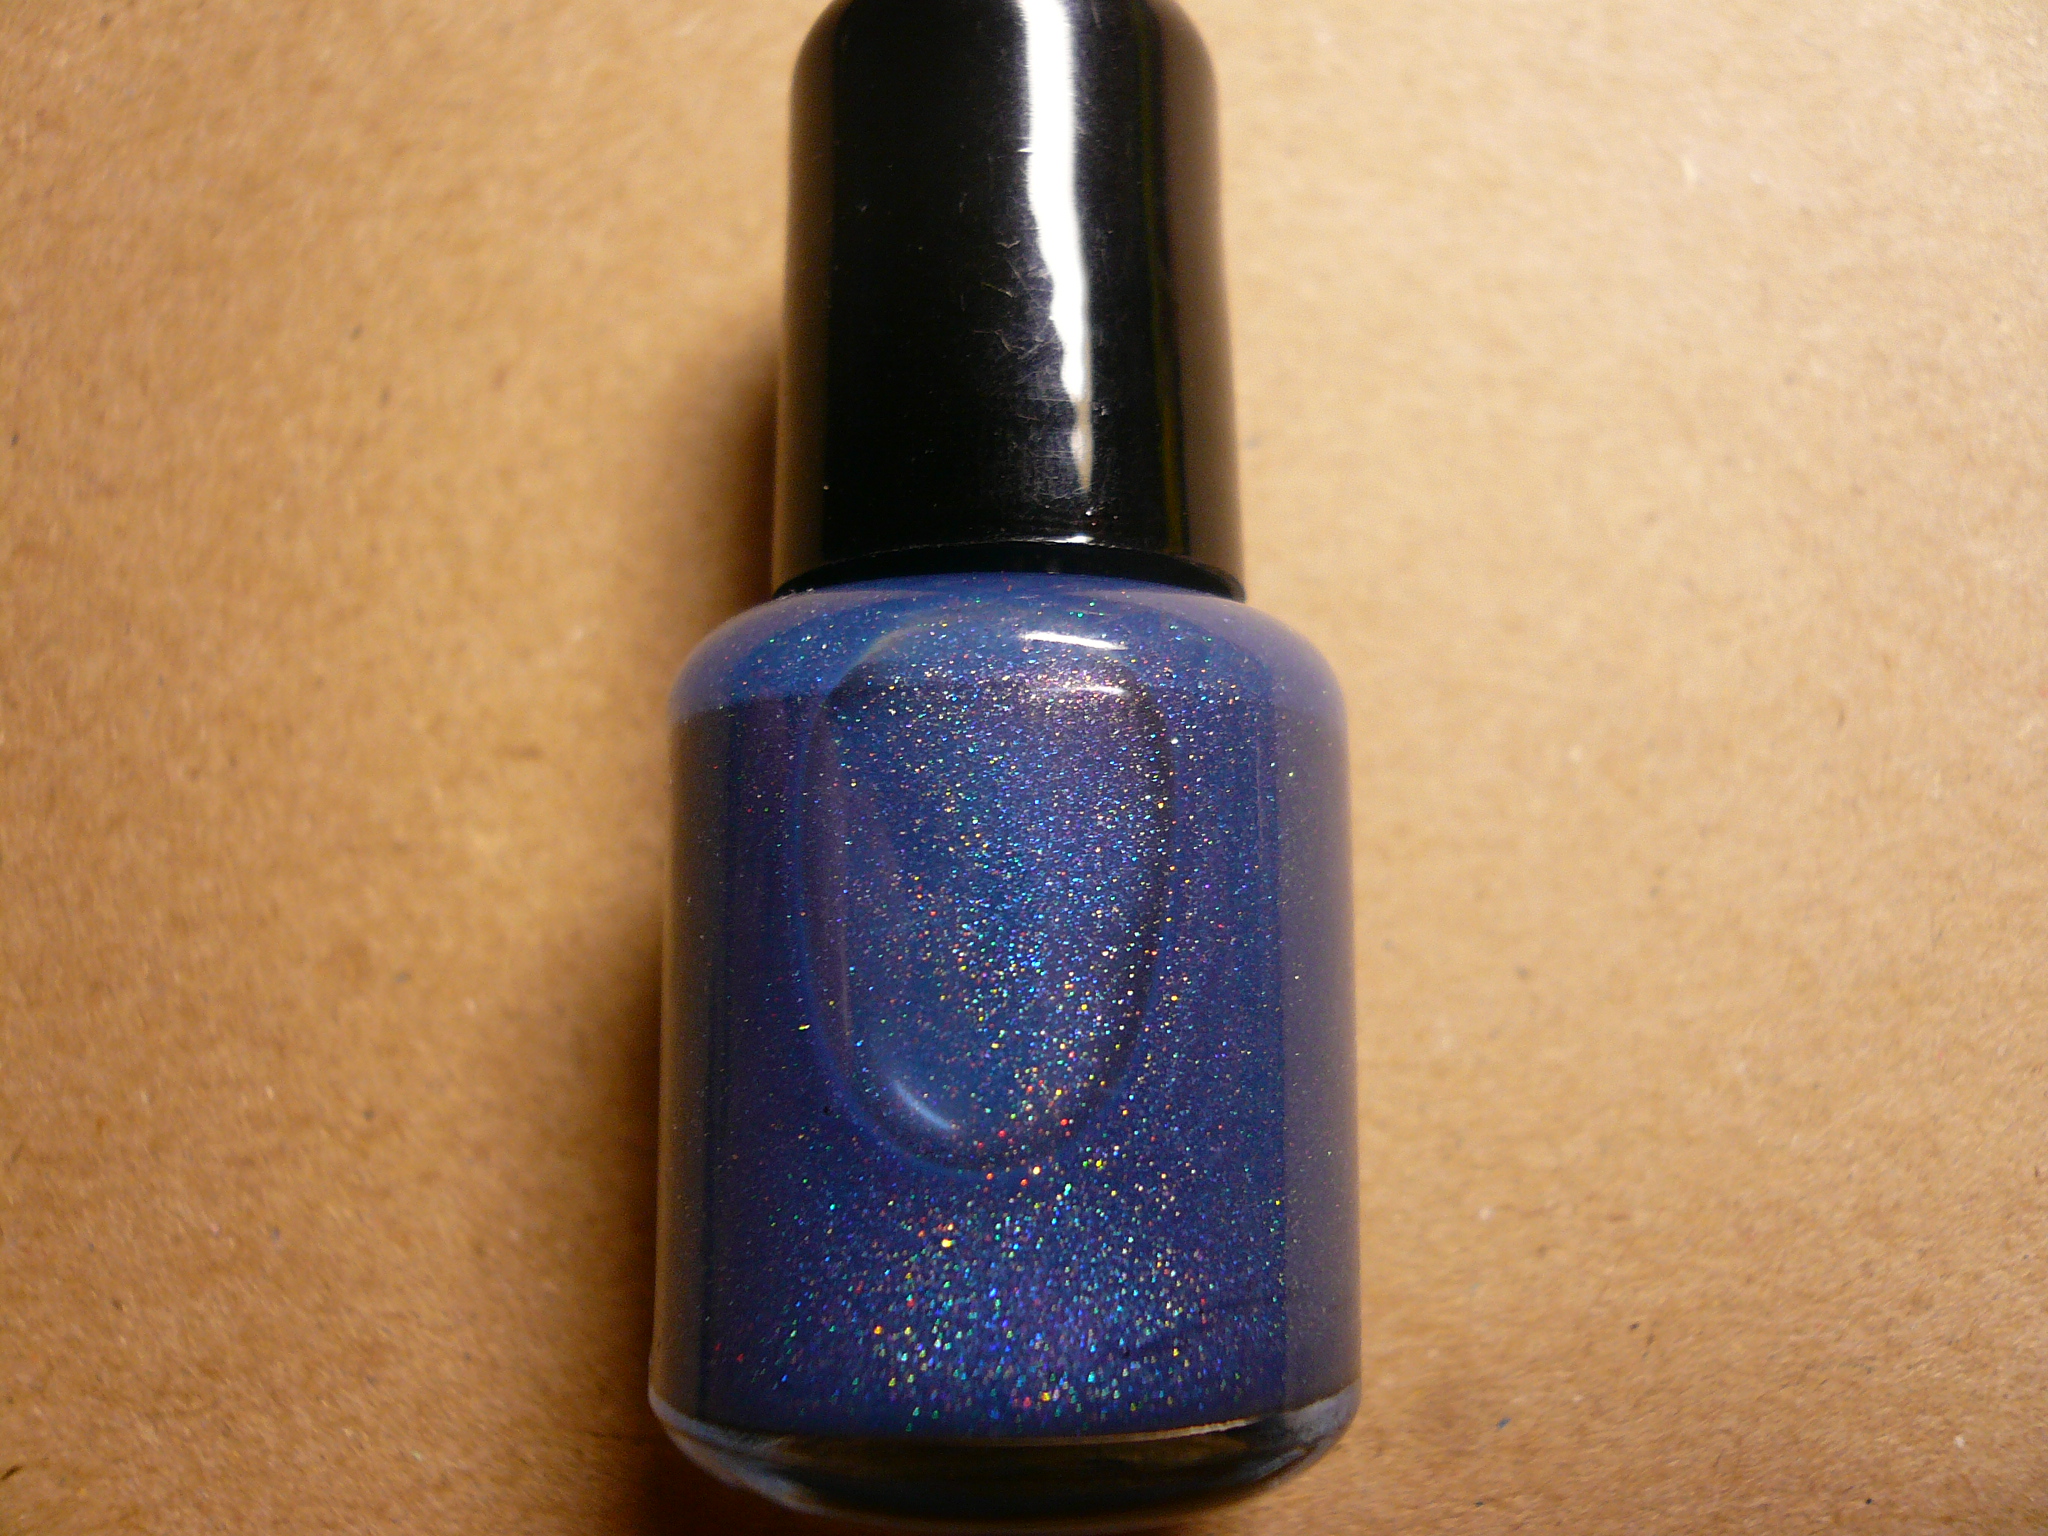
Ever since I've seen swatches of OPI DS Glamour, I've been lemming for it big time and I don't see how I'm gonna be able to get it anytime soon so I thought I'd better franken a similar version myself! I used 1 part China Glaze First Mate, 2 parts clear and 1 part DS Sapphire (although any light coloured holo polish would do the trick). I then added a few drops of OPI Ski Teal We Drop and Elianto black polish to tailor the colour to my liking! And in tribute of DS Glamour, I decided to name my franken Glamazon!

Here is Glamazon next to DS Sapphire so you can see the holo rainbow.

This was how much DS Sapphire I used. It's about 1/4 of the franken bottle. I bought a spare bottle of DS Sapphire when I managed to find it, with plans of creating frankens like Glamazon!

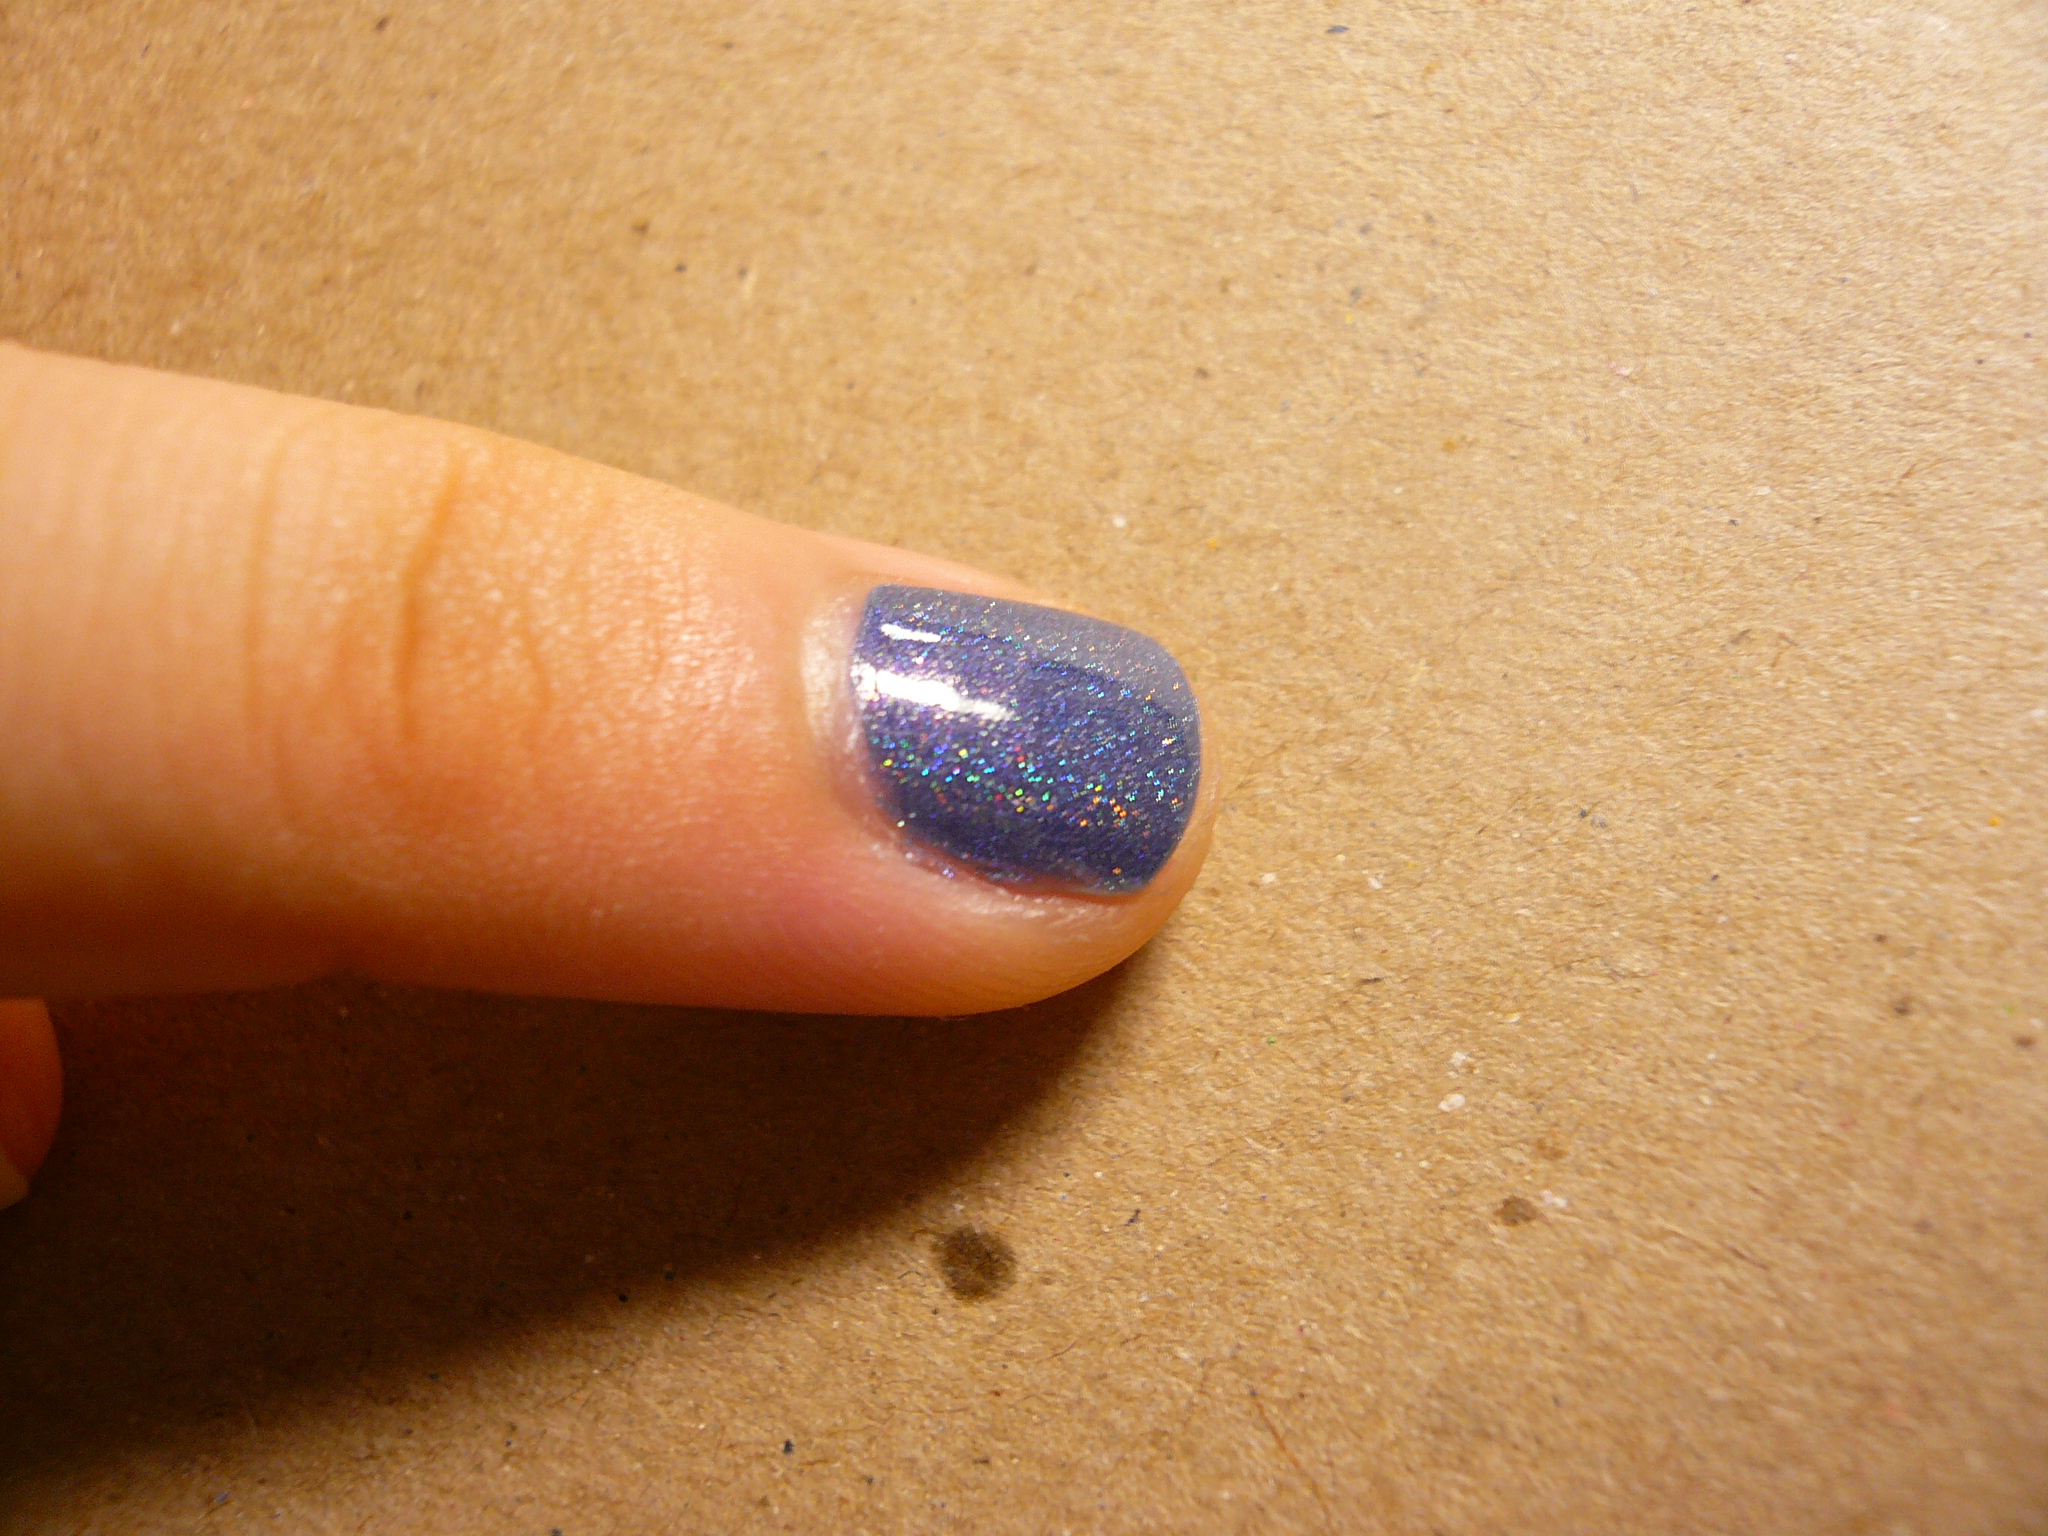
It's as holo on the nails as it looks in the bottle!

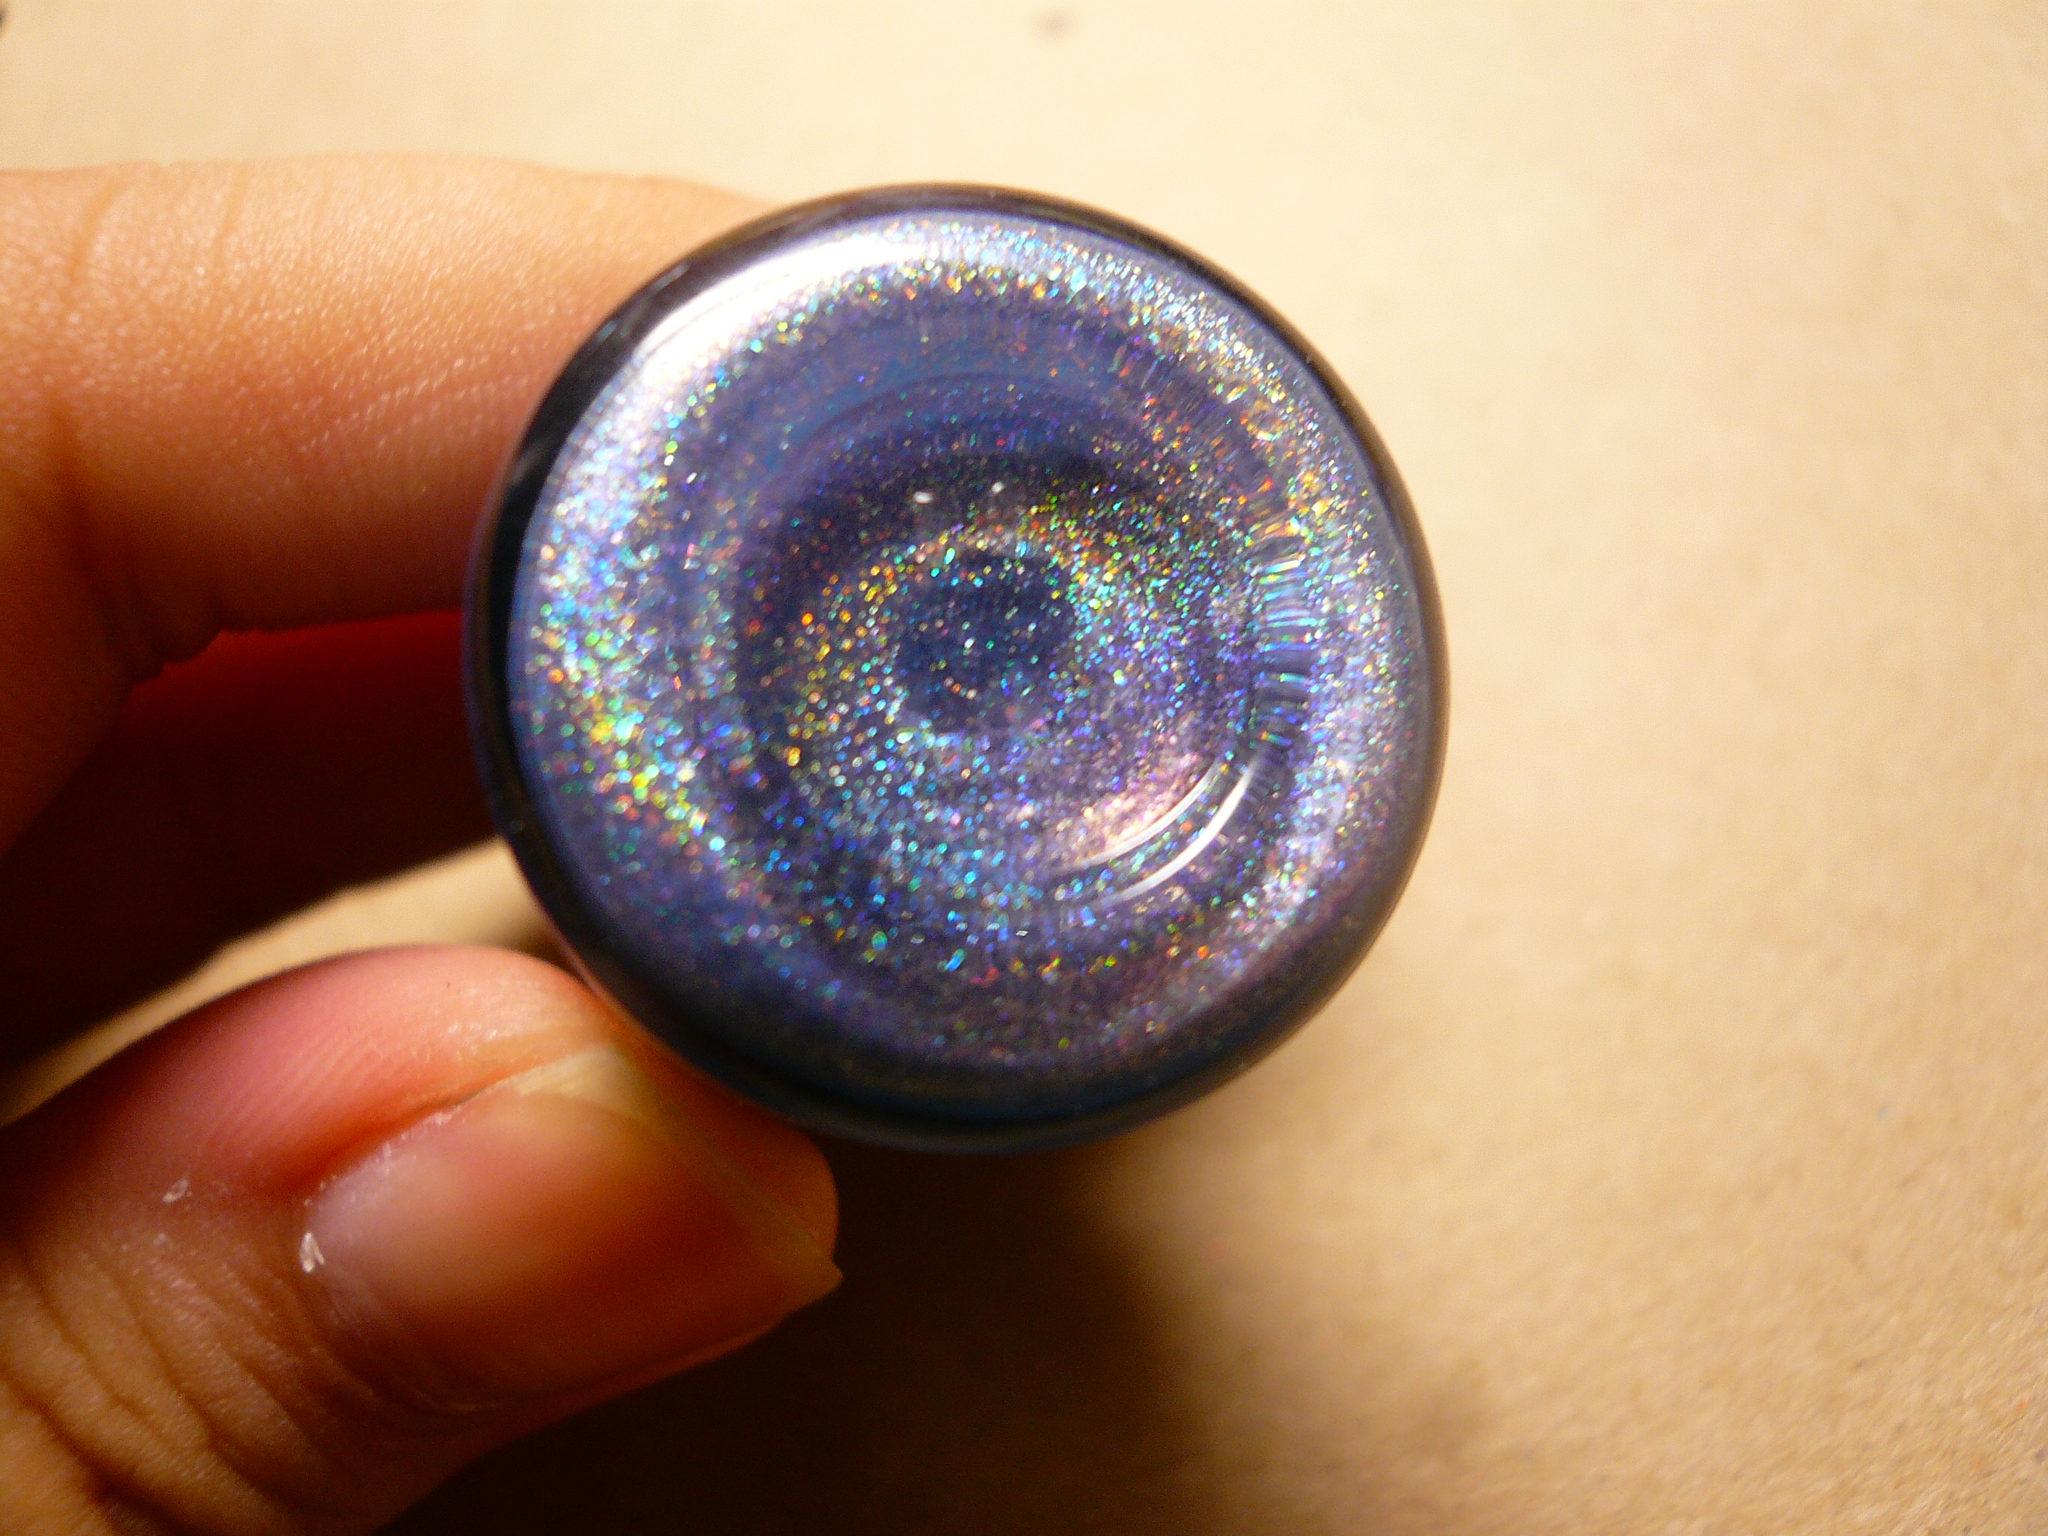
Sadly, after letting the bottle sit for a while, some holo particles did sink to the bottom of the bottle, making it a very pretty sight so I do suggest shaking your holo polishes up before using them!

Look at all that holo goodness at the bottom of the bottle!

And here's where the spam begins. I'm going to apologize first, for the crazy amount of pictures as I got a little carried away trying to capture this pretty shade!

The colour in the above picture is the most accurate although it is slightly darker irl.

And some out of focus shots to emphasise the holo bits...

Loving how there'a a slight holo rainbow arc in the above pic!

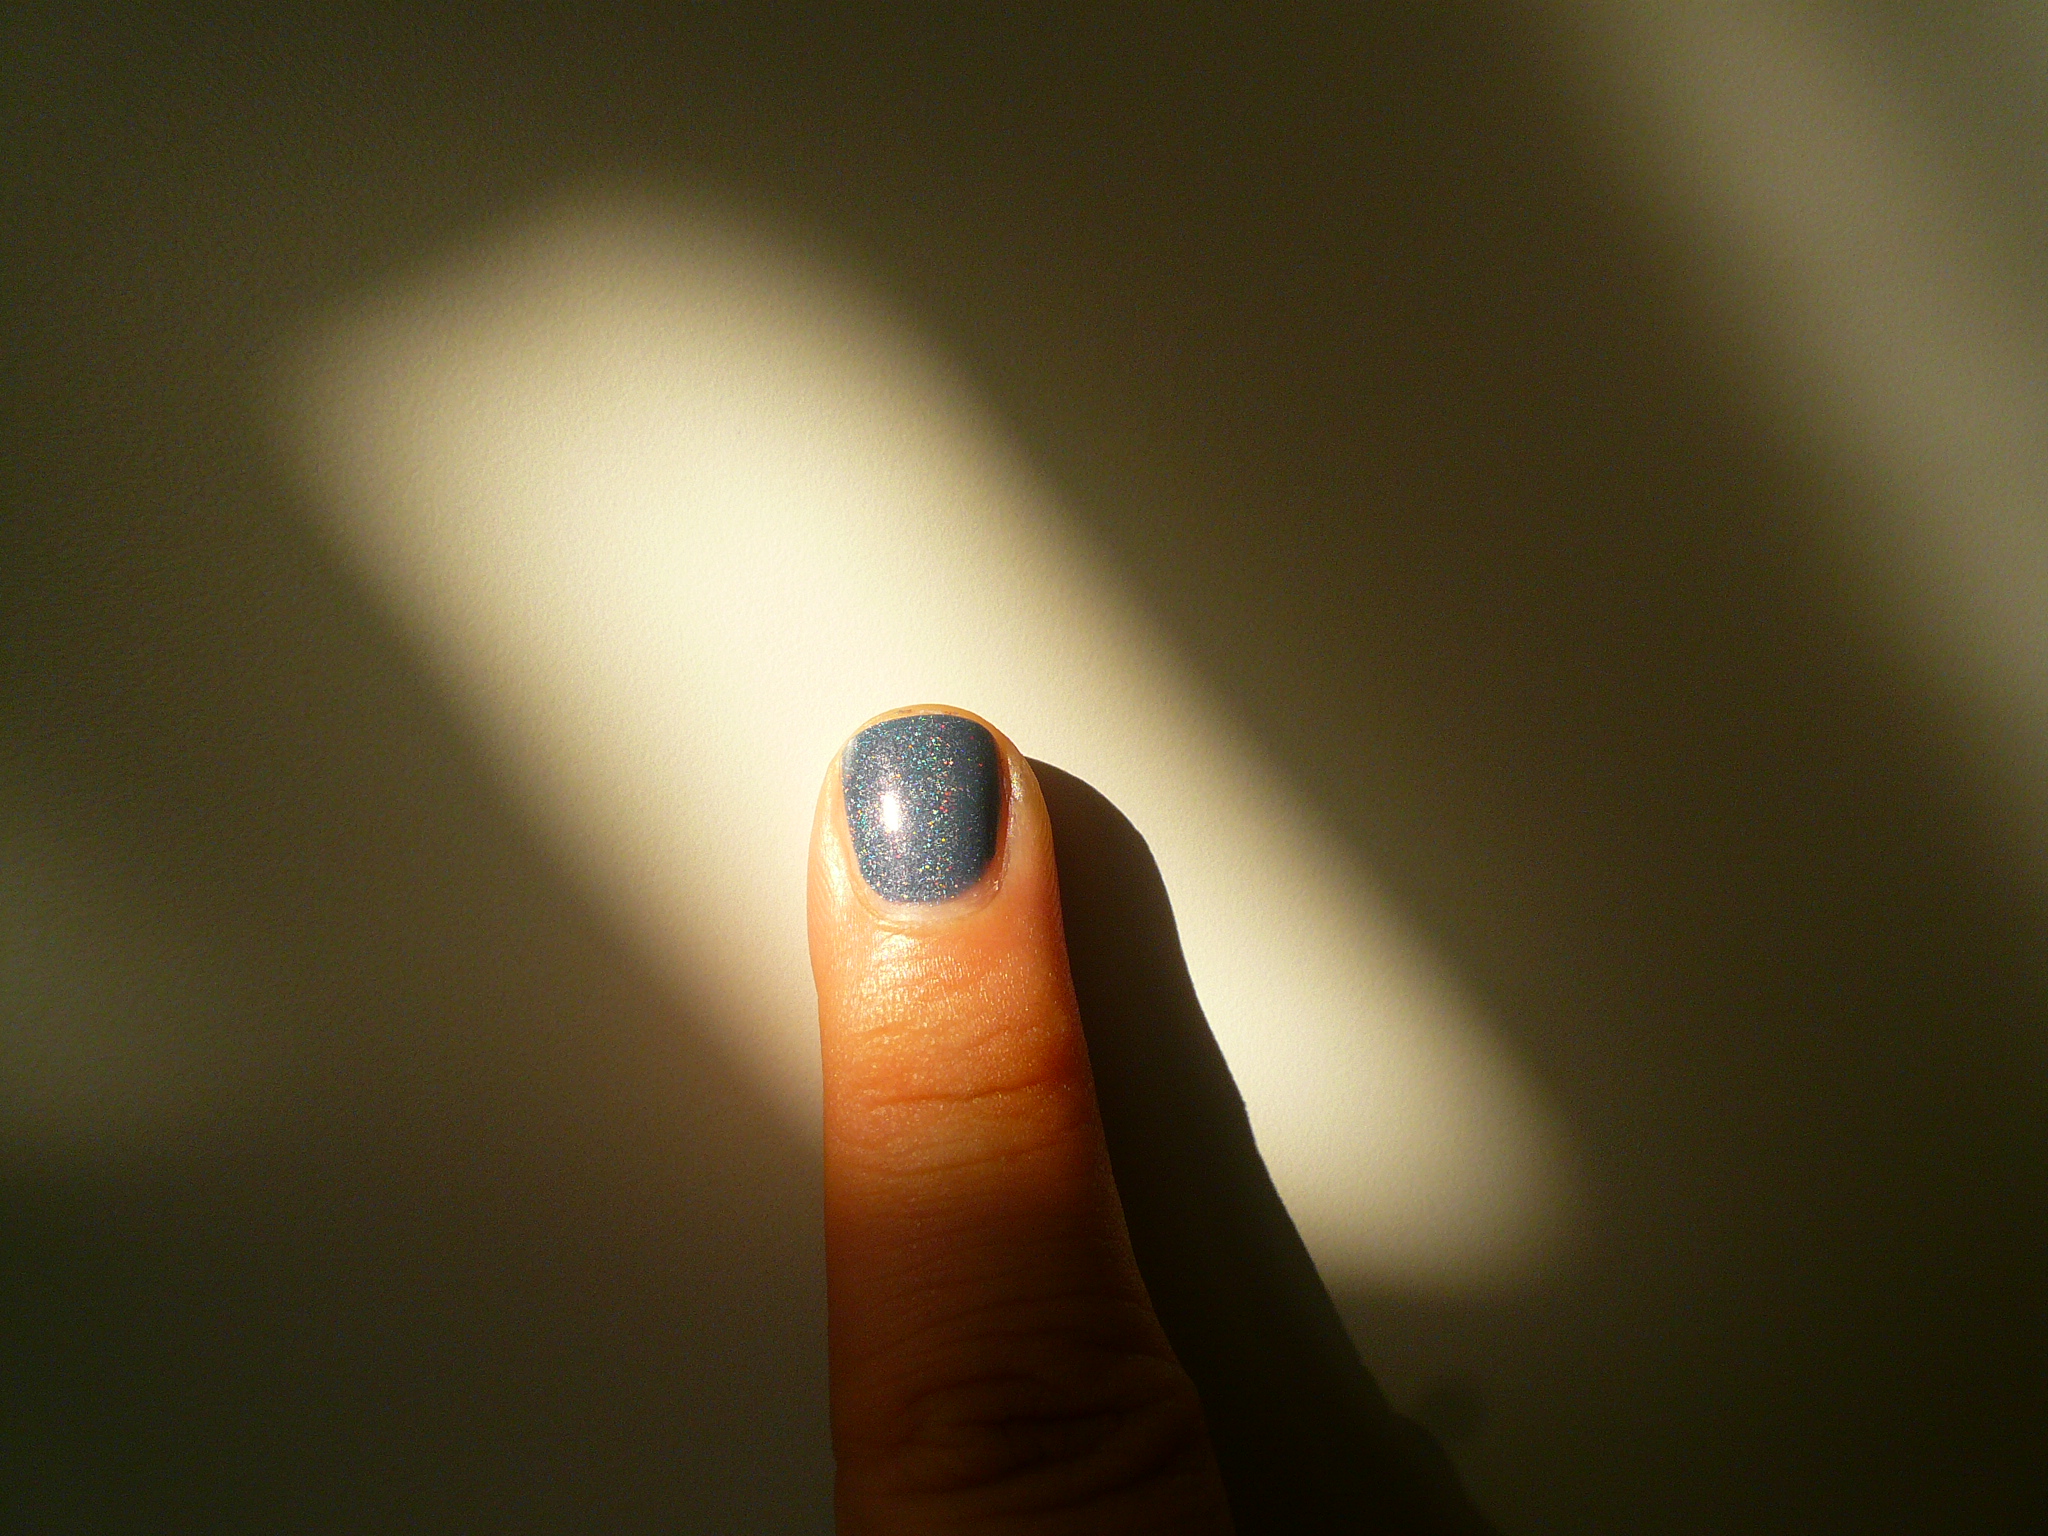
A ray of sunlight shot into my room and I ran to it and snapped this picture!

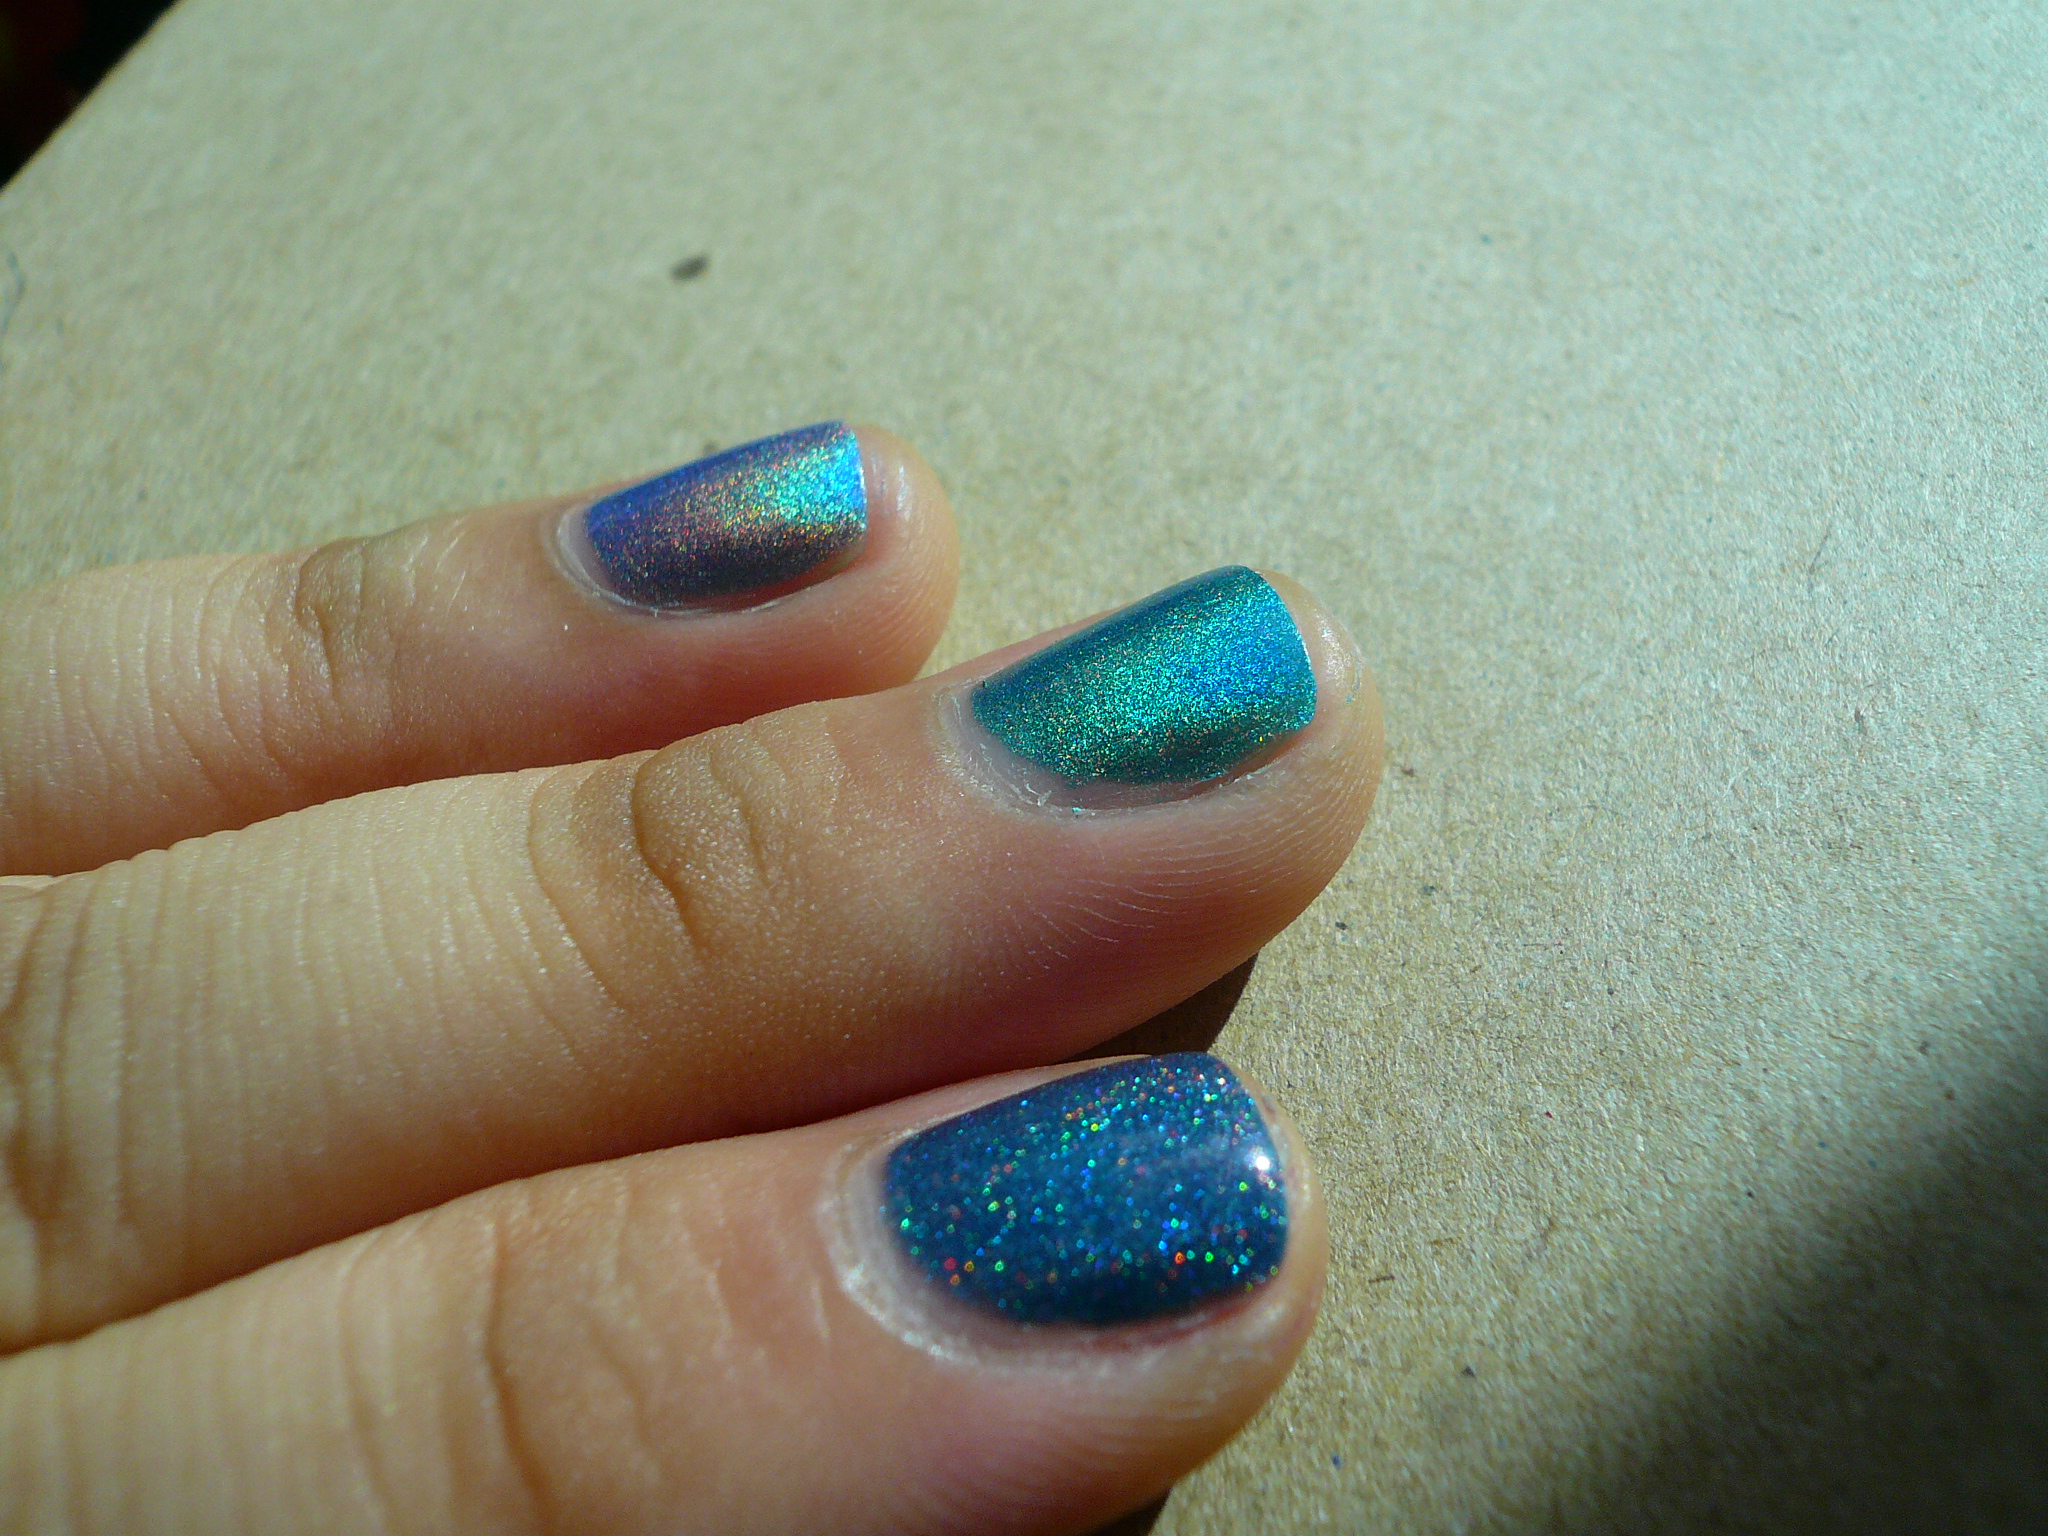
That's Glamazon on my index in sunlight! (I know I have another 2 much more holo polishes on my other two fingers but I'll show you those 2 polishes in due time!)

That's the end of the picture spam (you can rejoice now)! Glamazon does look more holo in real life but it was hard to capture its full holo glory so you'll have to trust me on this. I do sometimes wish I have some spectraflair to add into my polish to make them linearly holo! There is a lady selling it in the US but it's 10USD per gram plus $5 shipping so I'm thinking hard whether it's worth the pricetag!