Showing posts with label Spectraflair. Show all posts

Sunday, October 7, 2012

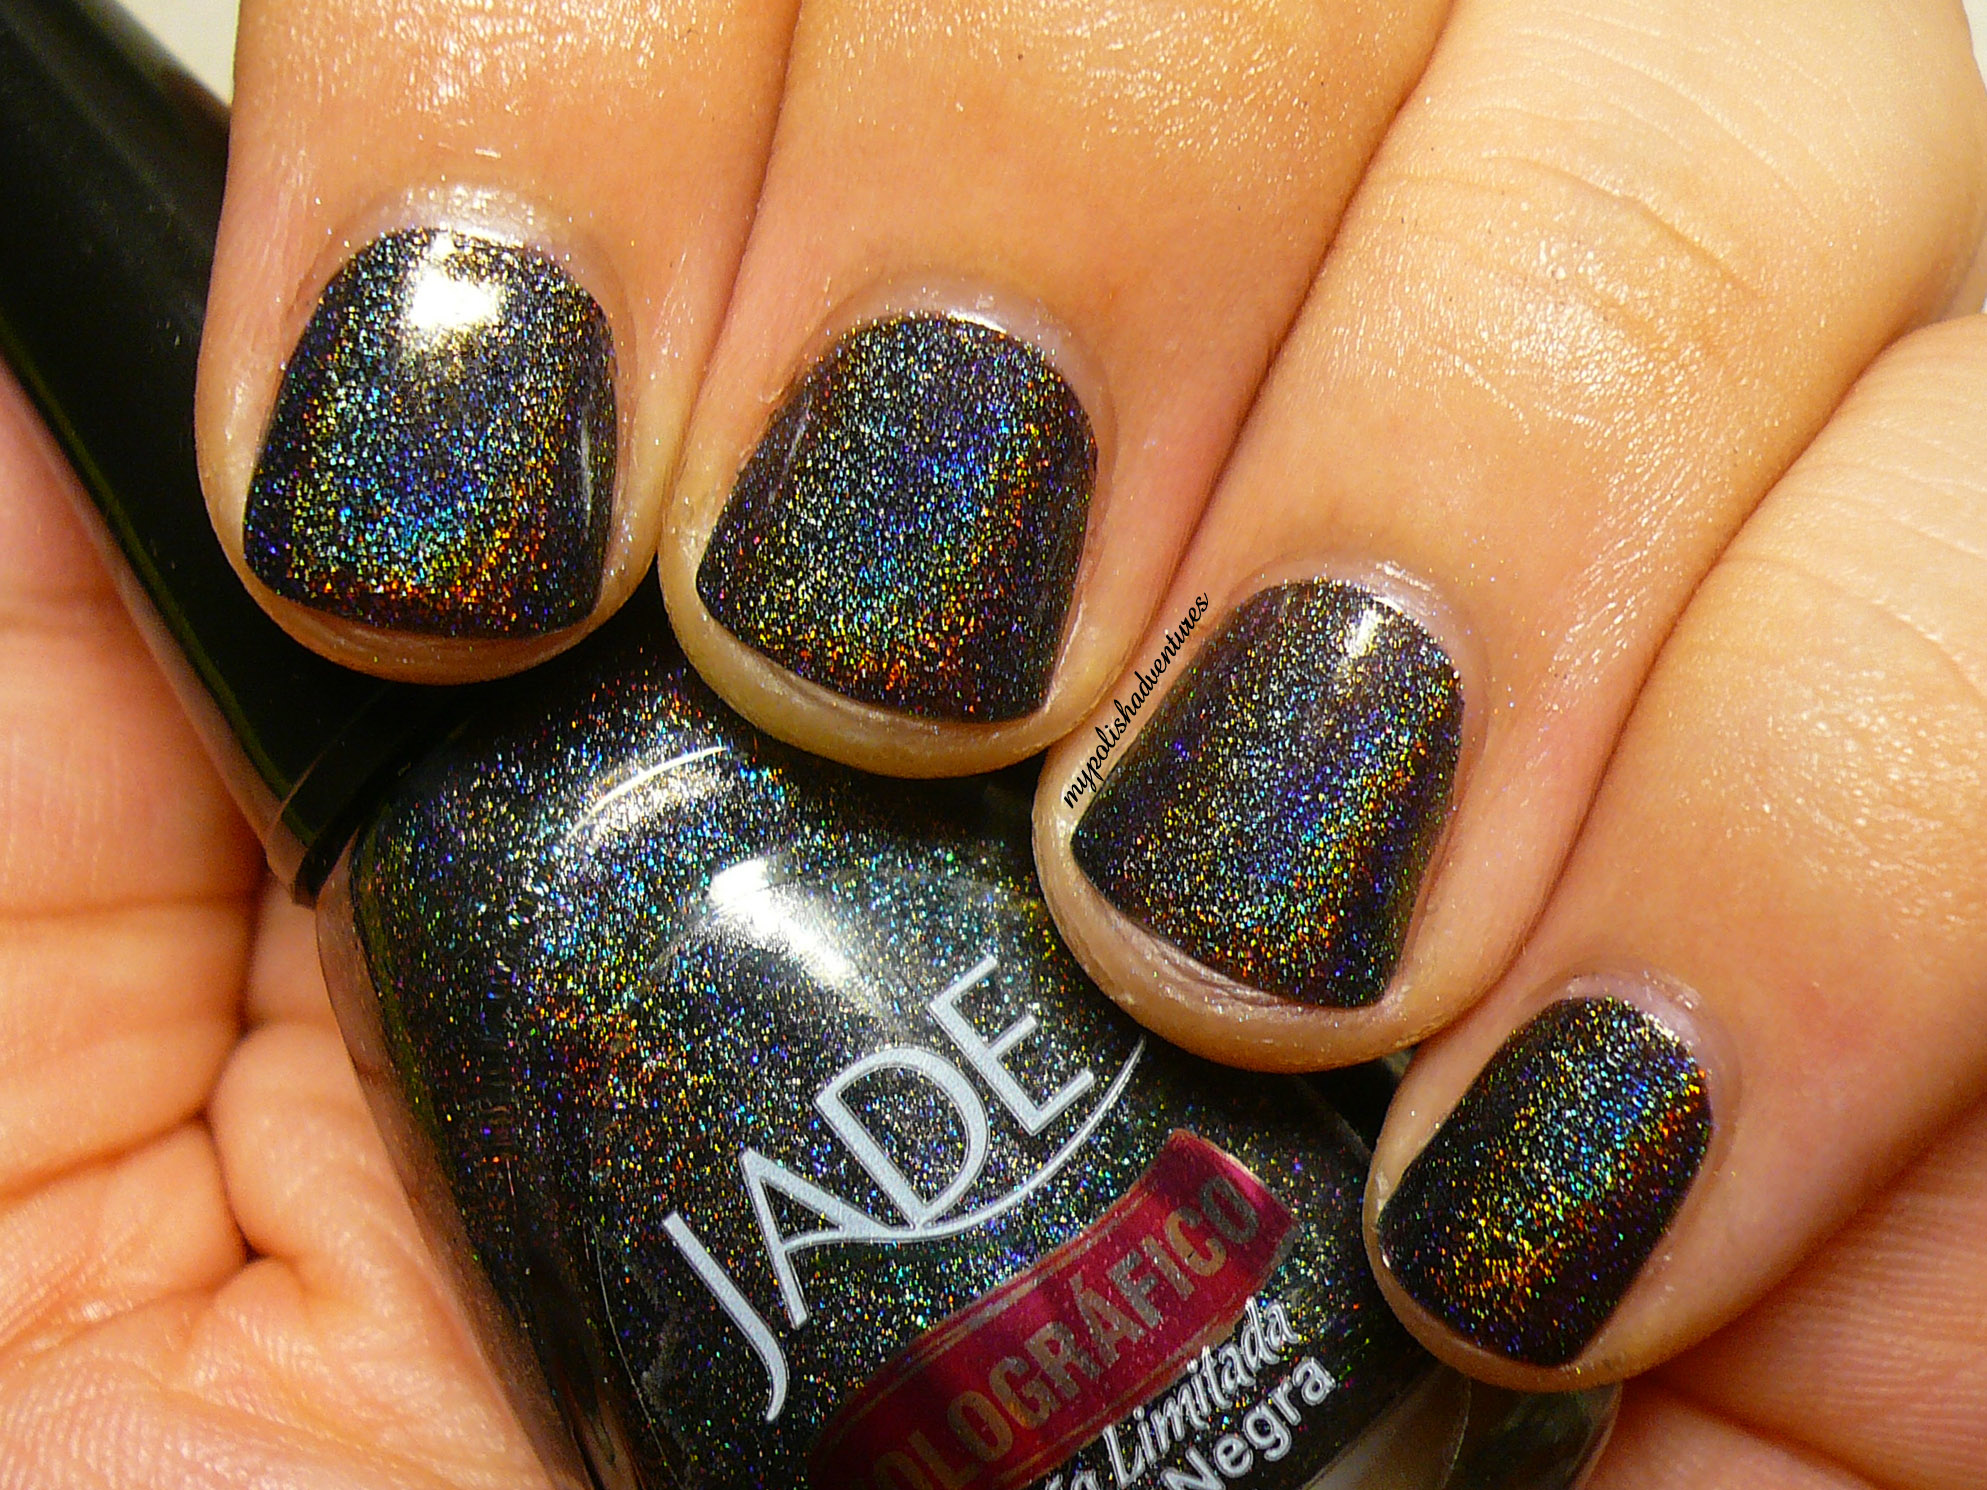
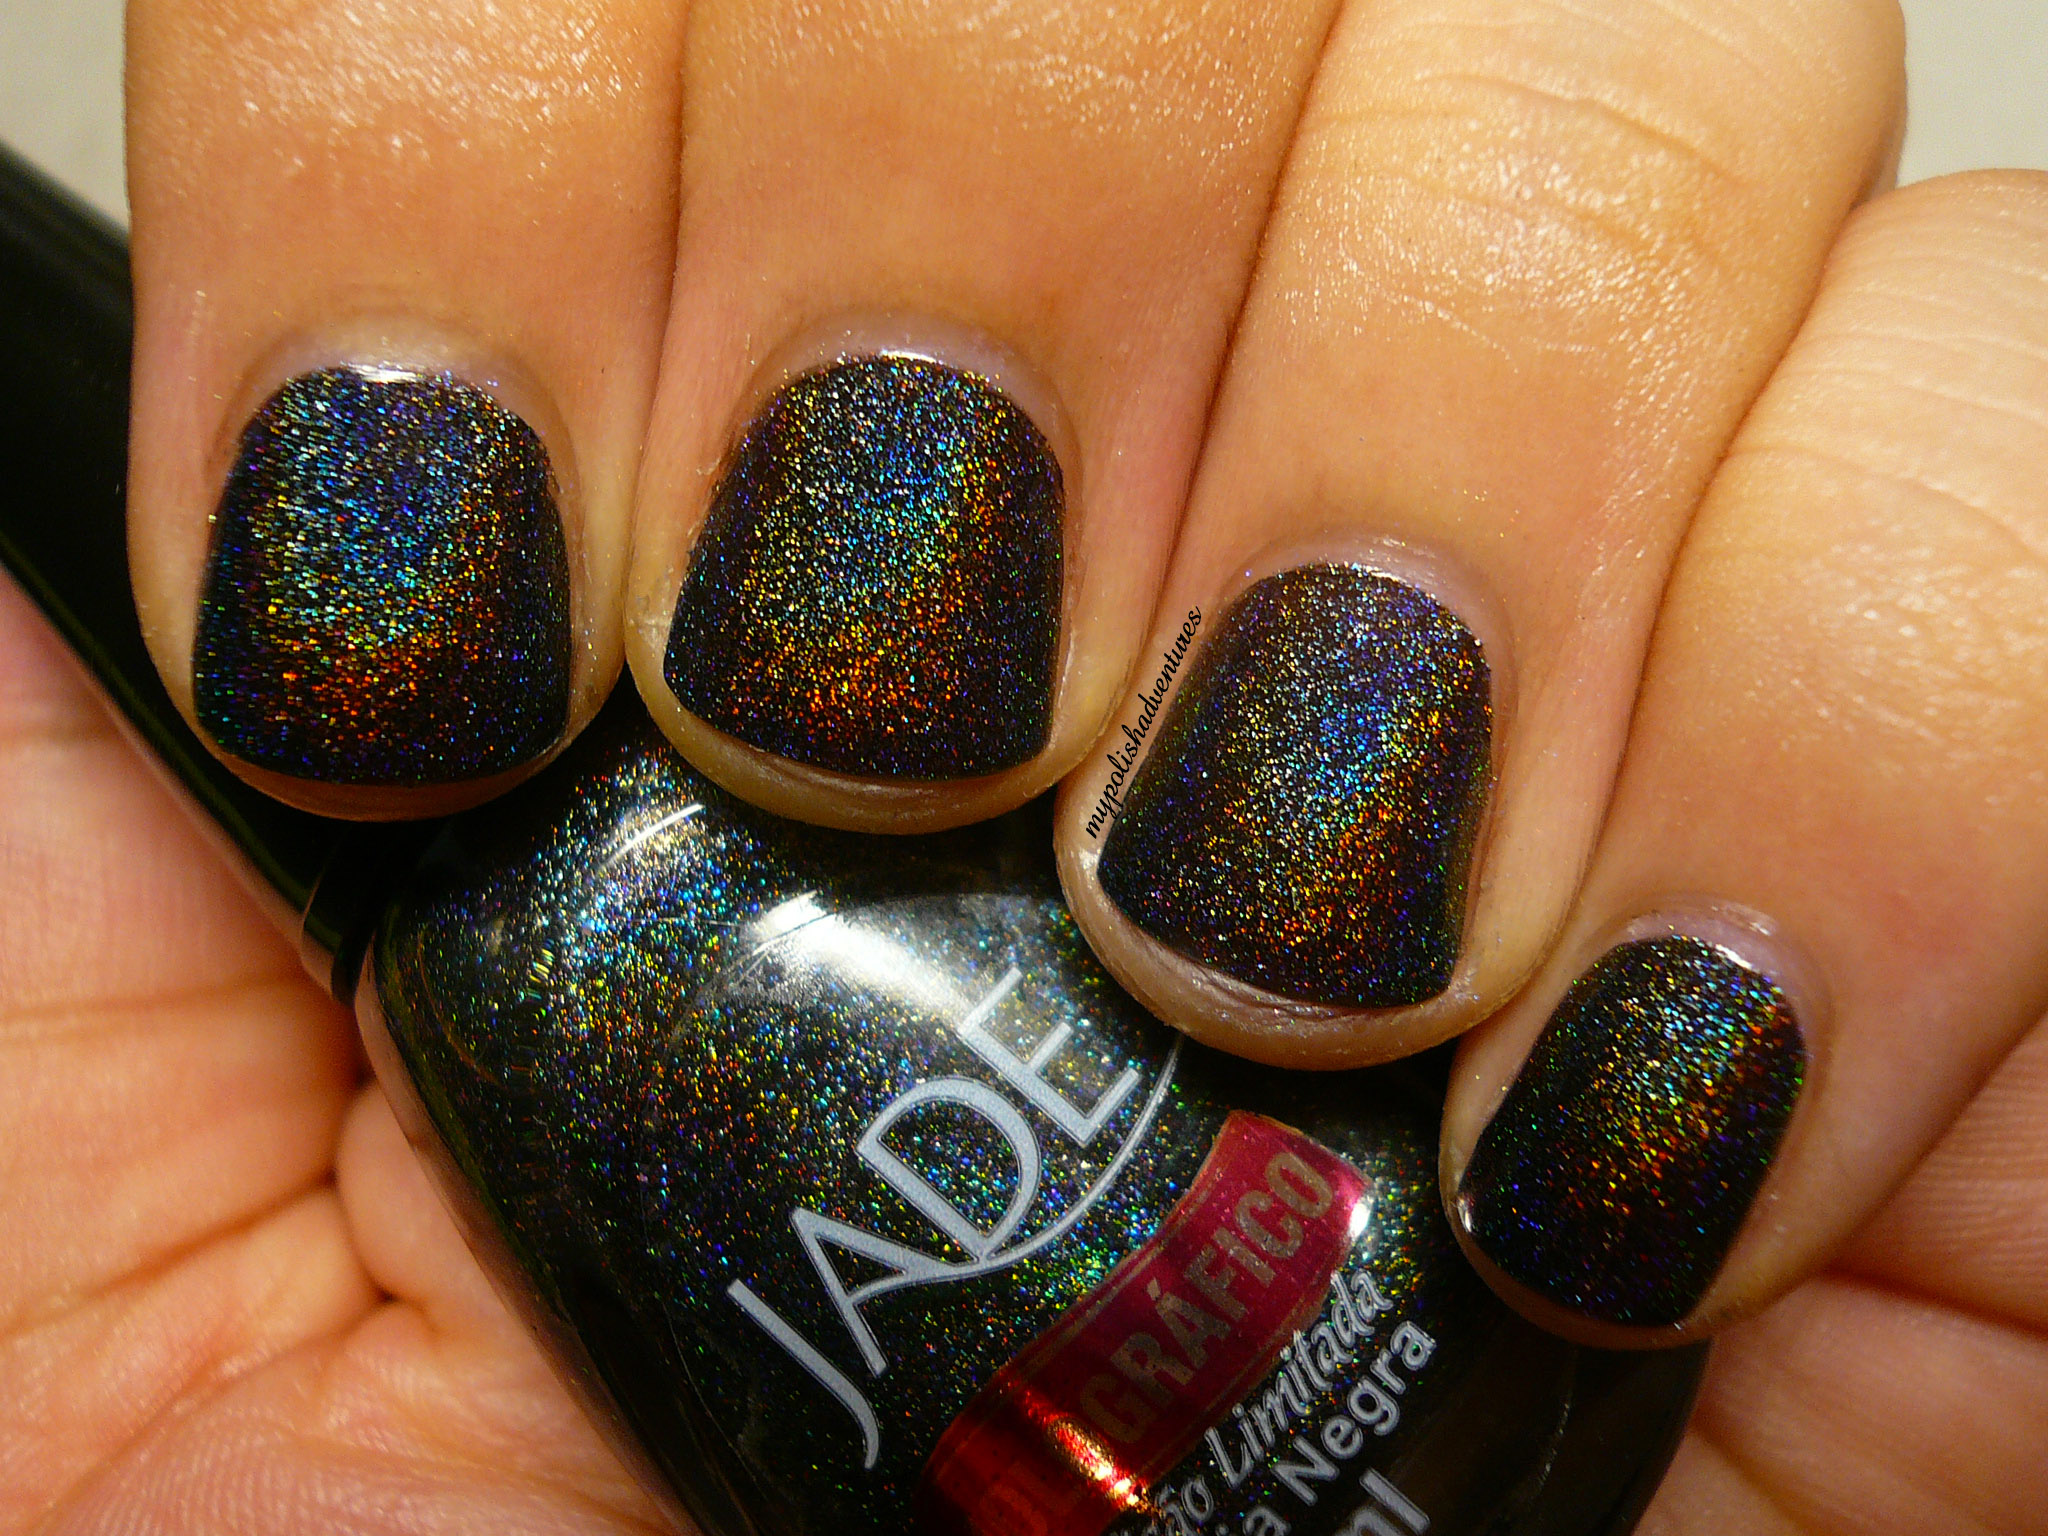
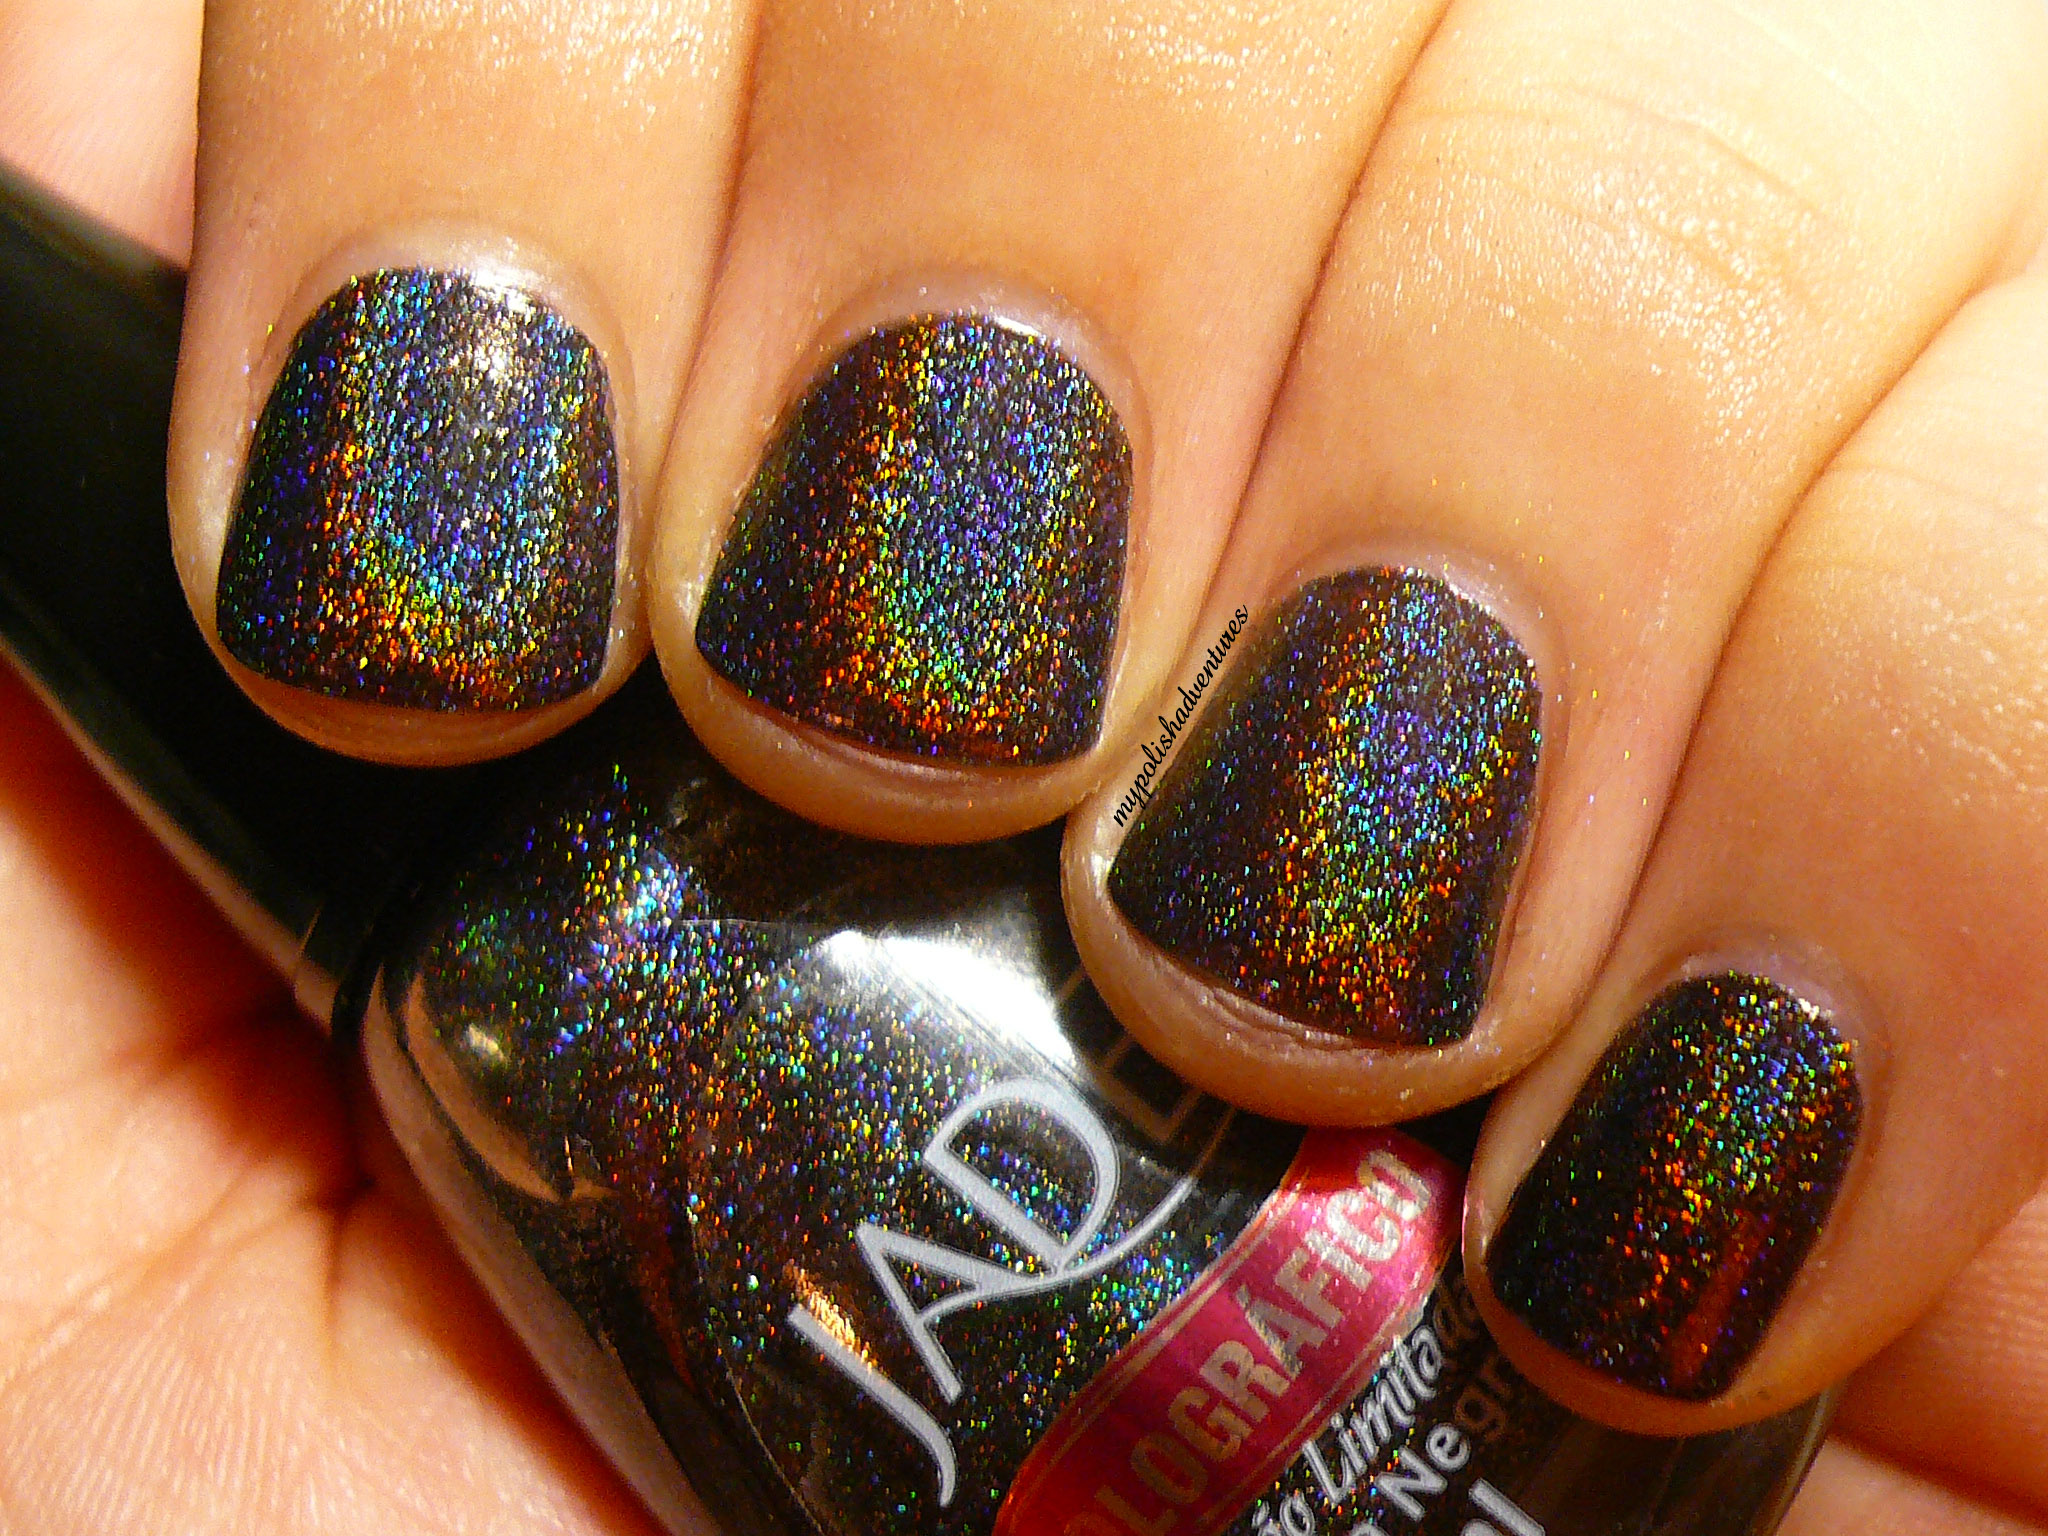
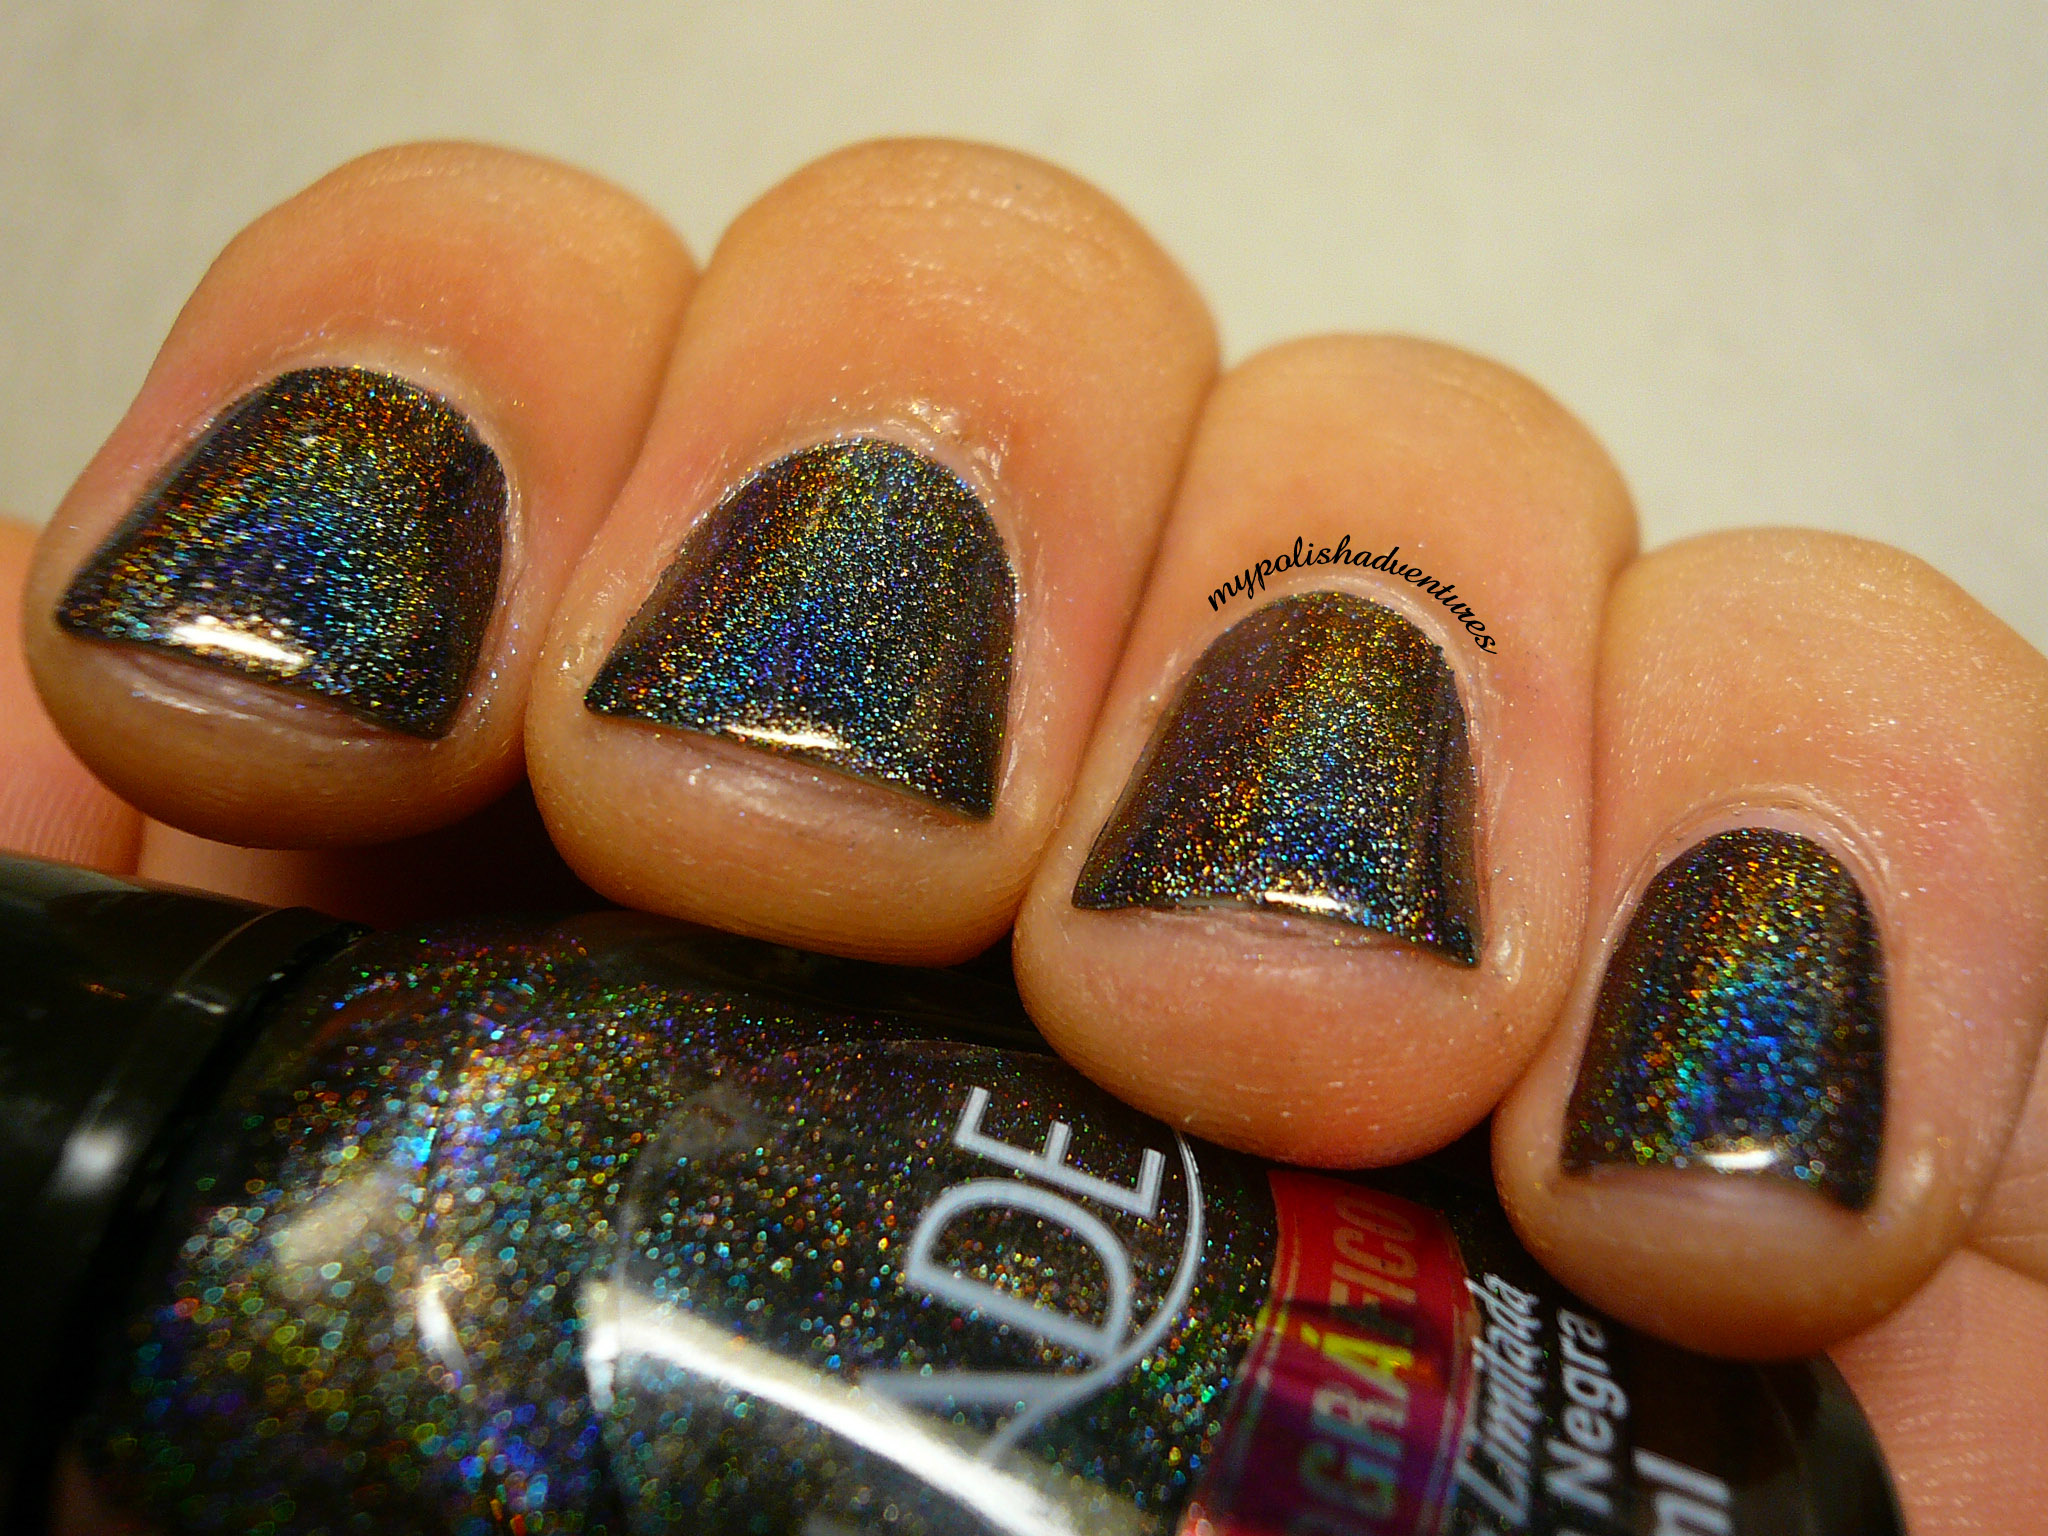
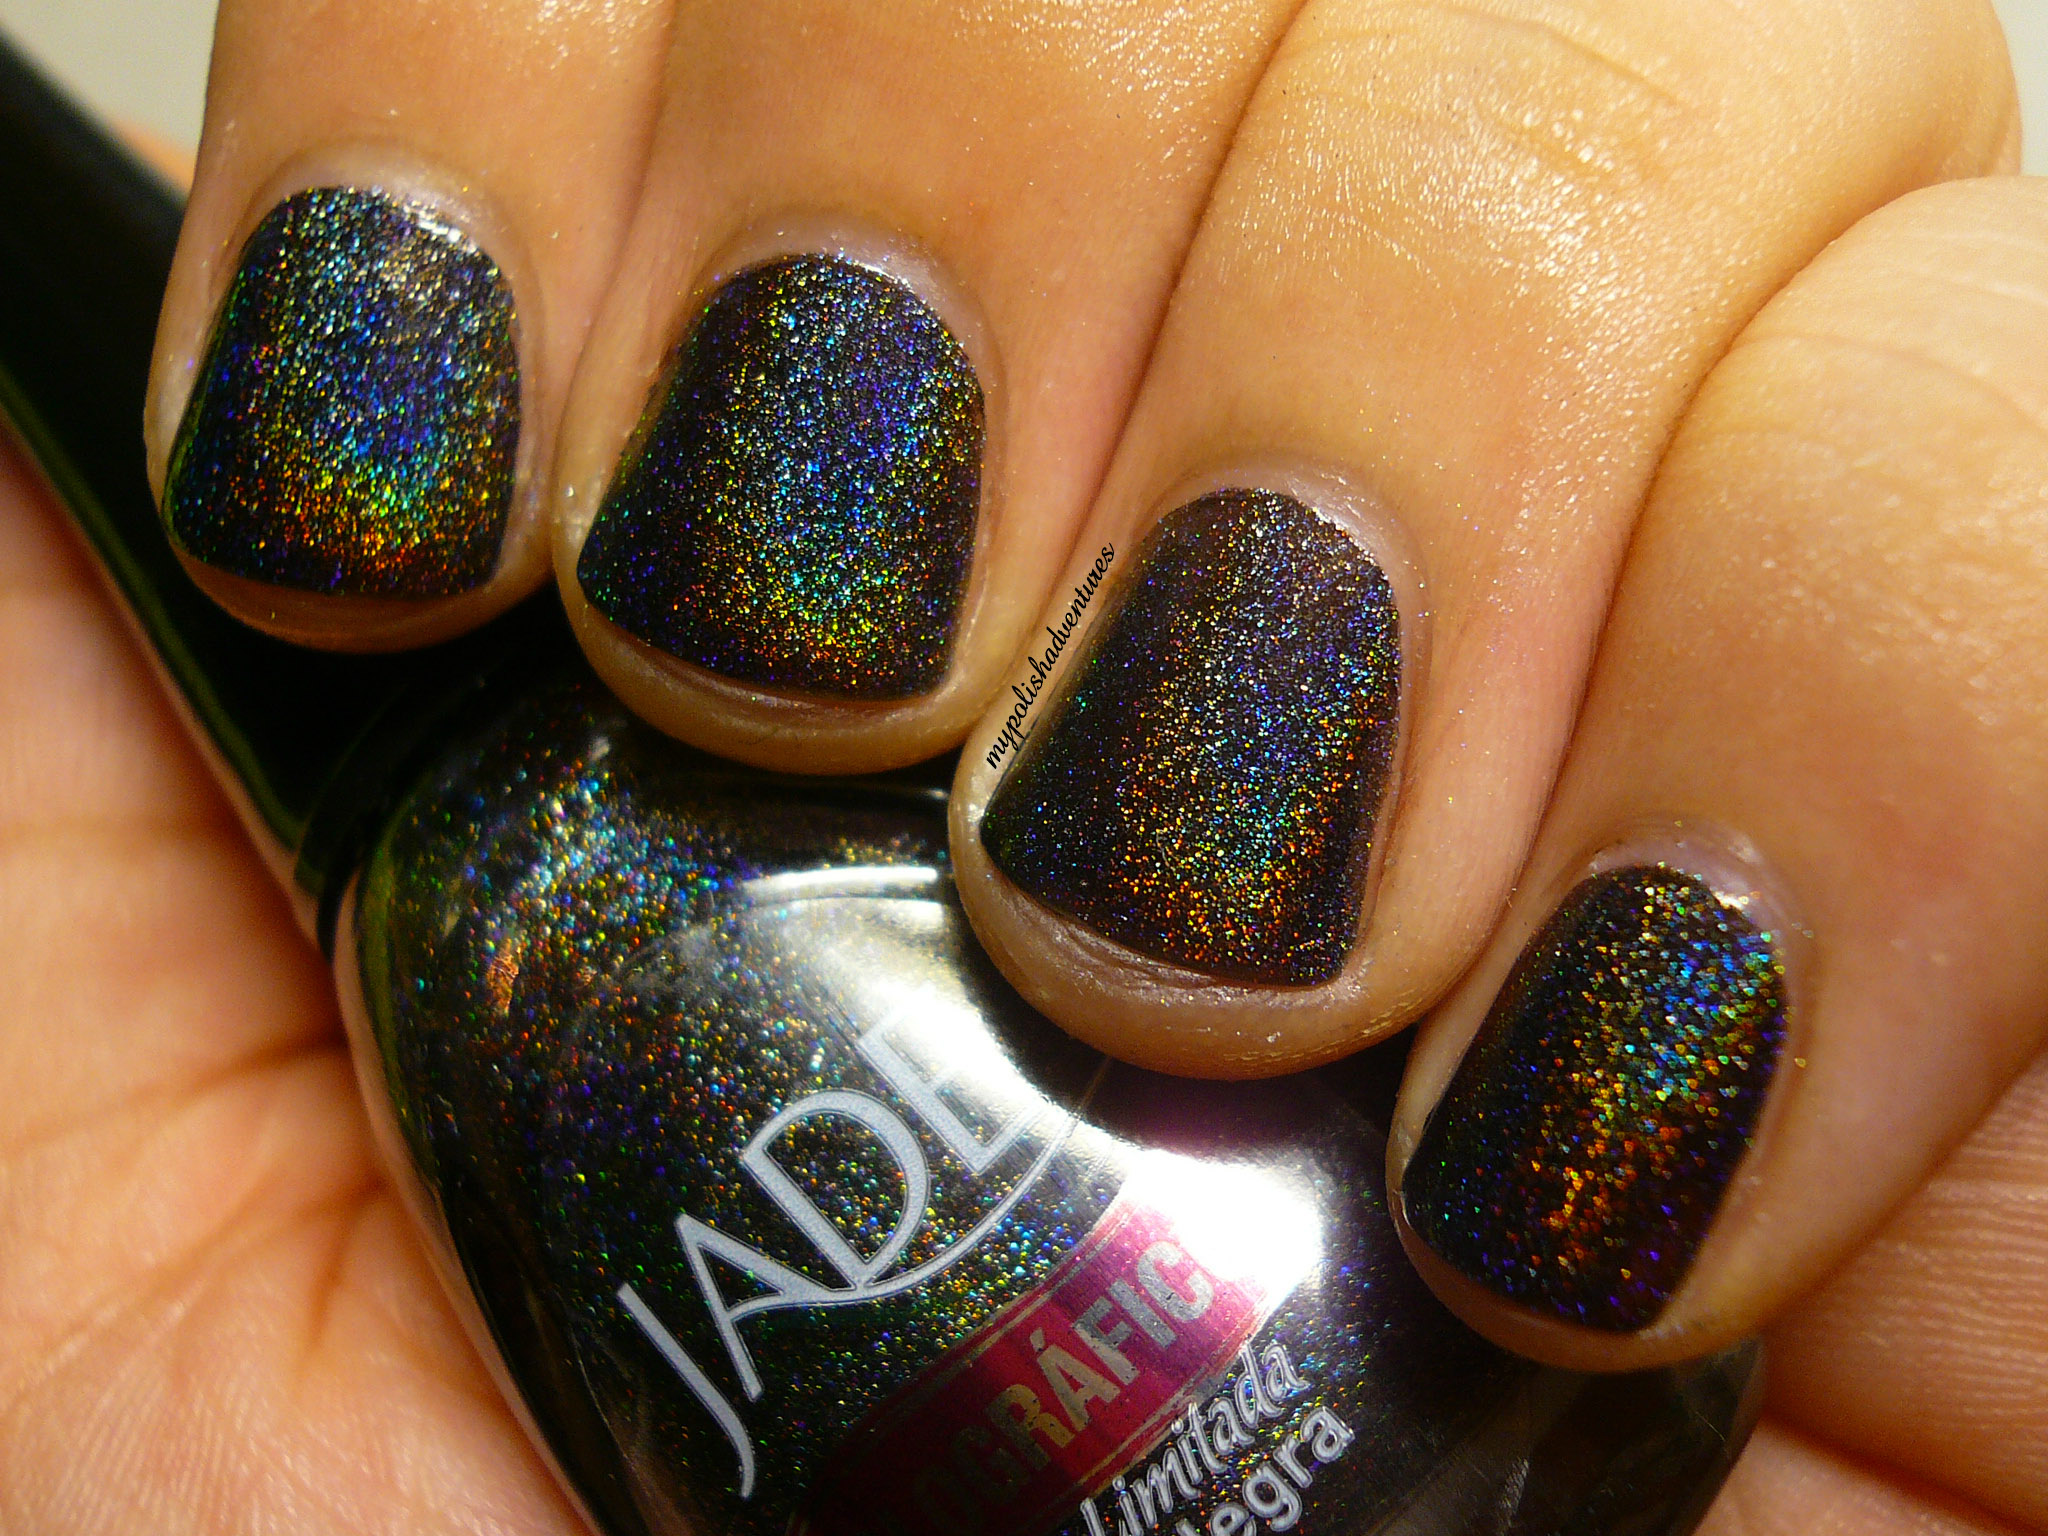
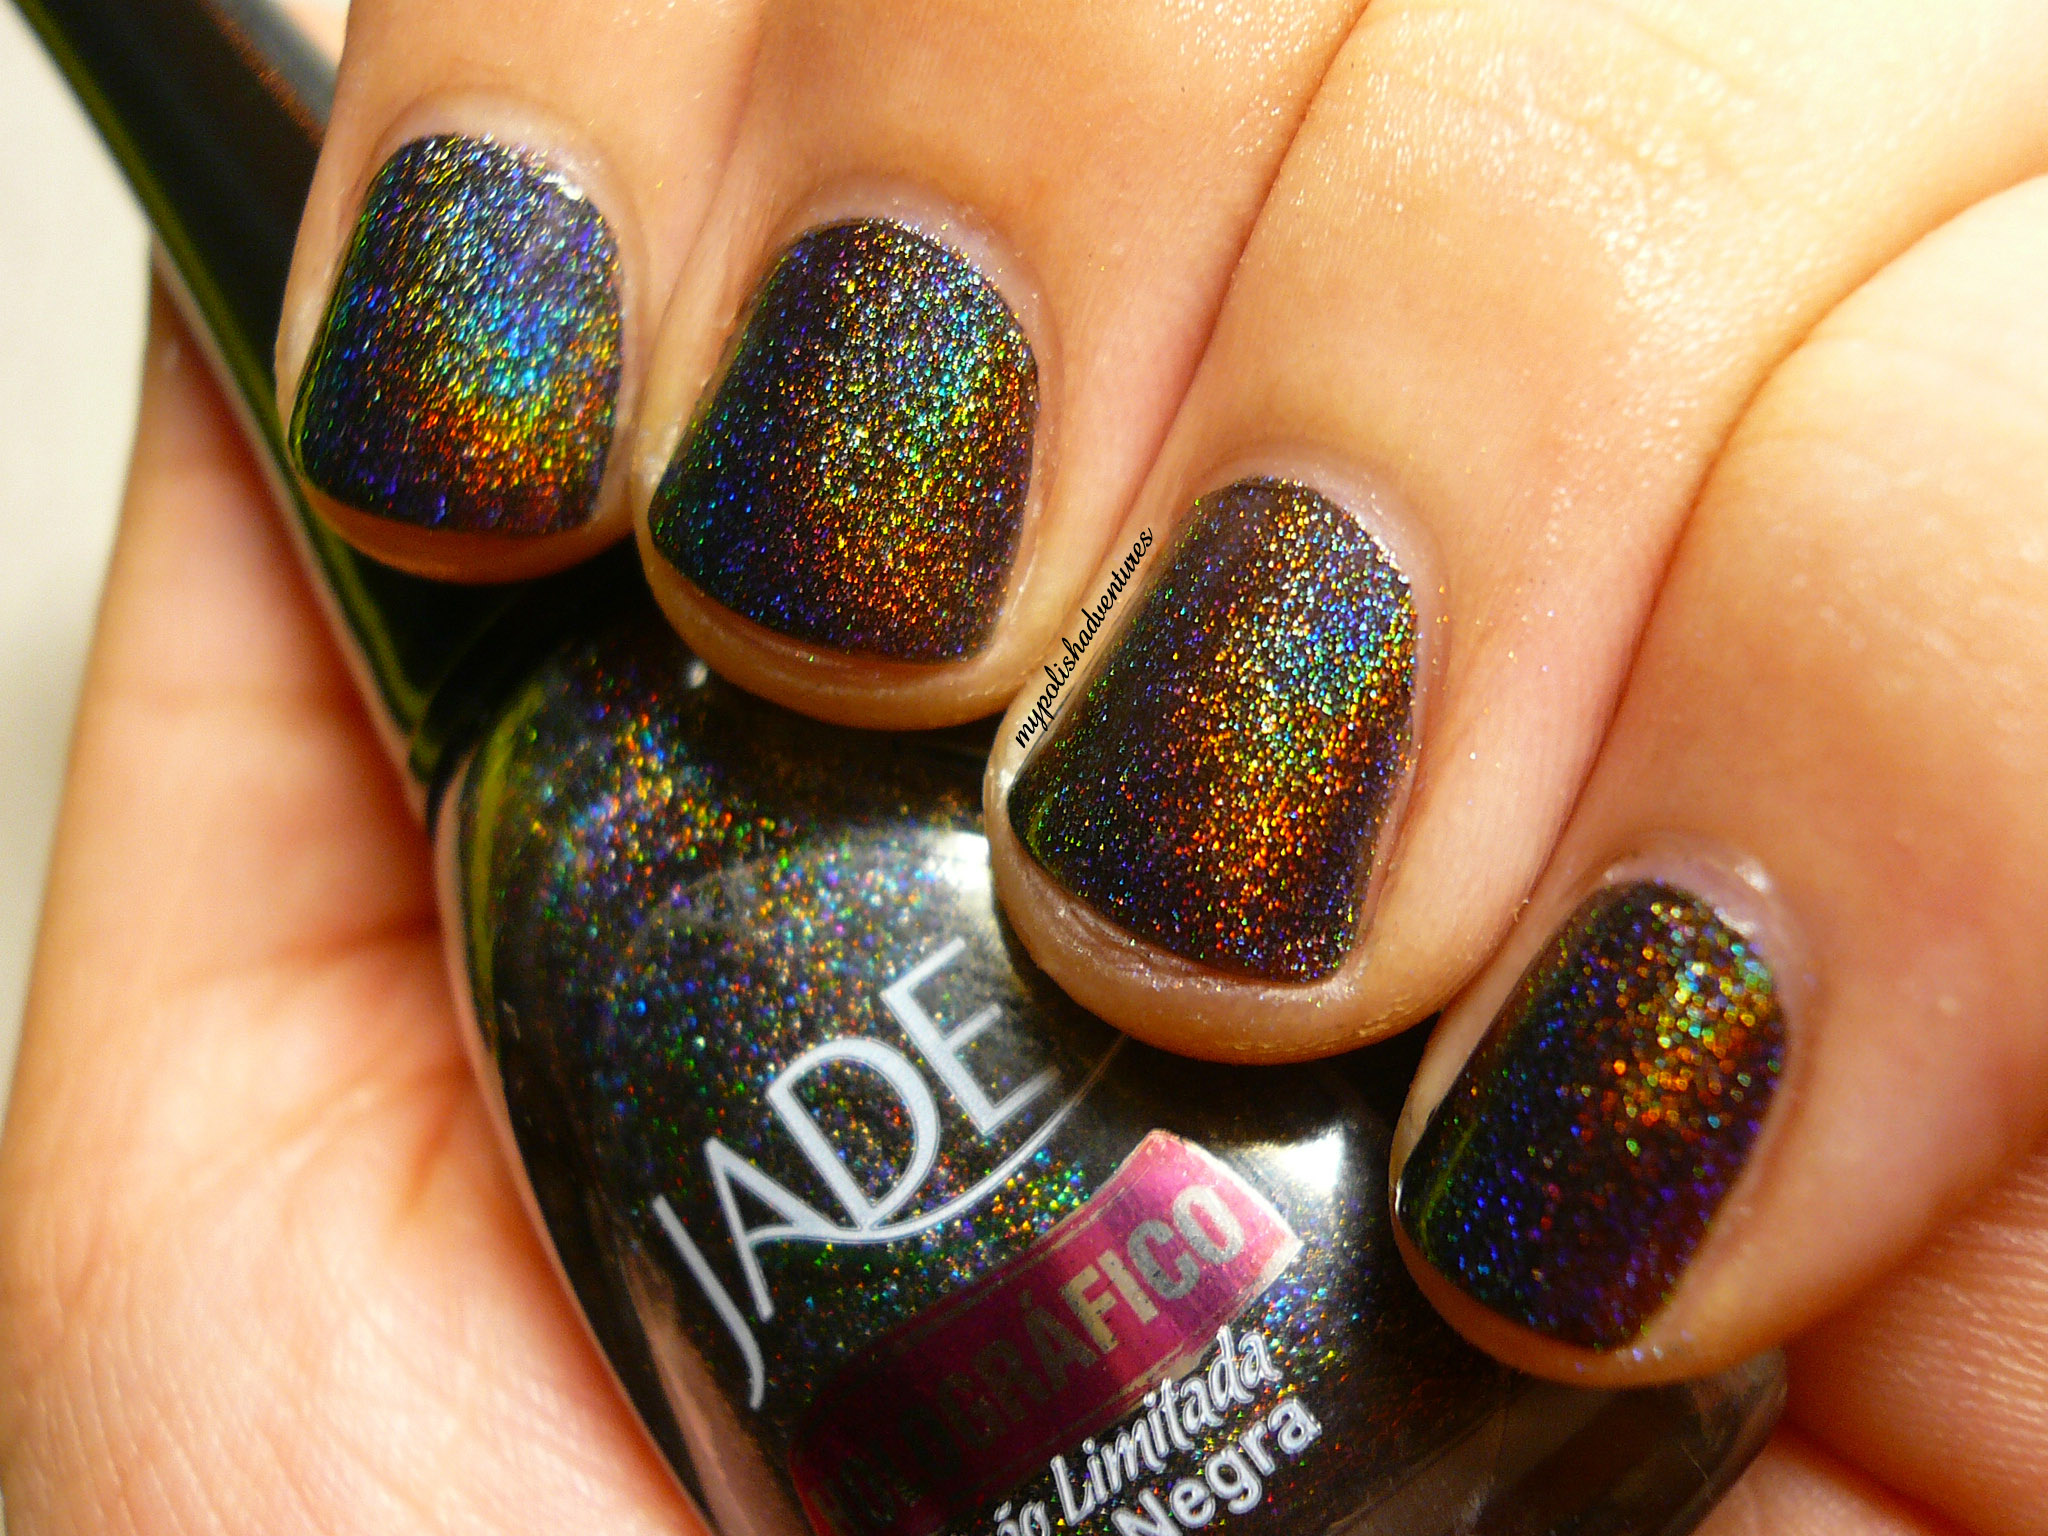
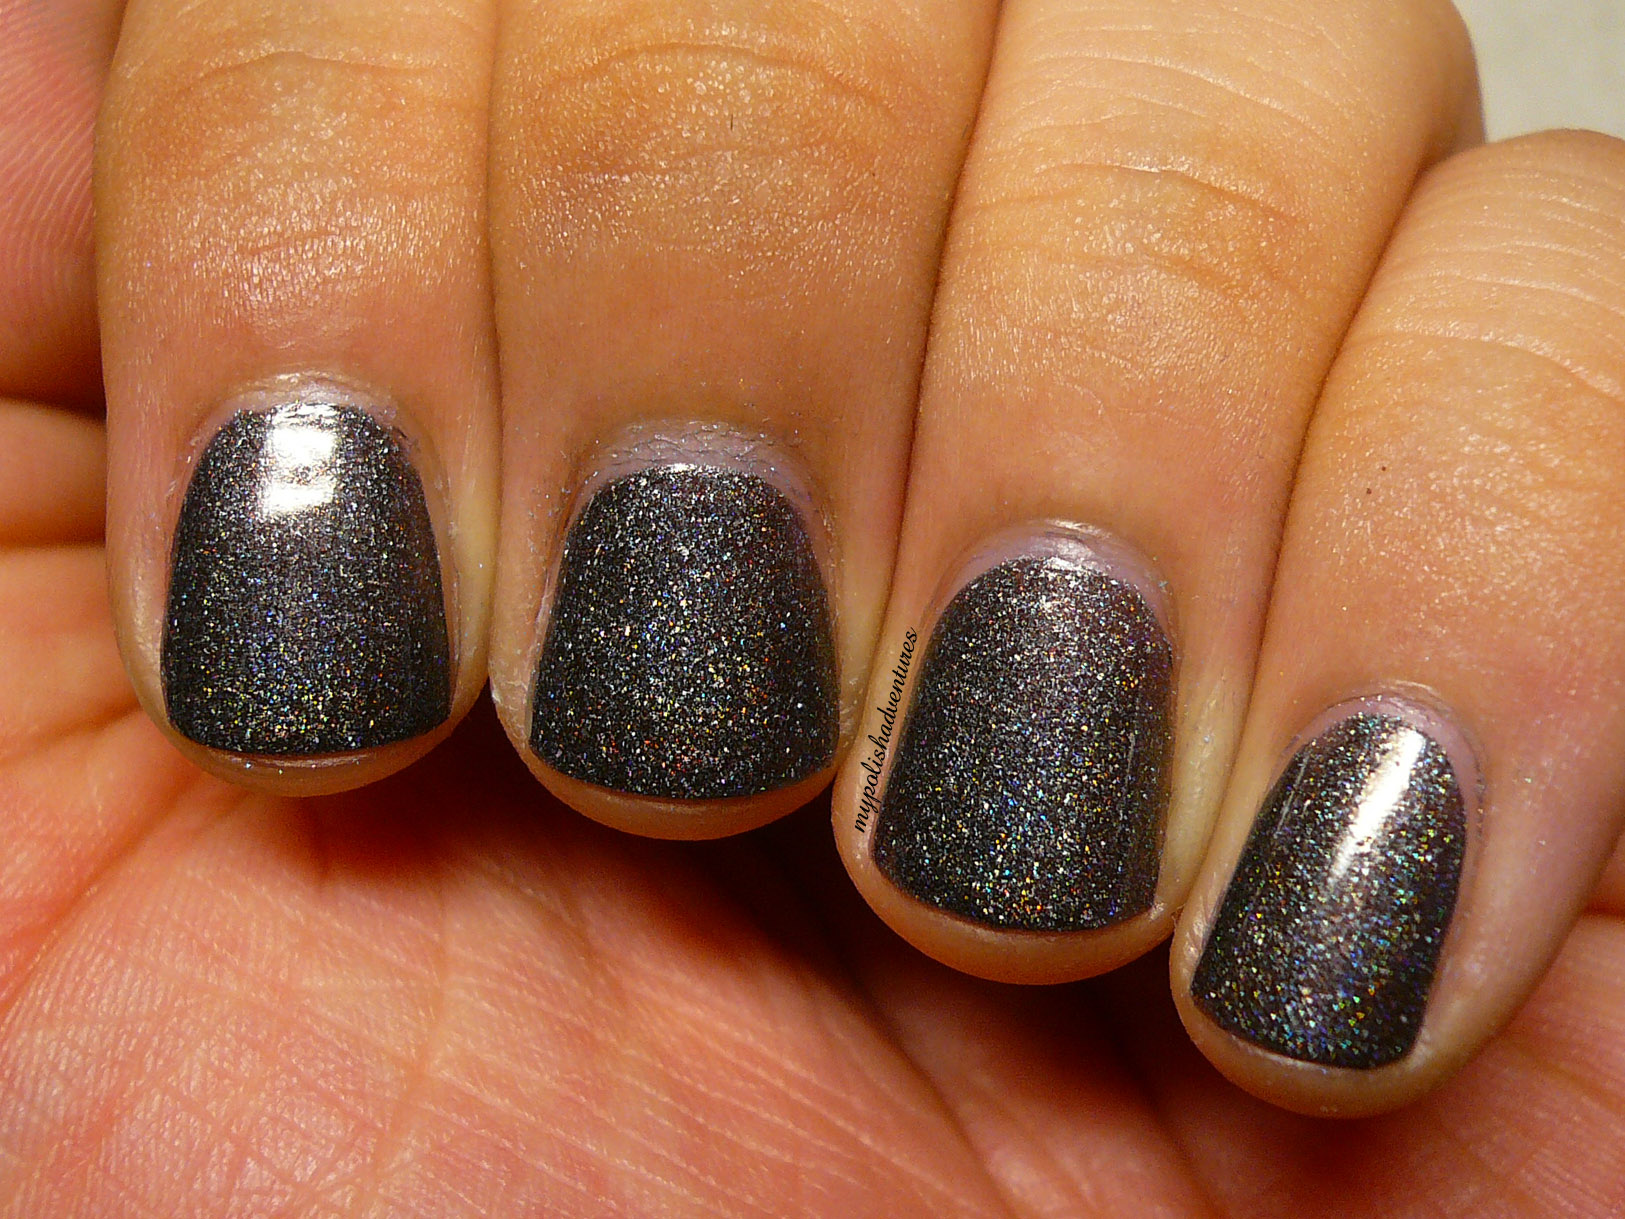
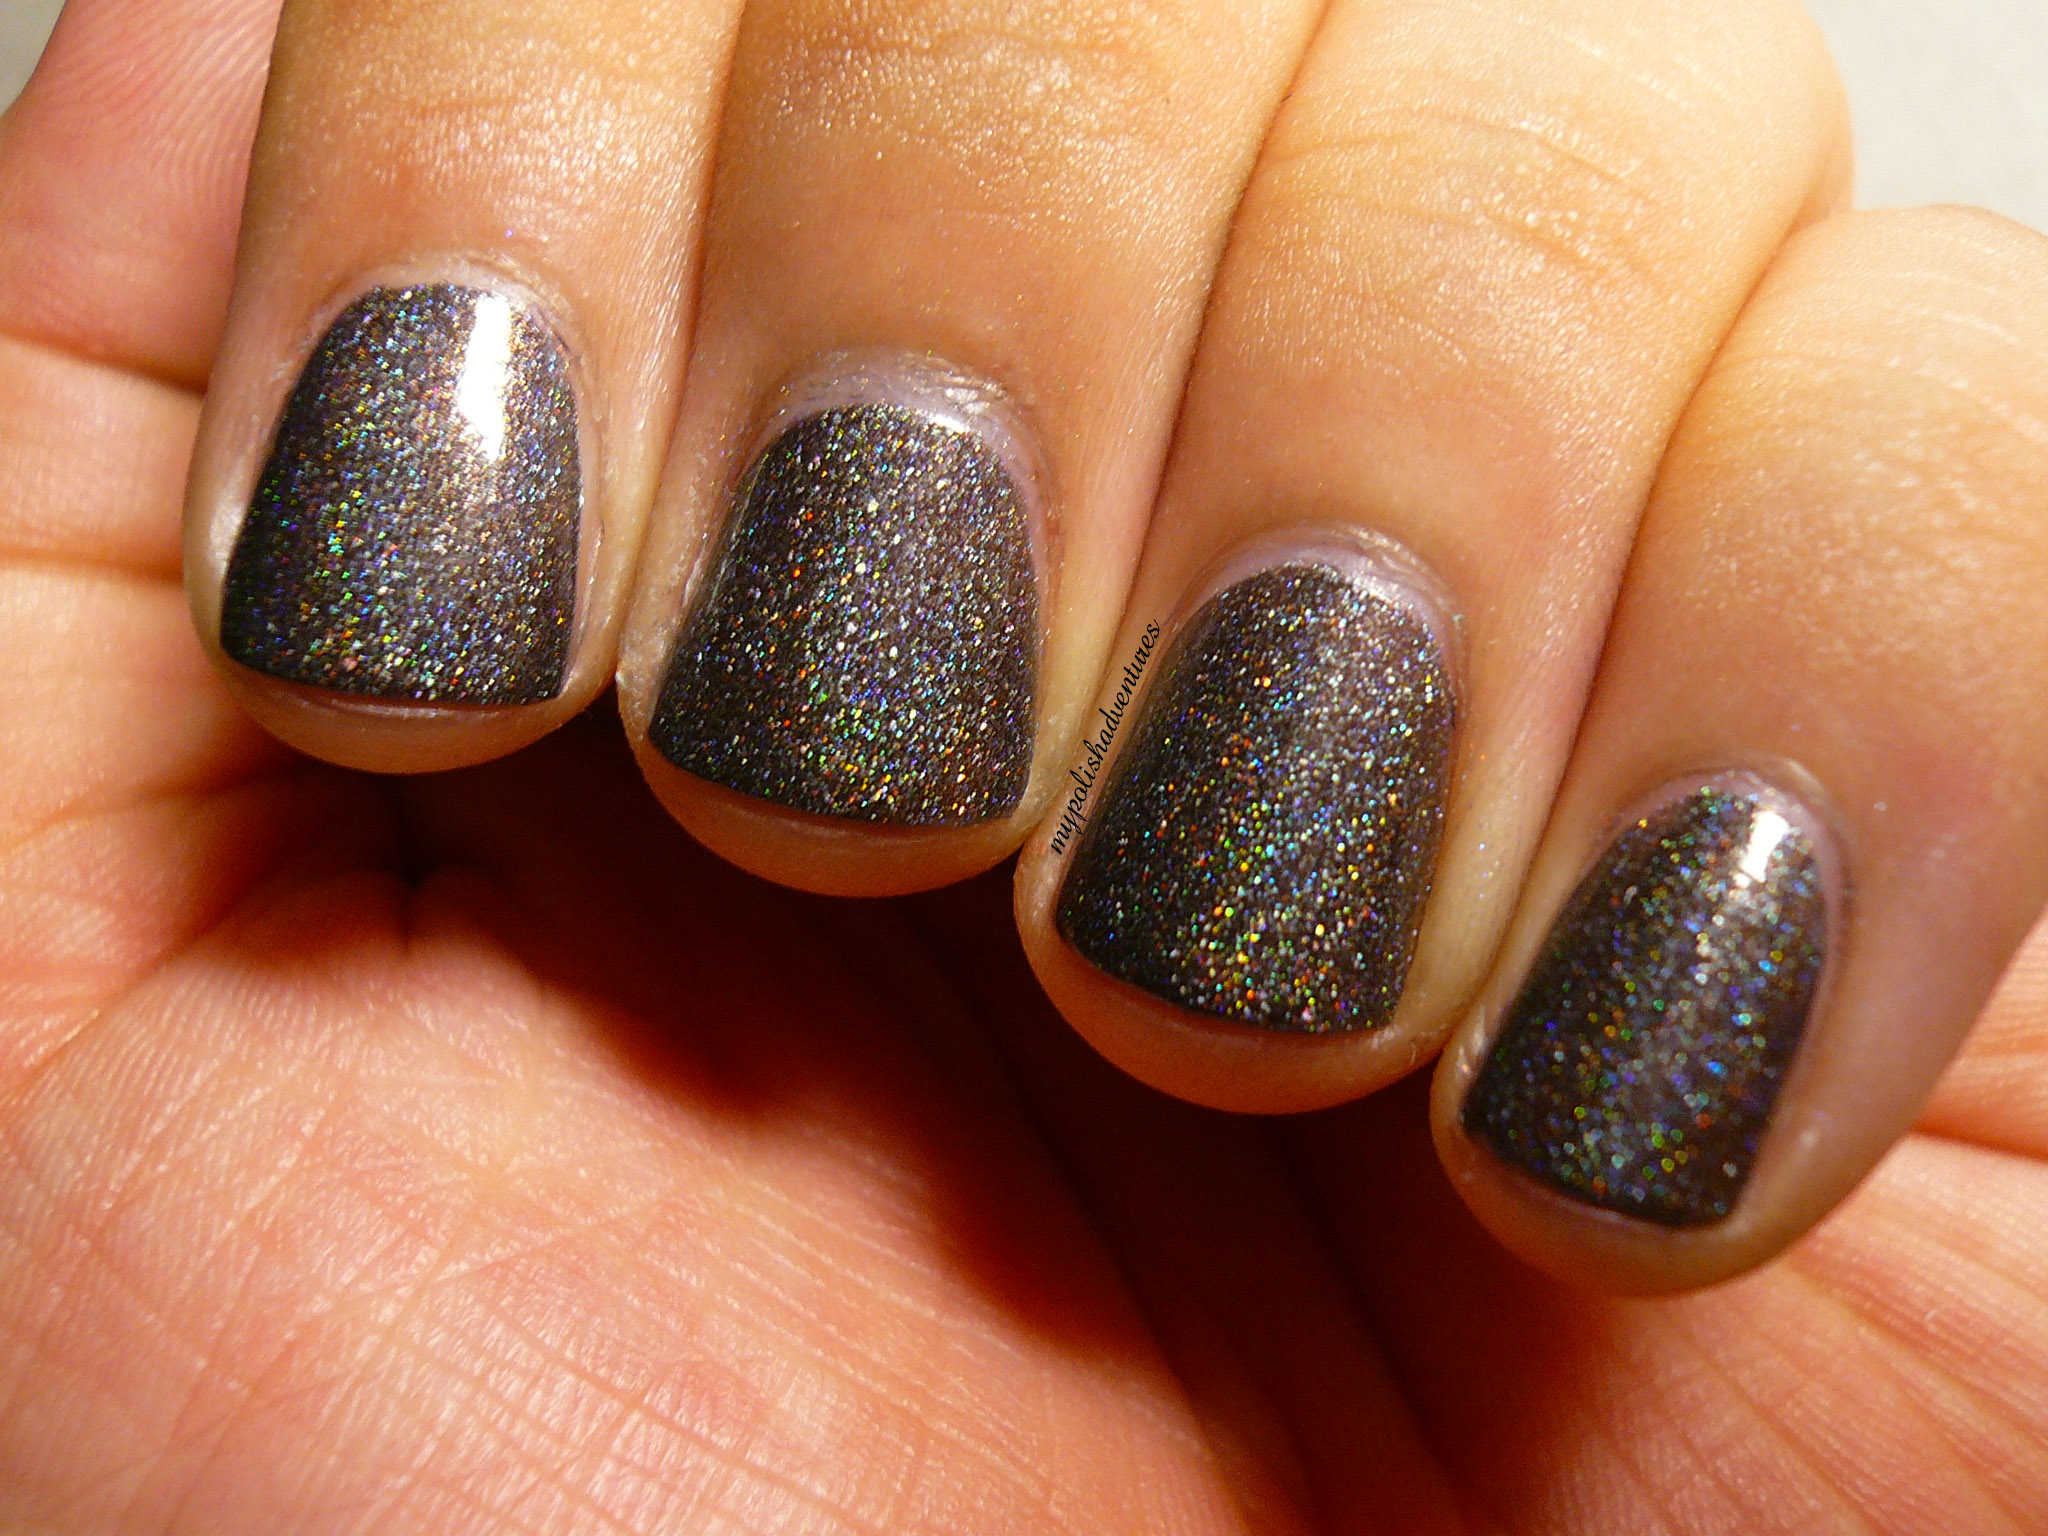
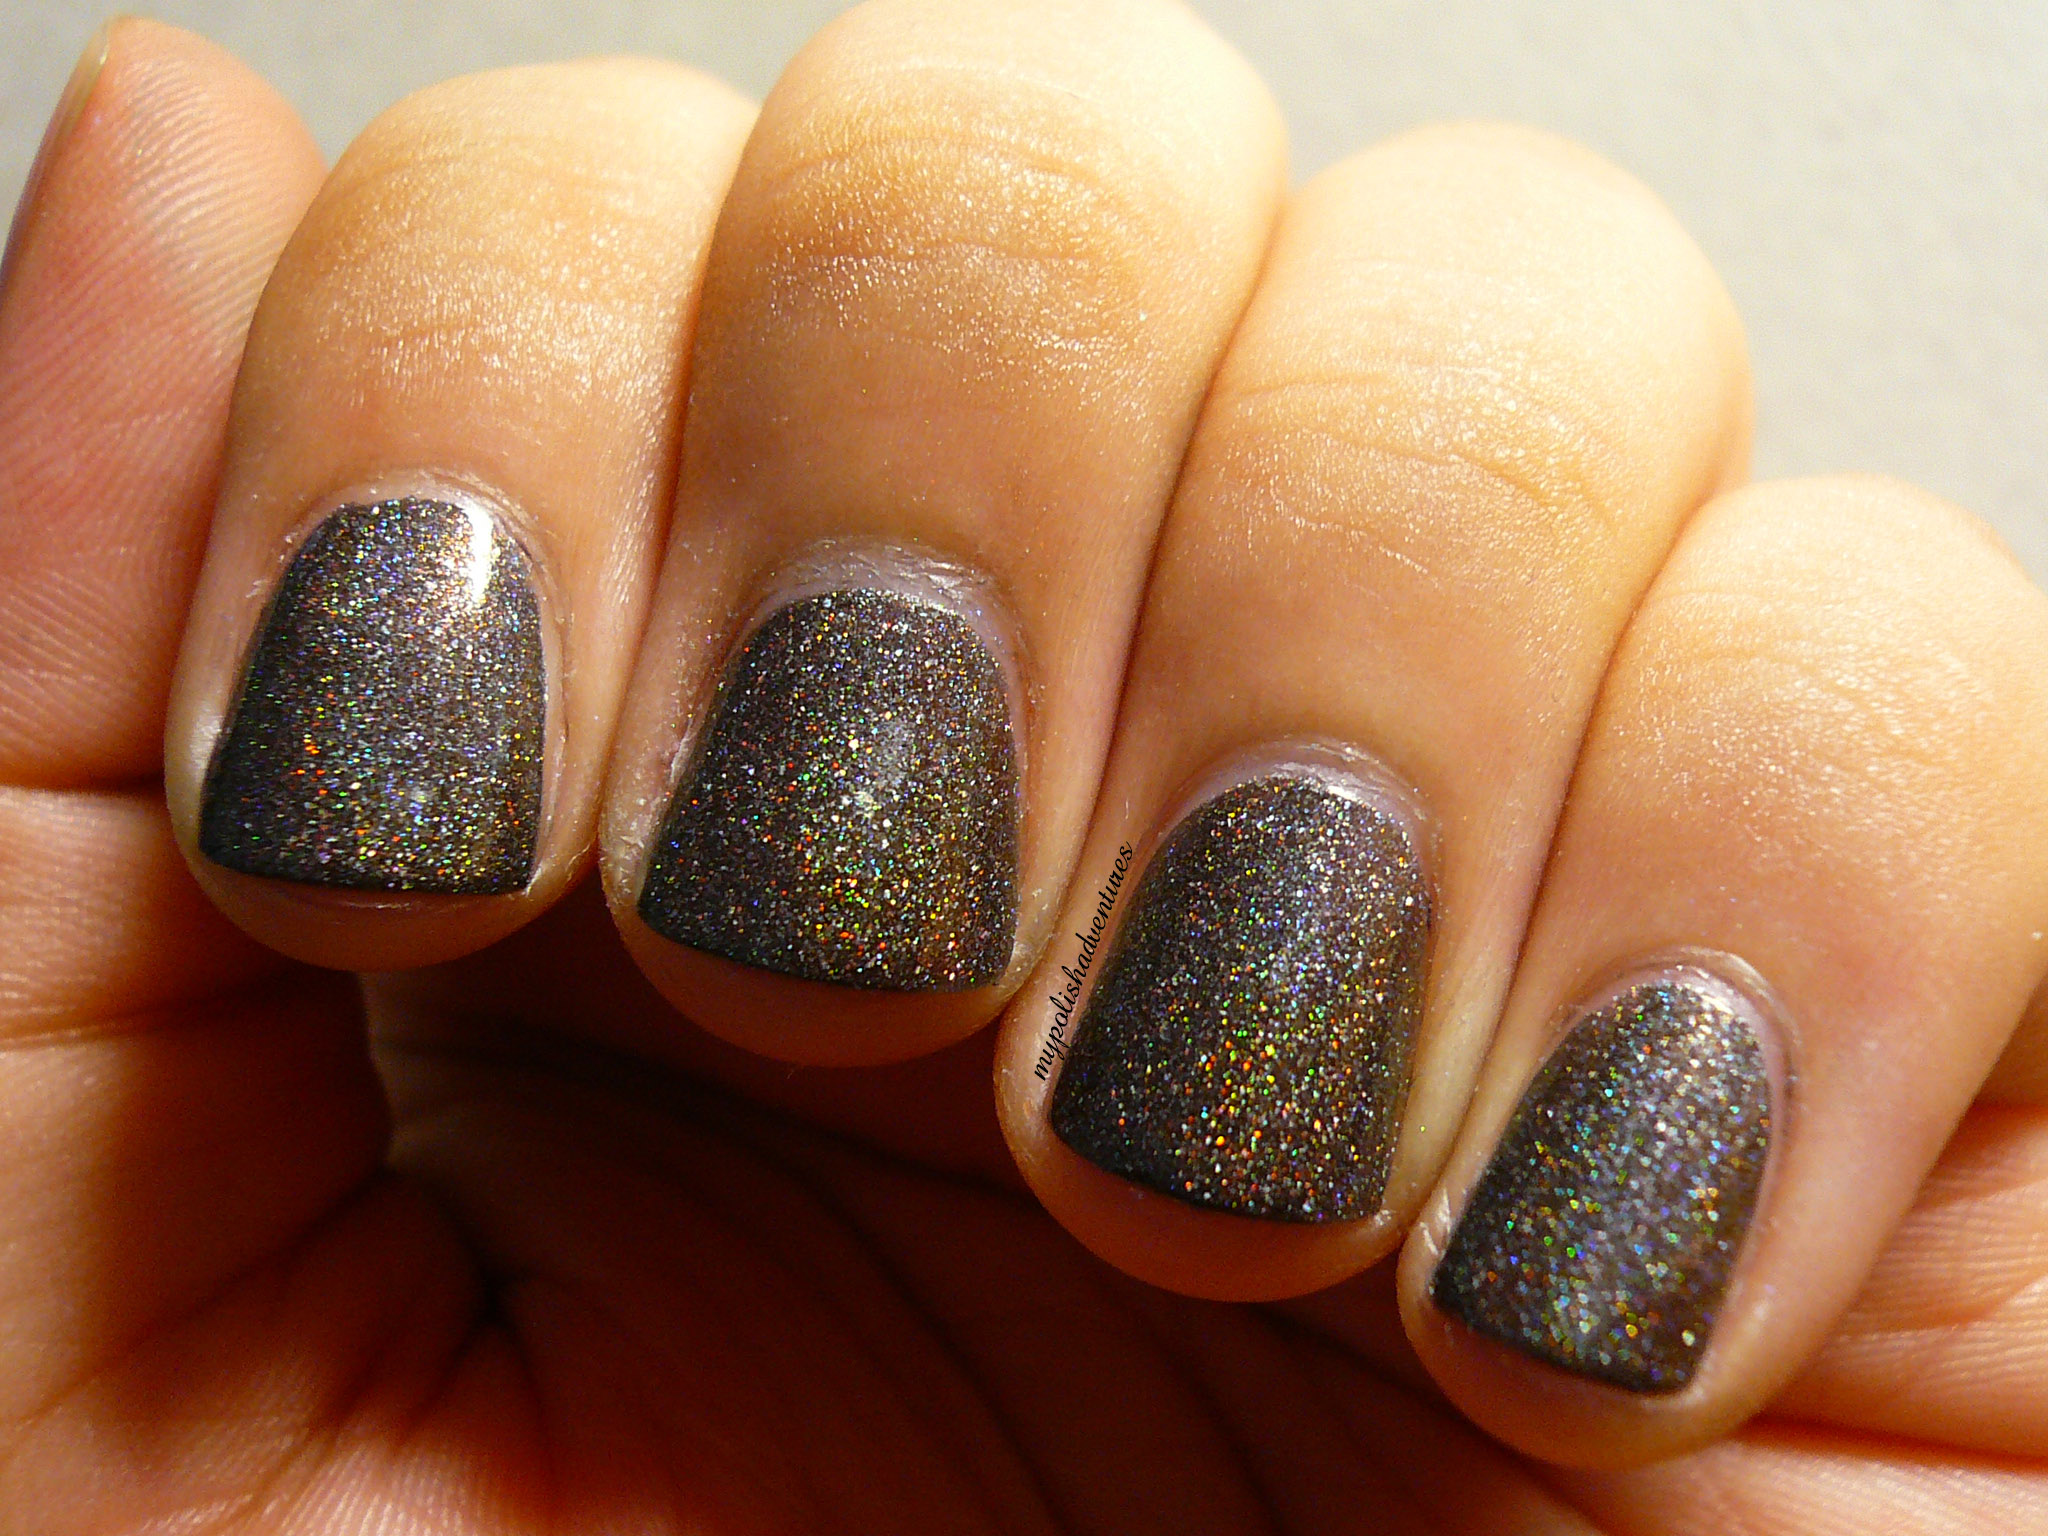
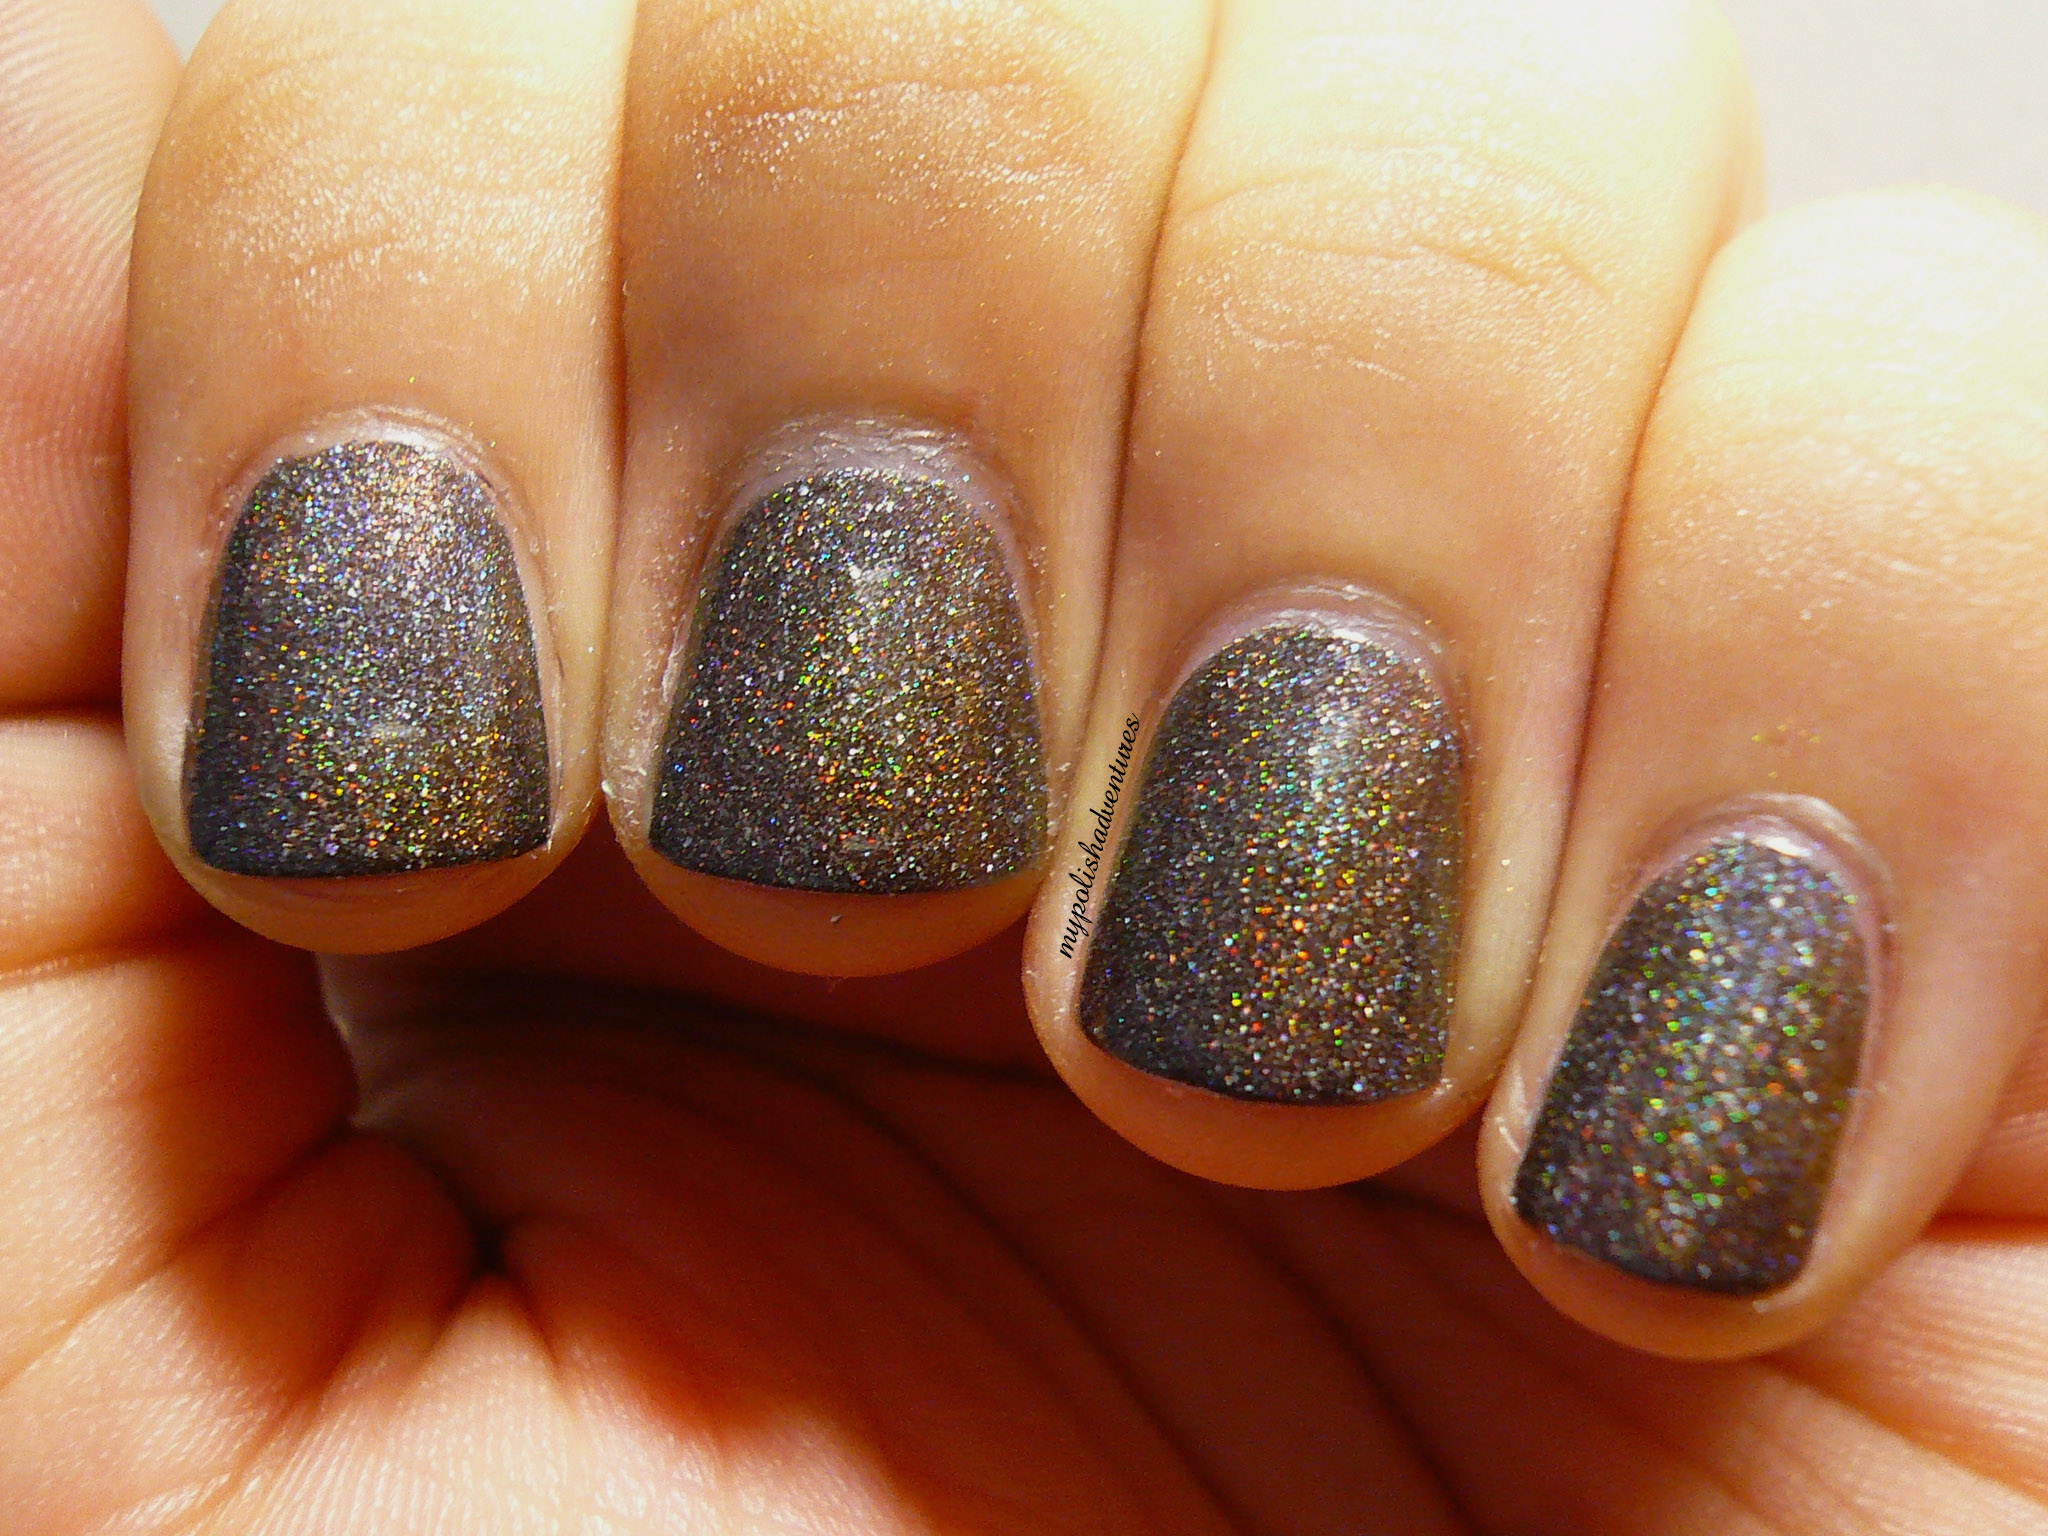
Holo Month Day 23: Jade Magia Negra

For my second post for...


I chose a A BLACK HOLO!!!!! HOLAAAAA!

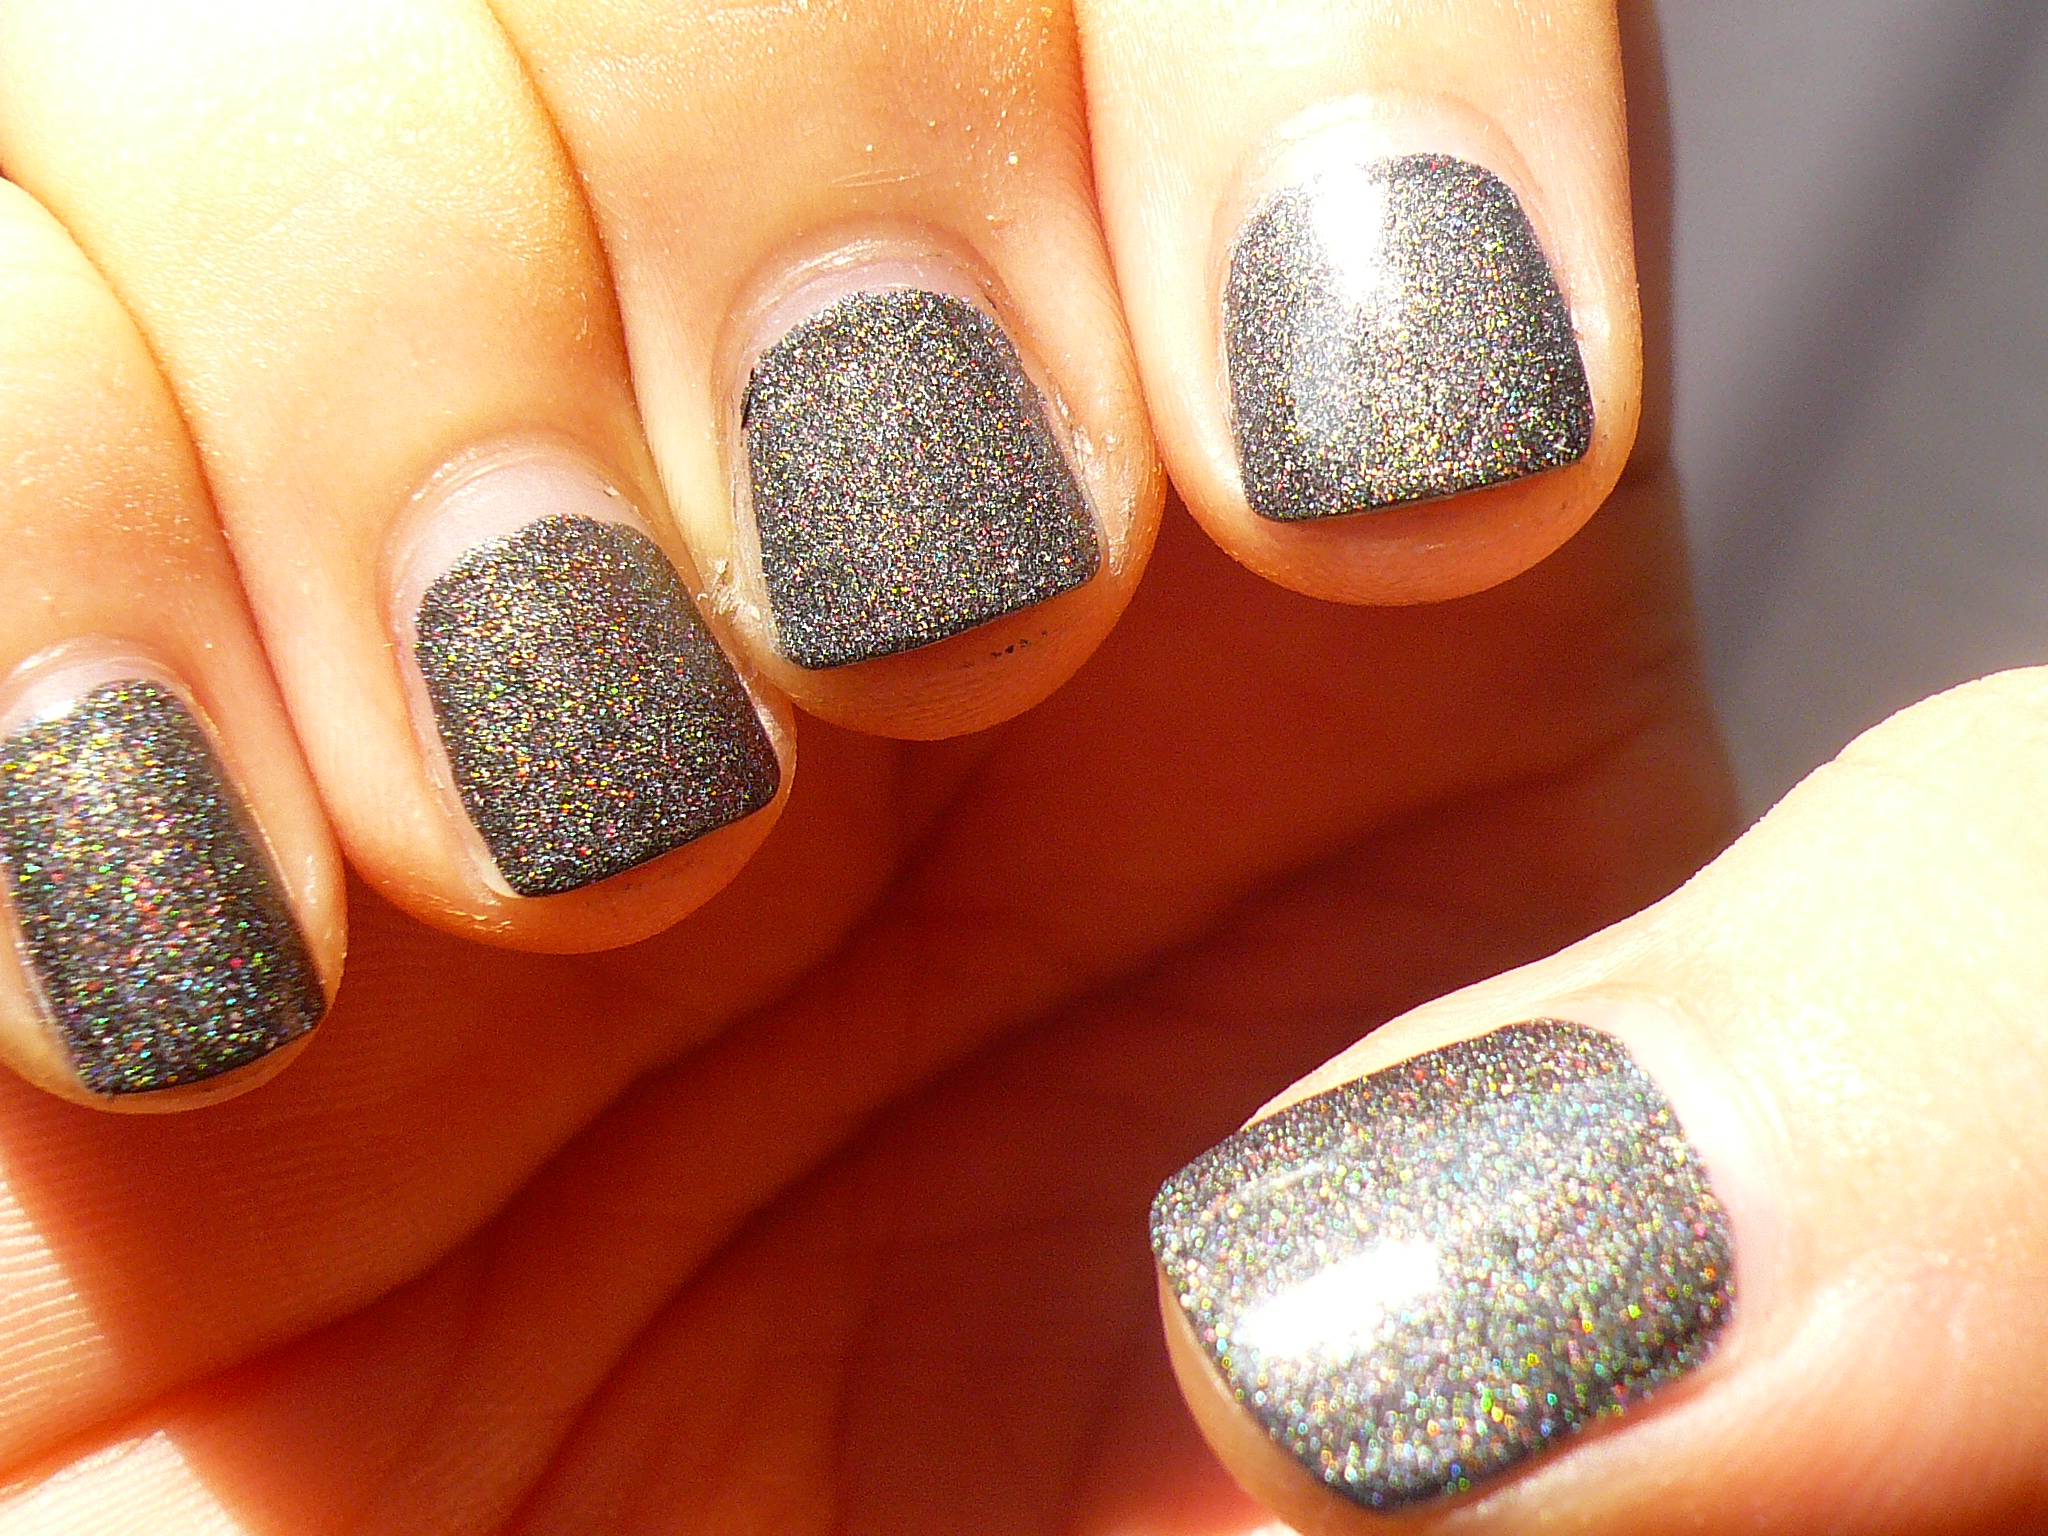
Jade Magia Negra is the deepest and blackest holographic polish I've seen. OMG IT'S SO PRETTY!


This was two easy coats of Magia Negra.


It was actually pretty opaque and you could probably get away with one coat if you know what you're doing!


Magia Negra is HOLO HEAVEN!


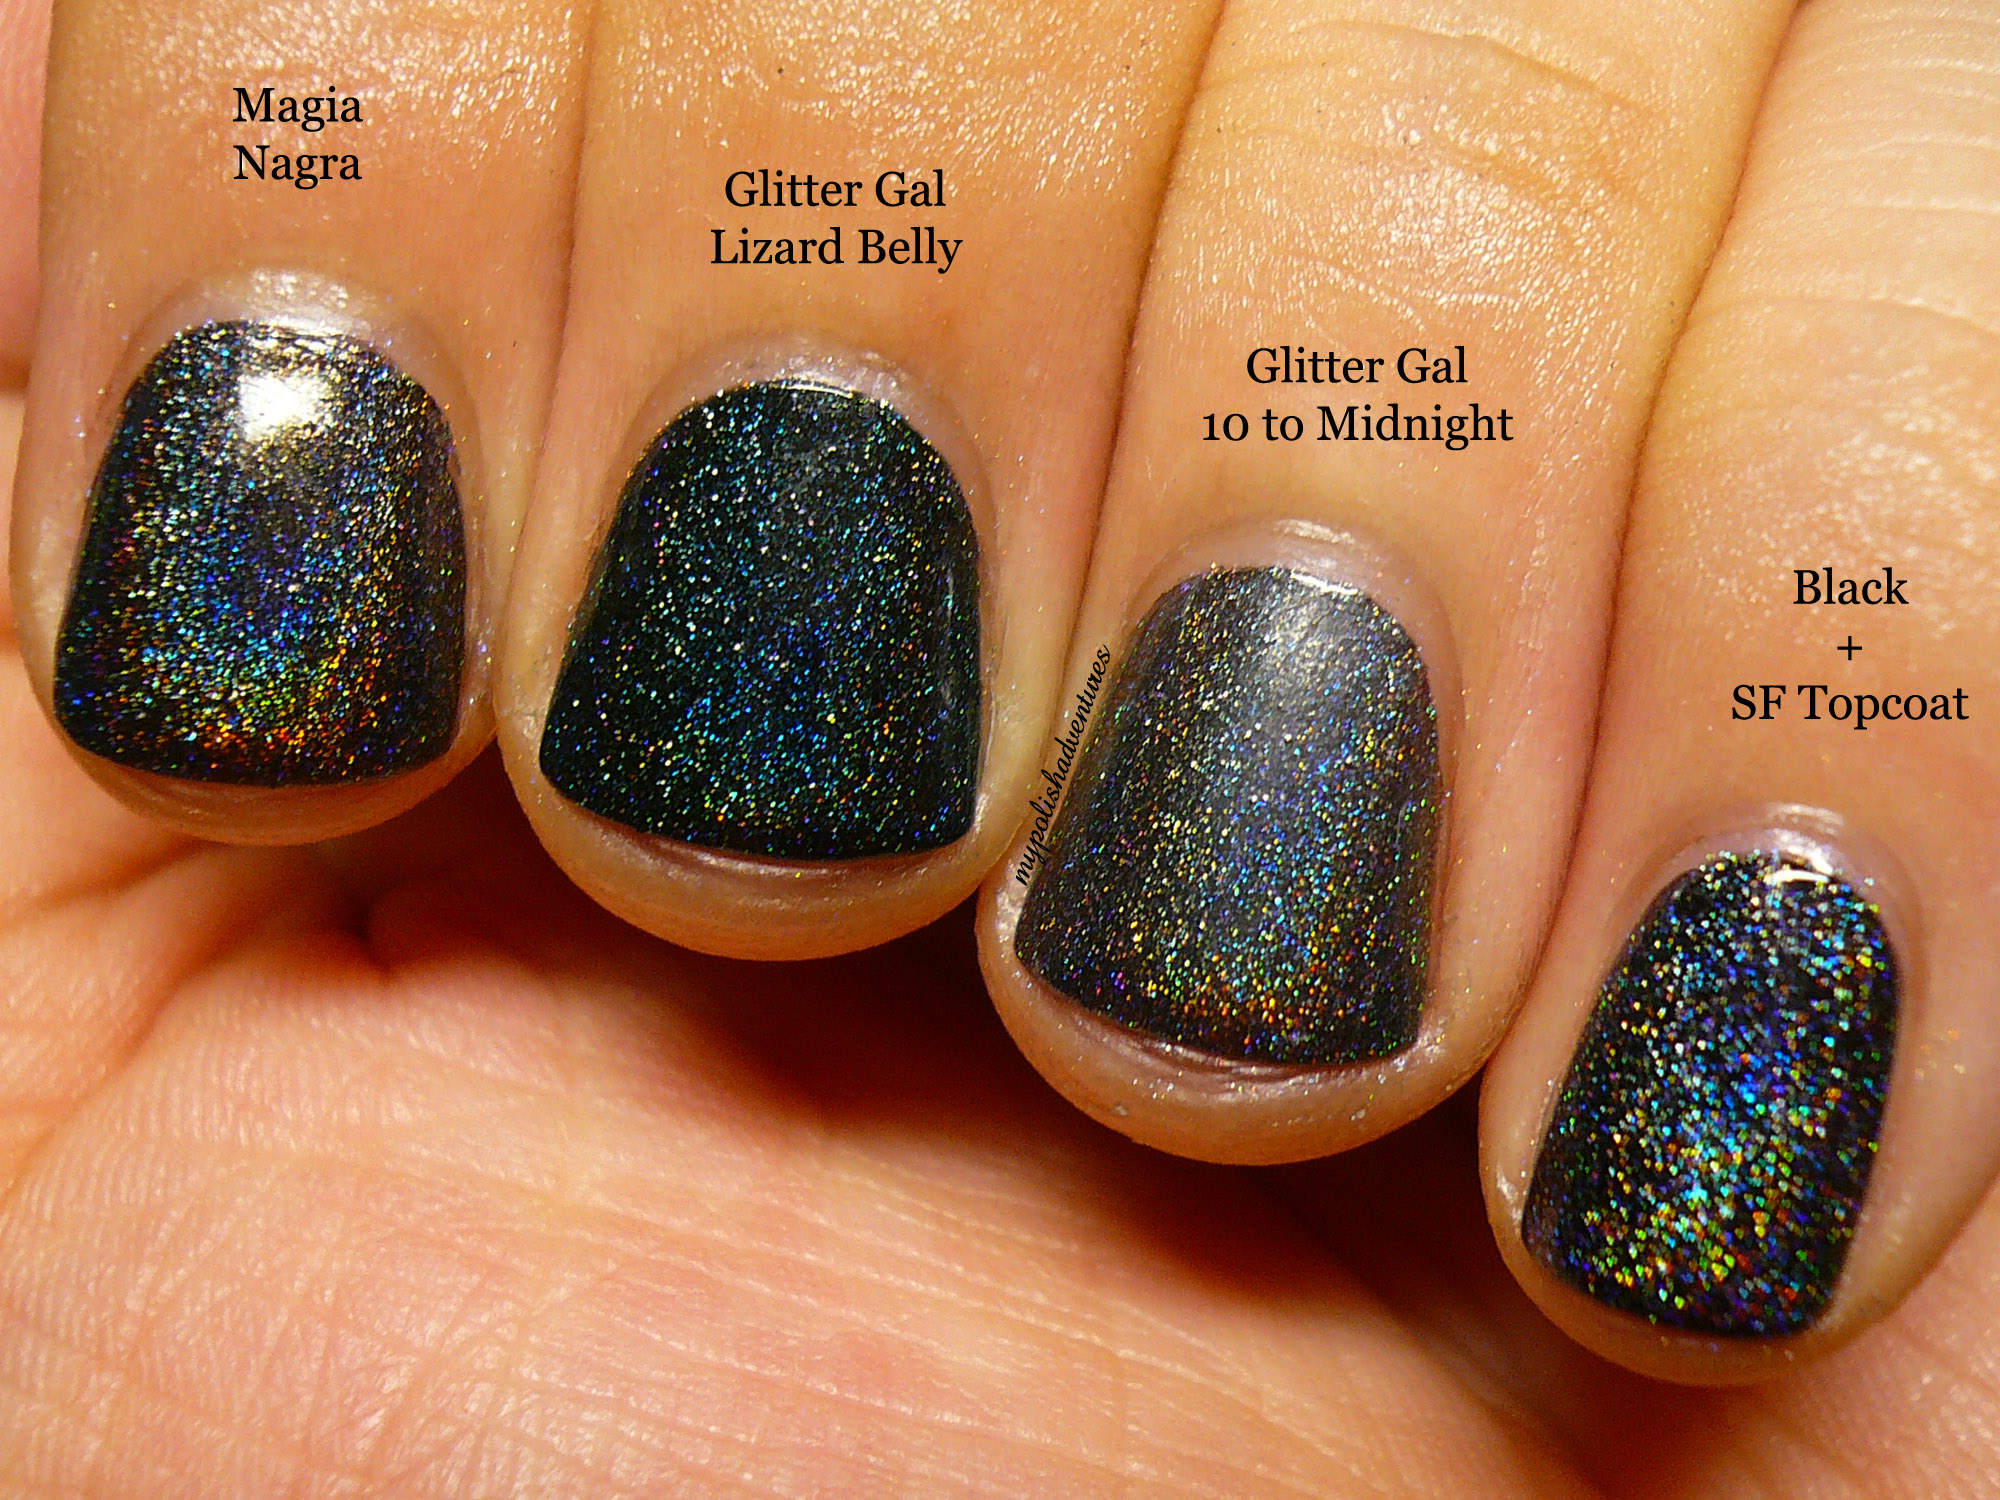
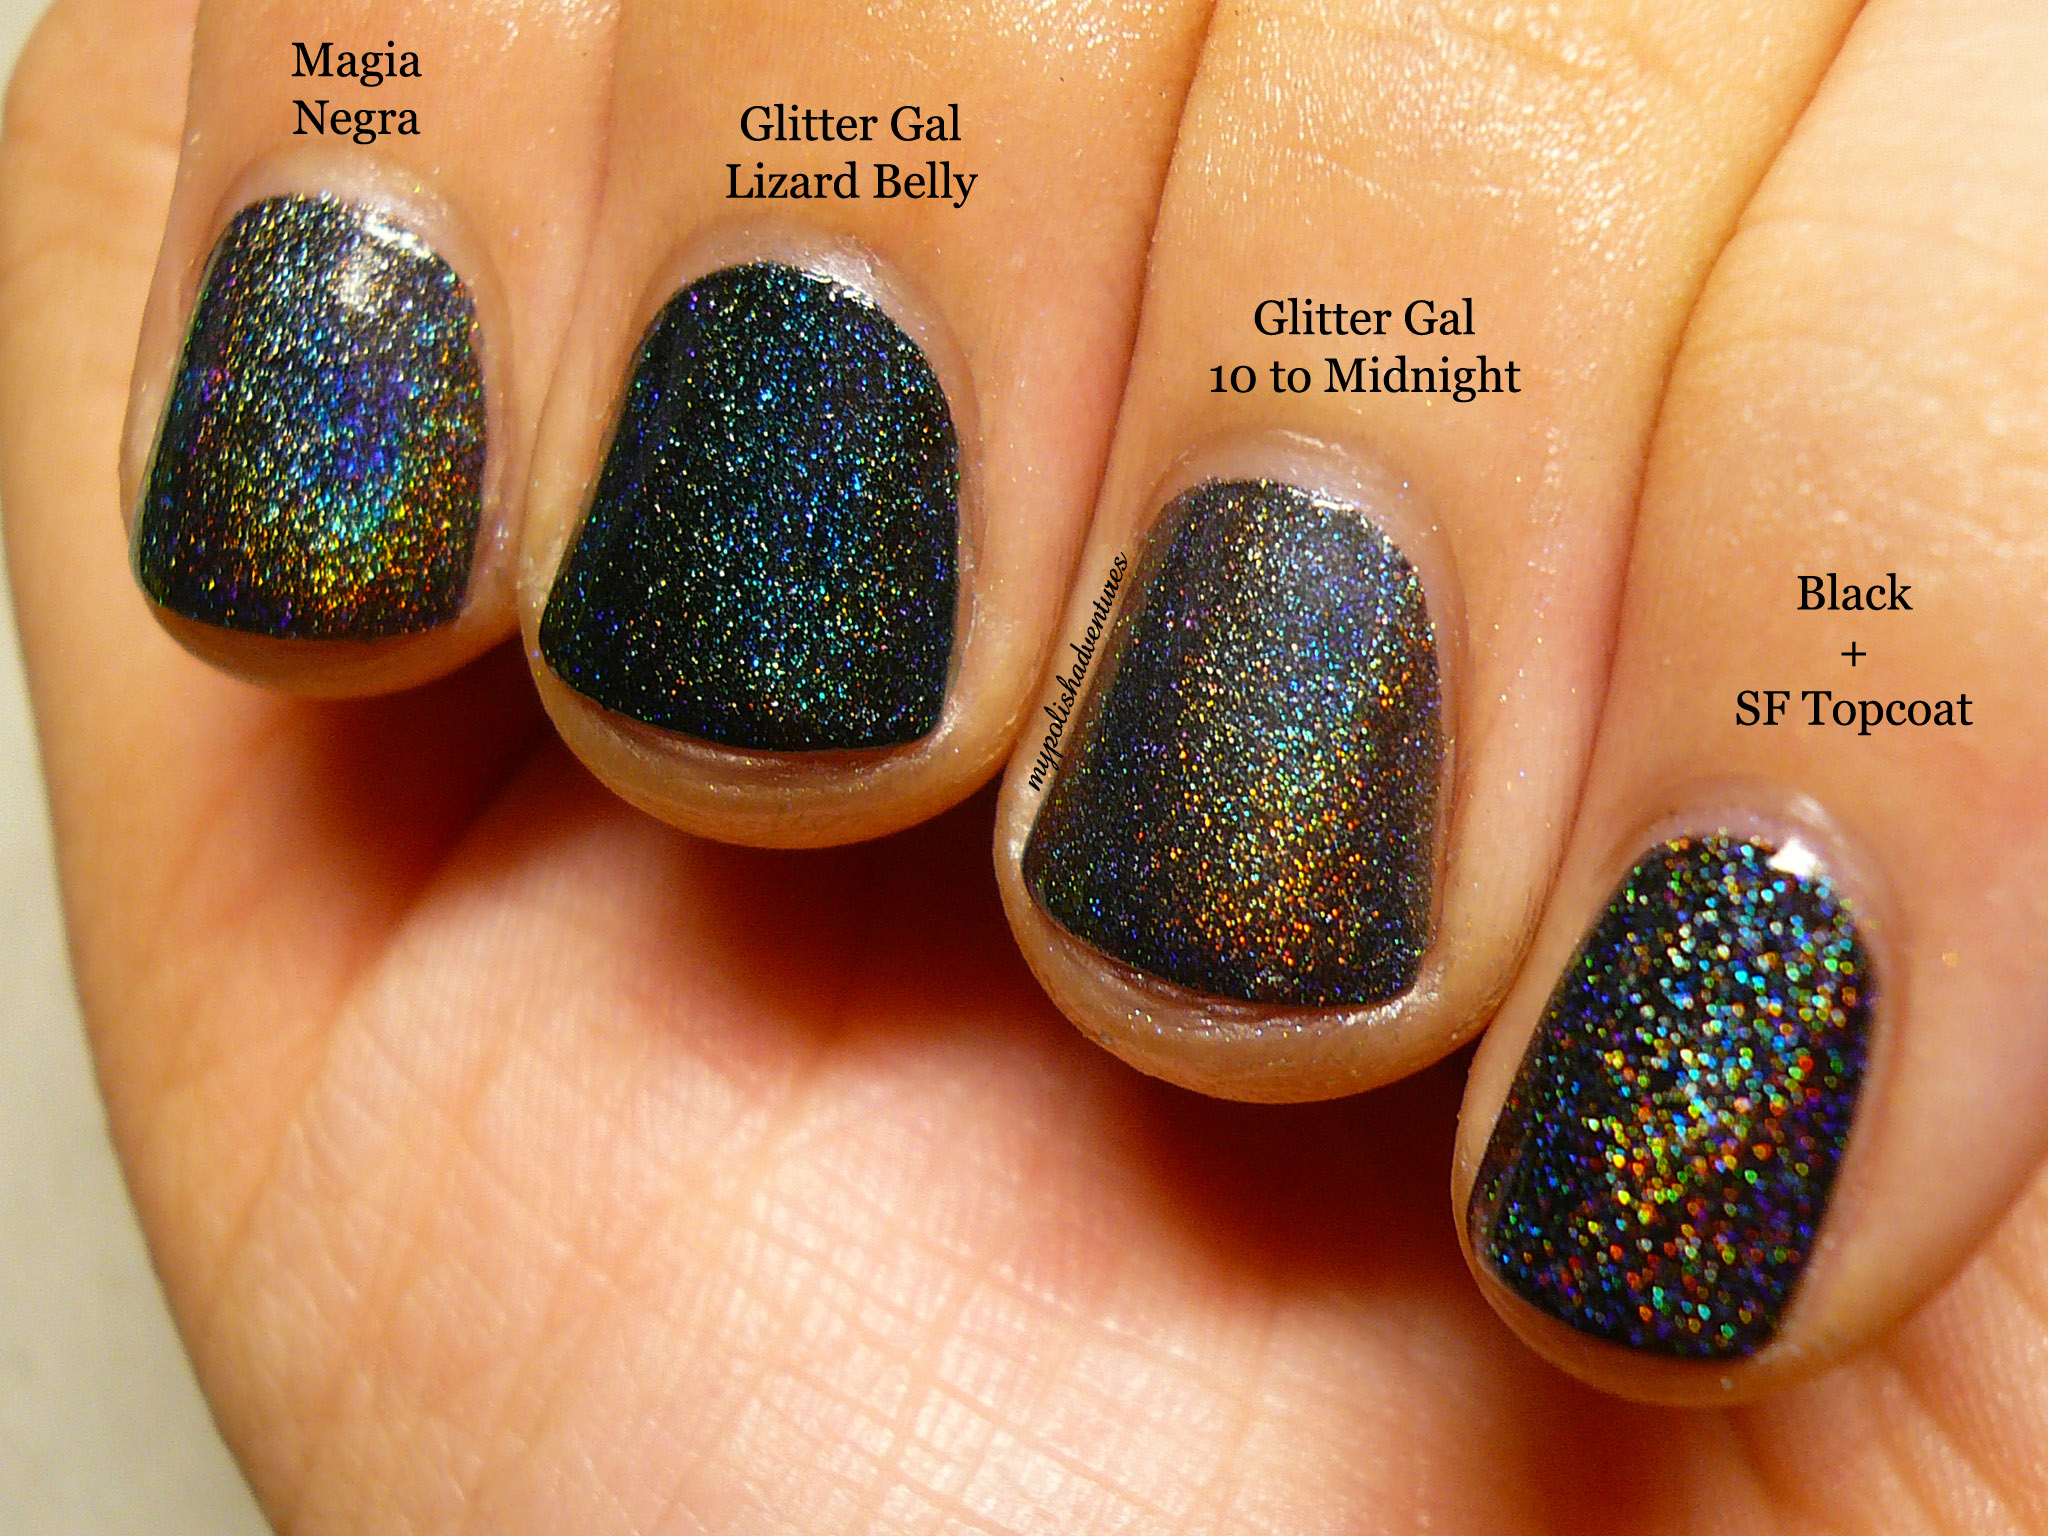
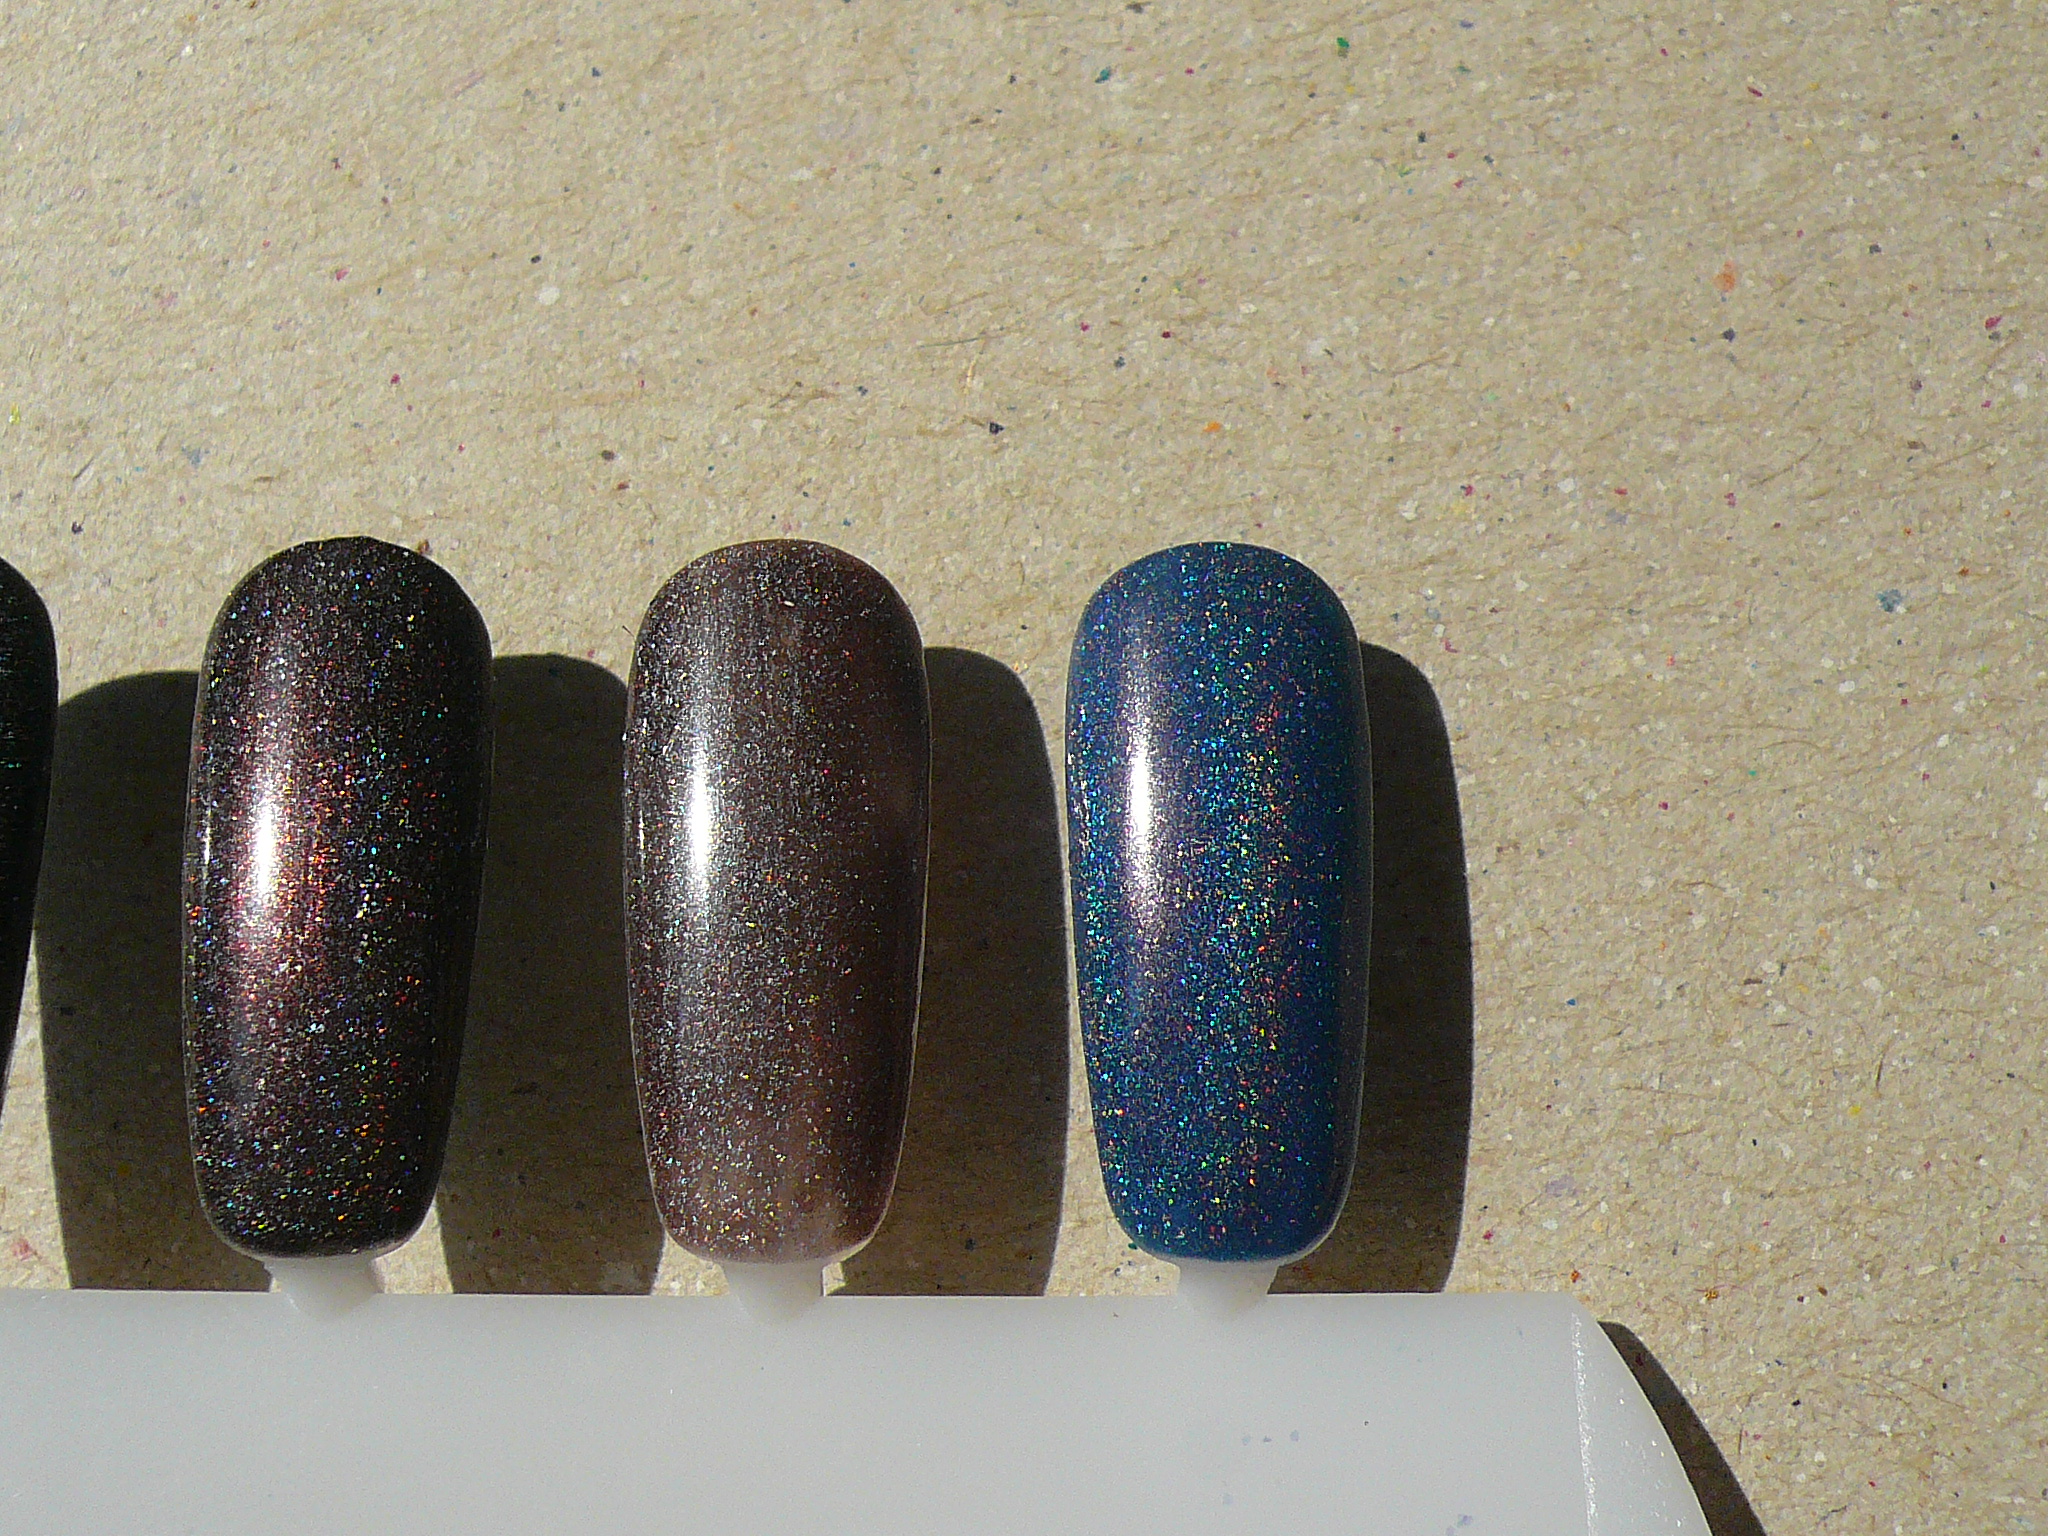
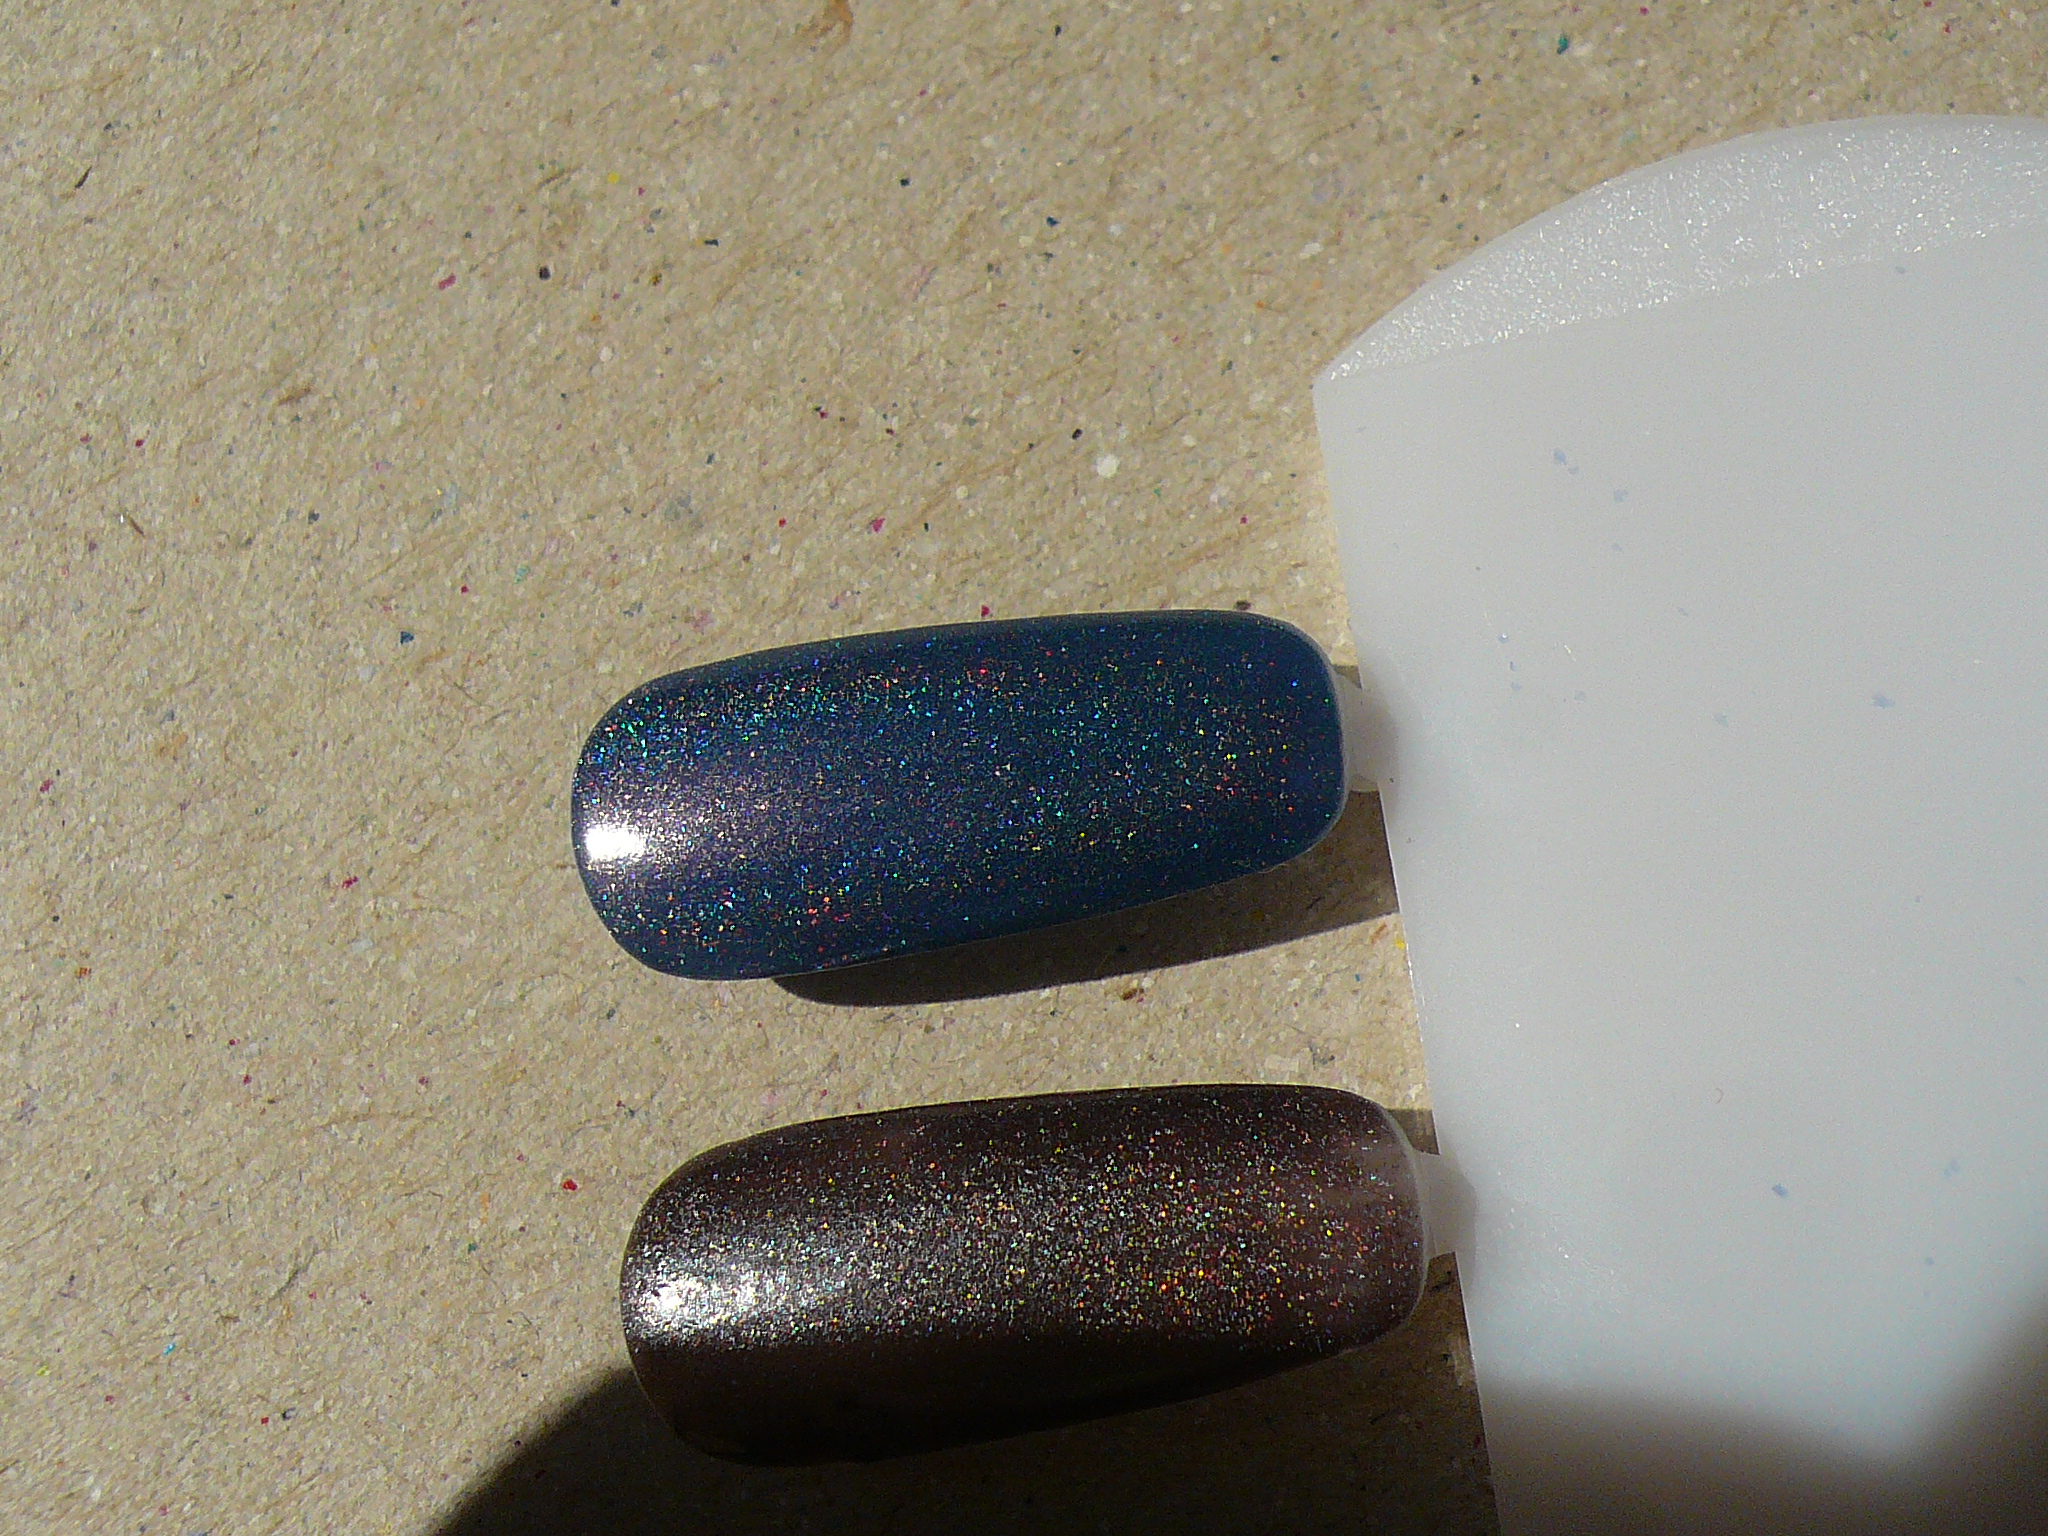
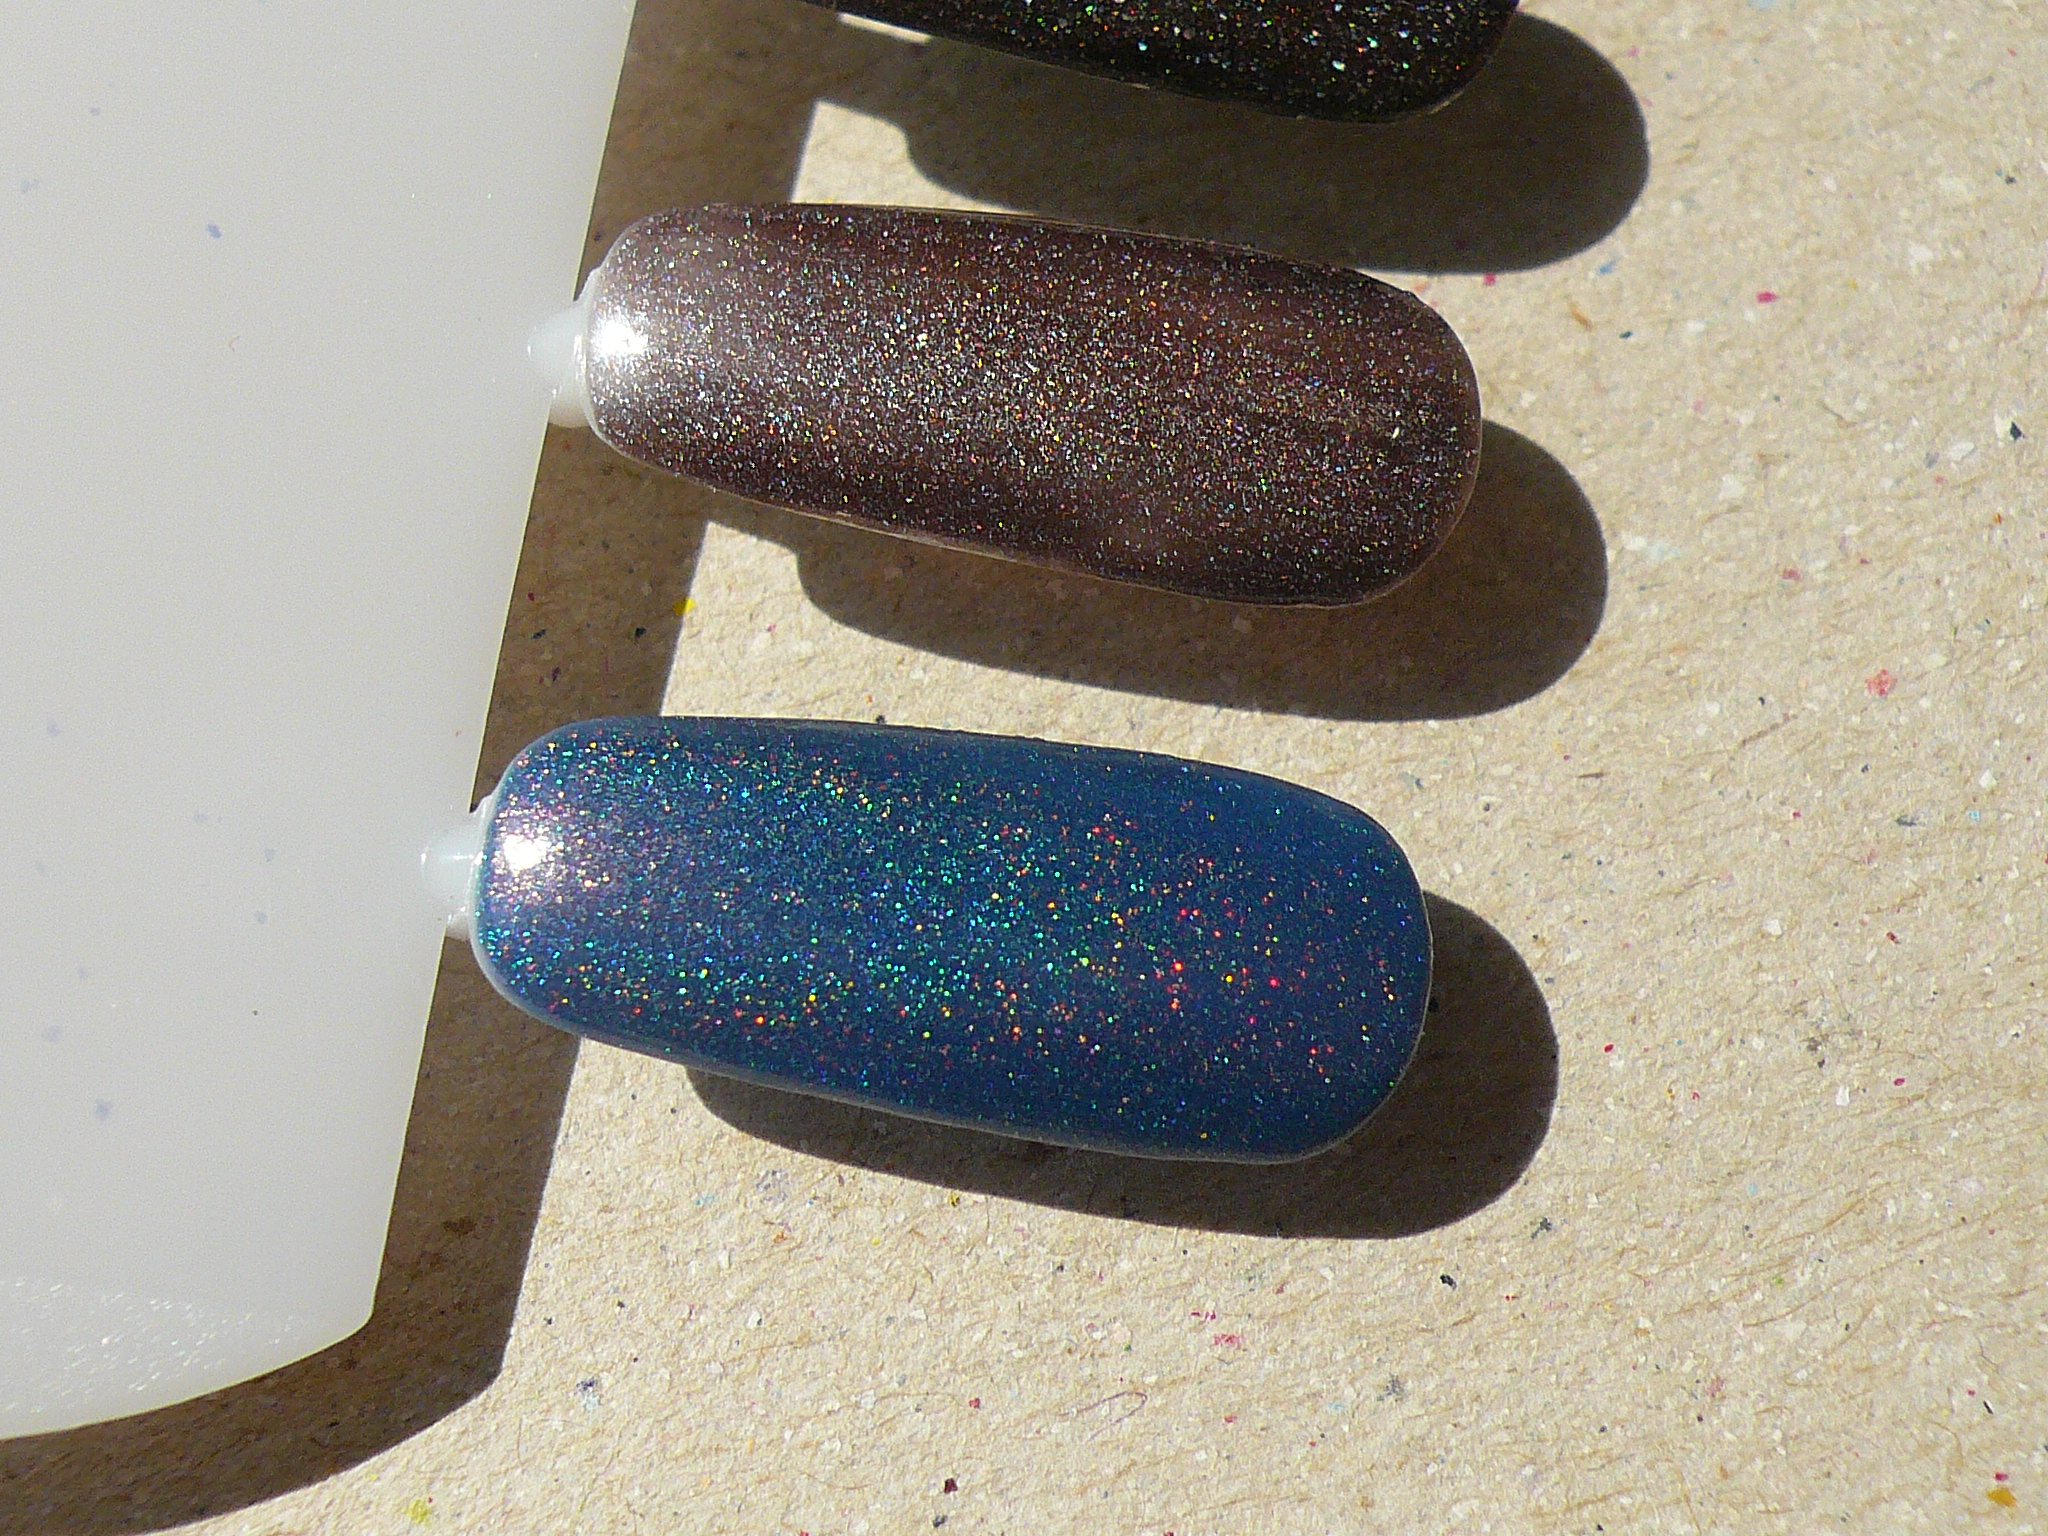
Here I have a comparison of Magia Negra with Glitter Gal Lizard Belly and 10 to Midnight, as well as my Spectraflair topcoat painted over a black base.


You can see that Lizard Belly is visibly greener and 10 to Midnight is a shade lighter than Magia Negra. Sadly, my SF topcoat doesn't seem to be as linearly holo as it should be! :(


Honestly, I've been looking at my holo polishes and I think I have a couple more to show you so I may continue posting holo polishes even after I've completed Holo Month! :)

Tuesday, August 28, 2012

Holo Month Day 10: My Fabulous Private Jet (Franken)

I was having a conversation with Susan and Annette on twitter just the other day and we were discussing how I recently bought so many holo polishes and I jokingly said I could do an entire month's worth of posts just on holo goodness. Well, since I already started out with the first eight Layla holograms, I thought why not? If I could have my way, I'd be posting every single day for holo month but since I just started work, you'll have to be contented with say, three posts a week? As I'm typing this, I have my audit notes (which I'm supposed to be studying) on my desk. It's only Day 2 of work and yet it was an eleven hour day for me. And I have three more days of training to go, with a test on Friday and on the weekend, I have some e-learning to do. Whoever said there'd be no more learning and tests after we graduated was CLEARLY LYING.

Oh well. I digress. So, continuing on my holo rampage, today I have a franken to show you.
OPI My Private Jet was my first polish love. I saw it on notebookdoodles (it's such a shame she doesn't update the blog anymore) a long while back and I suspect her's was the holographic brown version. We'll go into all the different versions in a bit but back to the polish, it was love at first sight. 
Now onto the different version, God knows how many they are but so far, I've counted the original holographic, charcoal holographic, brown holographic, teal flash and the latest yucky brown with silver flecks.

Sadly, by the time I fell in love with MPJ, I wasn't lucky enough to get my polished claws on any of the holographic versions and could only get the yucky brown version. But oh no, I WILL NOT SETTLE. And this is where a little spectraflair comes in.


I know that my fabulous franken doesn't exactly glow in this picture but just you wait!


TADAH!


The addition of some spectraflair made the base colour of MPJ a little paler and more grey though but hey, that kinda makes it looks more like the charcoal holo version!


Just a short and sweet post today. Why complicate things with words when pictures can paint a thousands words? ;)

Stay tuned for more holographic awesomeness!

Saturday, February 11, 2012

Color Club Revvvolution Reloaded

I know I've shown you Revvvolution at least three times already but I guarantee you, you've never seen this before. I blinged out my bottle of Revvvolution by adding heap loads of Spectraflair so it's really pretty now! (:
Sadly, the holo effect is only very stongly scattered and not linear at all but it's still gorgeous nonetheless.


Look how linearly holo it is in the bottle!!!! The three pictures above were taken indoors, under my lamp.
And then by some miracle, the SUN CAME OUT! Do click on the pictures because the holo looks better when the picture's bigger.


HOLY HOLO BATMAN!


Here's a comparison I did on my nail wheels. I've got the original Revvvolution on top, my blinged out Revvvolution on the bottom left, and Revvvolution with my SF Top Coat on the bottom right. You can see how much more holo my blinged out version is compared to the original one!

But, but, but, I'm somehow still not satisfied with the holo effect so I'm gonna figure out how to make it more holo. I read somewhere that someone added SF to her dud bottle of Revvv too and she used 1/4 gram of SF? THAT'S INSANE. Too much SF for me to be willing to let go of.

Friday, February 3, 2012

Holographic Frankens

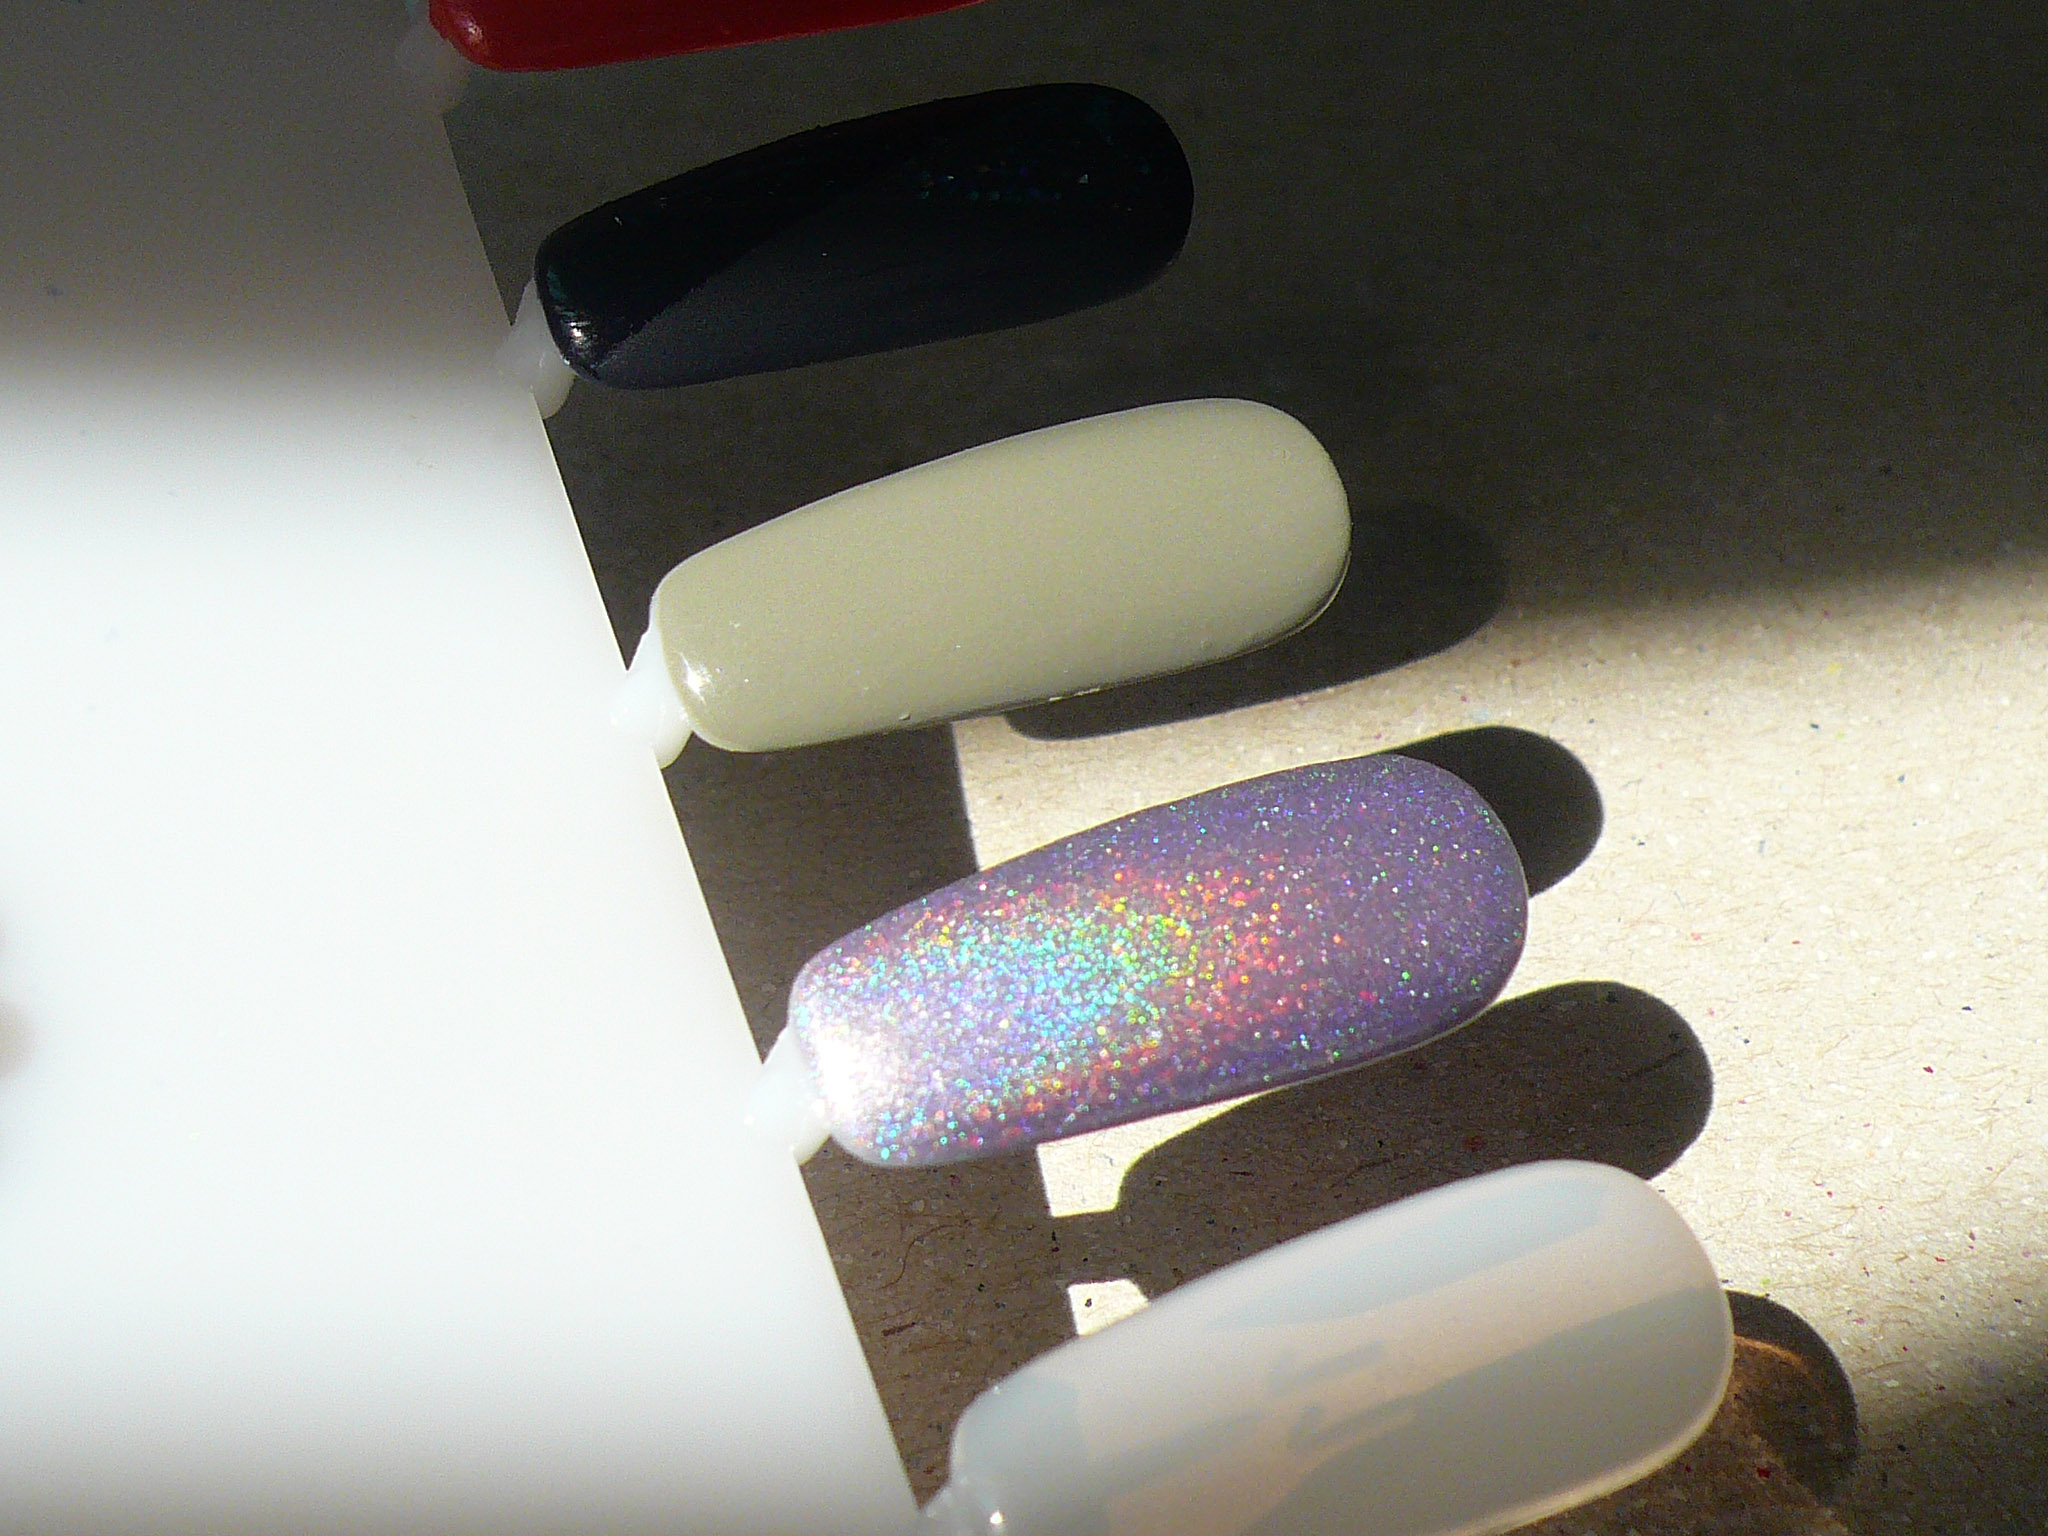
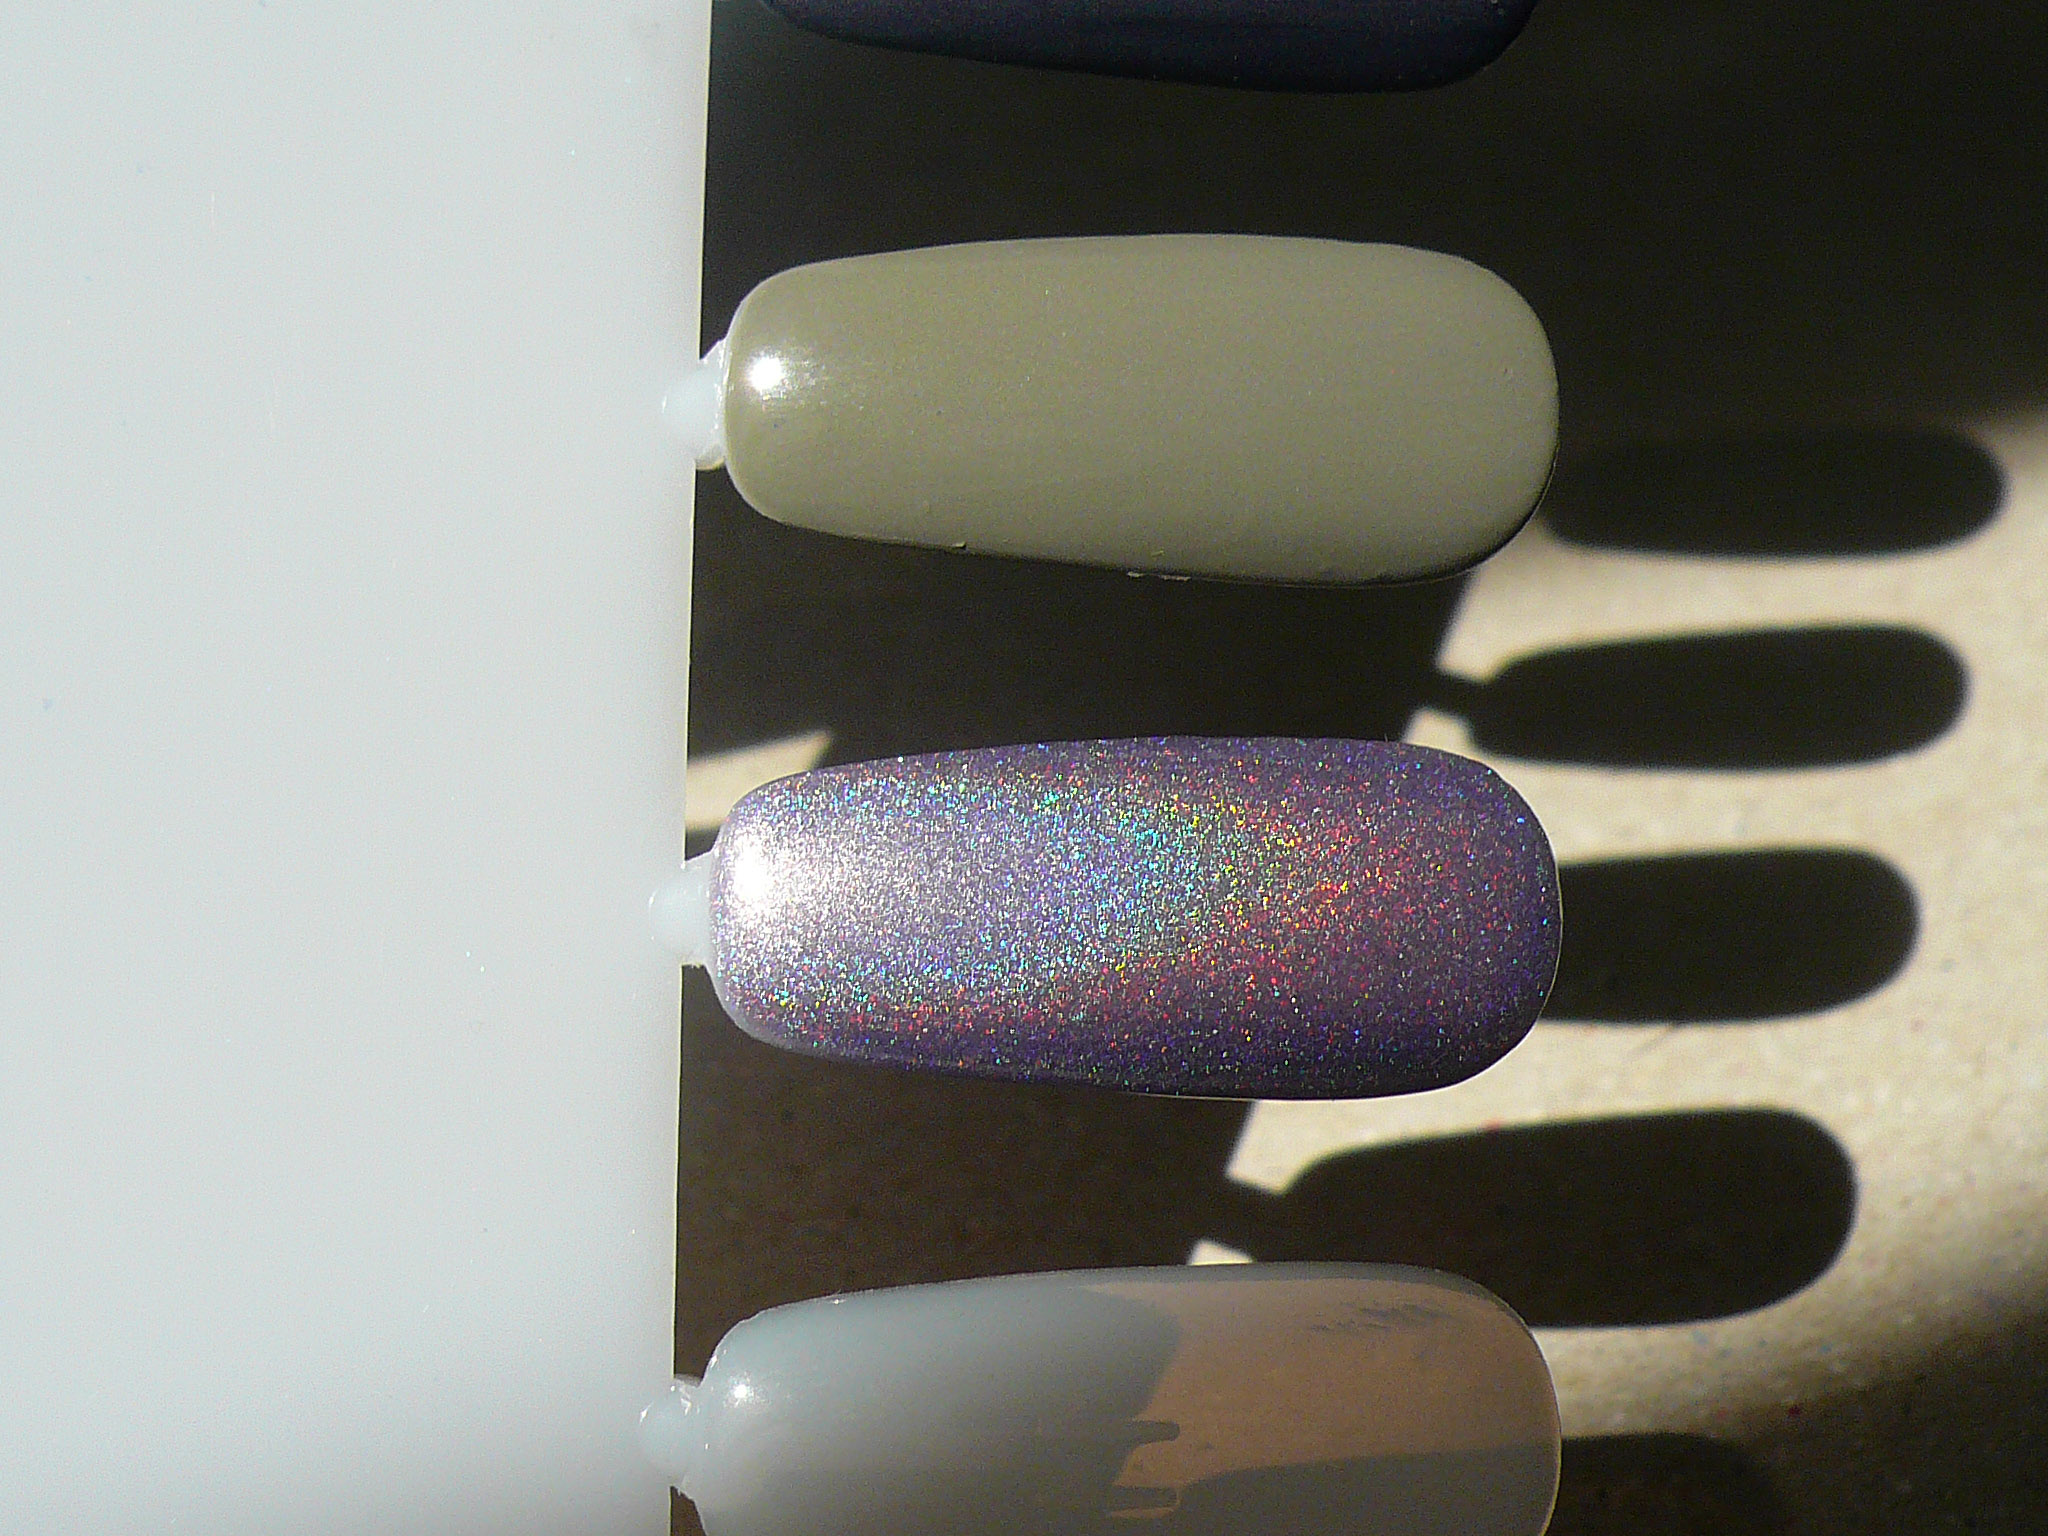
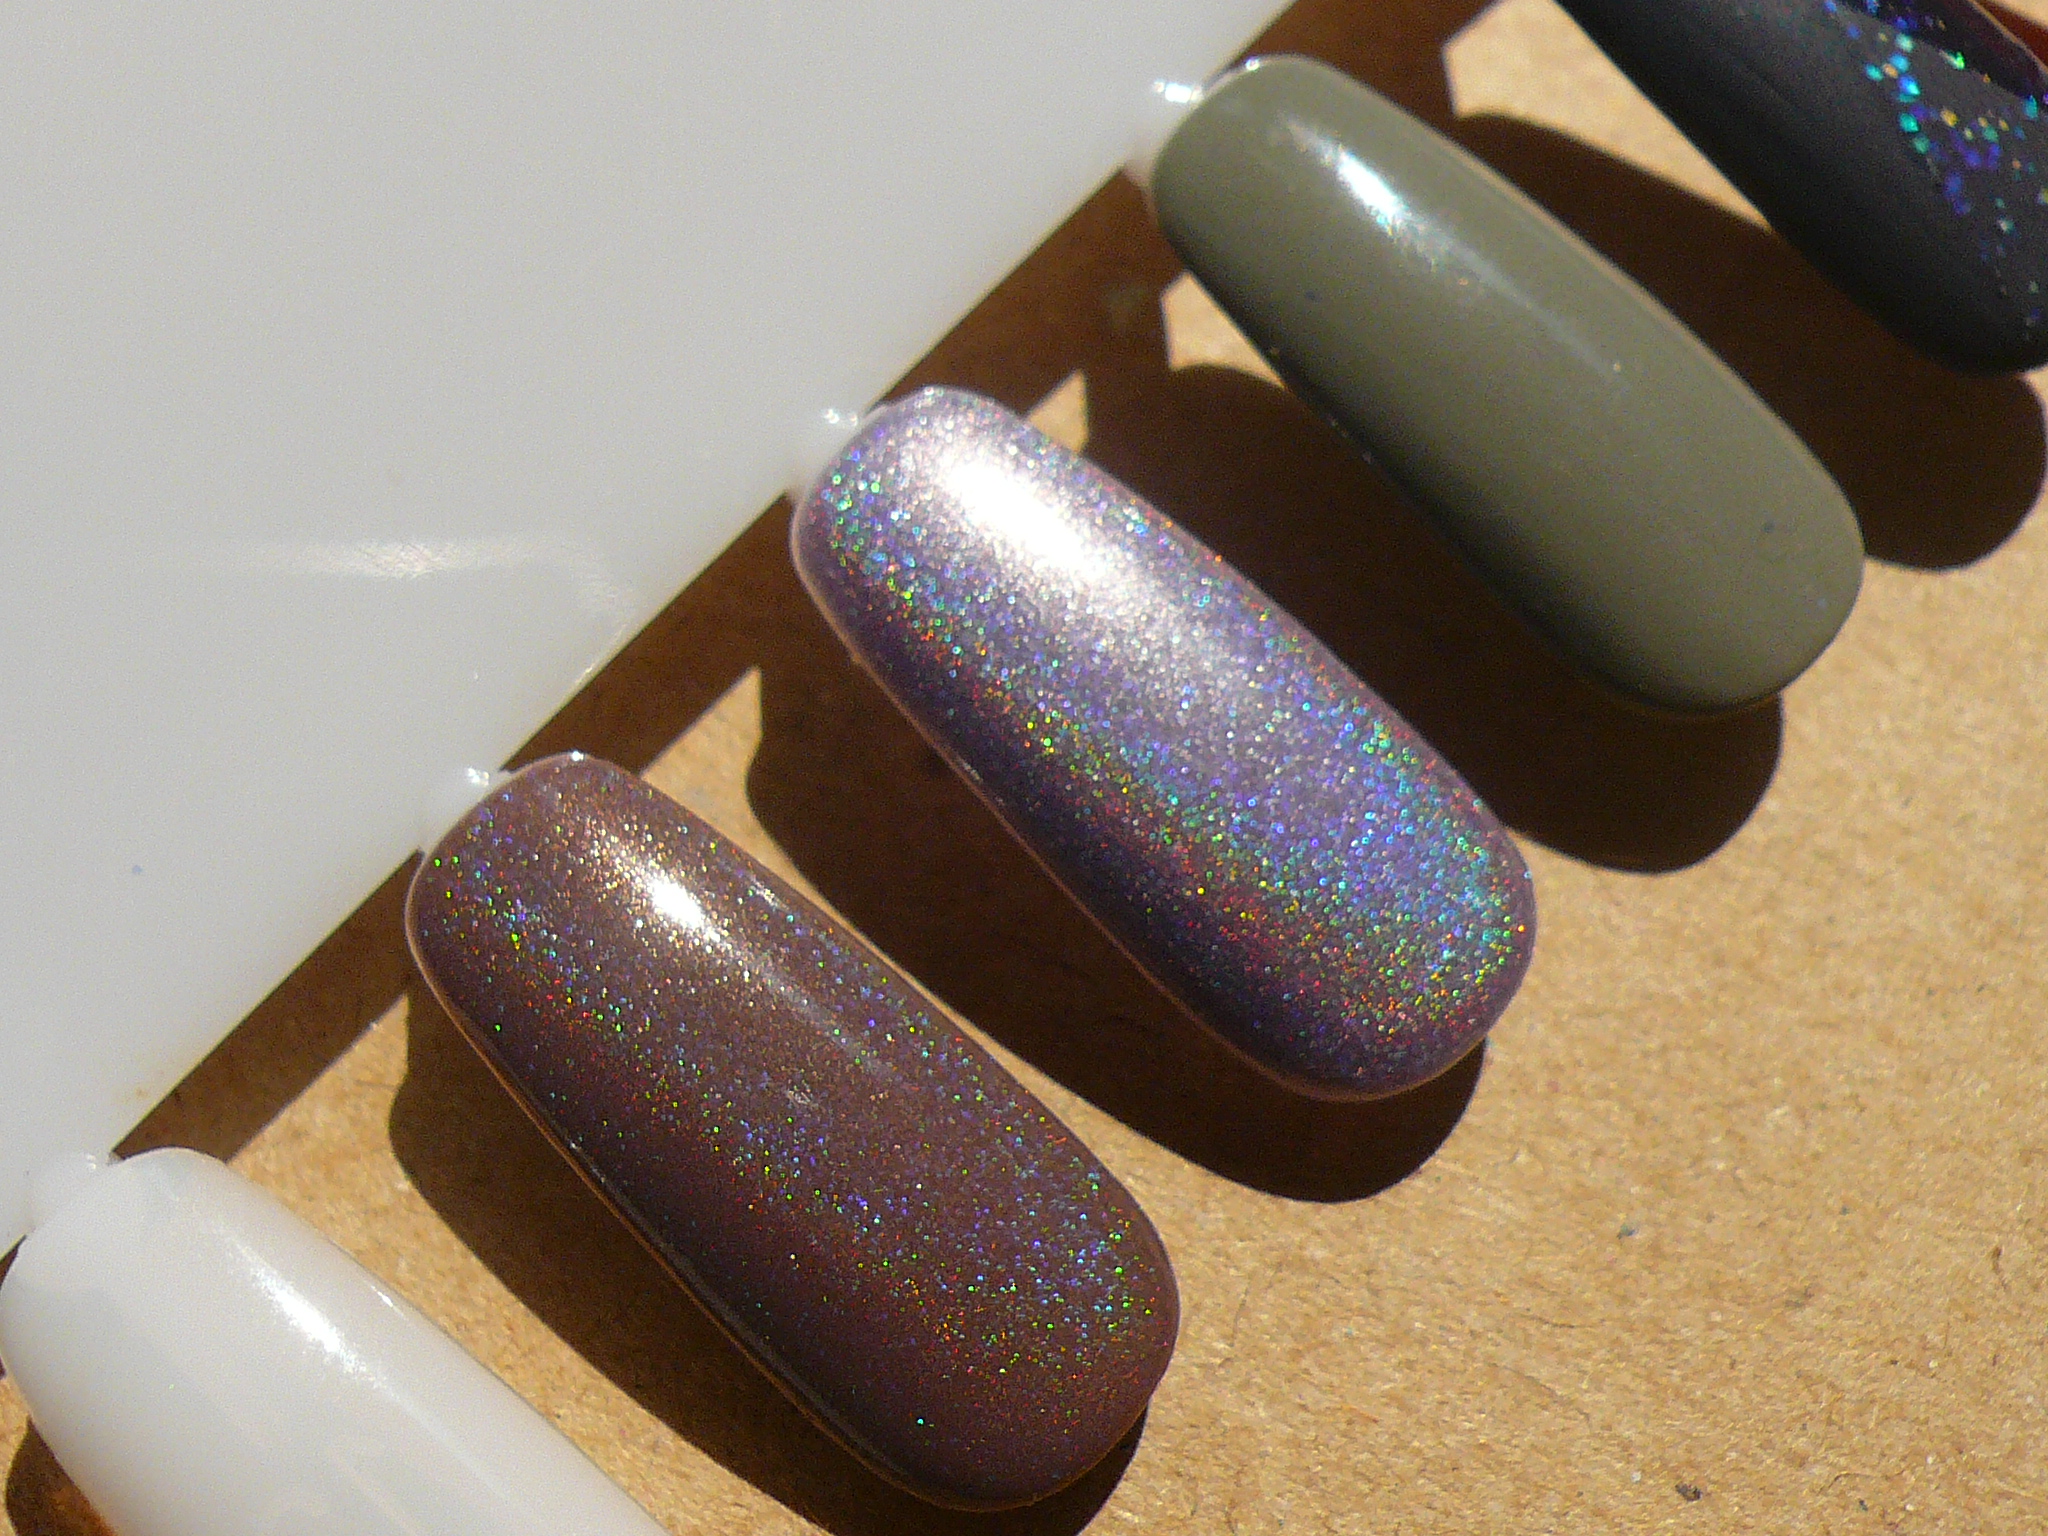
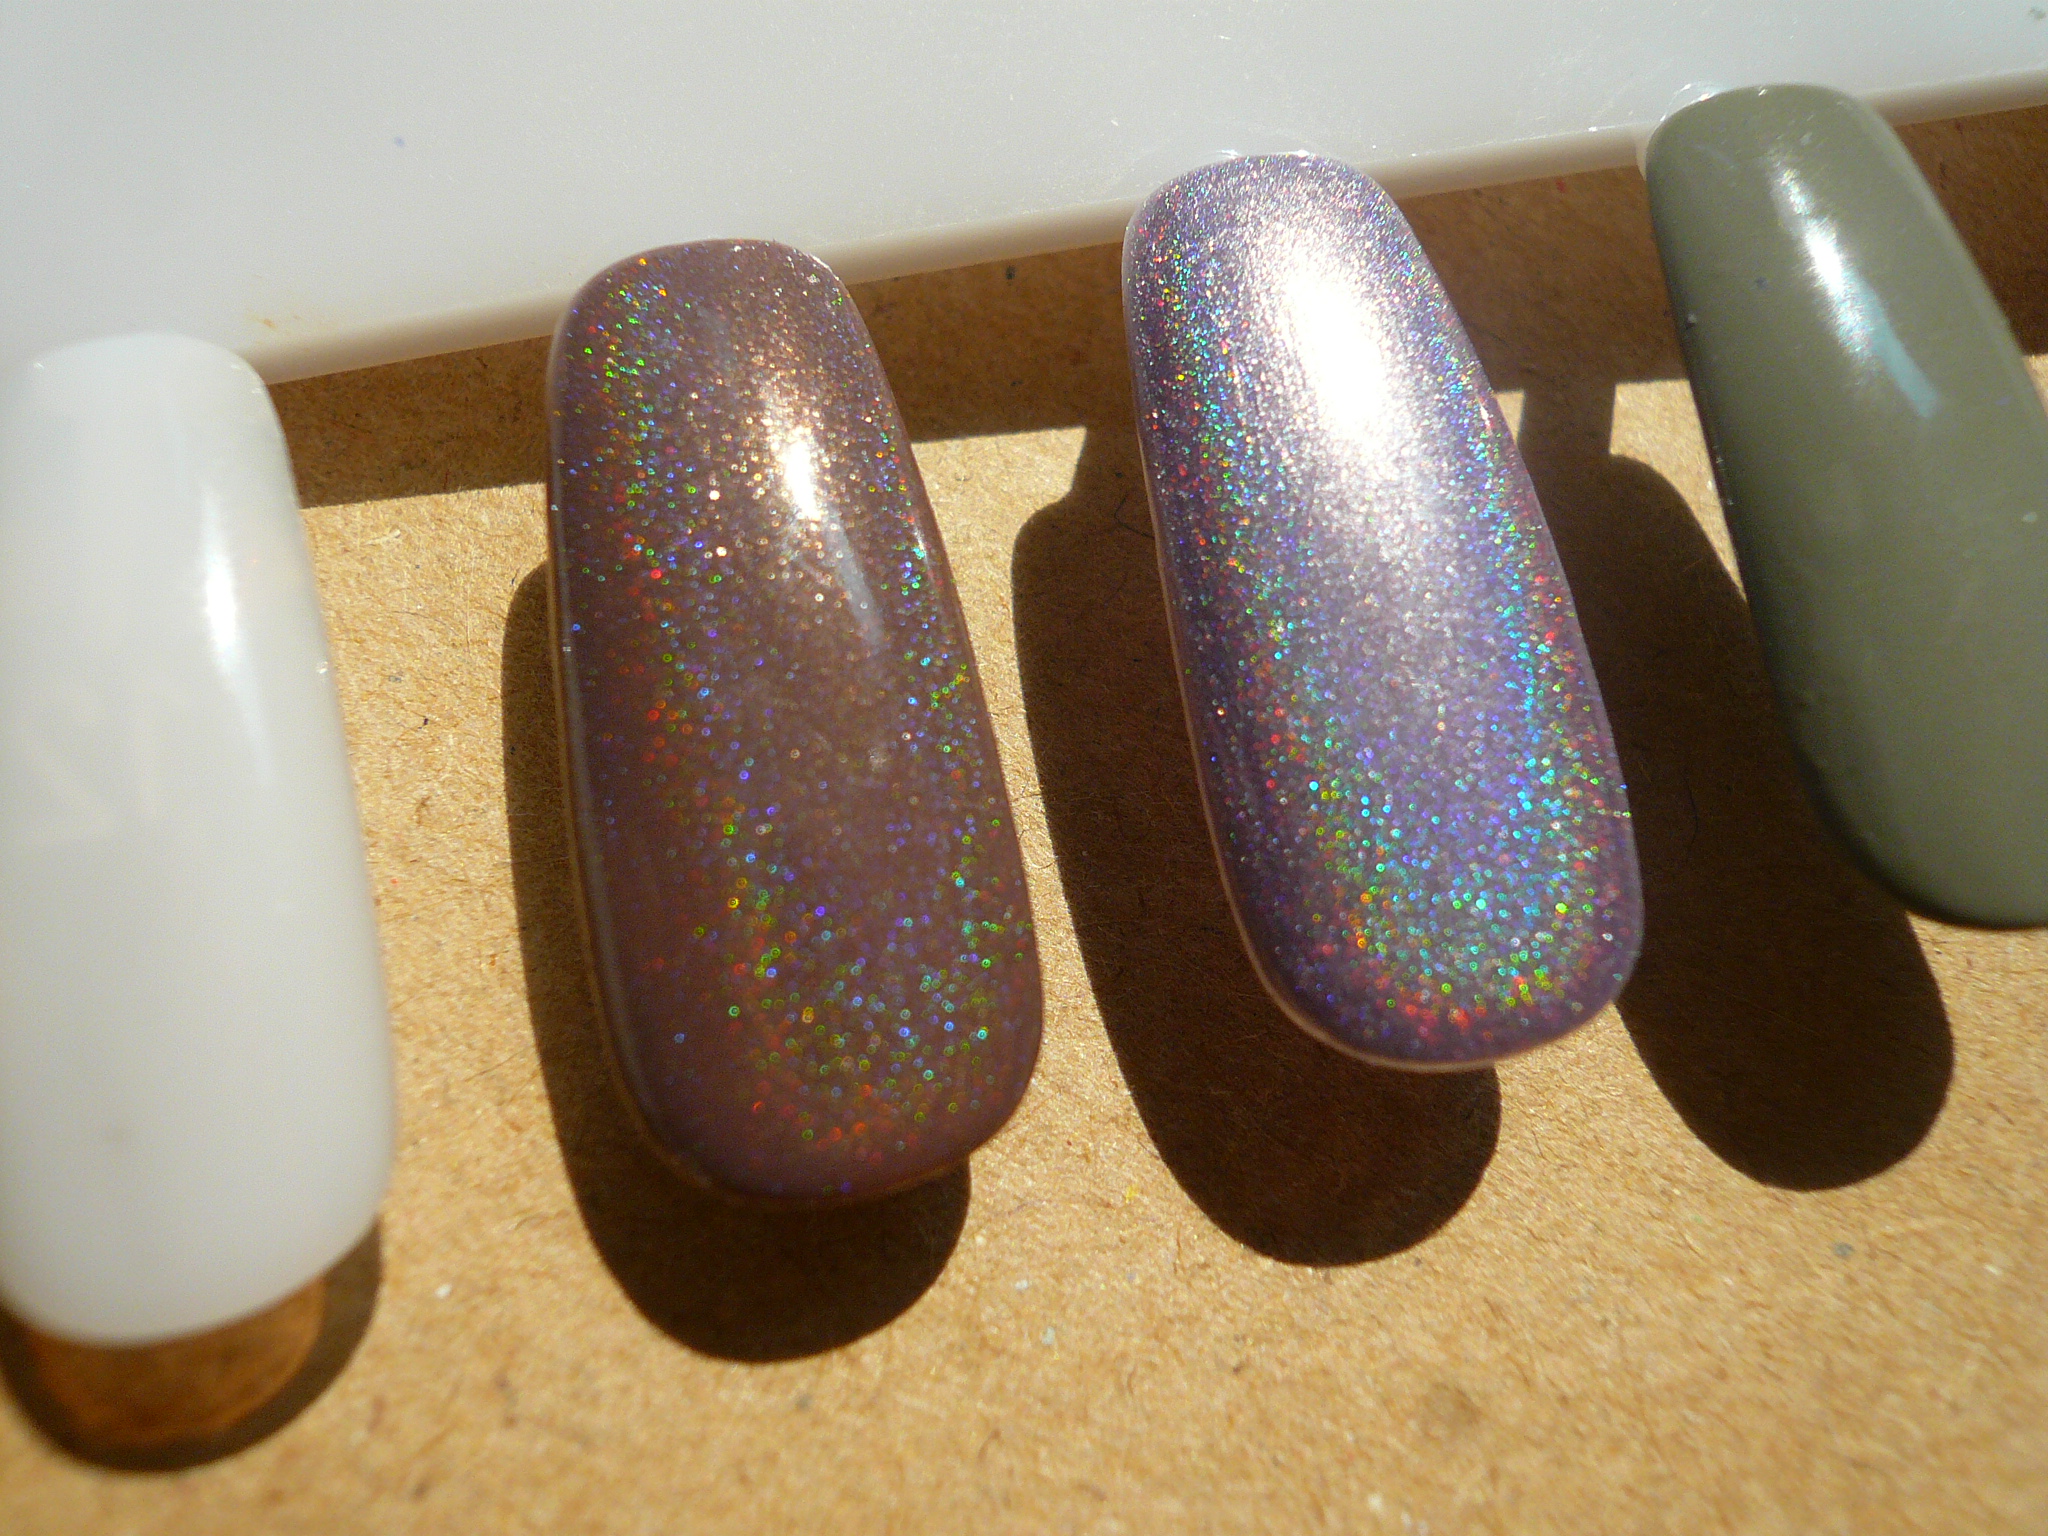
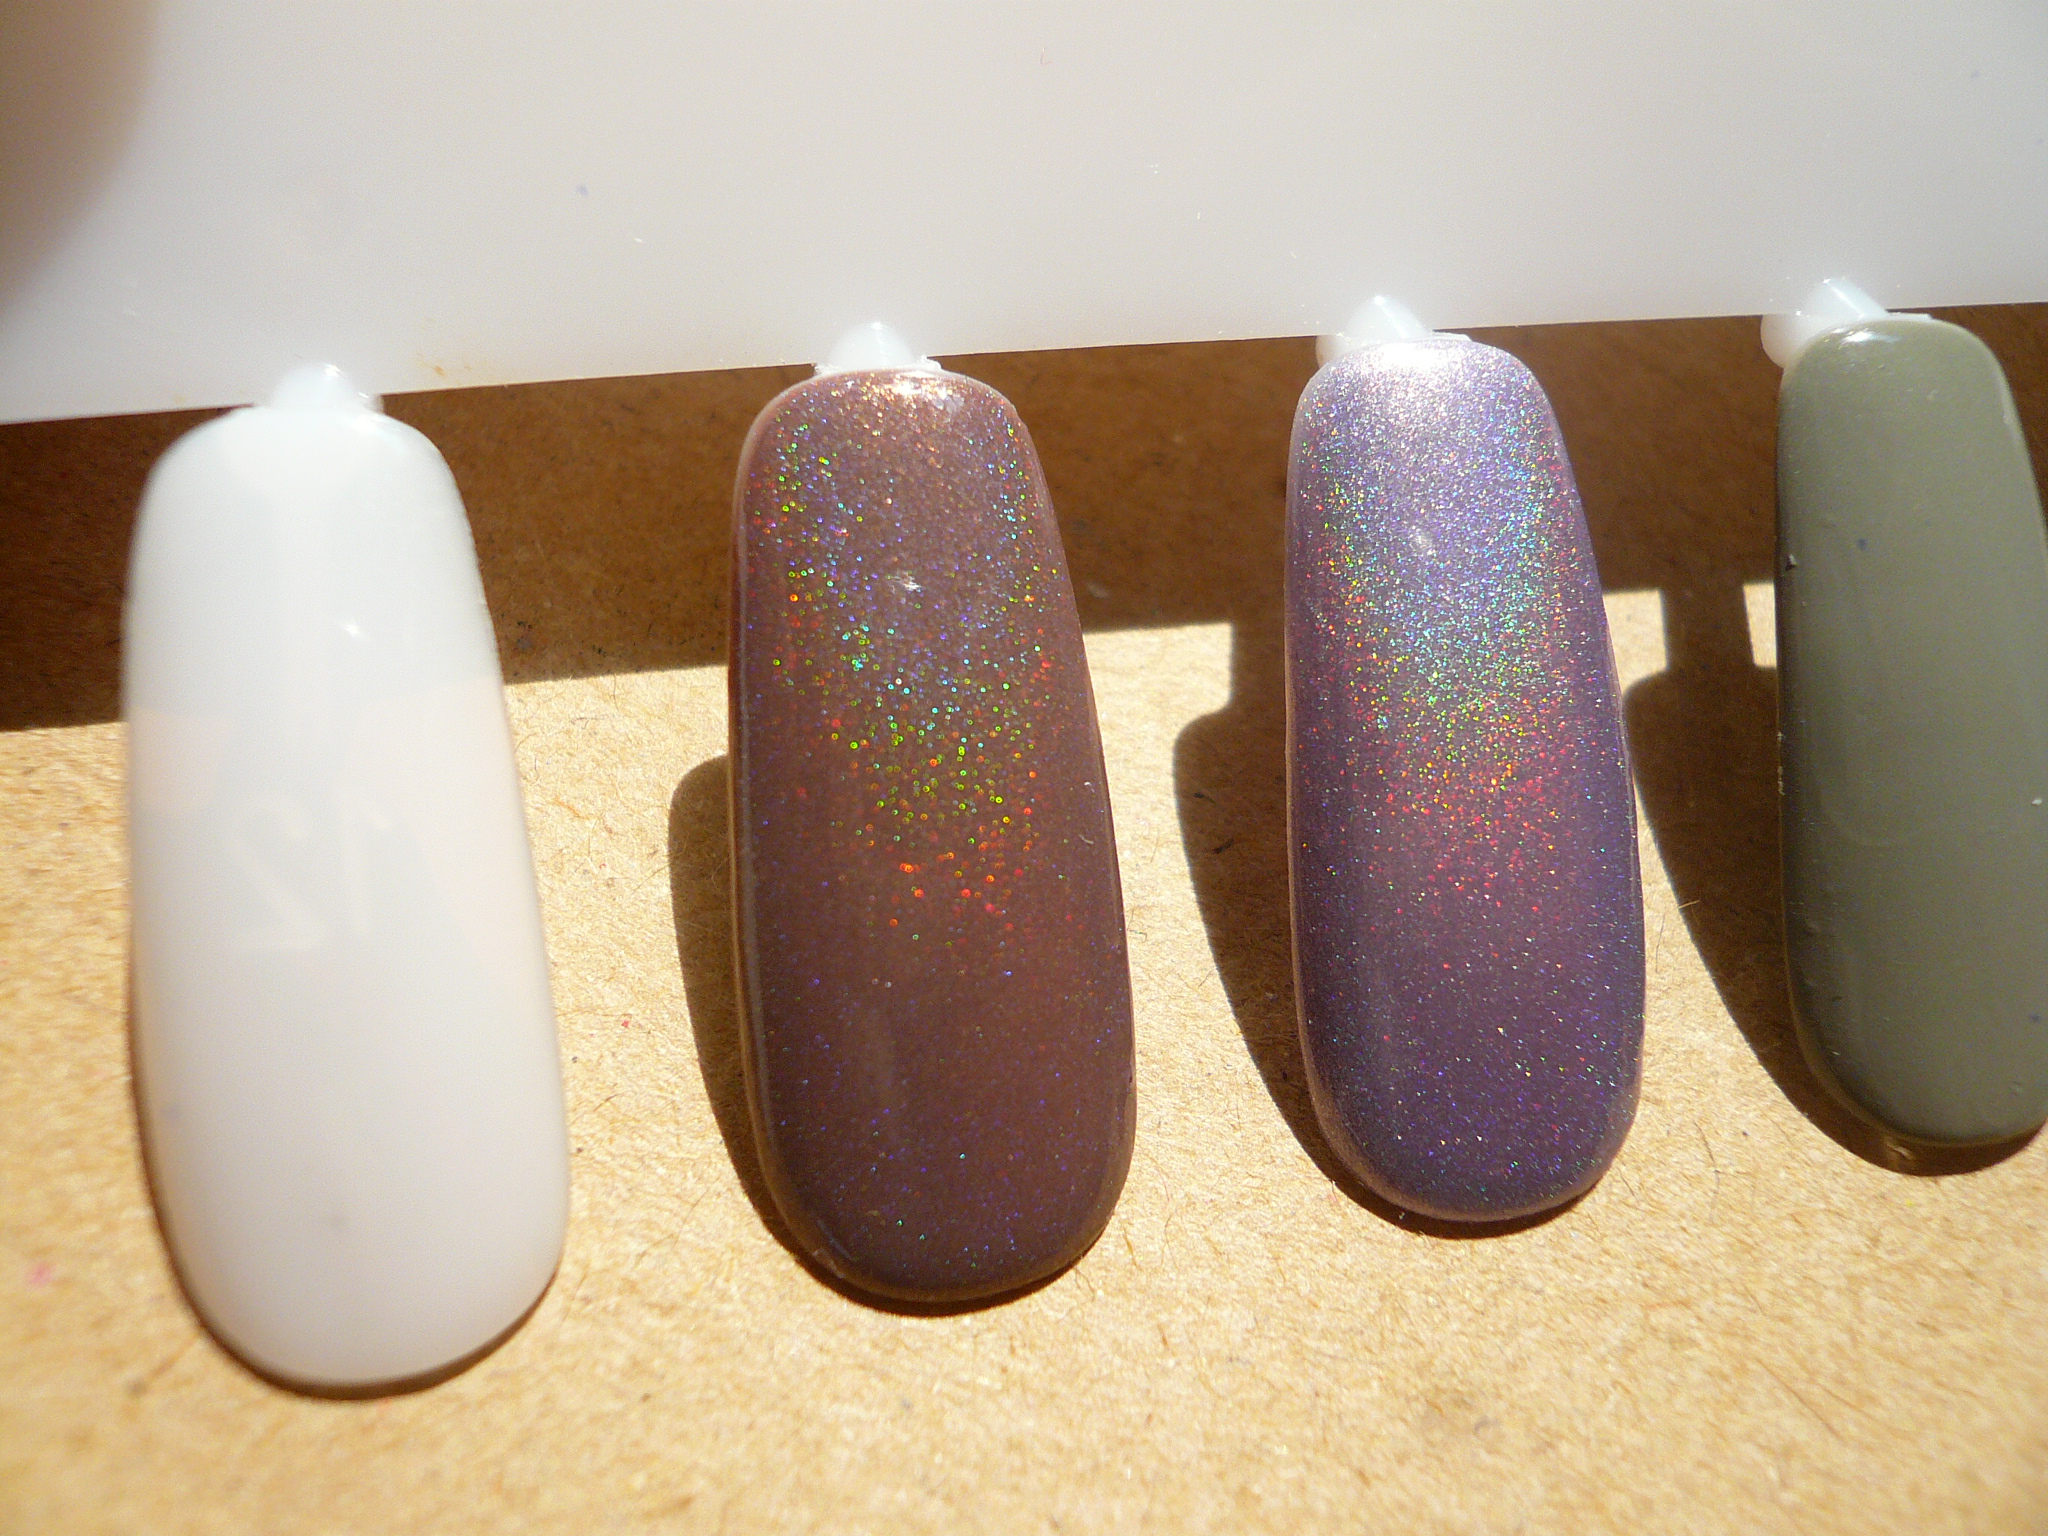
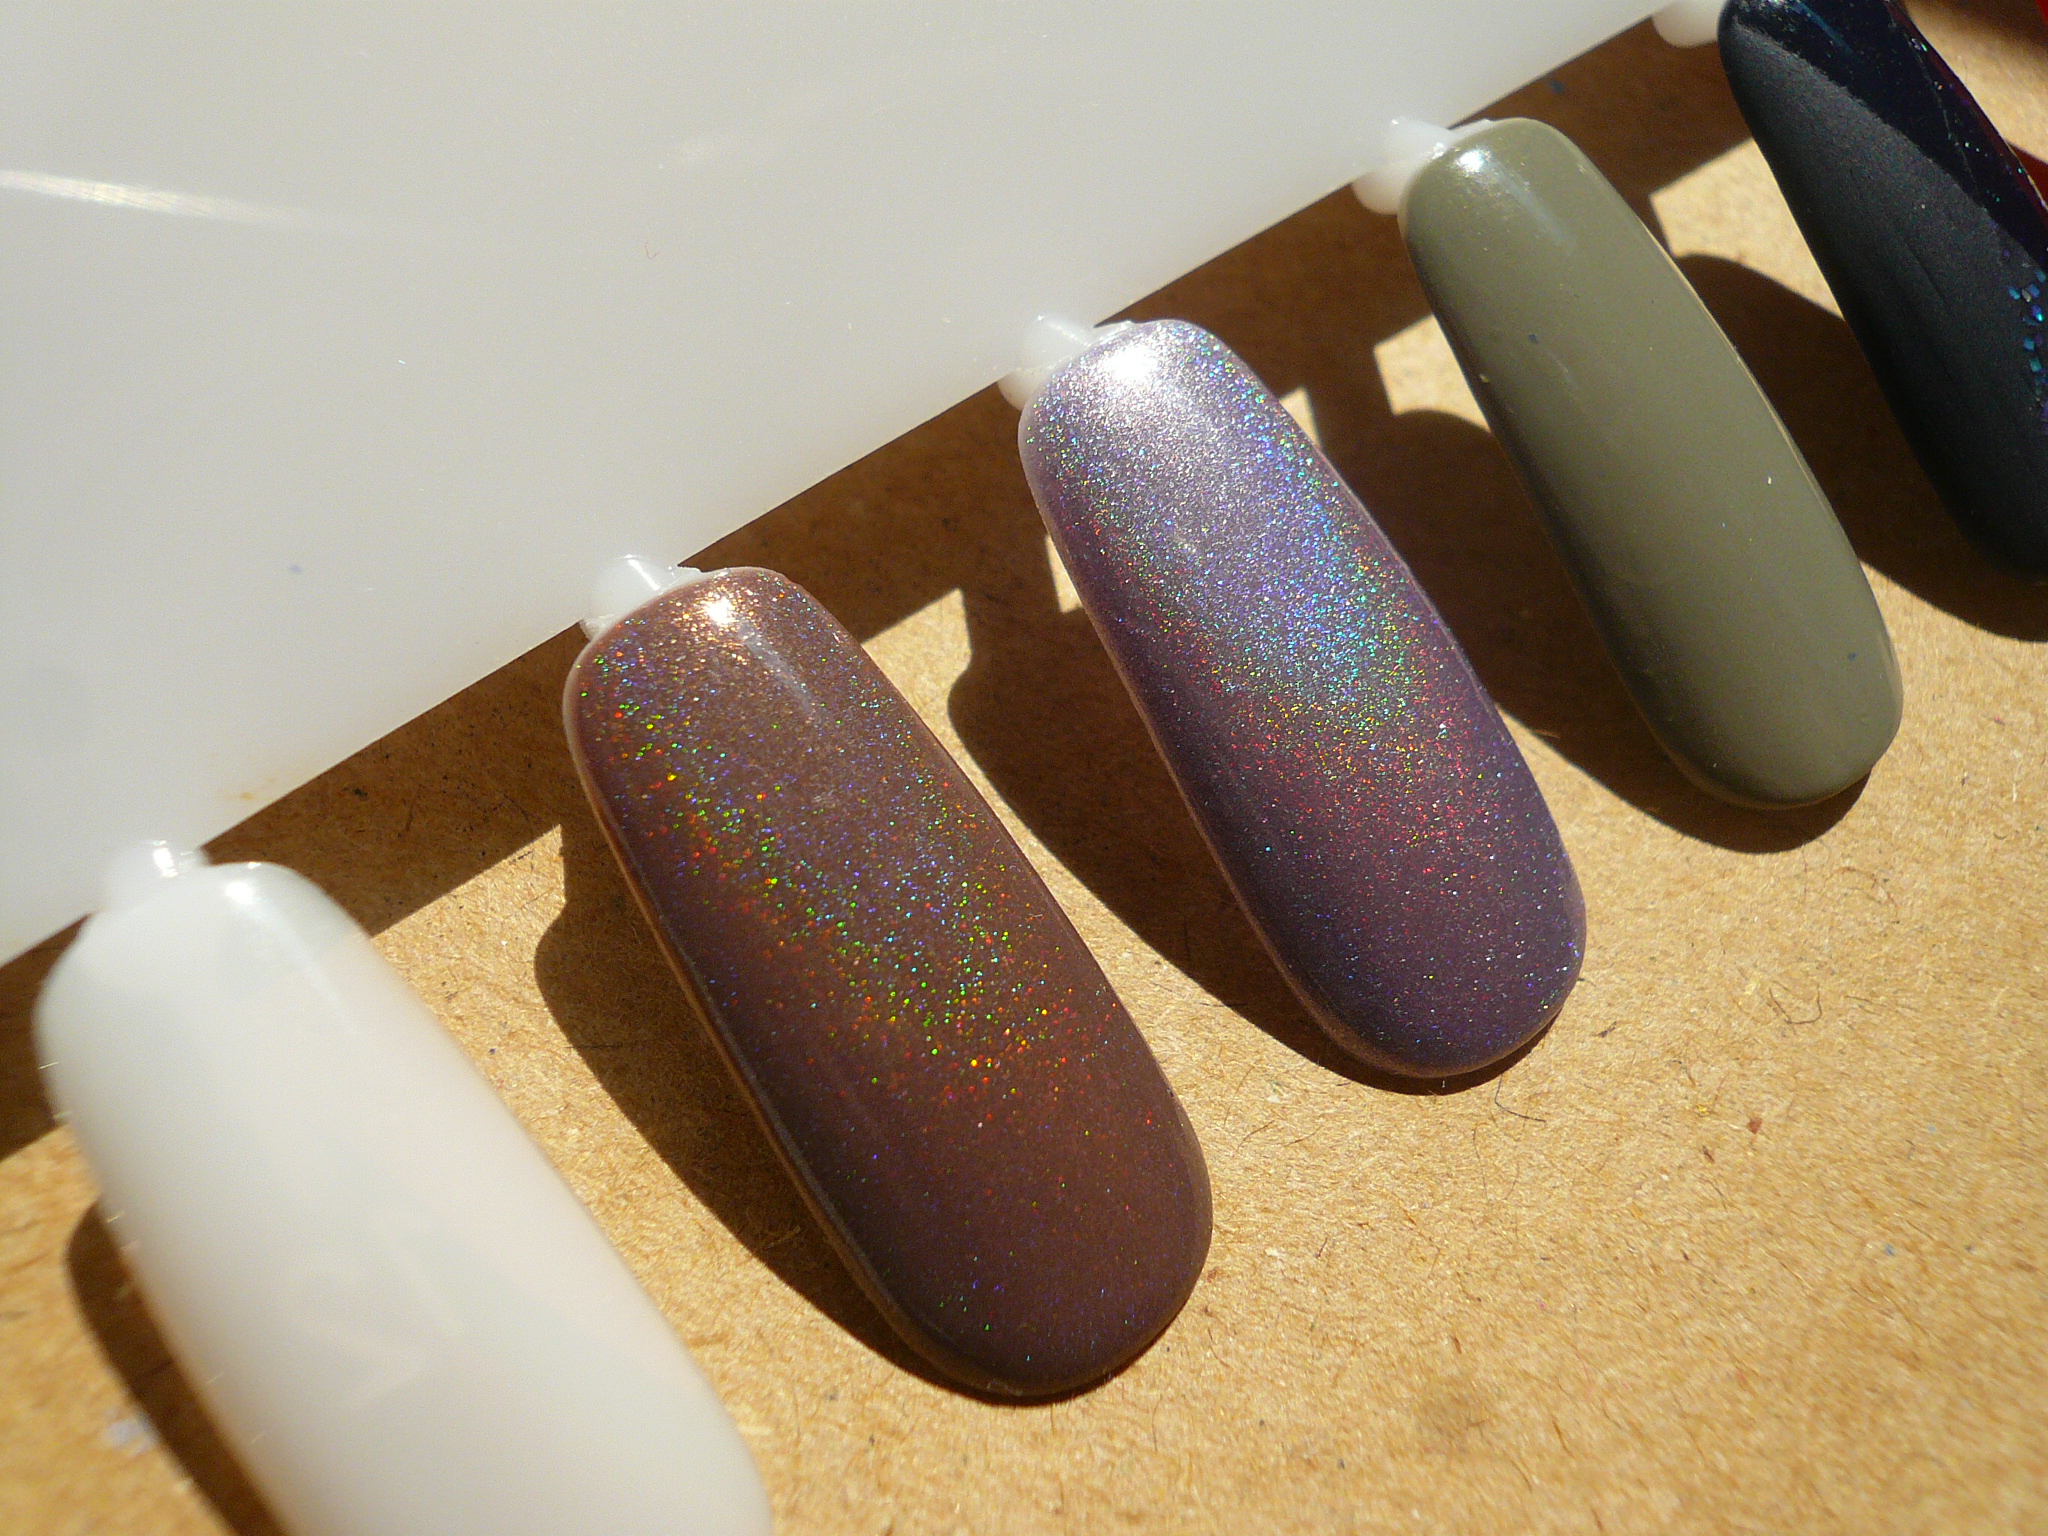
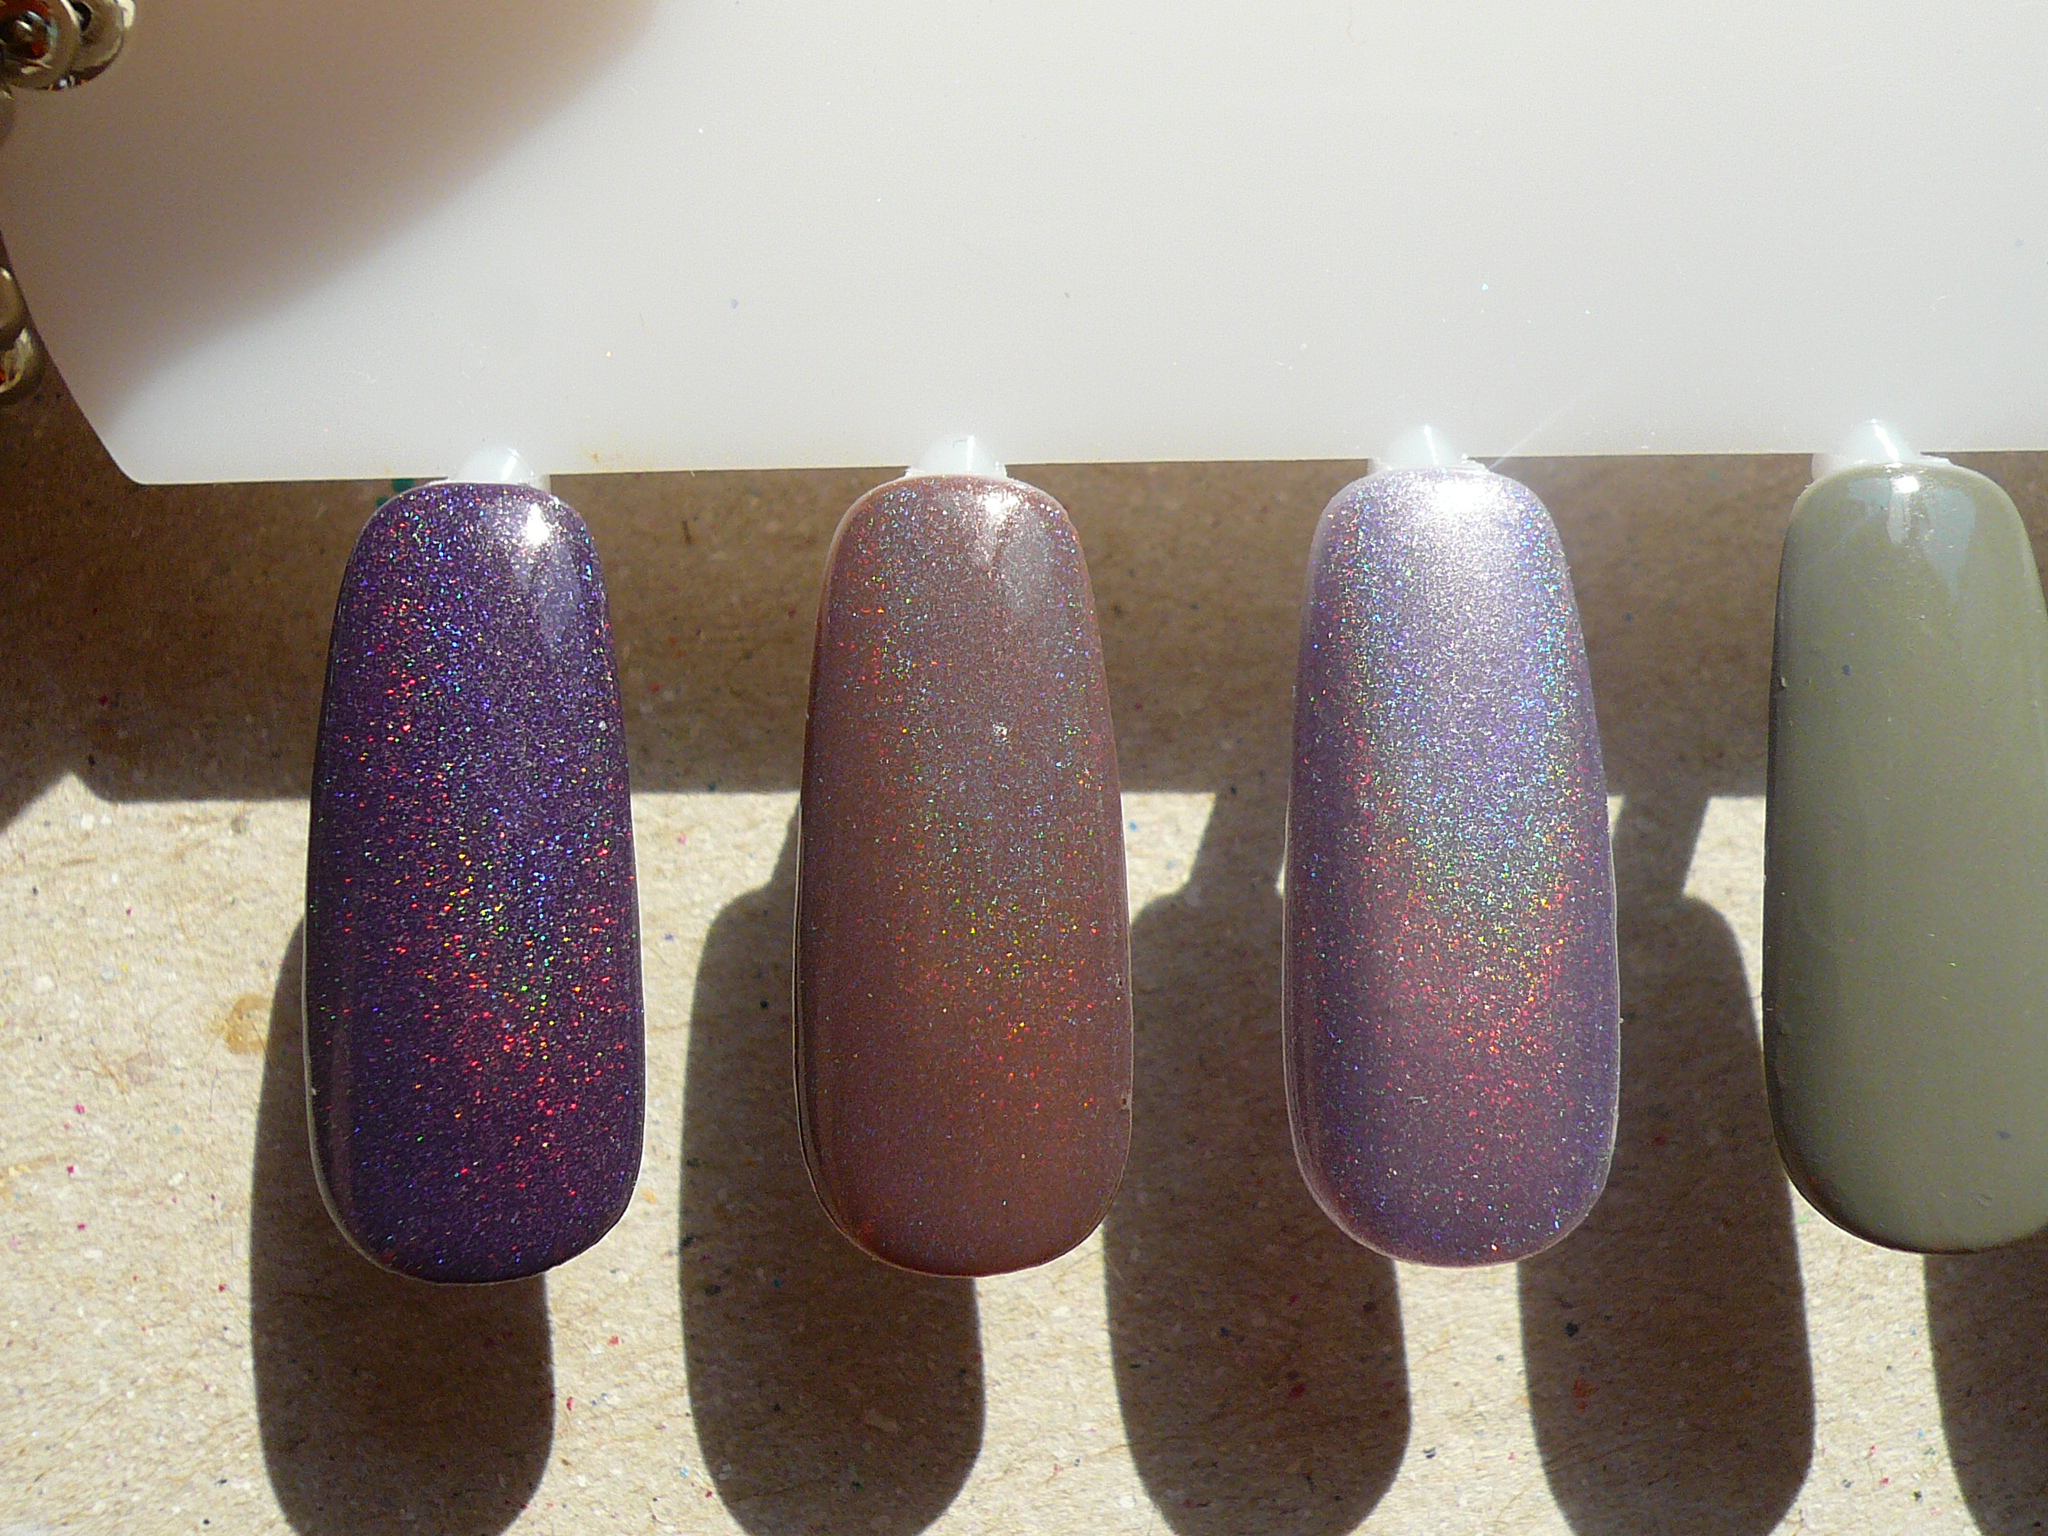
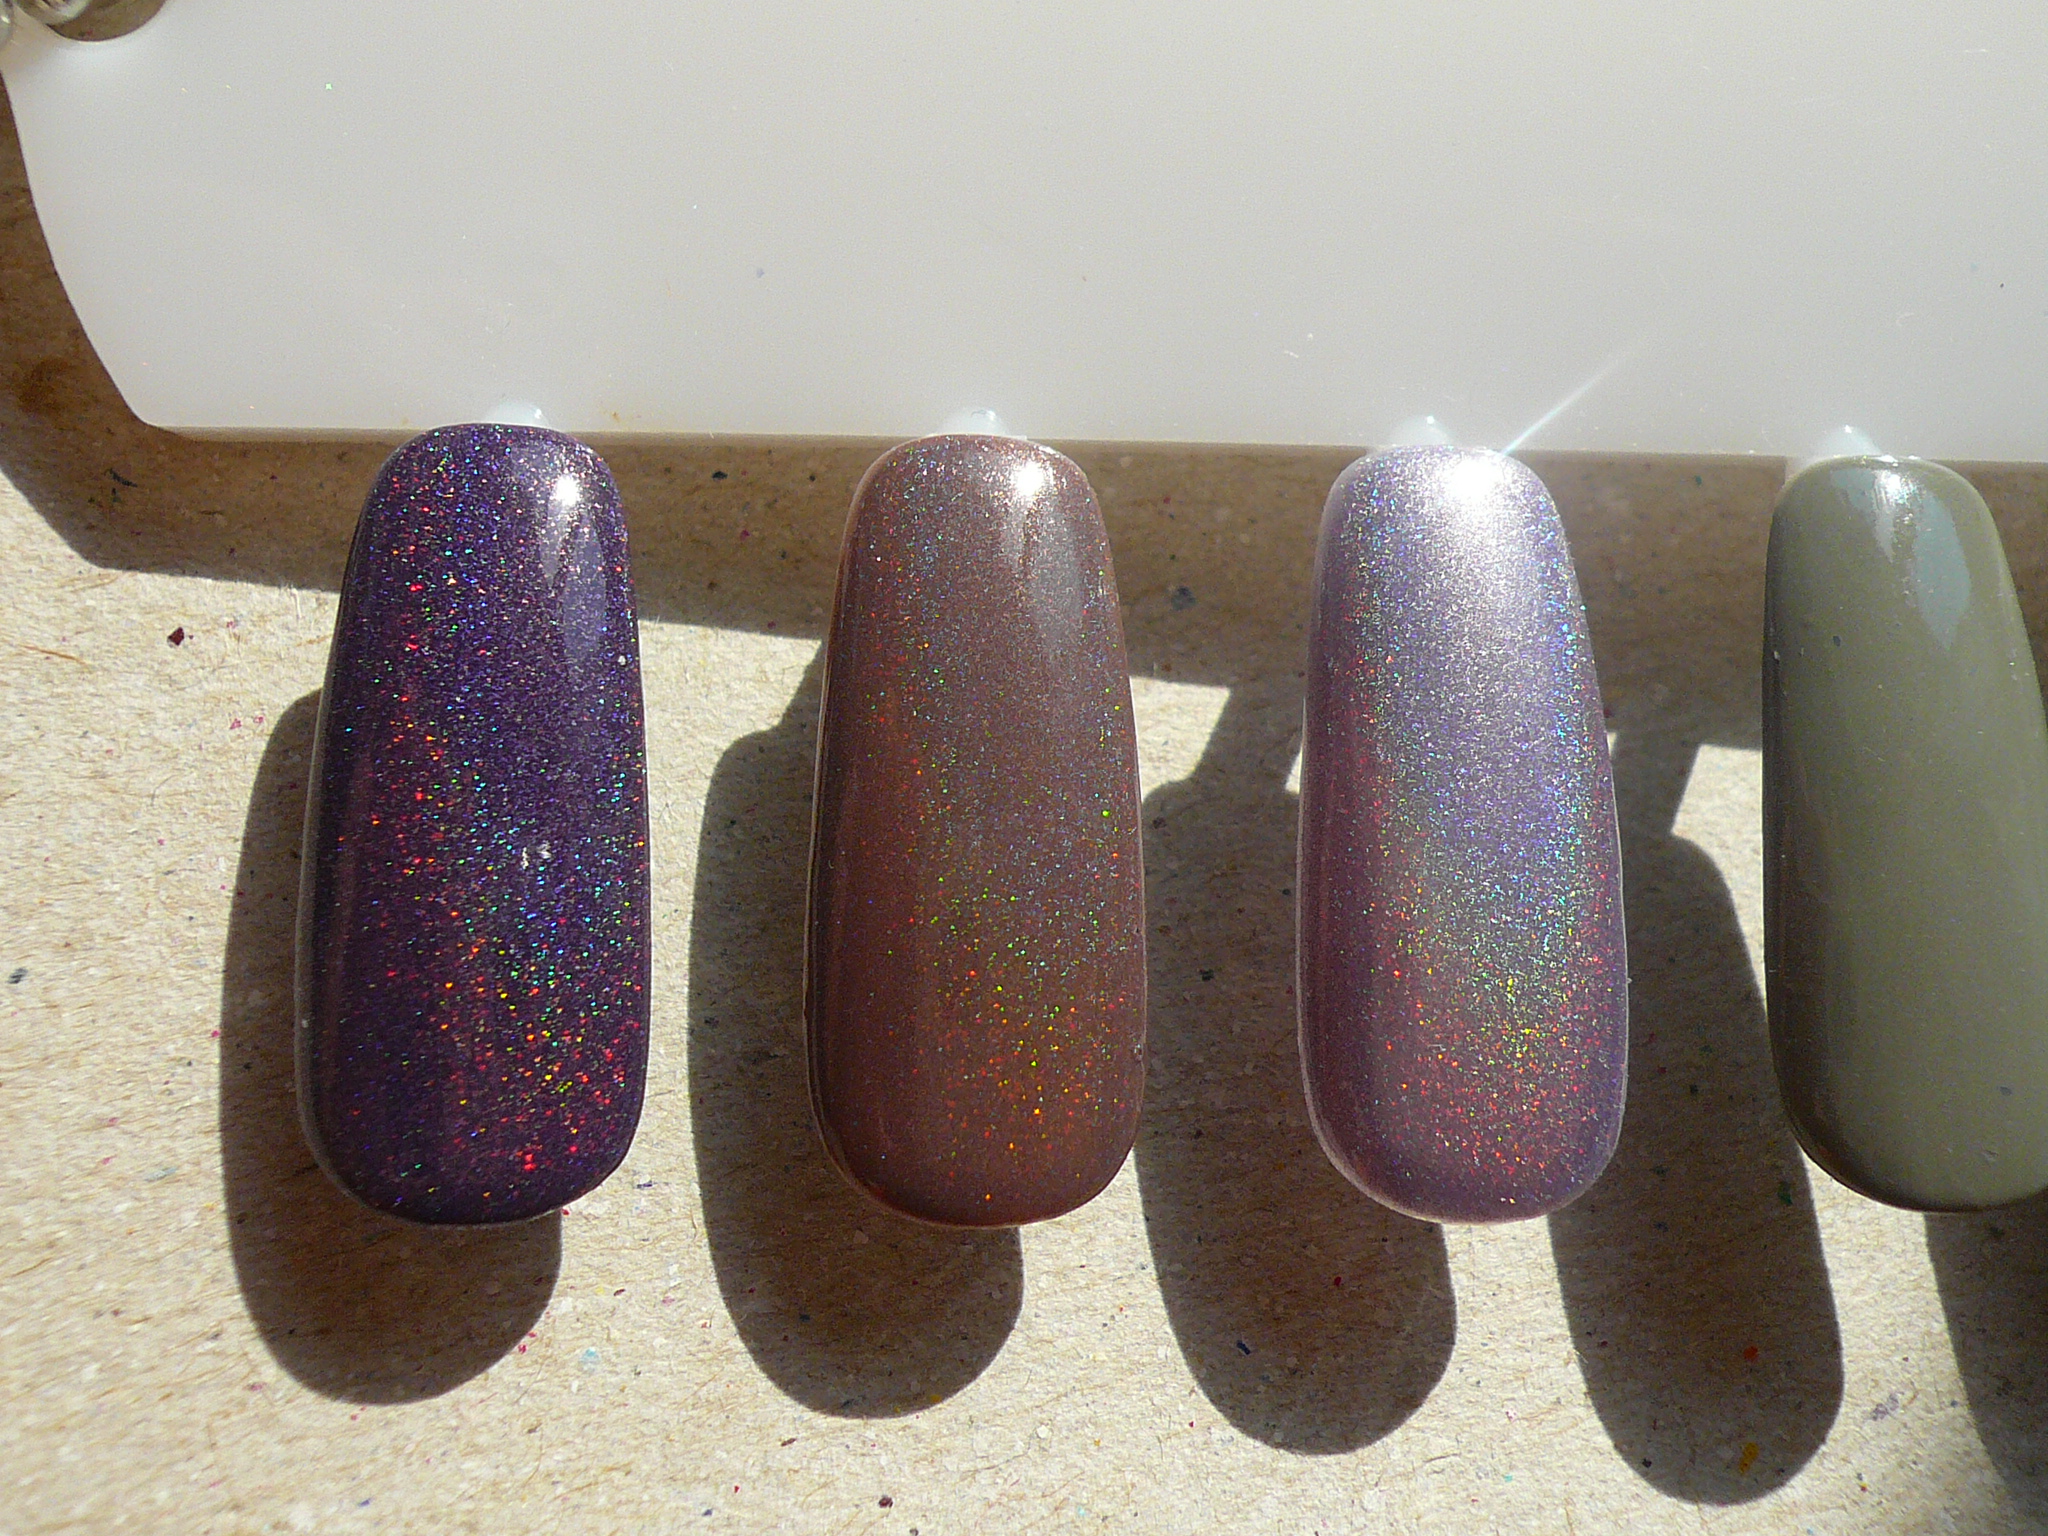
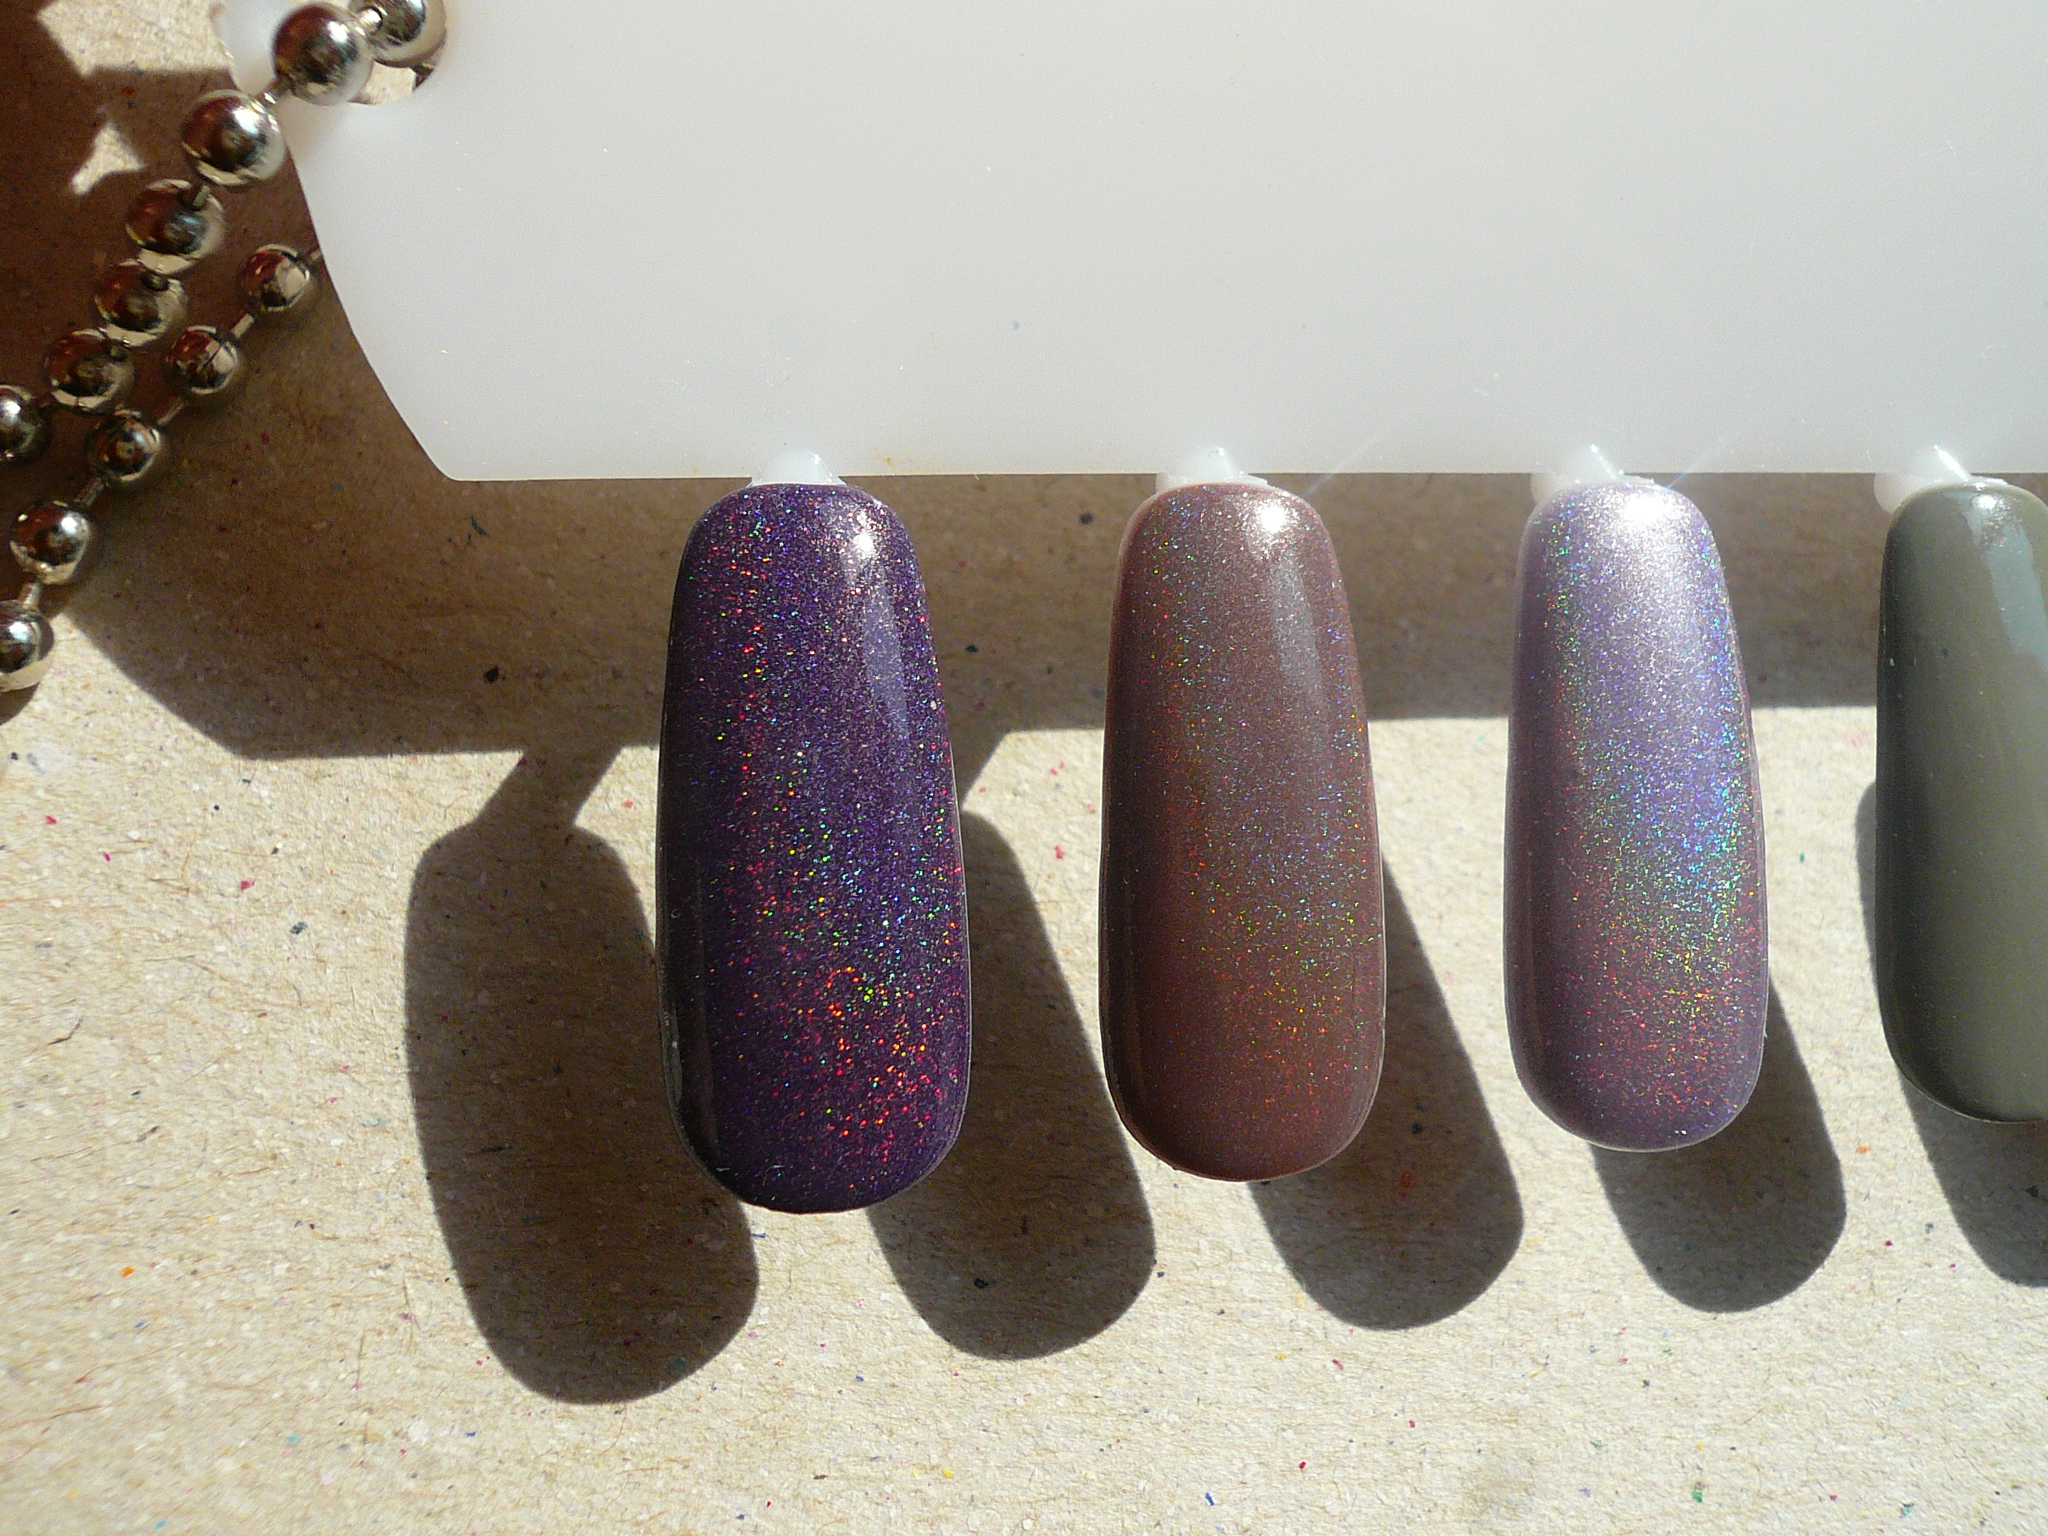
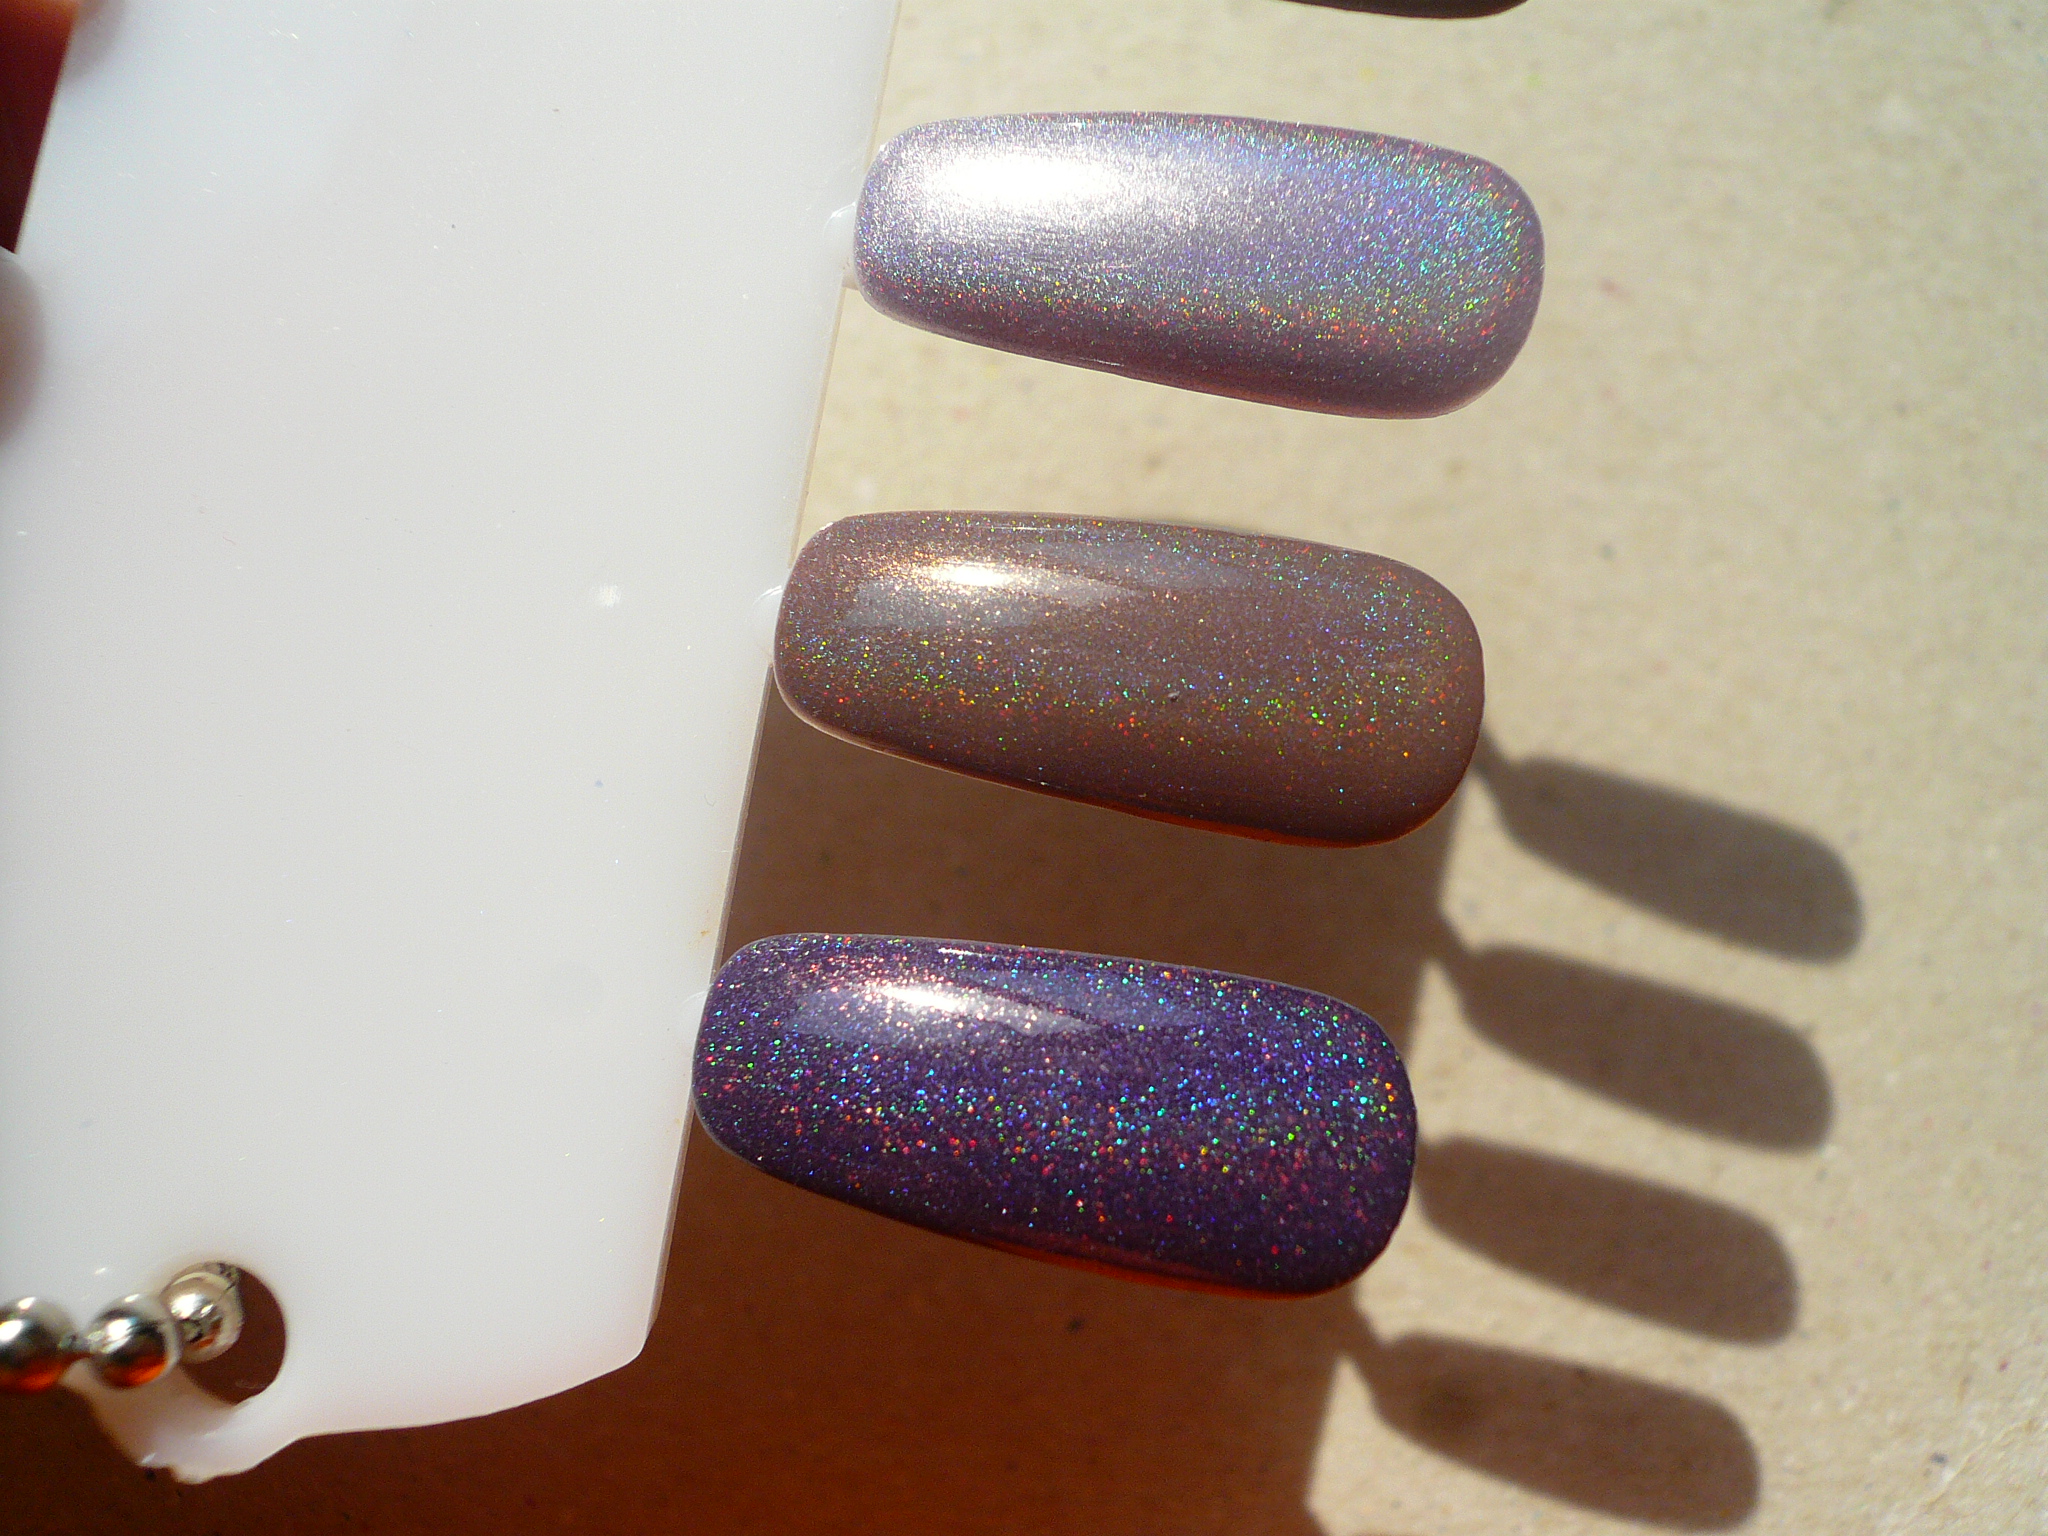
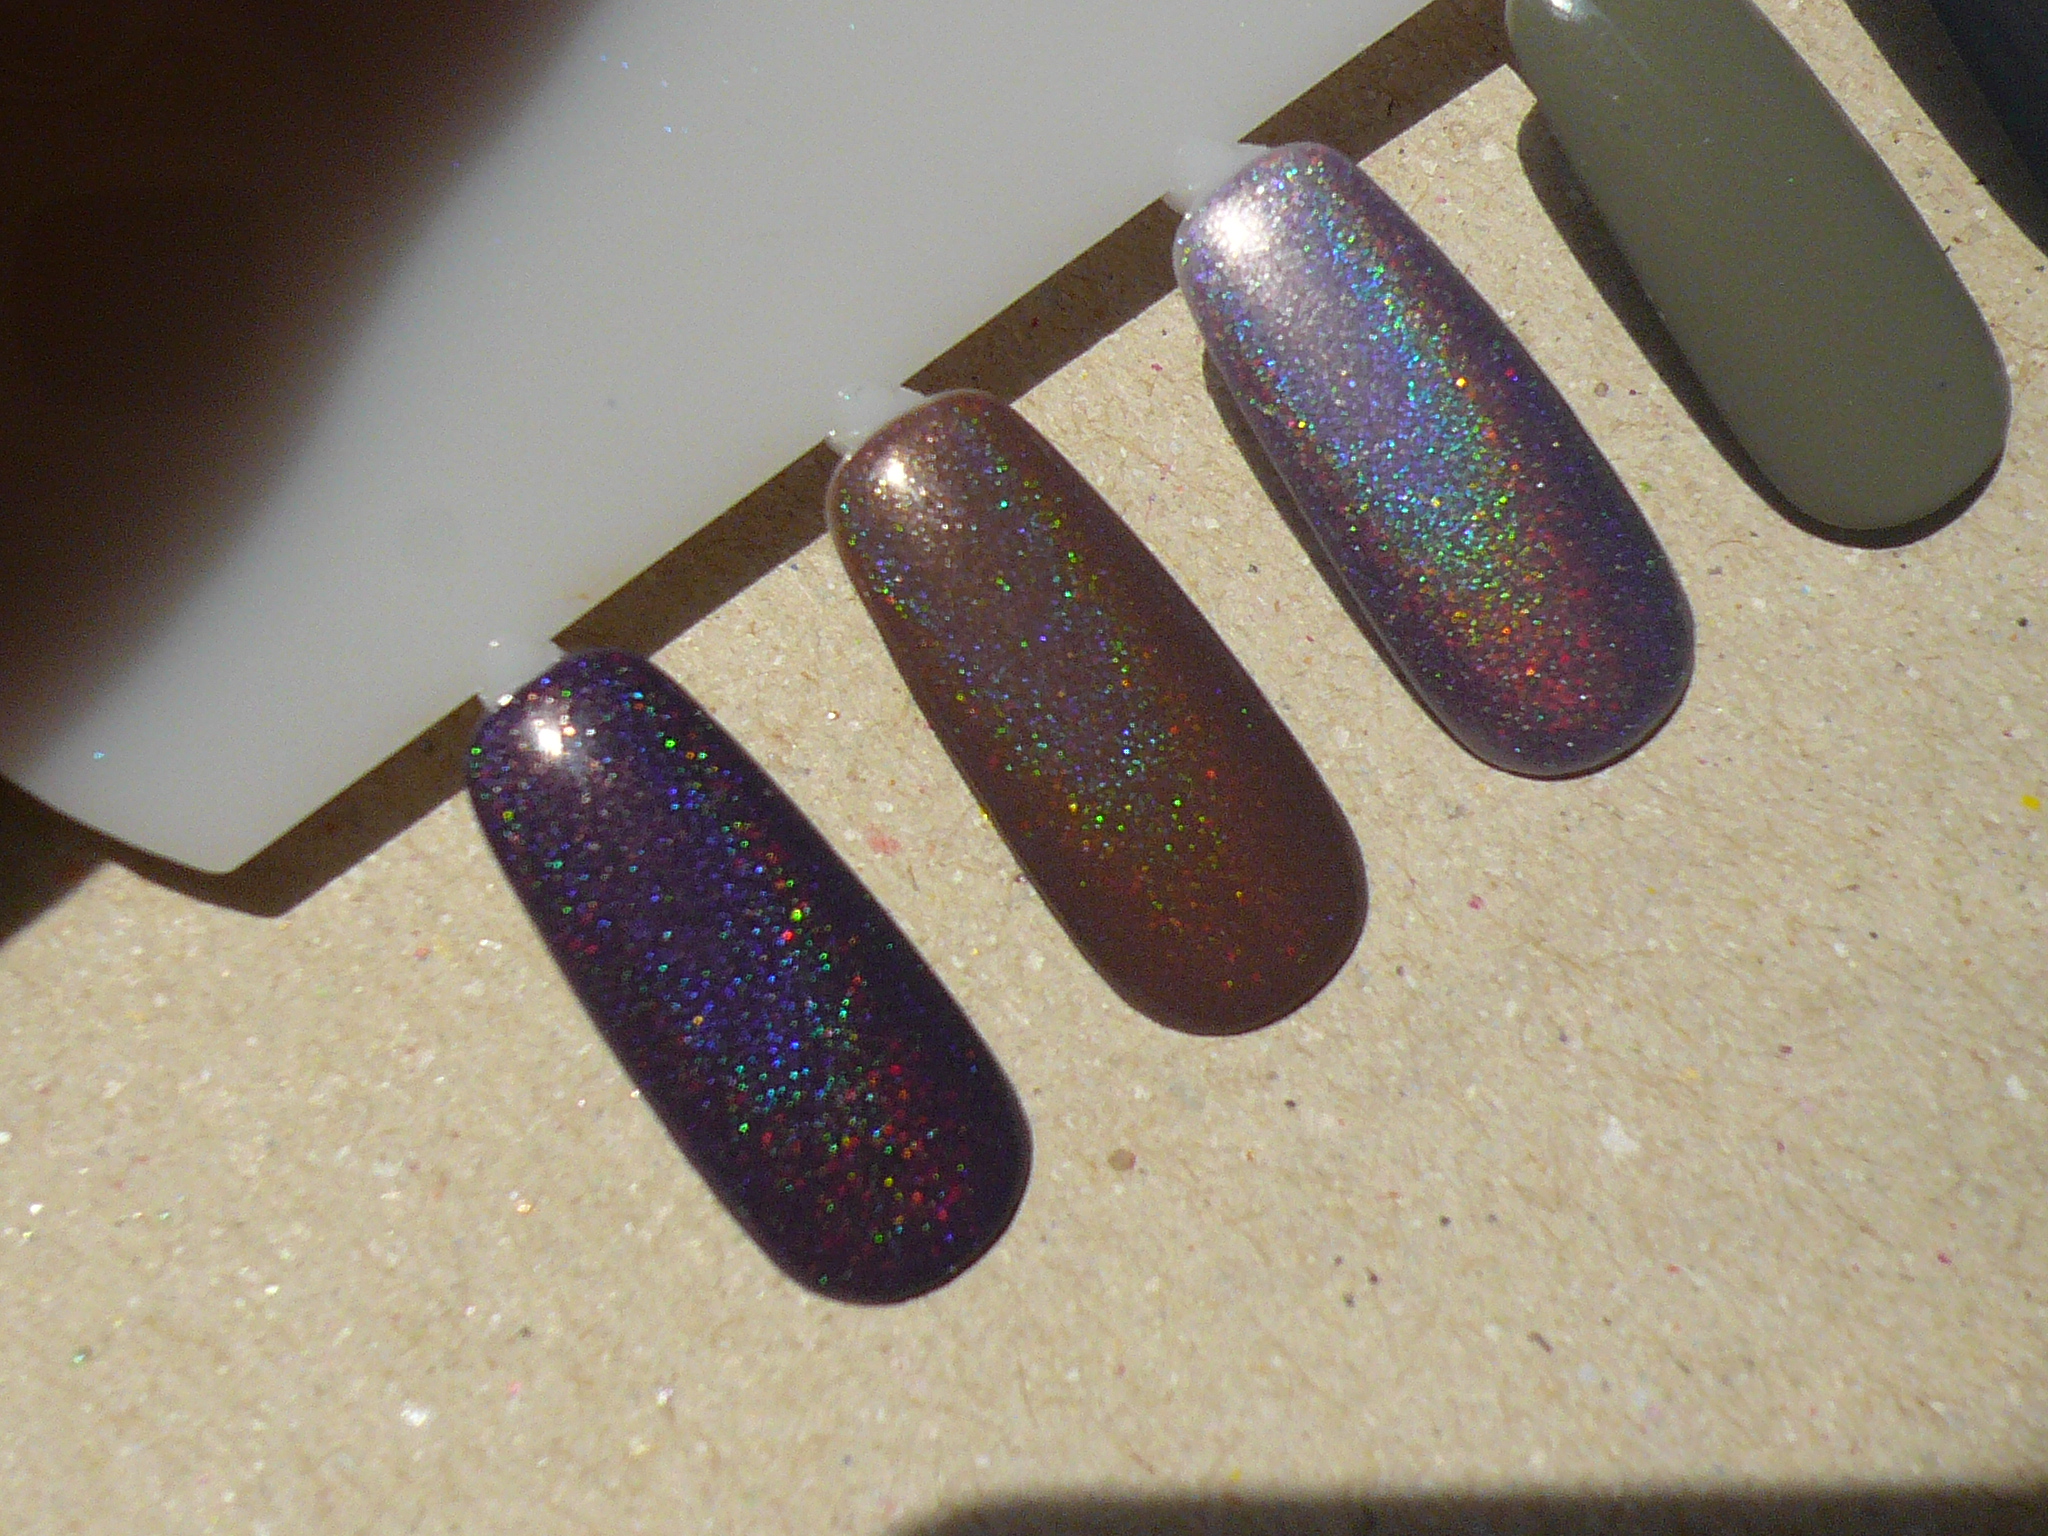
I'm totally loving my spectraflair I ordered from Lori! I swatched them on my nail plate so I could take it out and stare at it whenever the sun comes out and be dazzled. As usual, click on the pictures to enlarge them and make the holoness even better. I promise you it's worth doing so!

This first blue one is Glamazon. I've shown this baby to you twice now I think but since I'm showing you my holo frankens, I felt the need to include it in the post! I used OPI DS Sapphire to make it holo but added some spectraflair to bling it up!


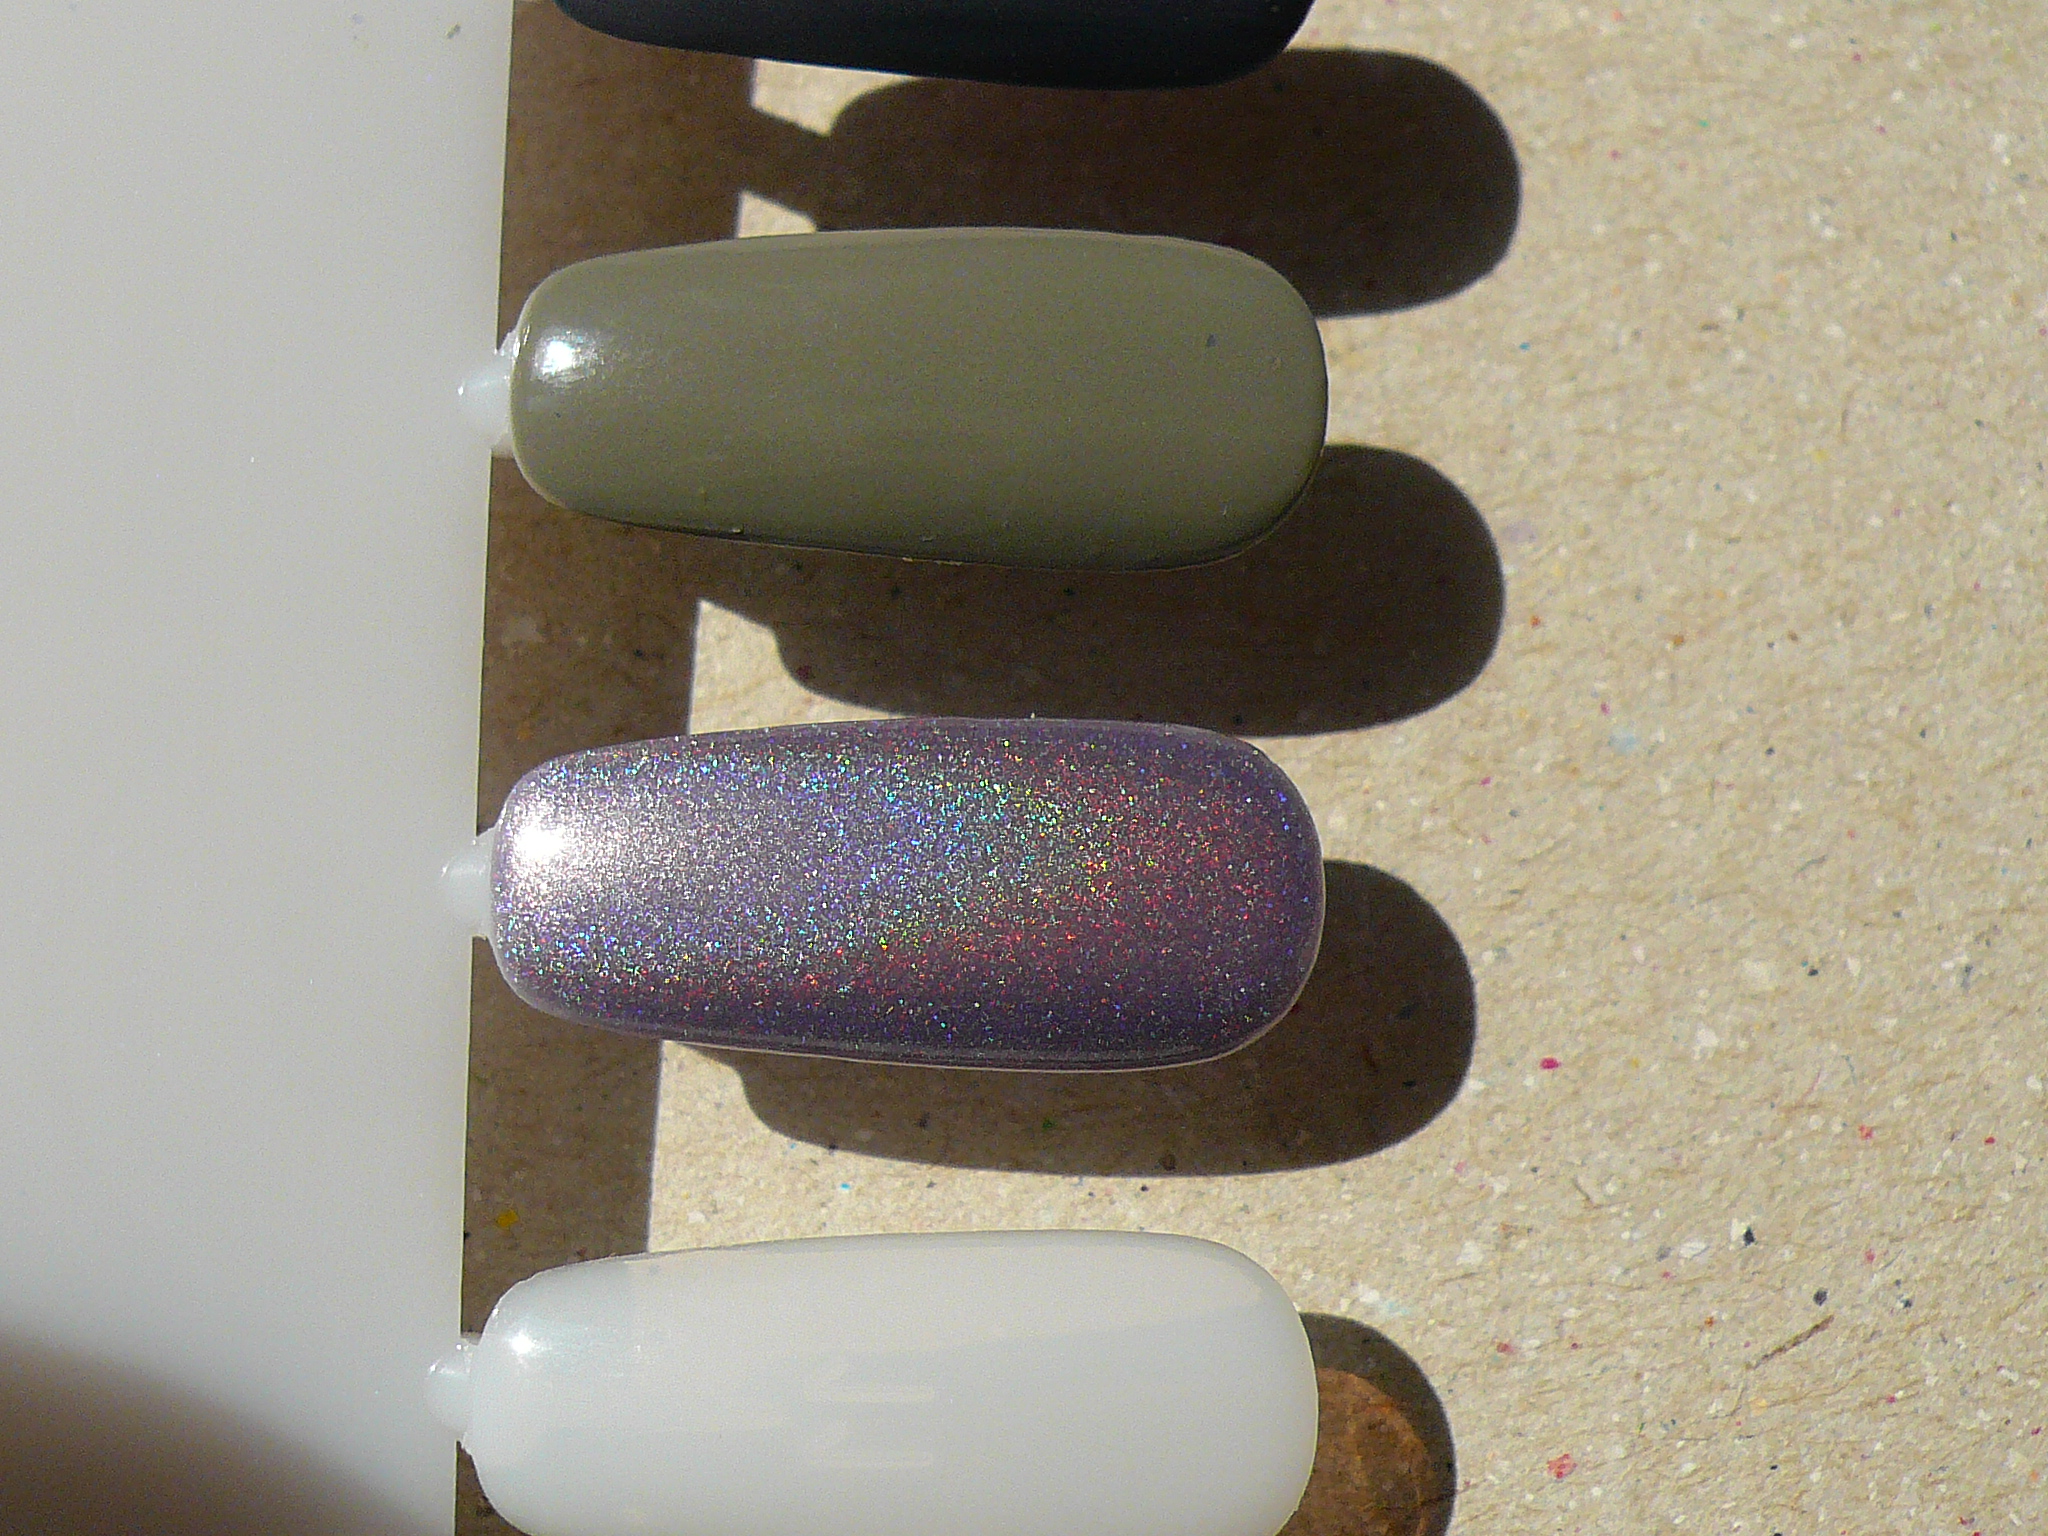
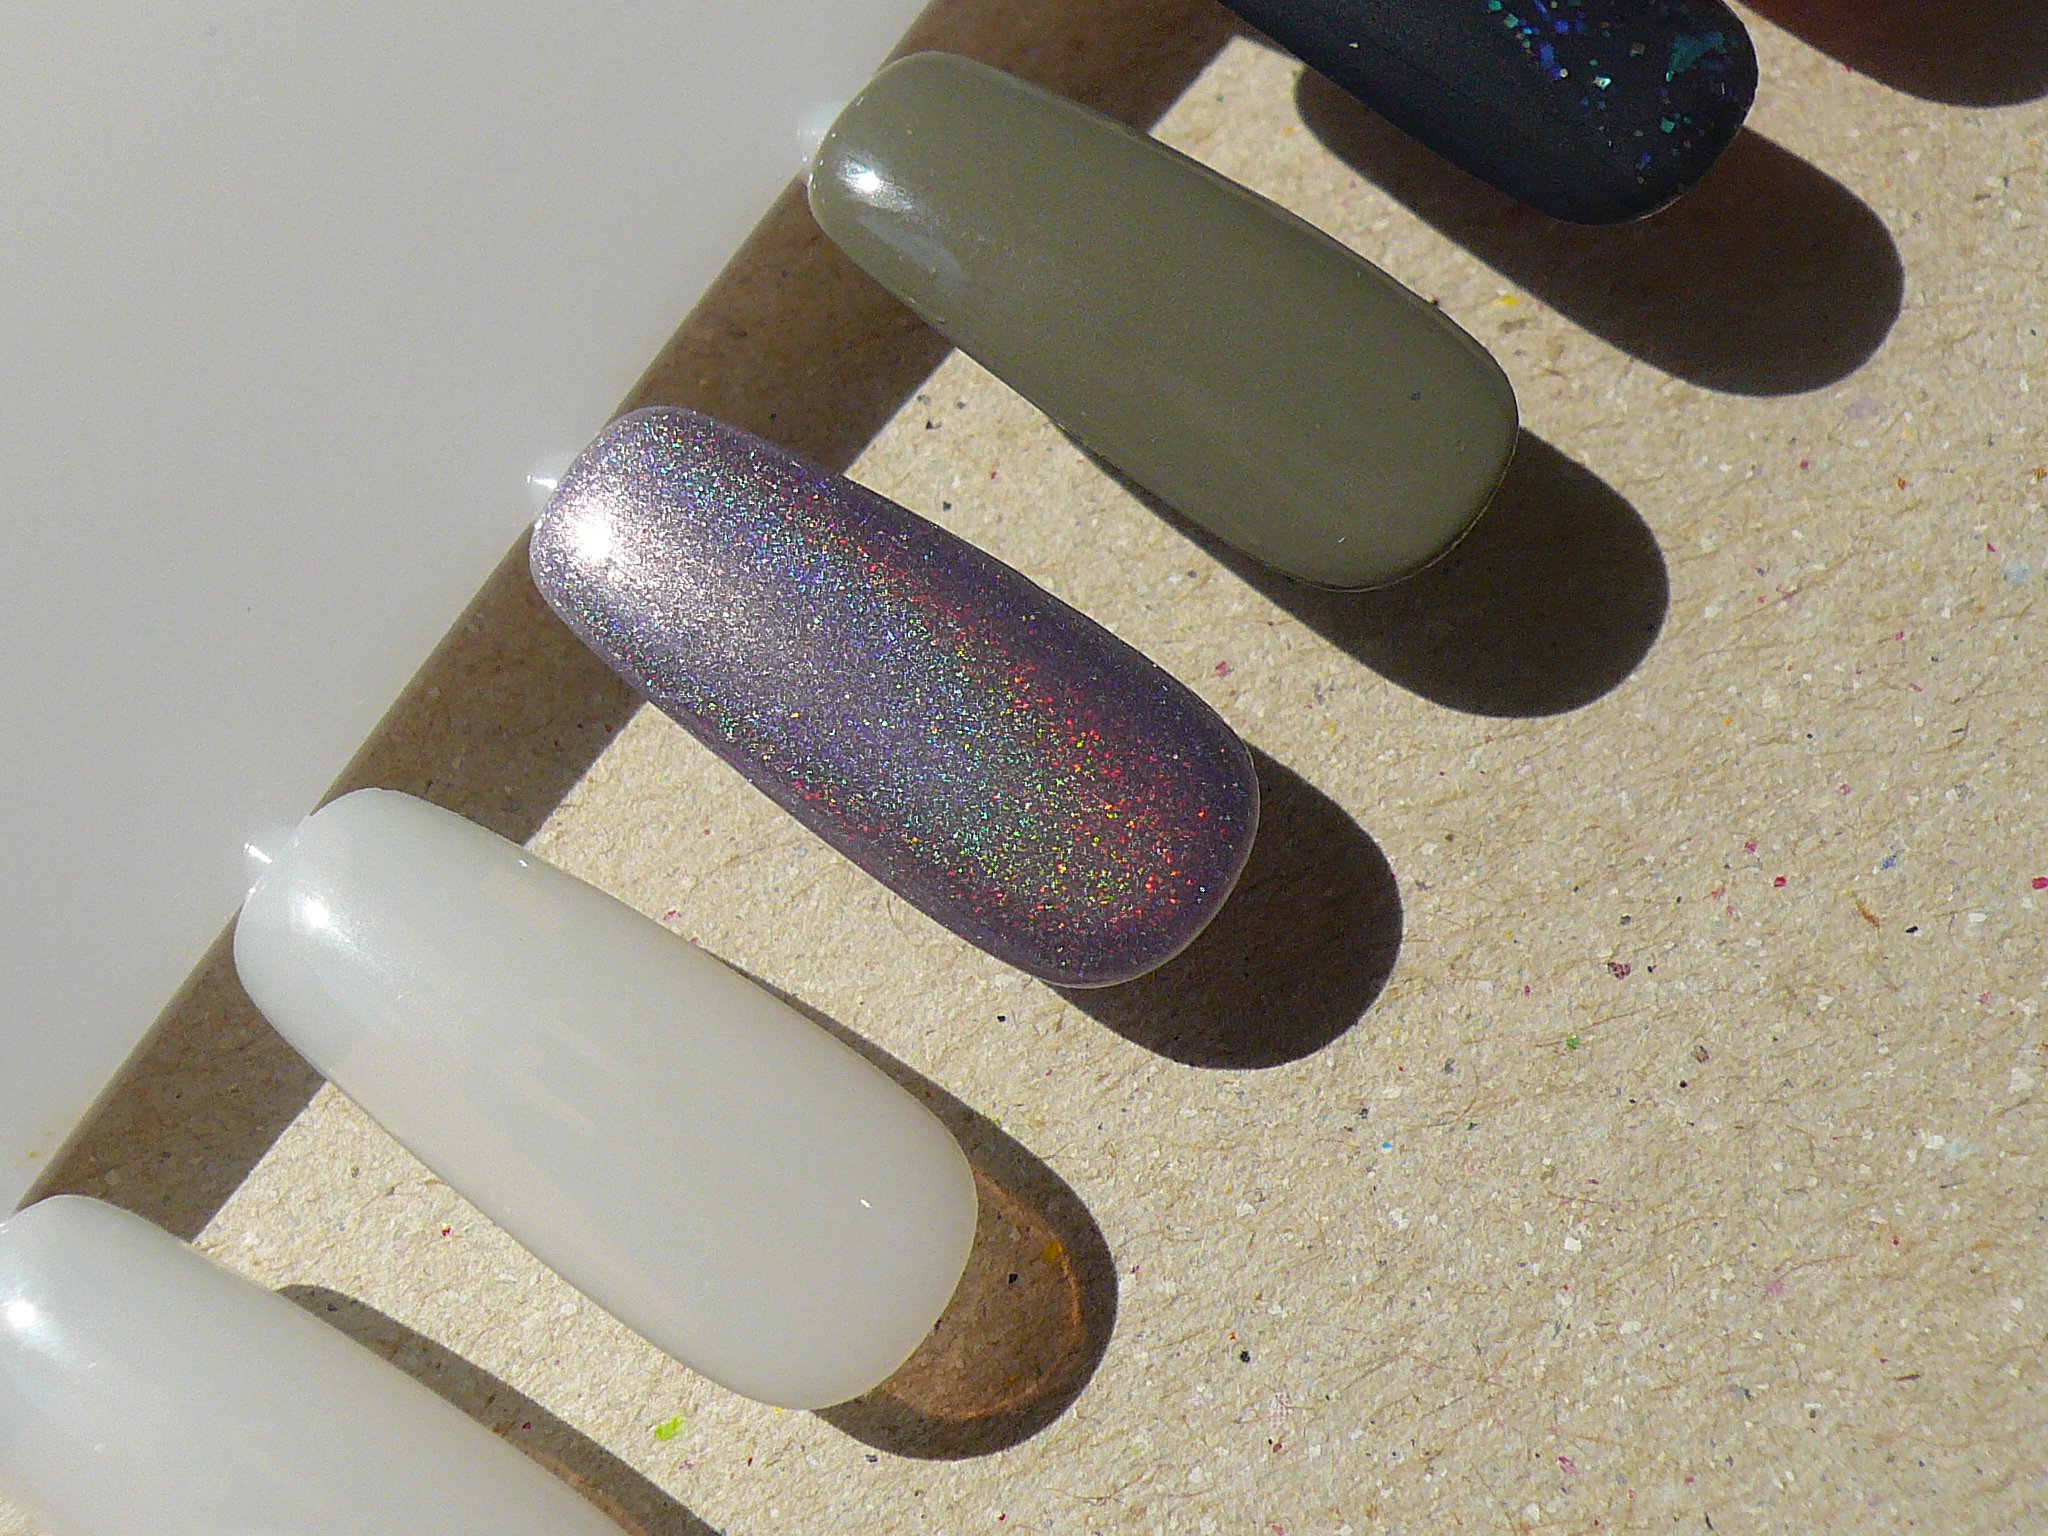
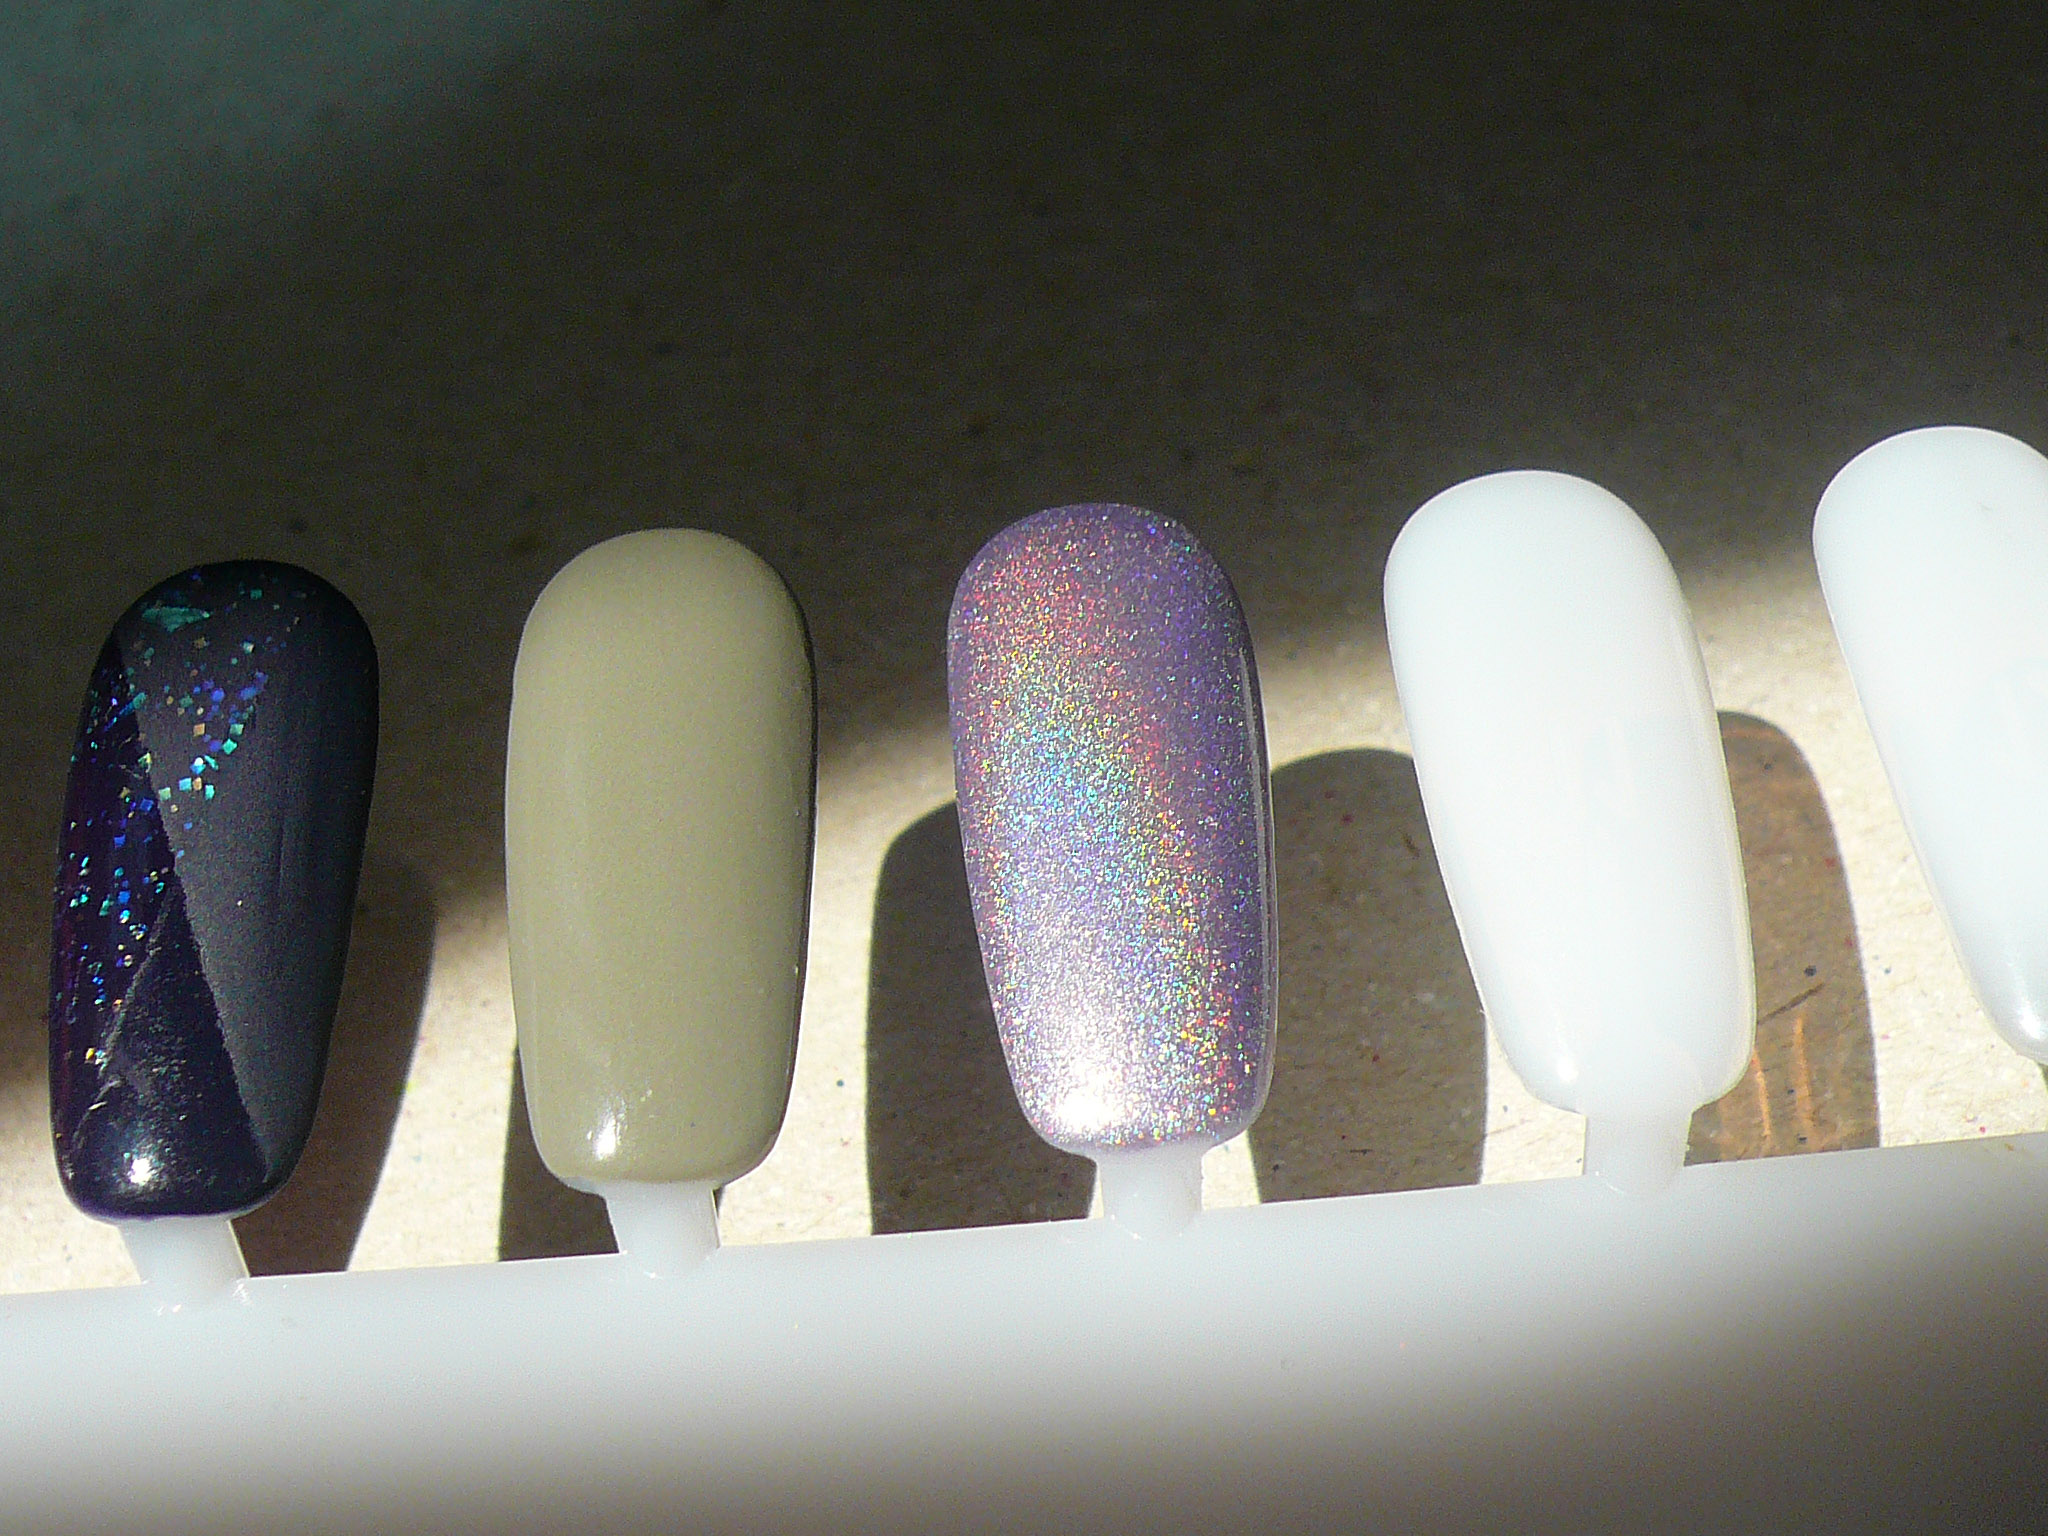
Next, I have a light purple holo called Copy Cat. I've been lusting for OPI DS Original for the longest time so I decided to create my own. Hence the name, Copy Cat!


Oh and when the sun is in it's full glory, POW WOW!


And here's a blurry shot to show how holo Copy Cat is! :D


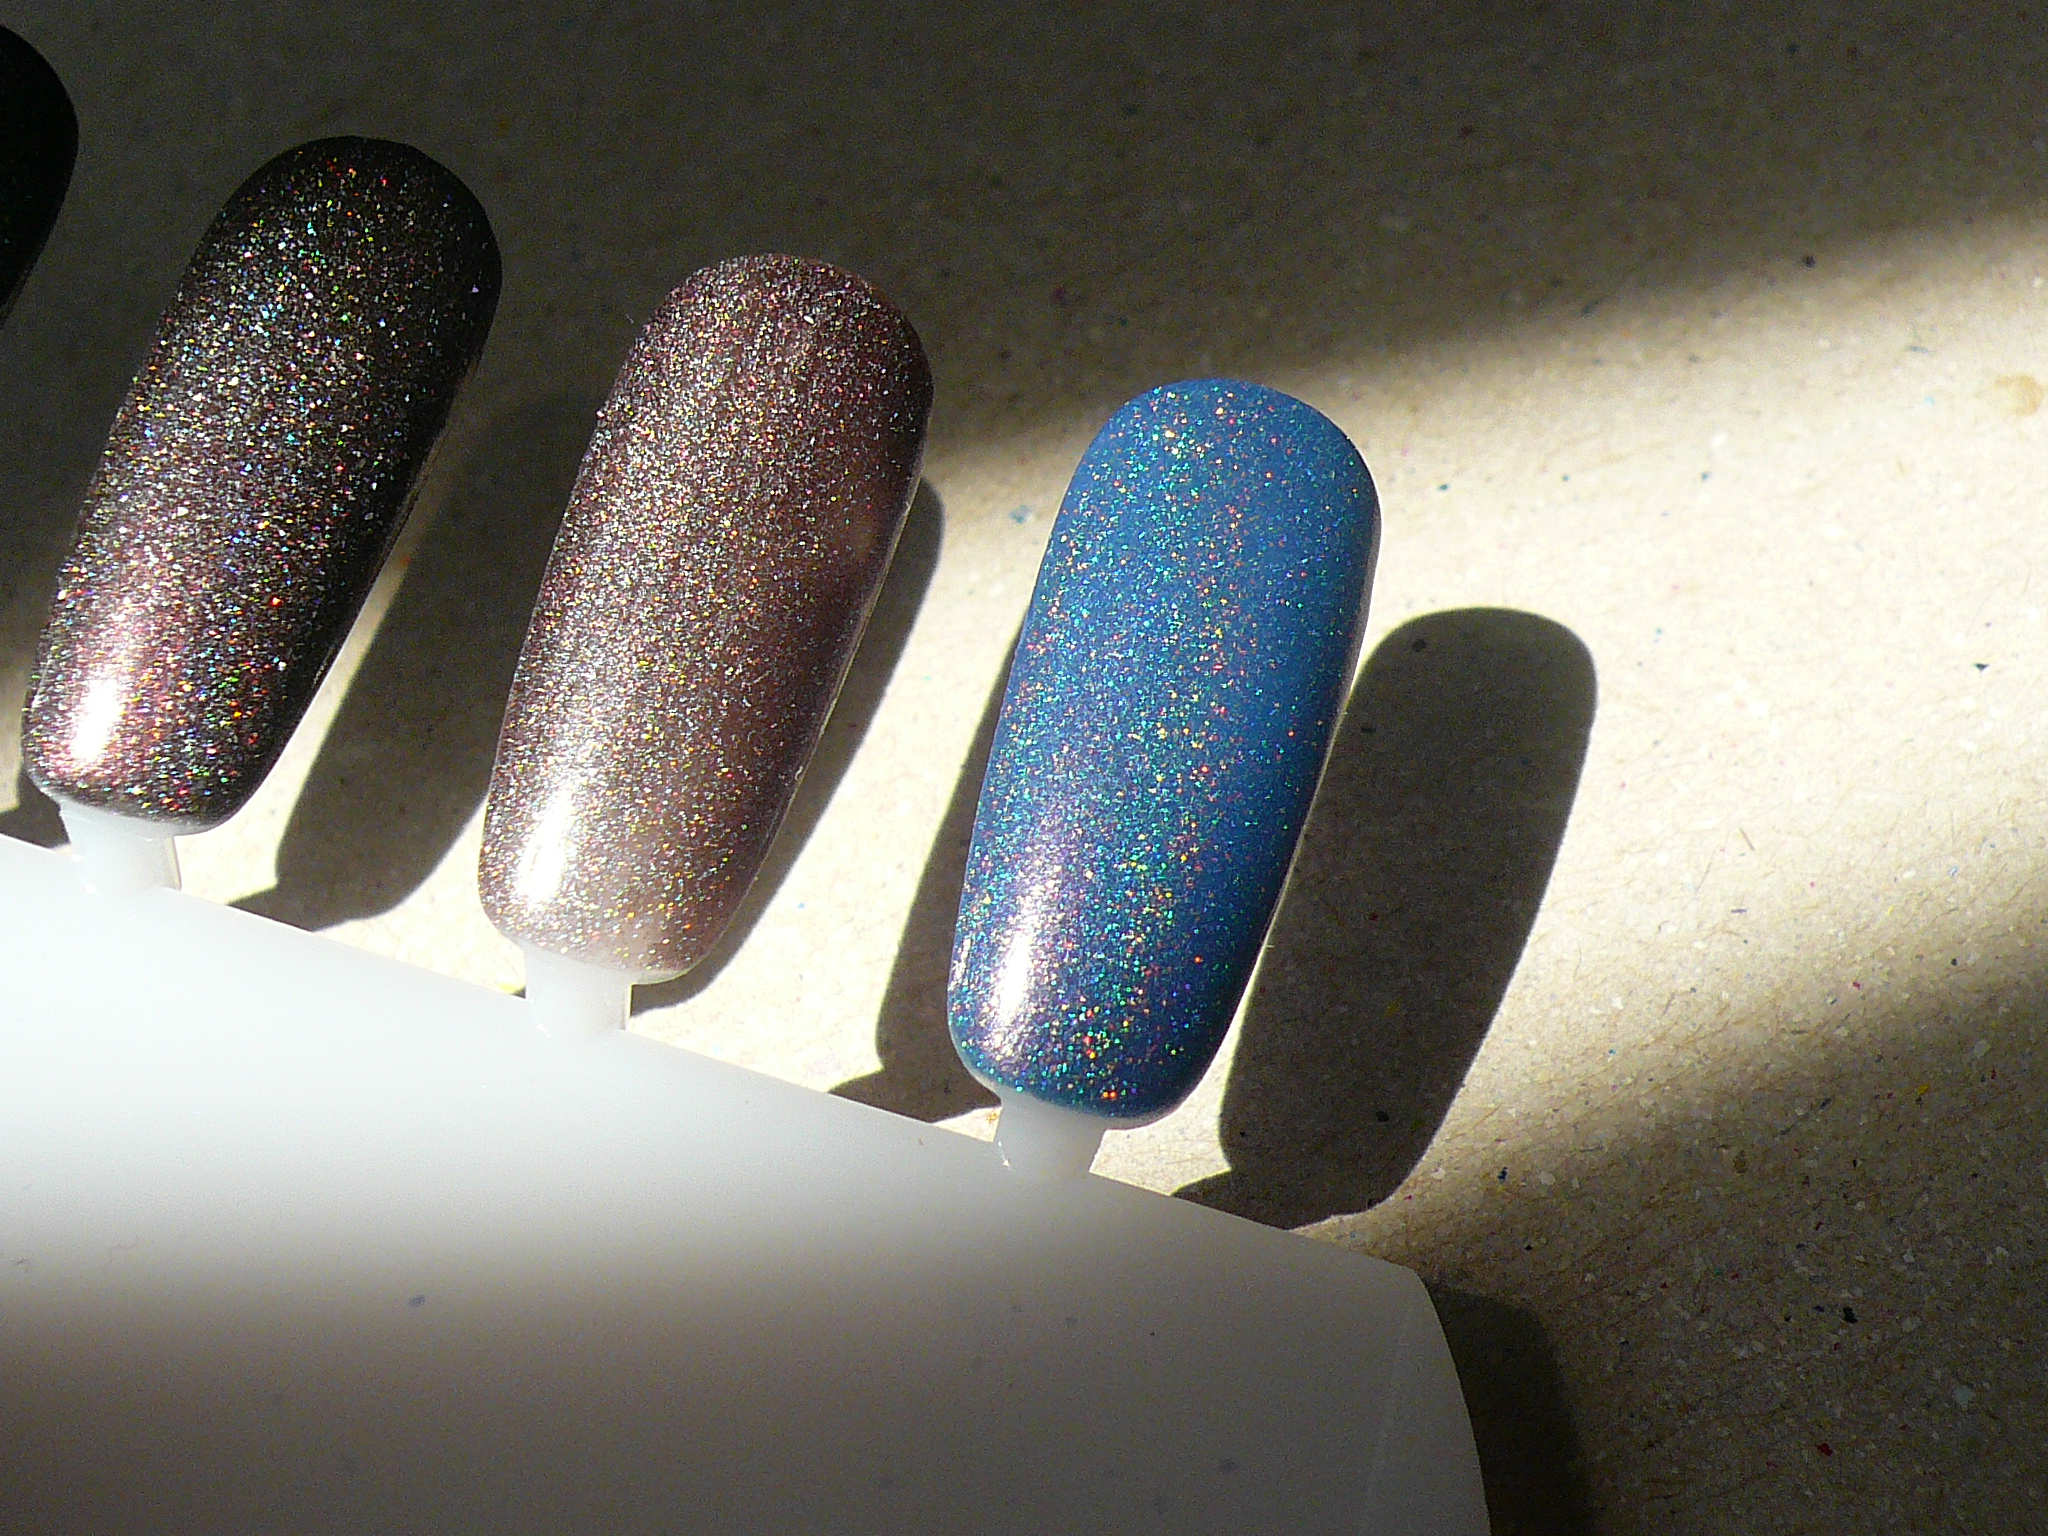
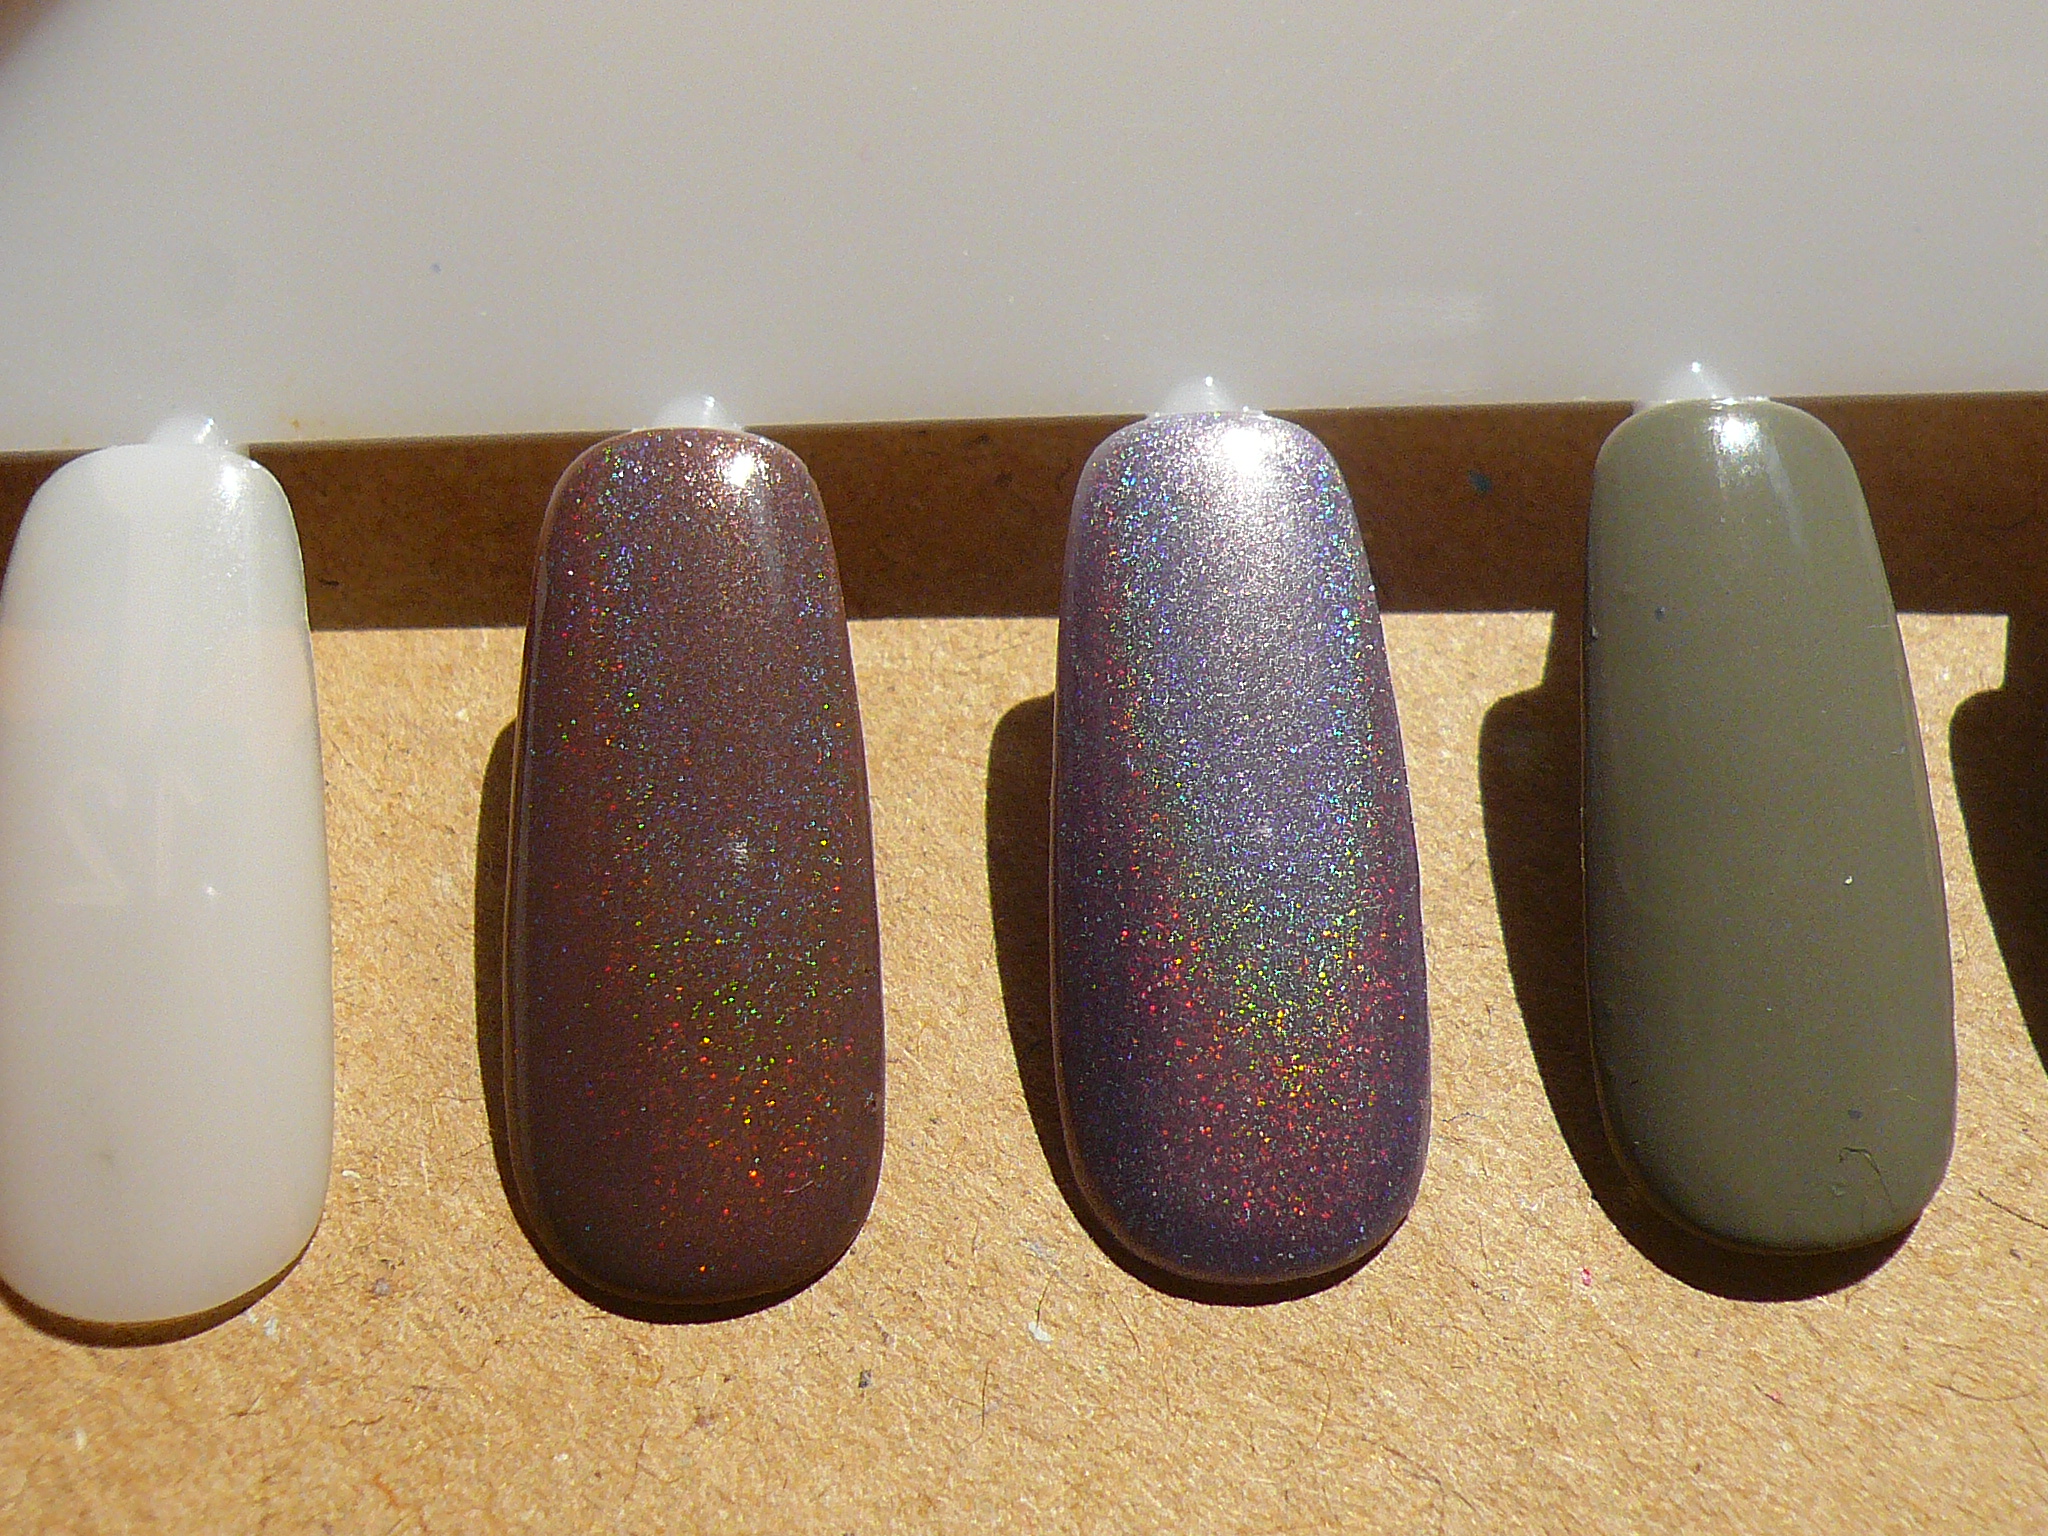
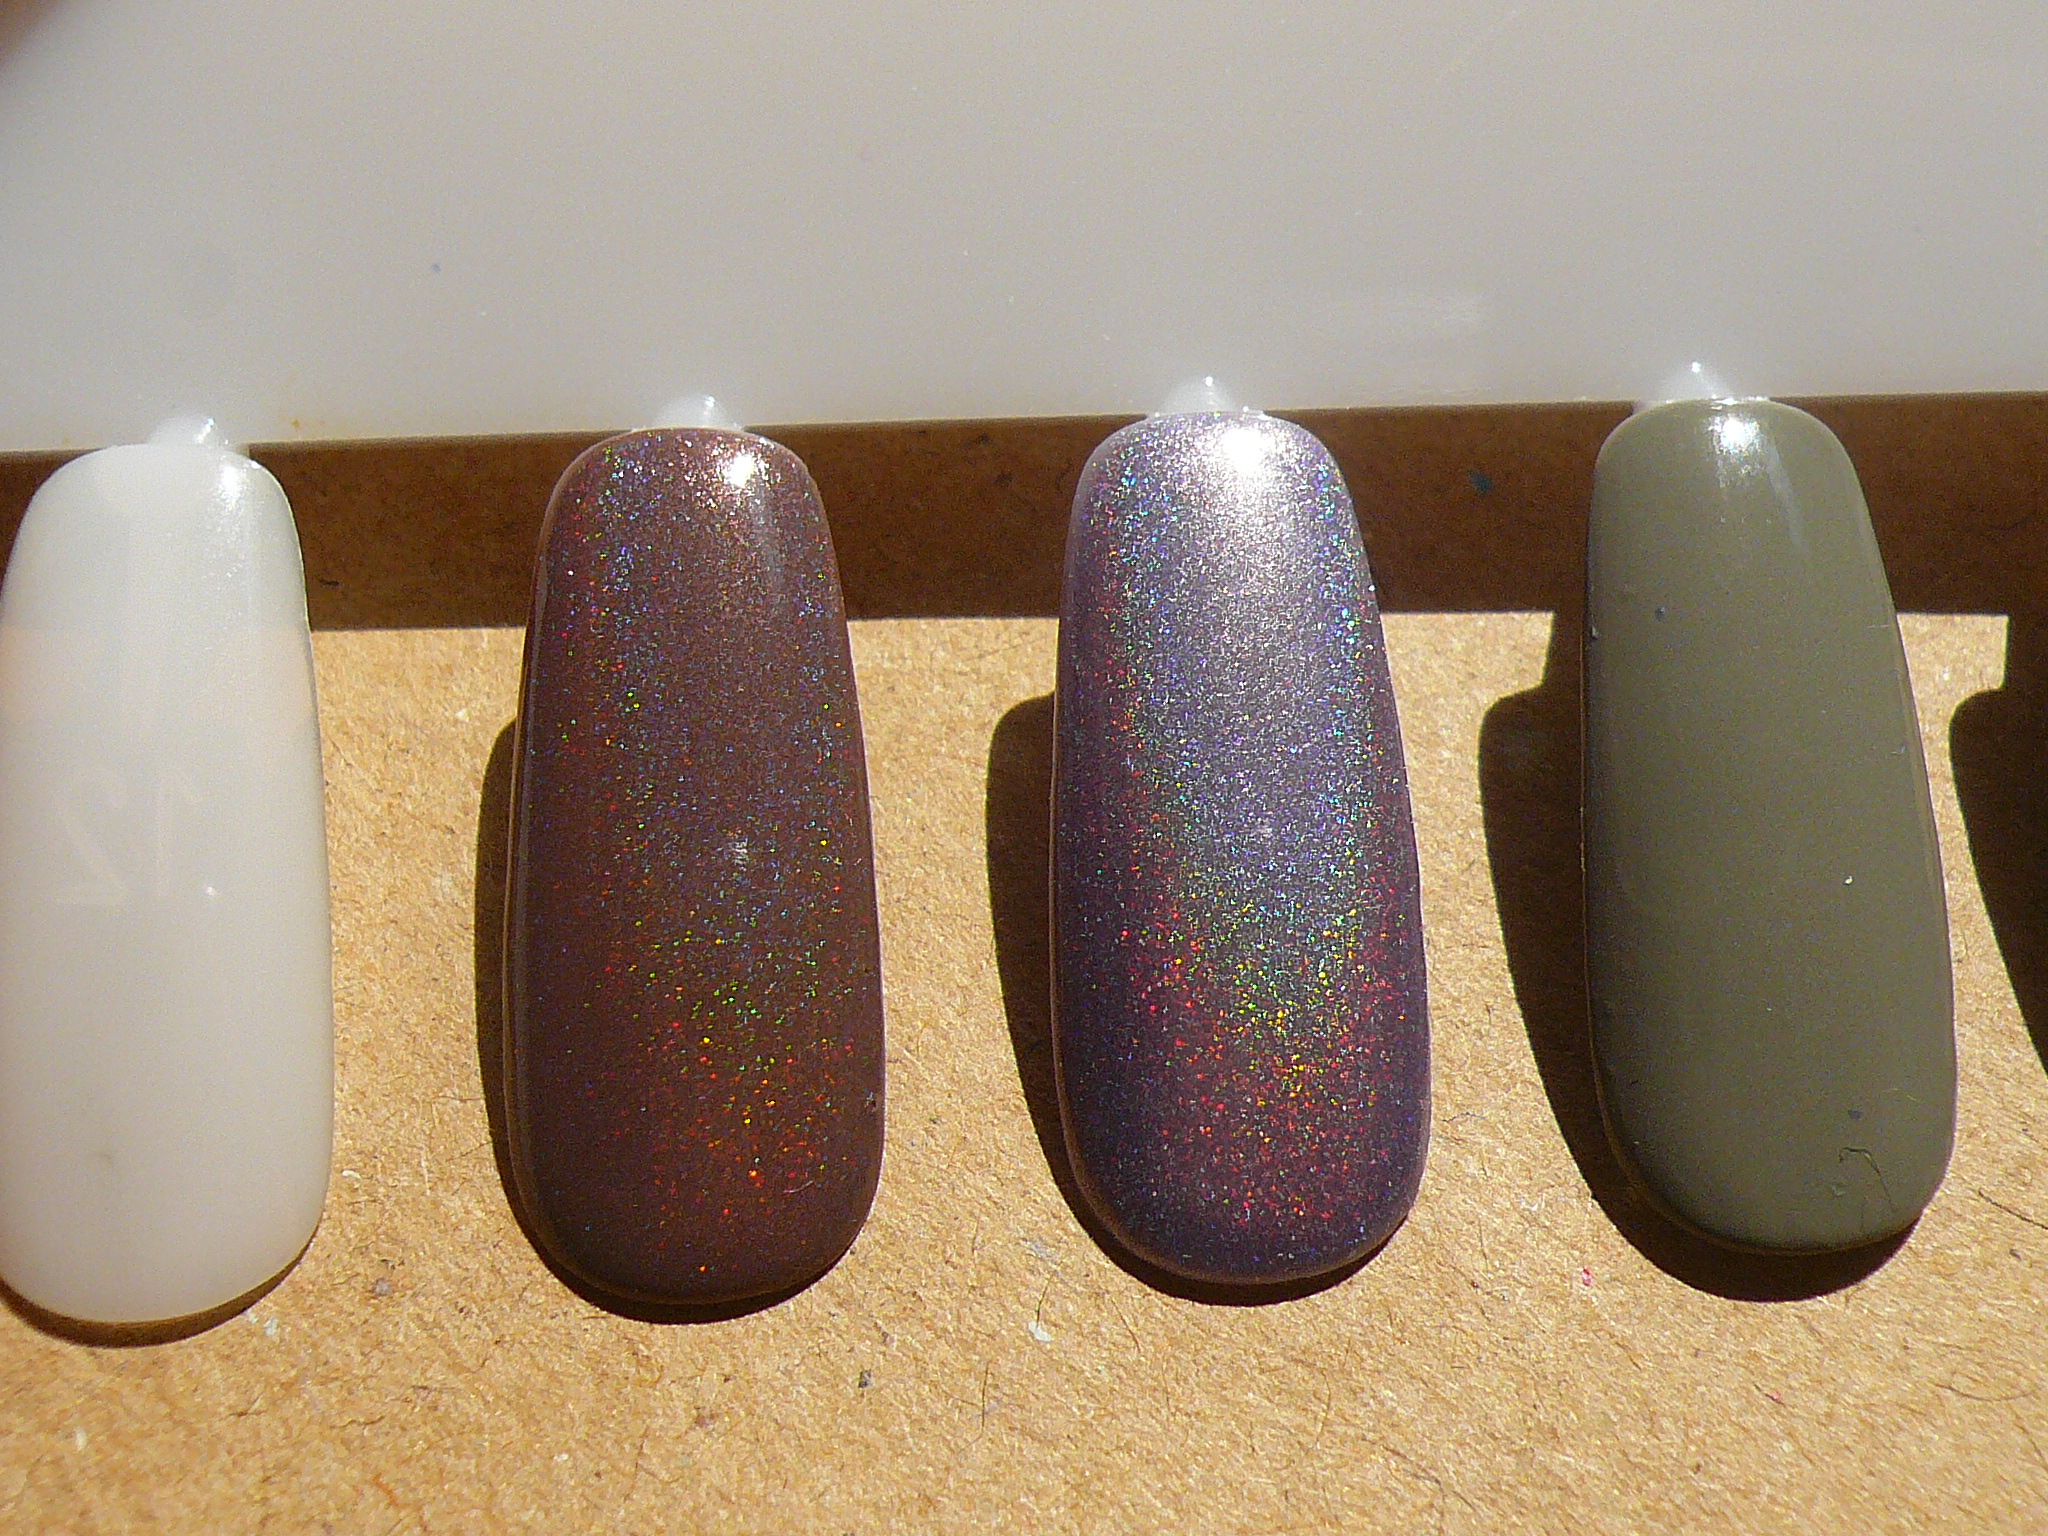
This next one is a chocolate holo called Chocolate Sprinkles! This was inspired by Glitter Gal Suede. I didn't want to blow $19.90 on a bottle of polish so I decided to make my own. (And yes, that's Copy Cat next to it!) I didn't add as much spectraflair into this franken as compared to Copy Cat but it's still very bling bling! (:


And this last one is a dark purple holo all the way on the left. I've wanted ChG LOL for a while now and since I don't see myself getting it anytime soon, I took it upon myself to franken a similar shade. It's called Wild Thang, inspired by Color Club's Wild at Heart.


I used a coarser grade of SF for this dark purple one as compared to the previous two frankens and as a result, the rainbow effect is a tiny bit brighter, as seen in the picture below.


I LOVE SPECTRAFLAIR! But oh, I have no idea what other holo colours to franken. Any idea?

Thursday, November 3, 2011

Best Nail Mail plus Spectraflair Top Coat!

Came home last night after my lecture that ended at 6.30pm! My friends and I were so hungry we went to get some finger food first before starving to death on the train. By the time I got home, it was already 8.30pm and I so so tired! But when I saw three different packages that arrived ON THE SAME DAY, my energy level immediately shot back up! Instant redbull effect I swear!


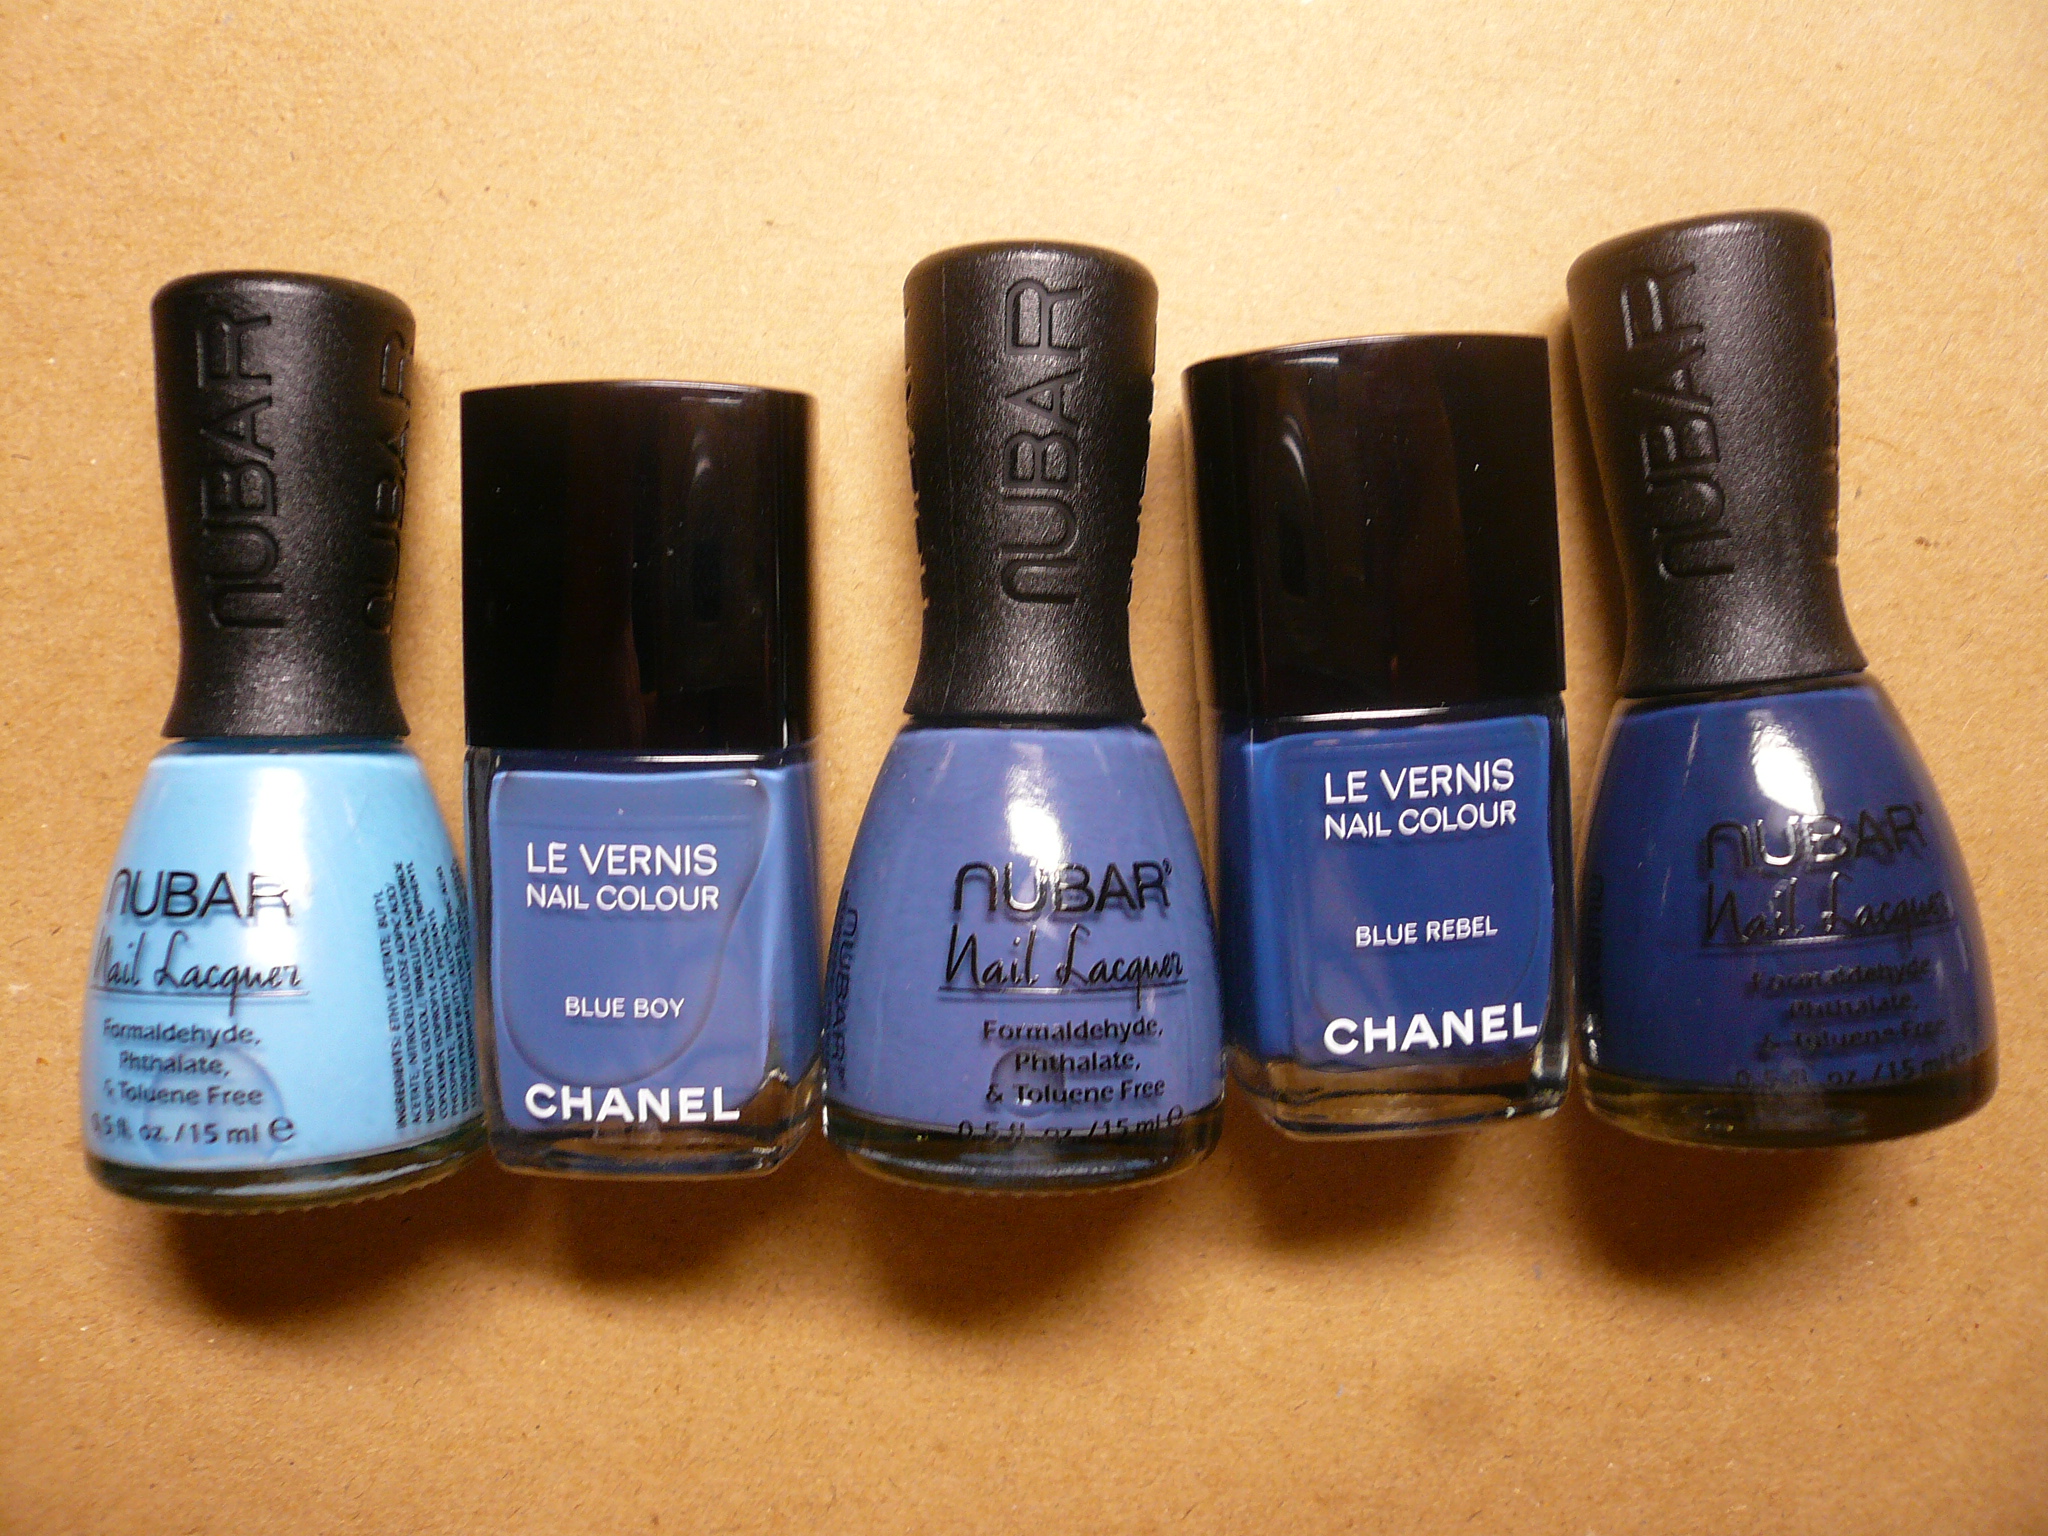
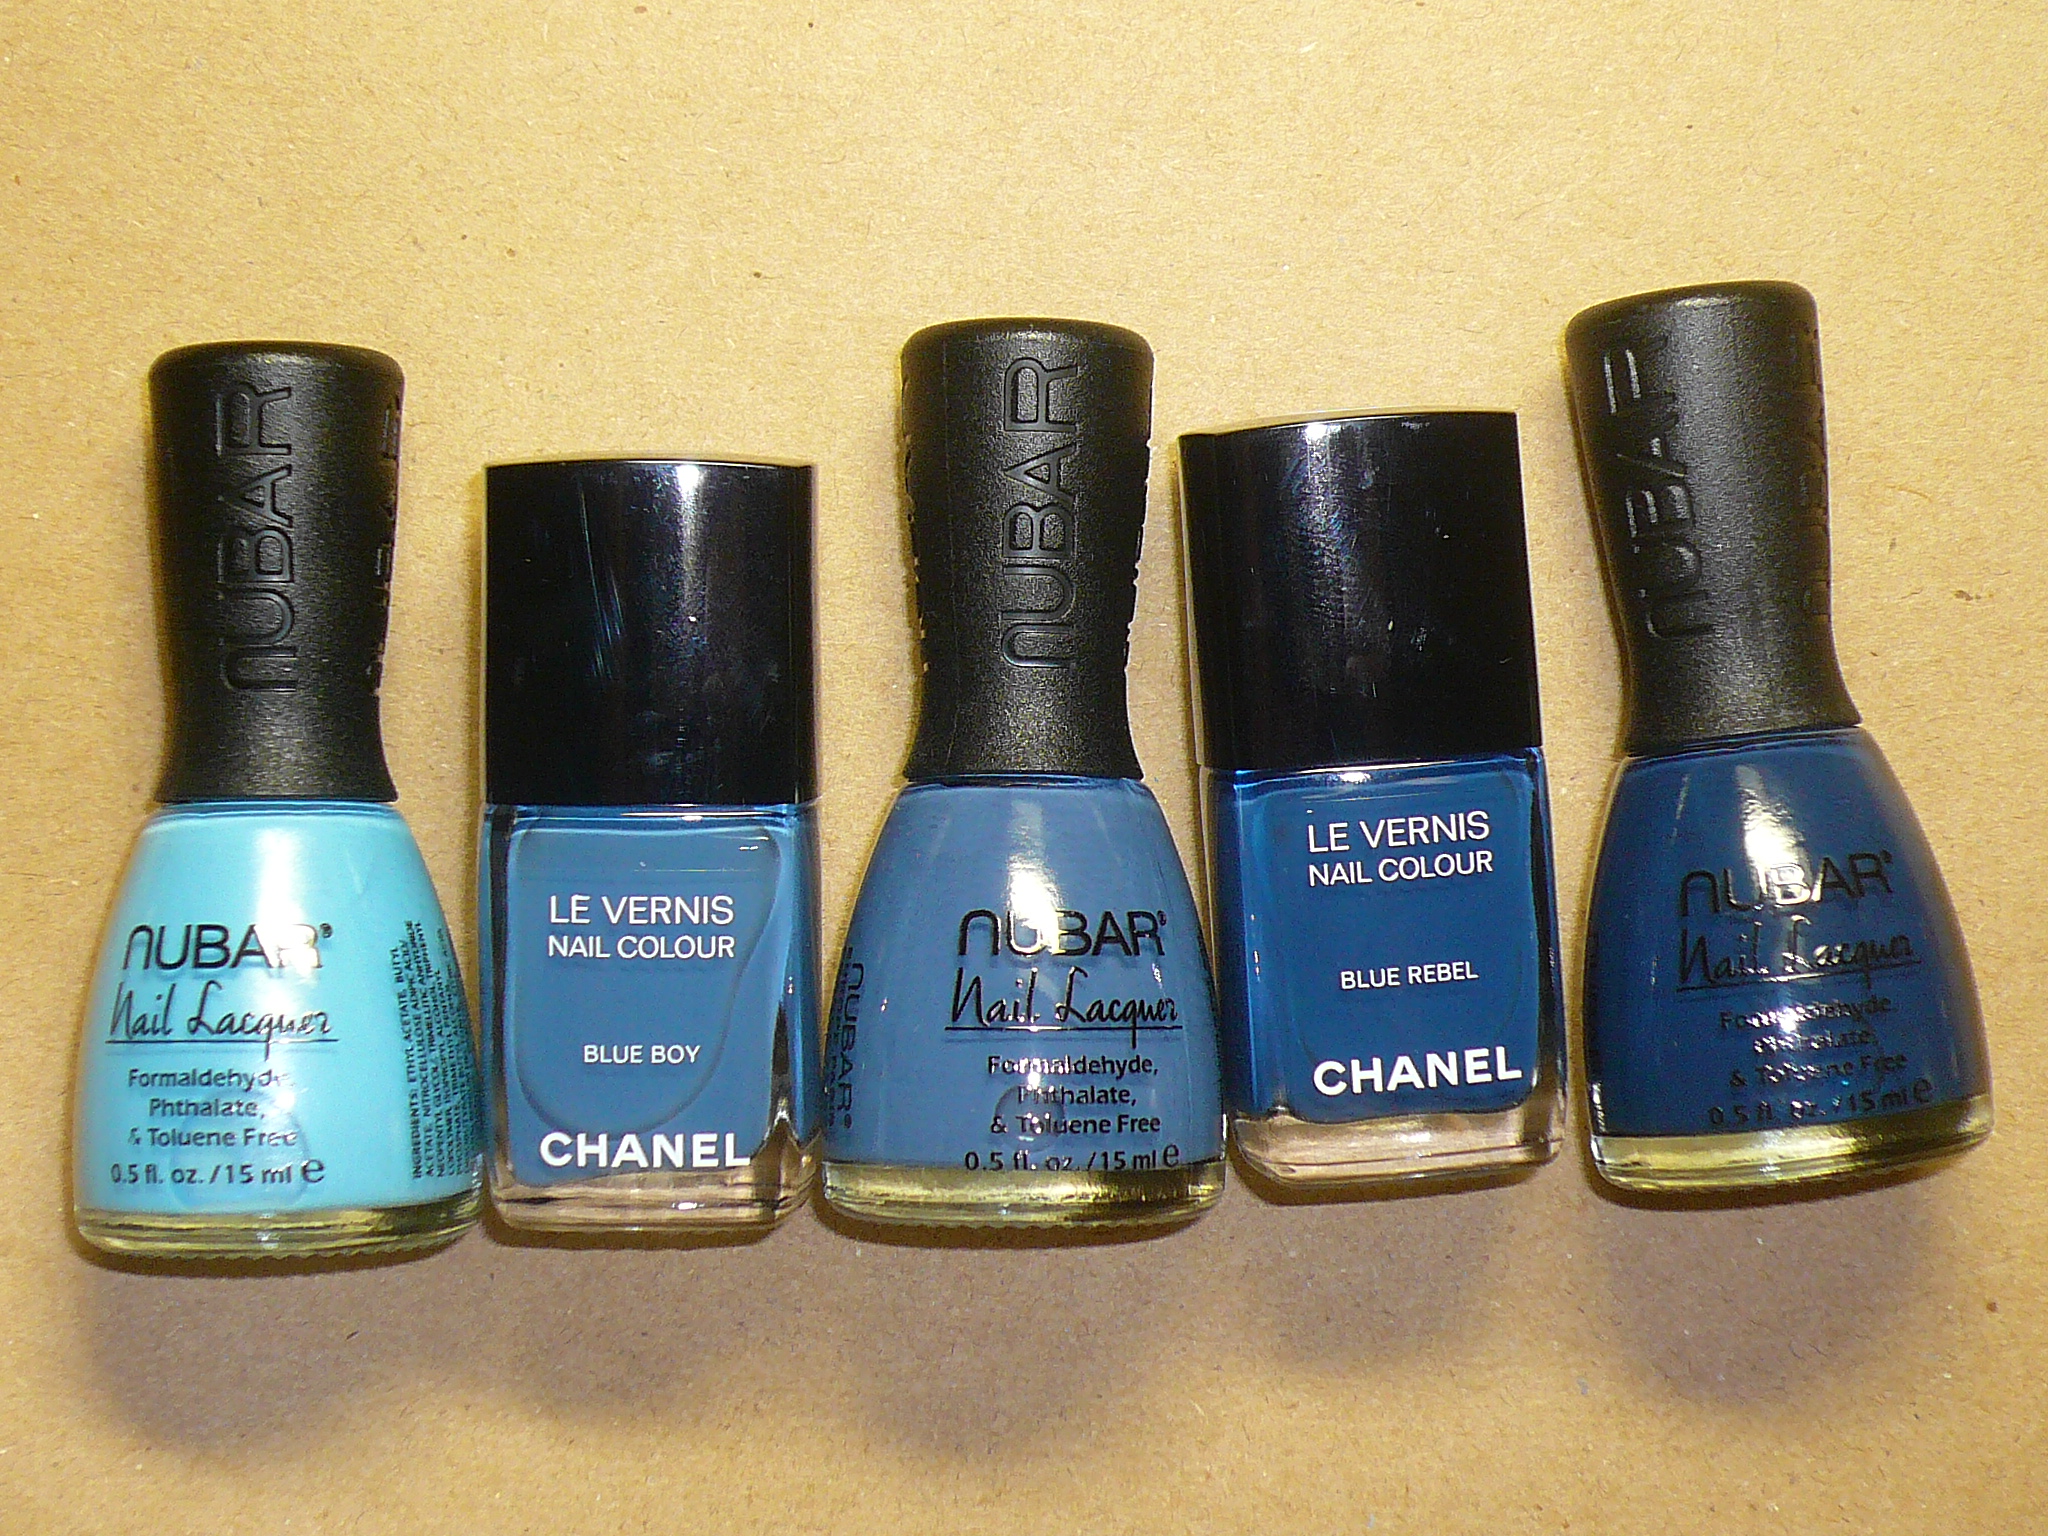
L-R: ChG Millennium (I got myself a spare bottle since it's so hard to come by and I only paid $9.50! Sadly, I bought the last bottle!), Nubar Jeans Collection, Orly Fowl Play (another spare bottle I got cuz I already asked someone in the US to help me buy this one) and lastly, my one gram of SPECTRAFLAIR!


Nubar compared with Chanel, without and with flash respectively. :(((( I'M DAMN SAD THAT THEY'RE THAT CLOSE! I didn't get Coco Blue though, so I can't compare that one with the lightest blue from Nubar but watch out for a comparison of the other 2 blues!

And now, the spectraflair section that I'm so eggcited to share!

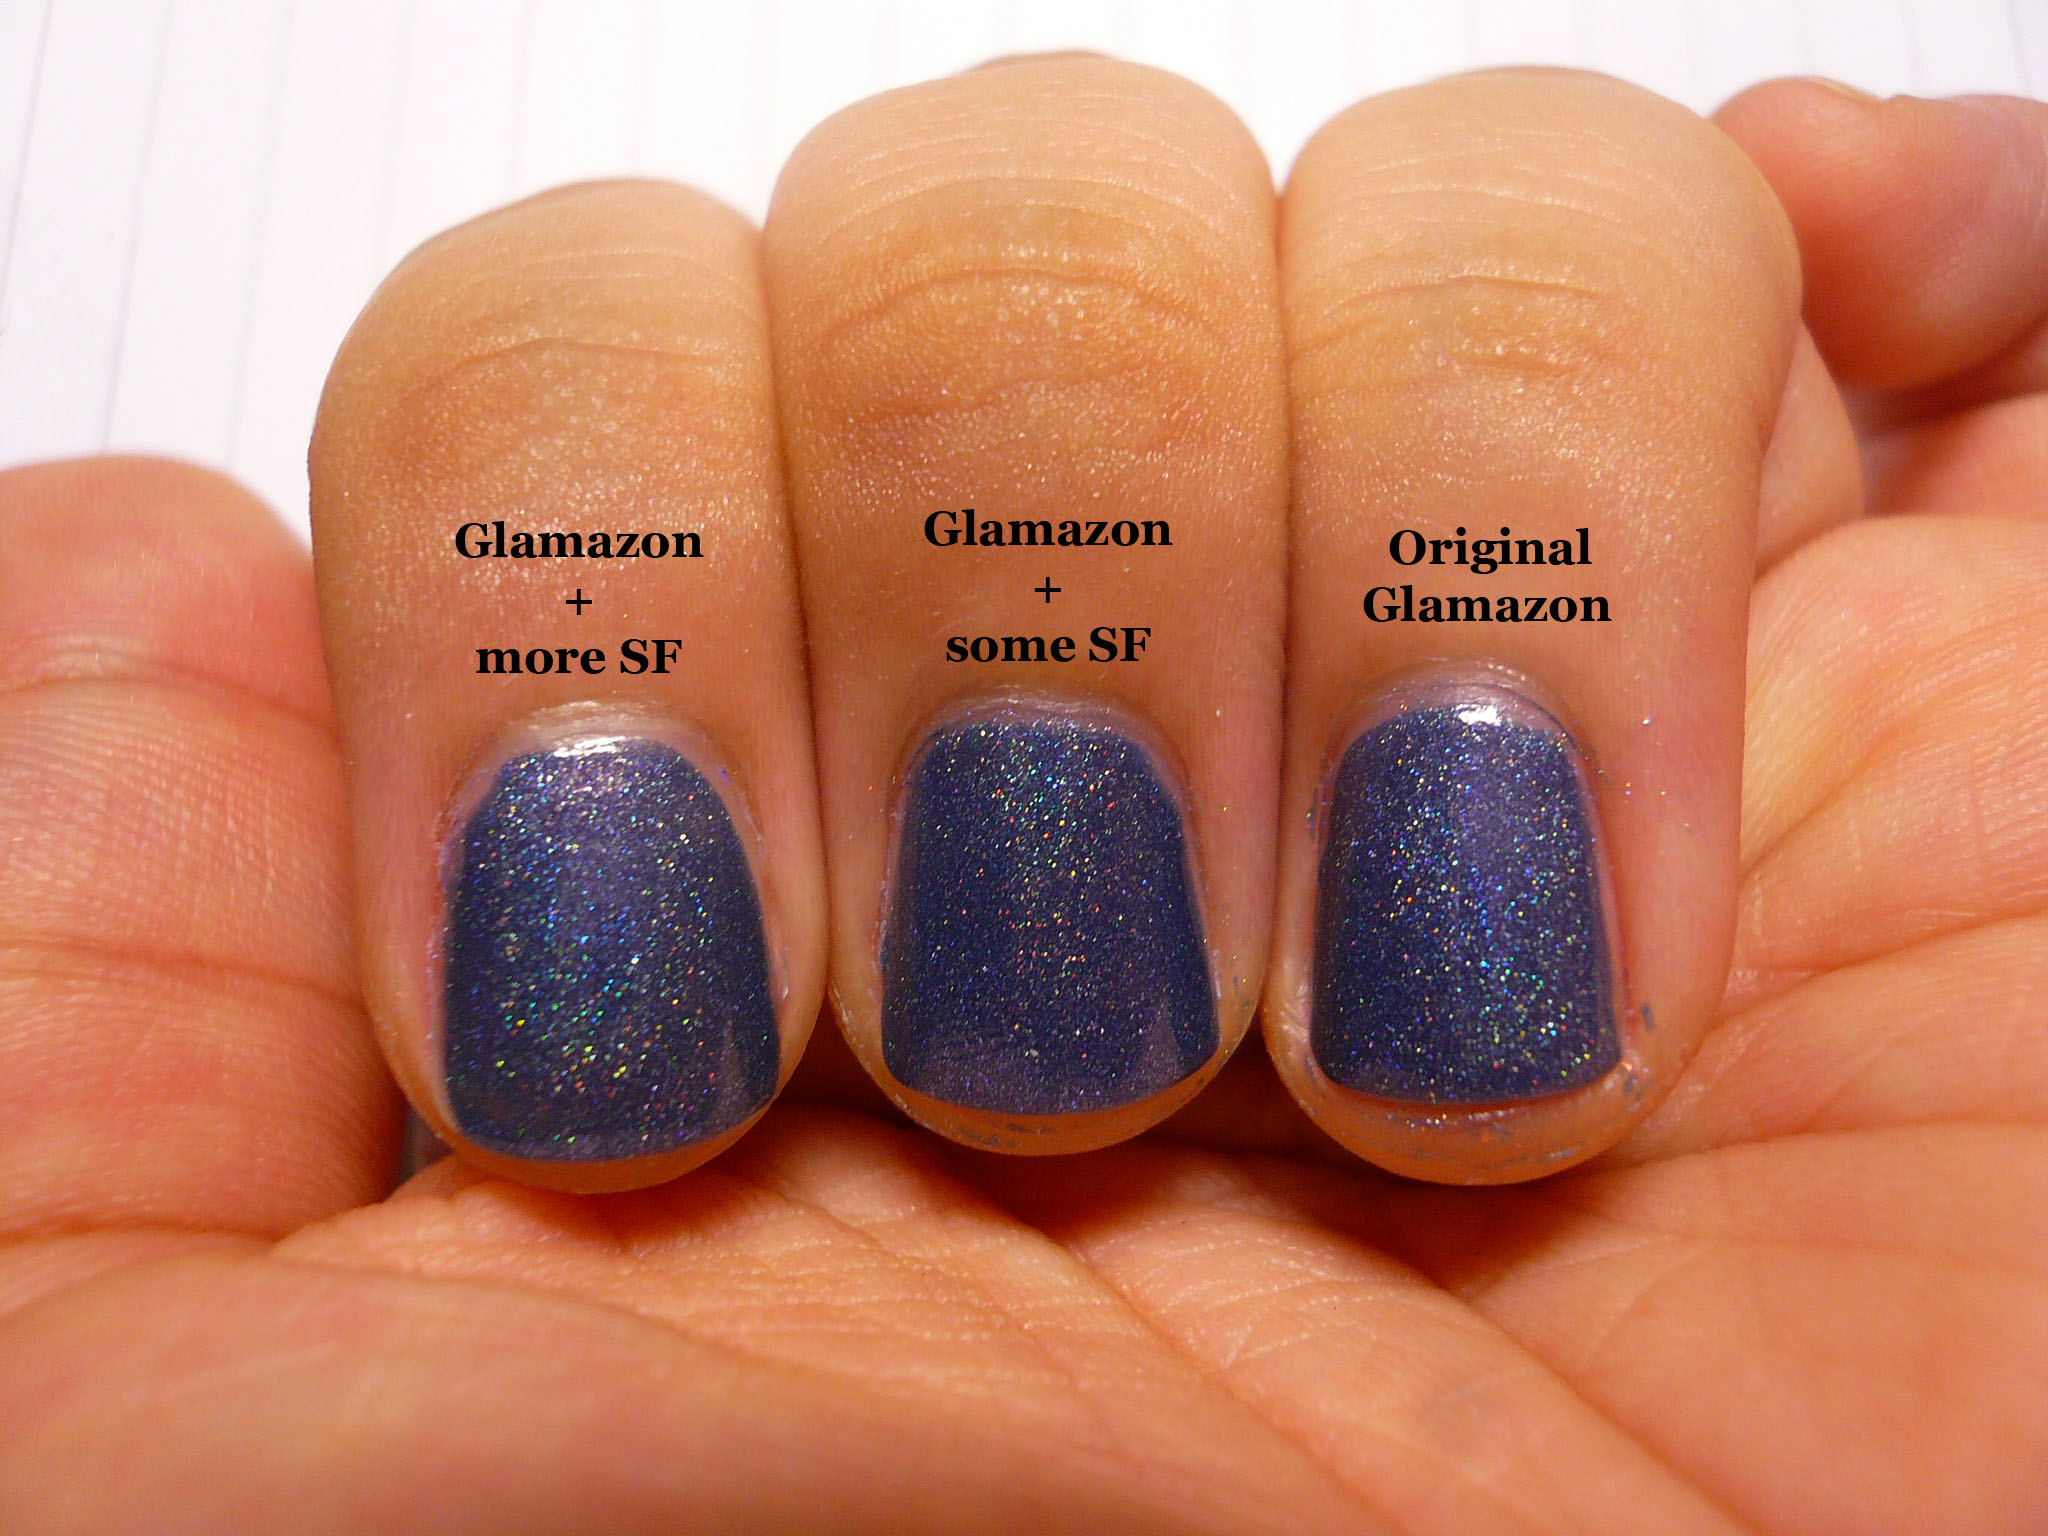
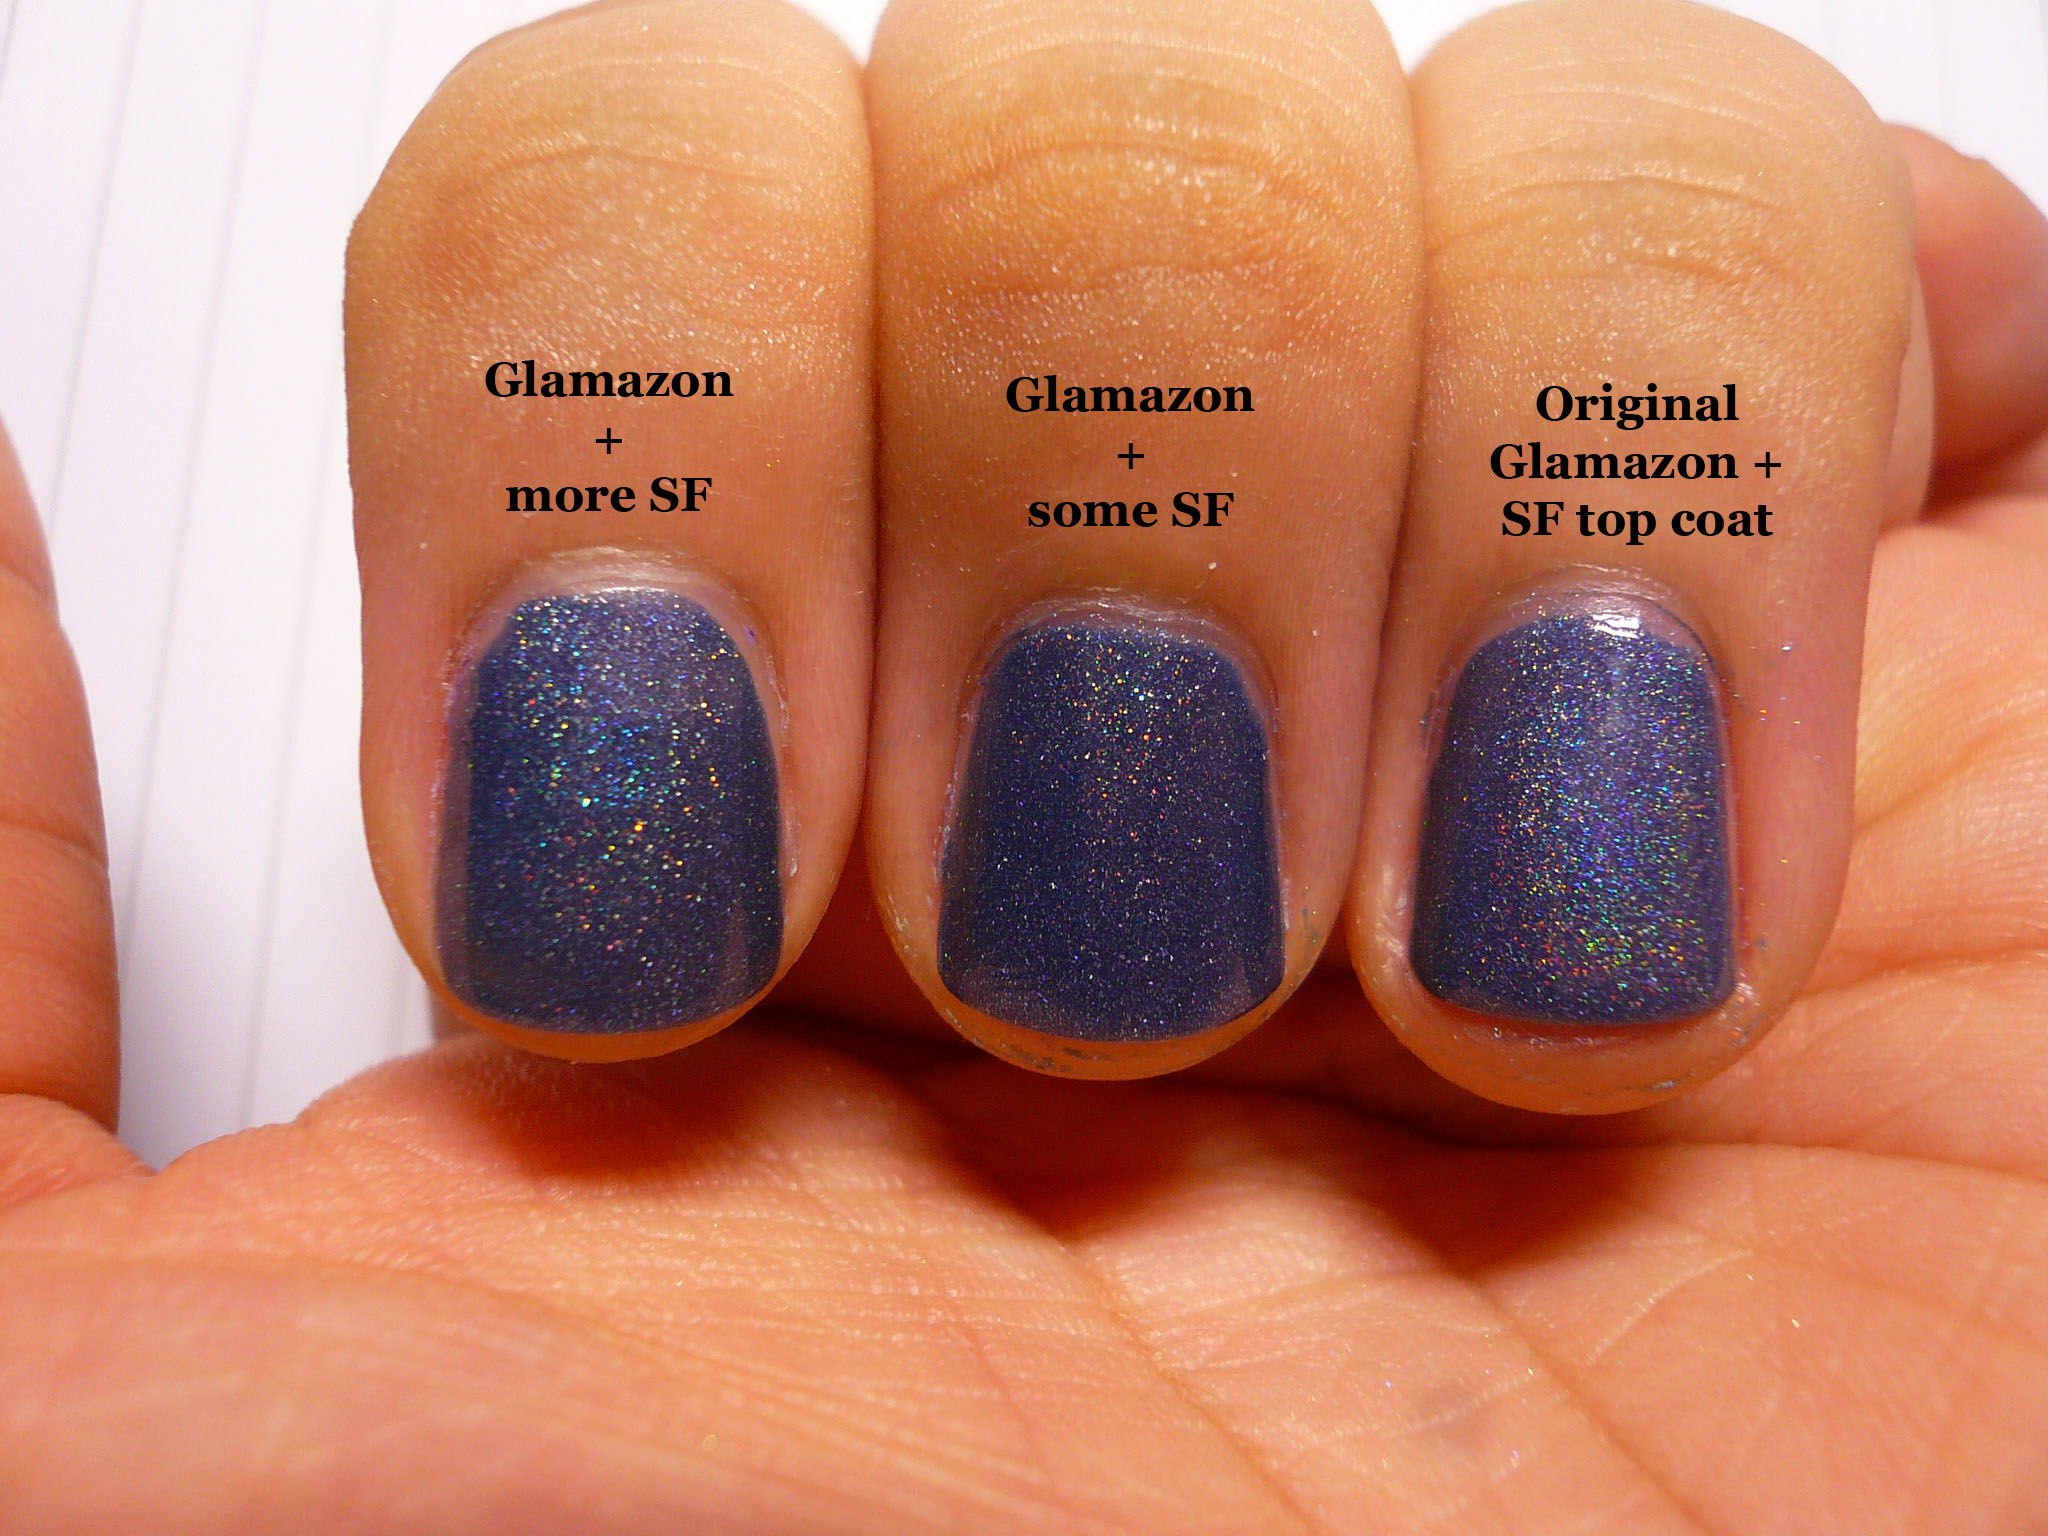
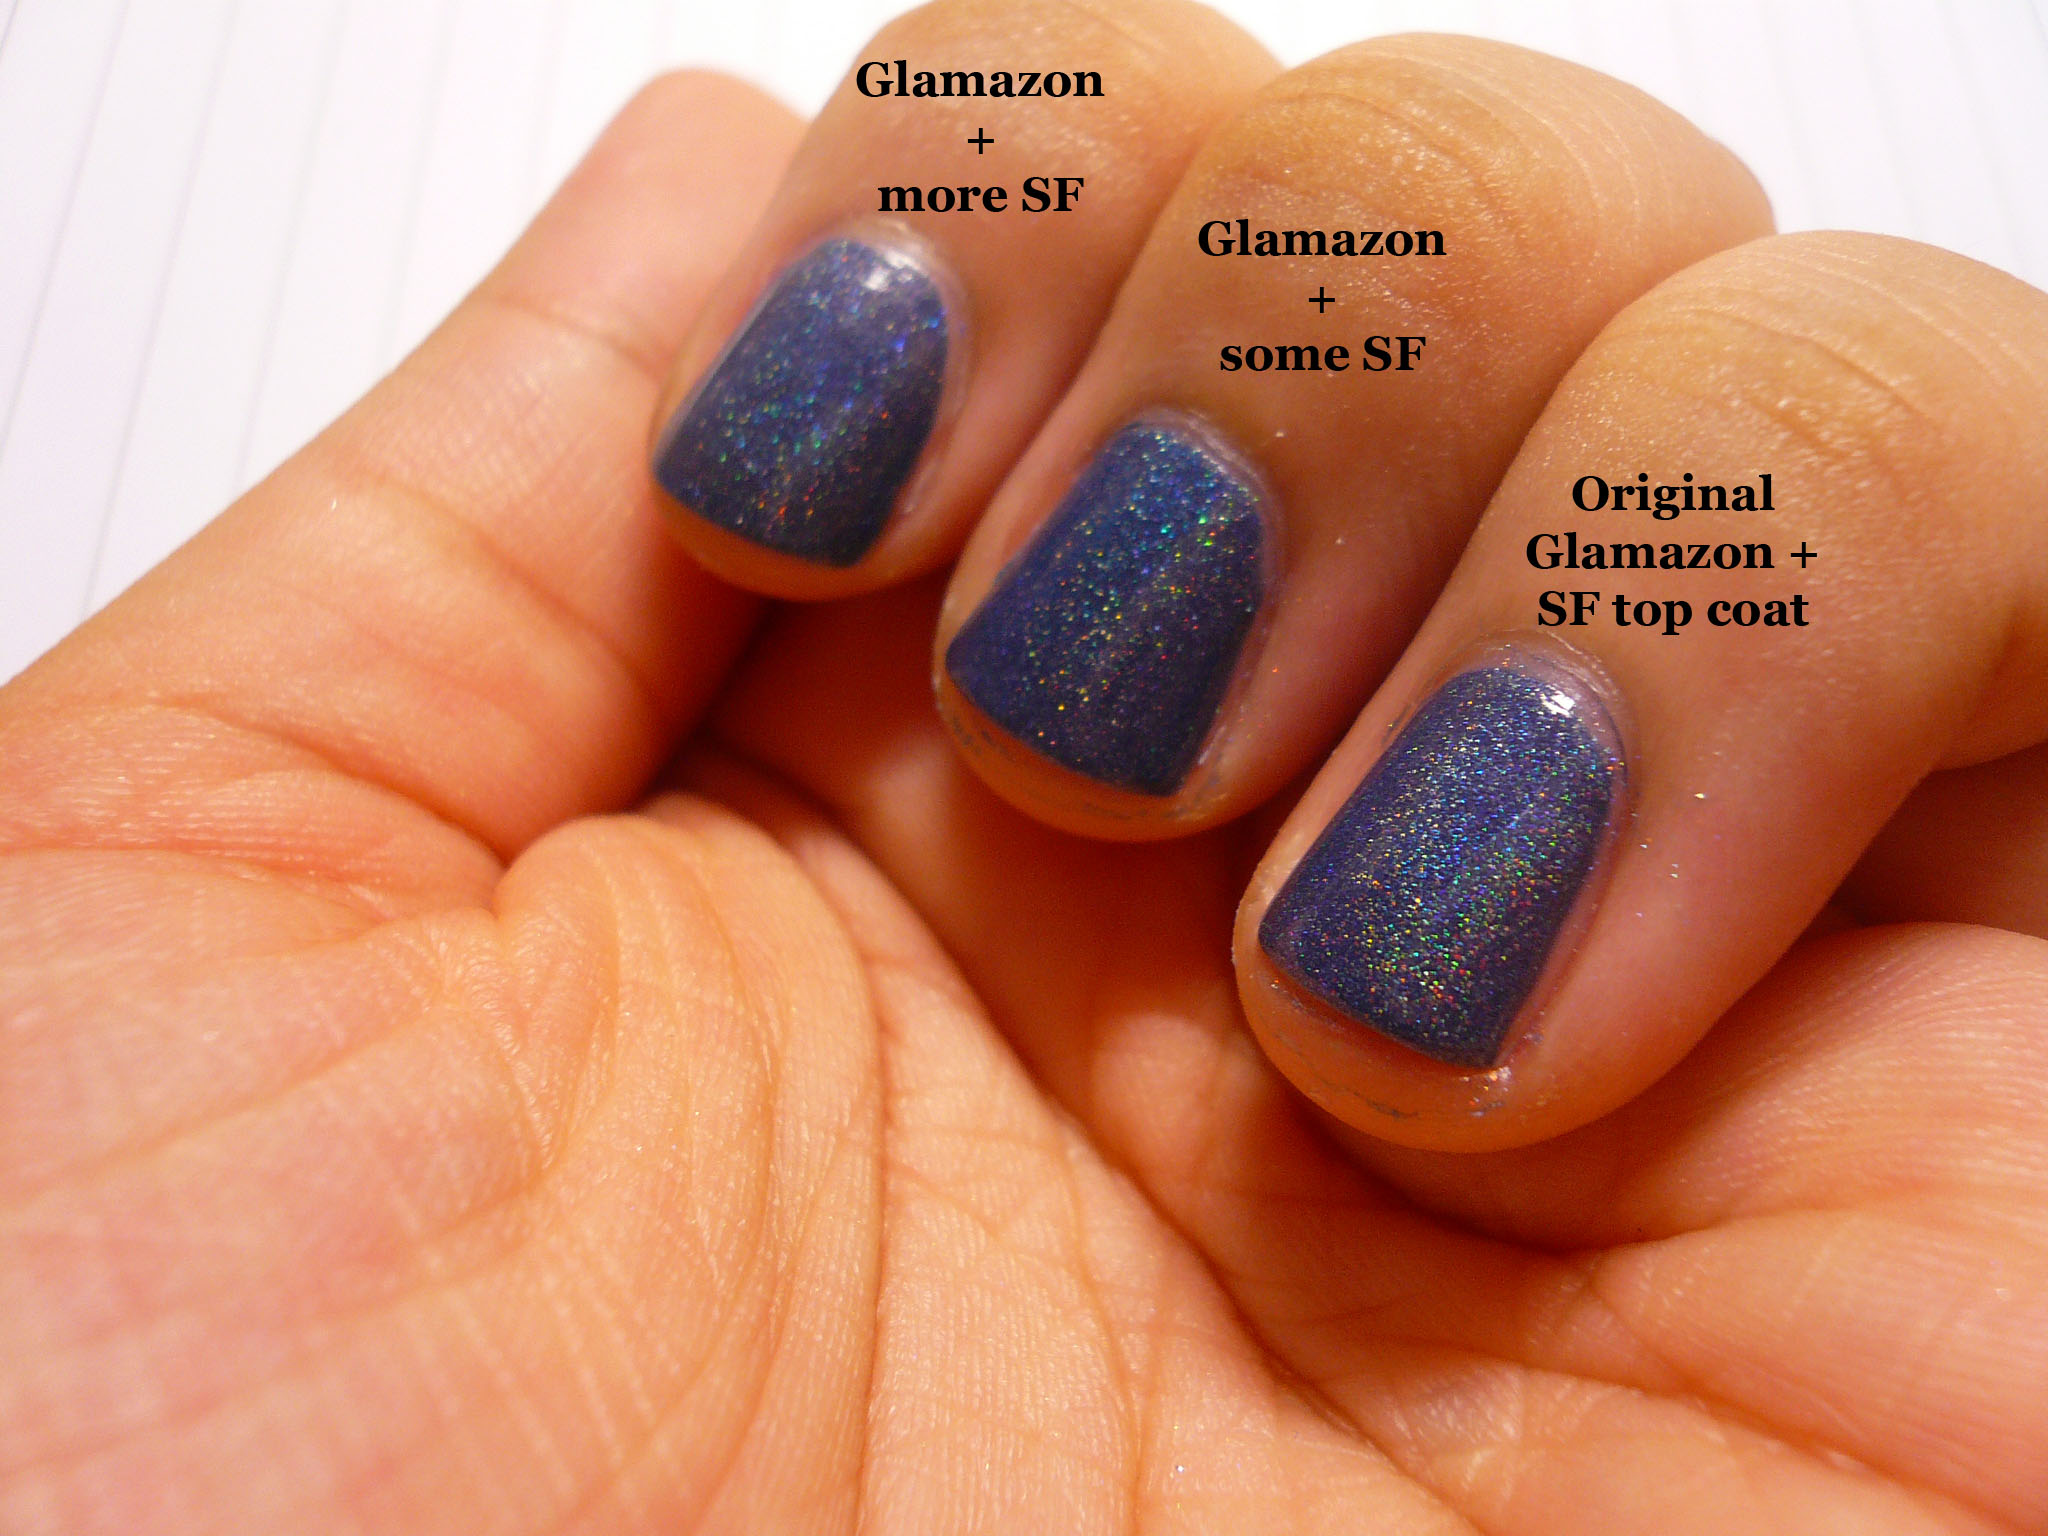
As you know, I made a holo franken called Glamazon a while back with OPI DS Sapphire for the holo effect. I decided to spruce things up and add some more SF to Glamazon! I managed to add captions in the pictures so they're rather self-explanatory!


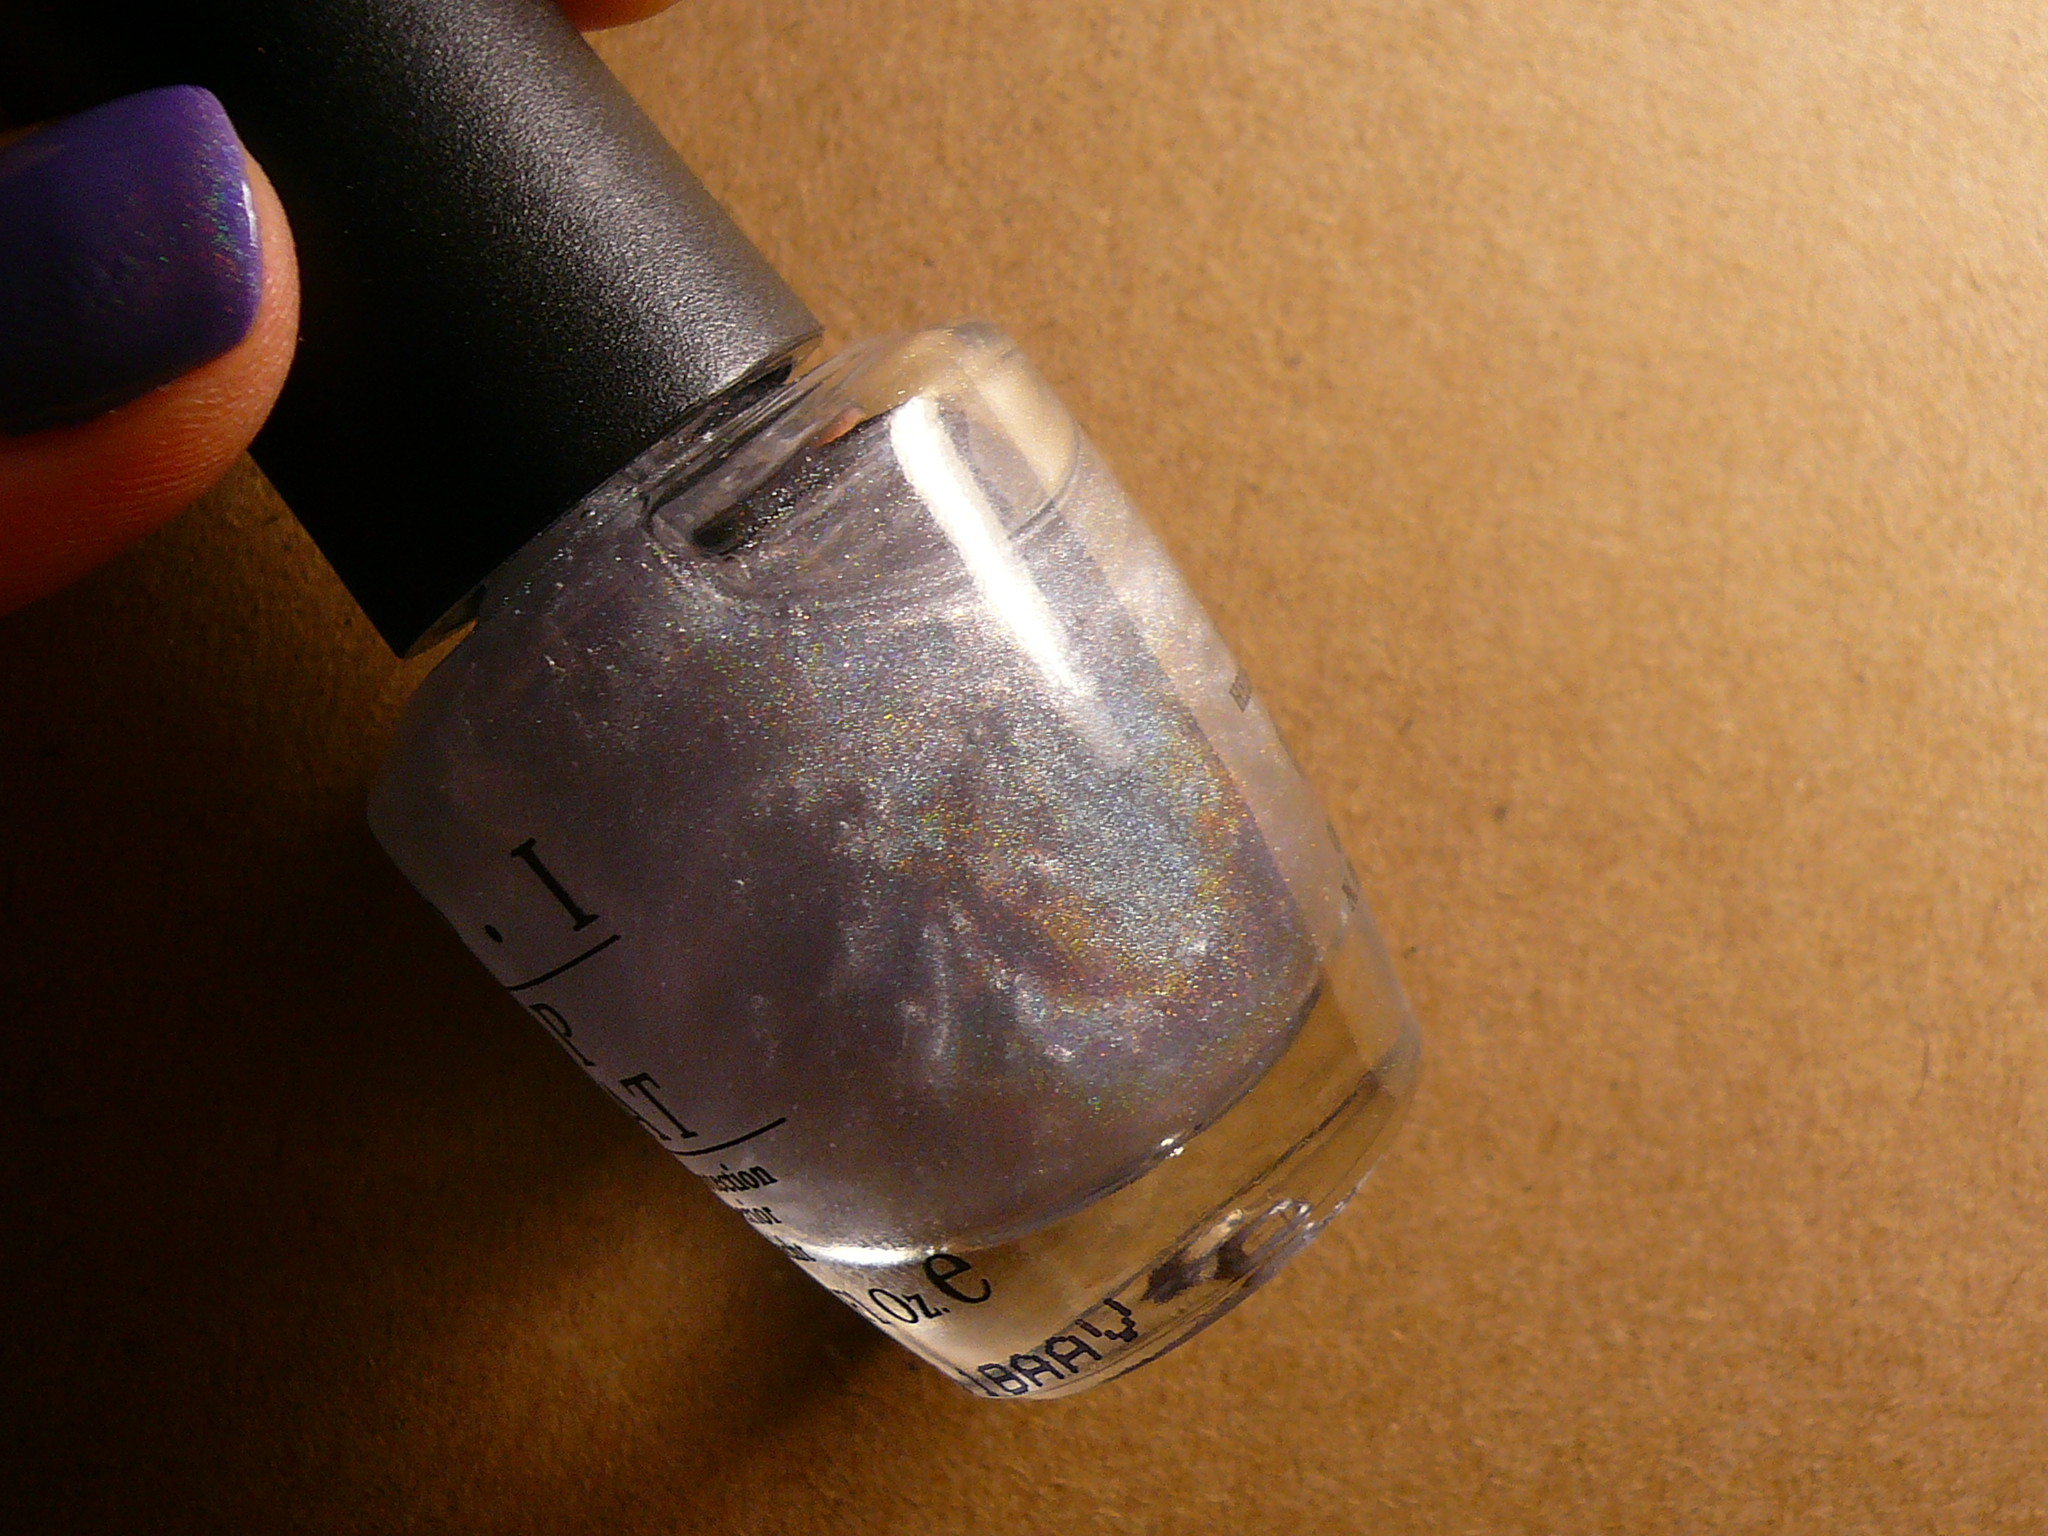
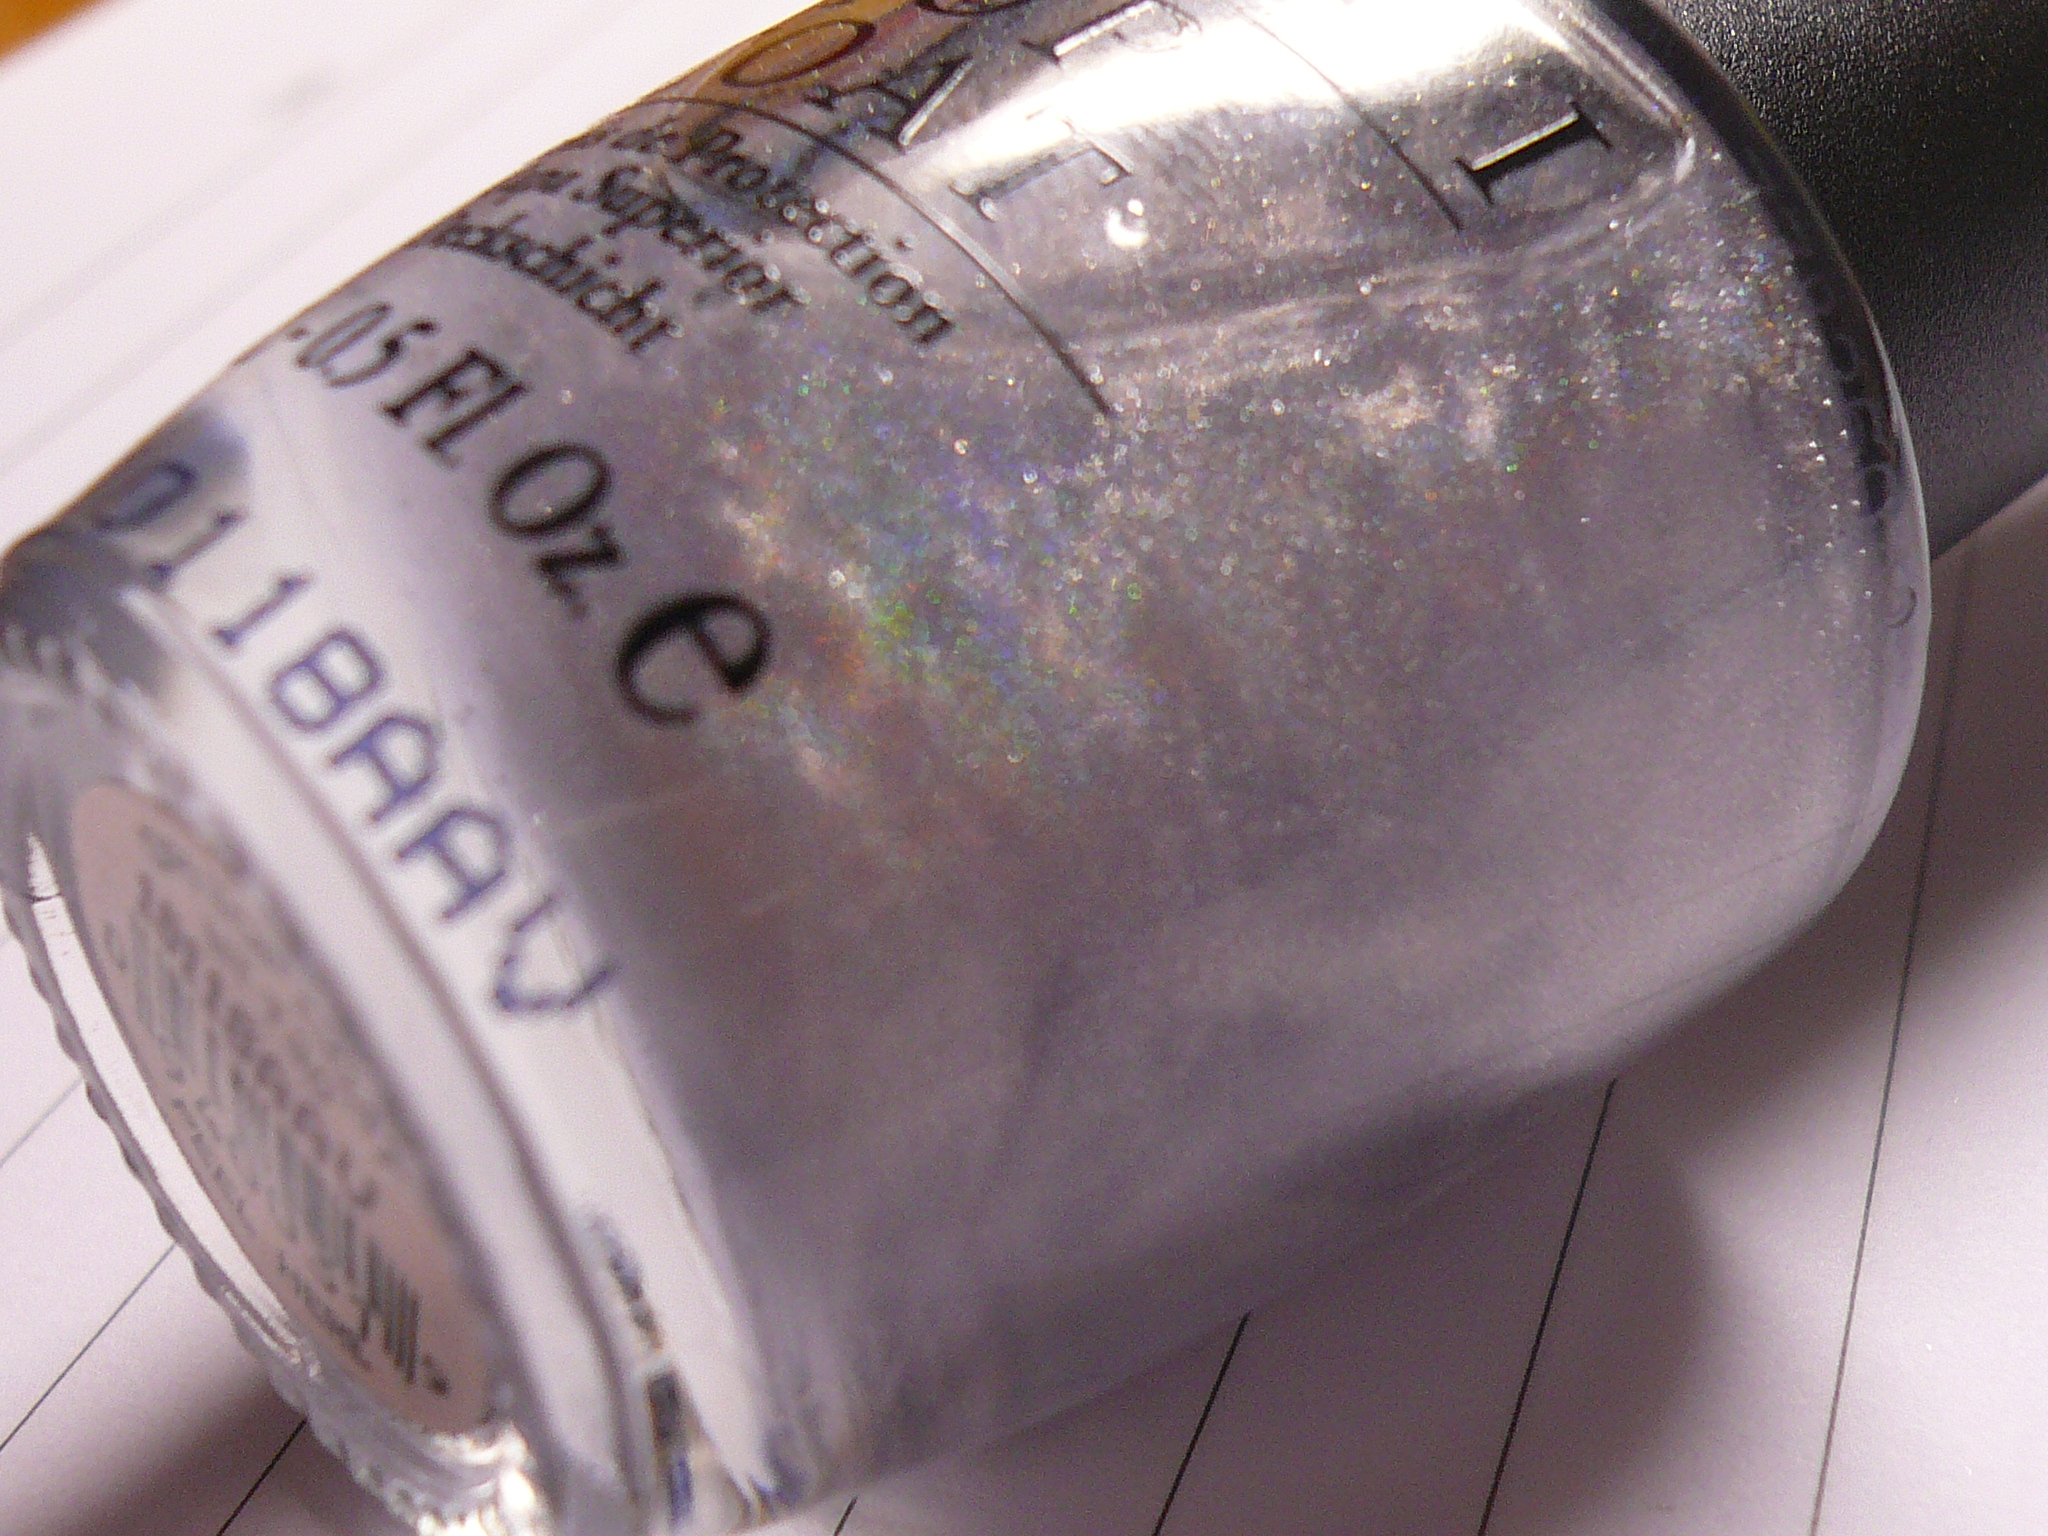
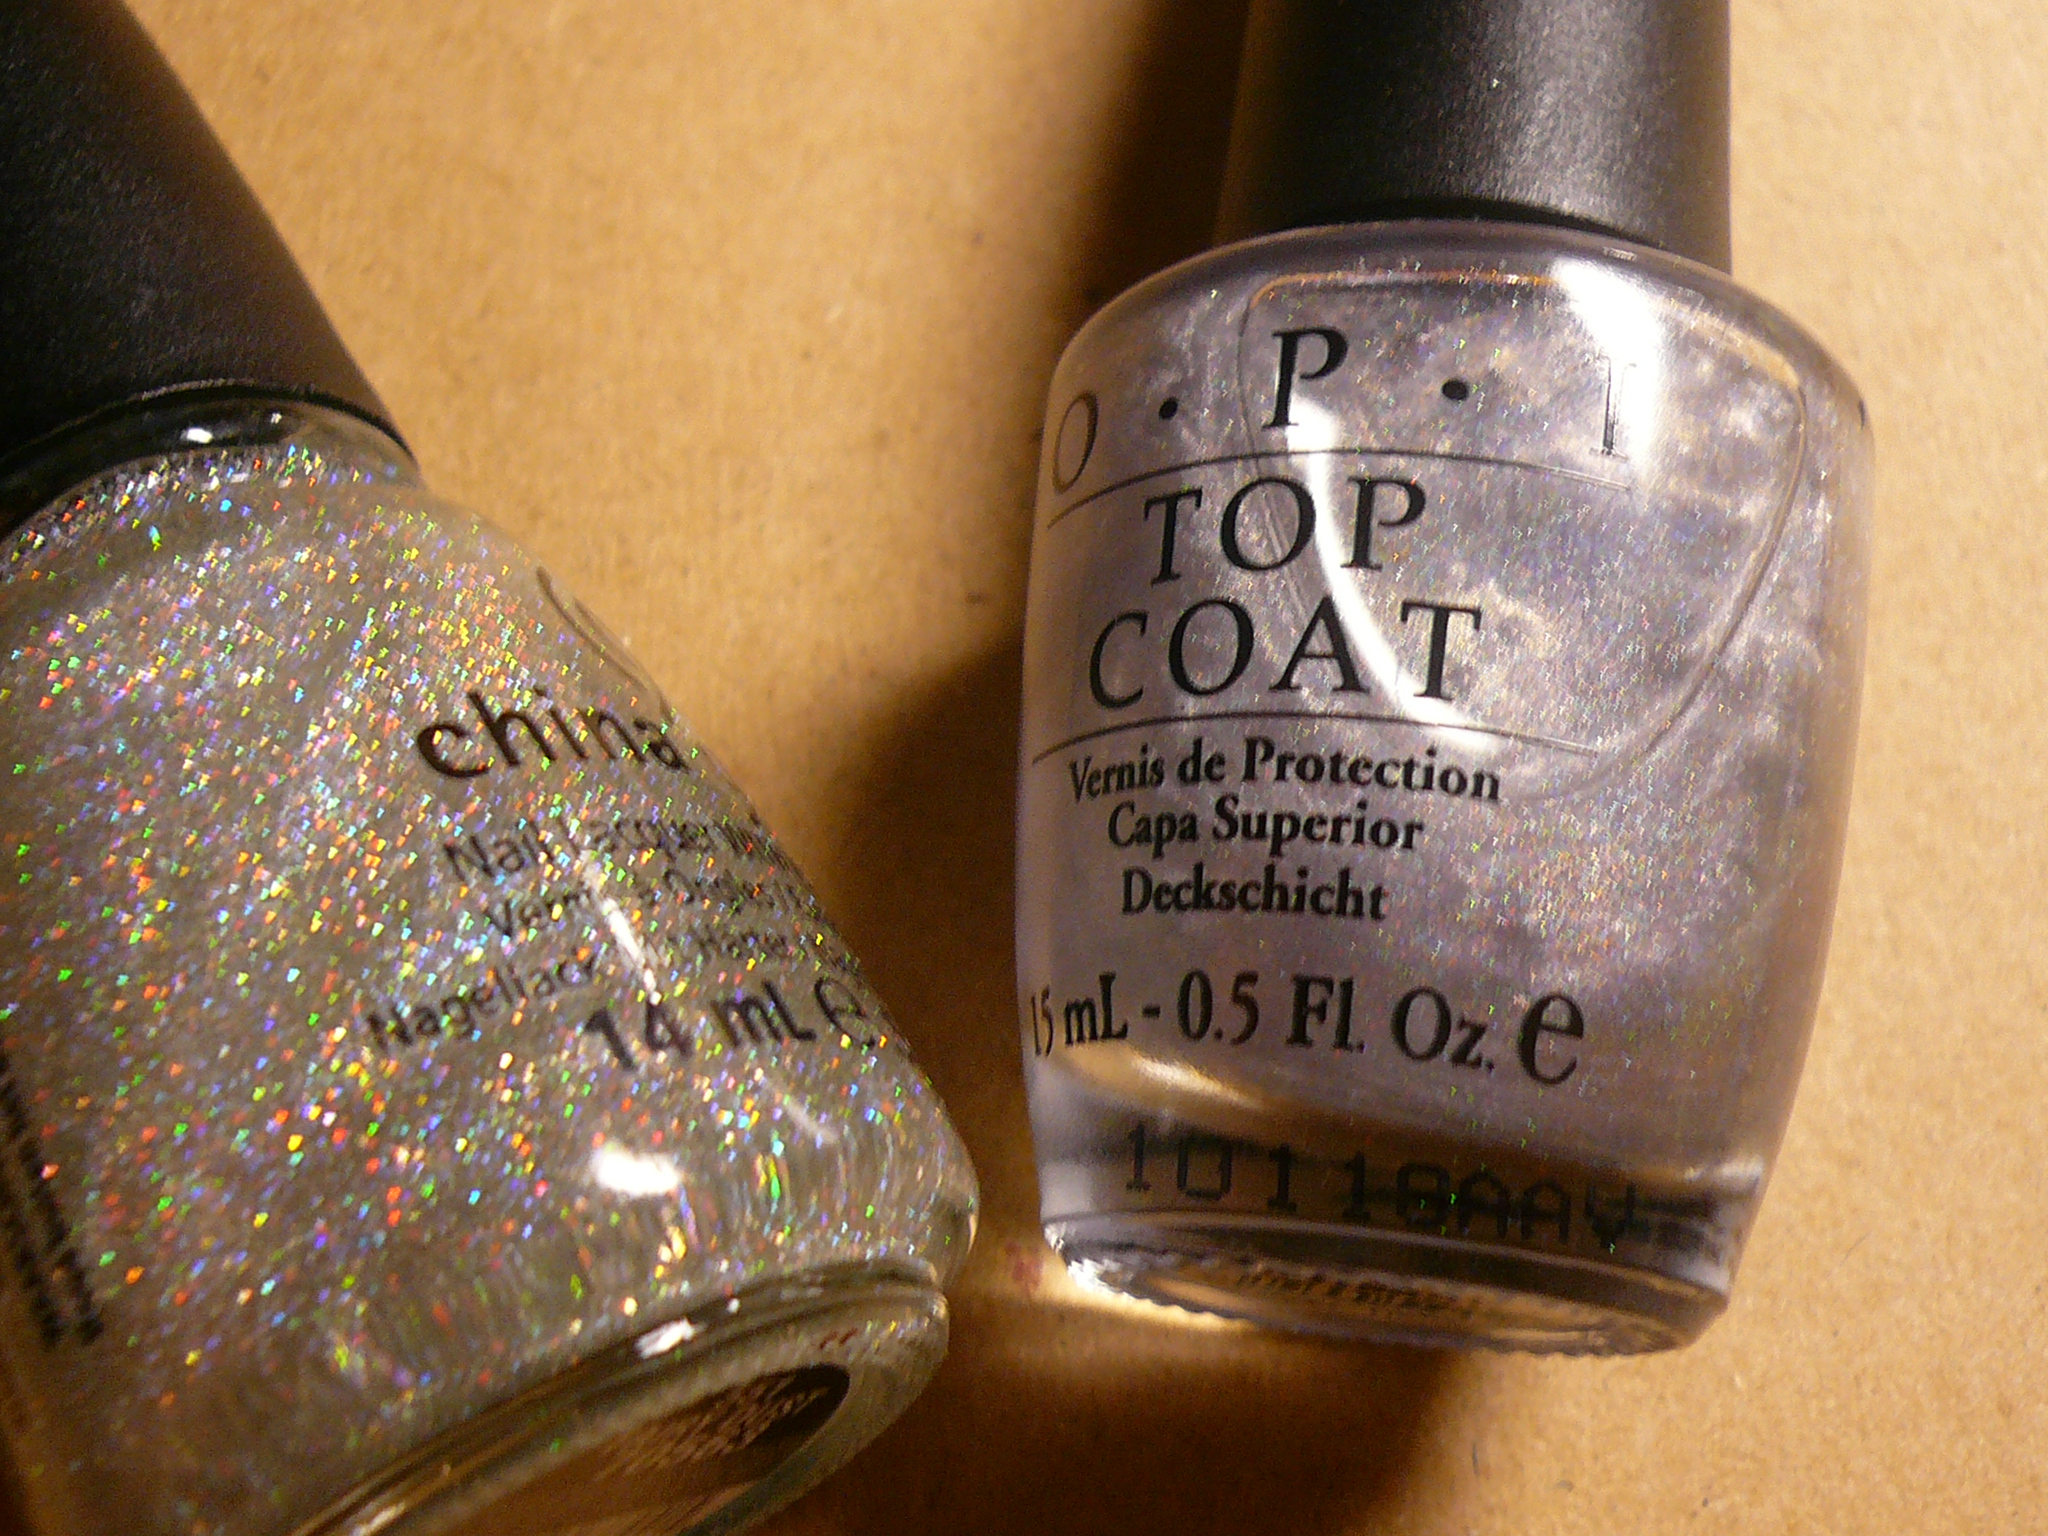
And then I made a SF top coat with my OPI Top Coat. Might as well use a good top coat since it's going on top of good colours!


Look at that tiny rainbow area! Reminds me of some galaxy / nebula / intergalactic gases interacting!
And in case you're wondering how is it compared to ChG Fairy Dust...


The holo bits in my SF top coat is so much finer than those in Fairy Dust!

So, to test out my SF top coat, I layered it over my original Glamazon on my ring finger and...


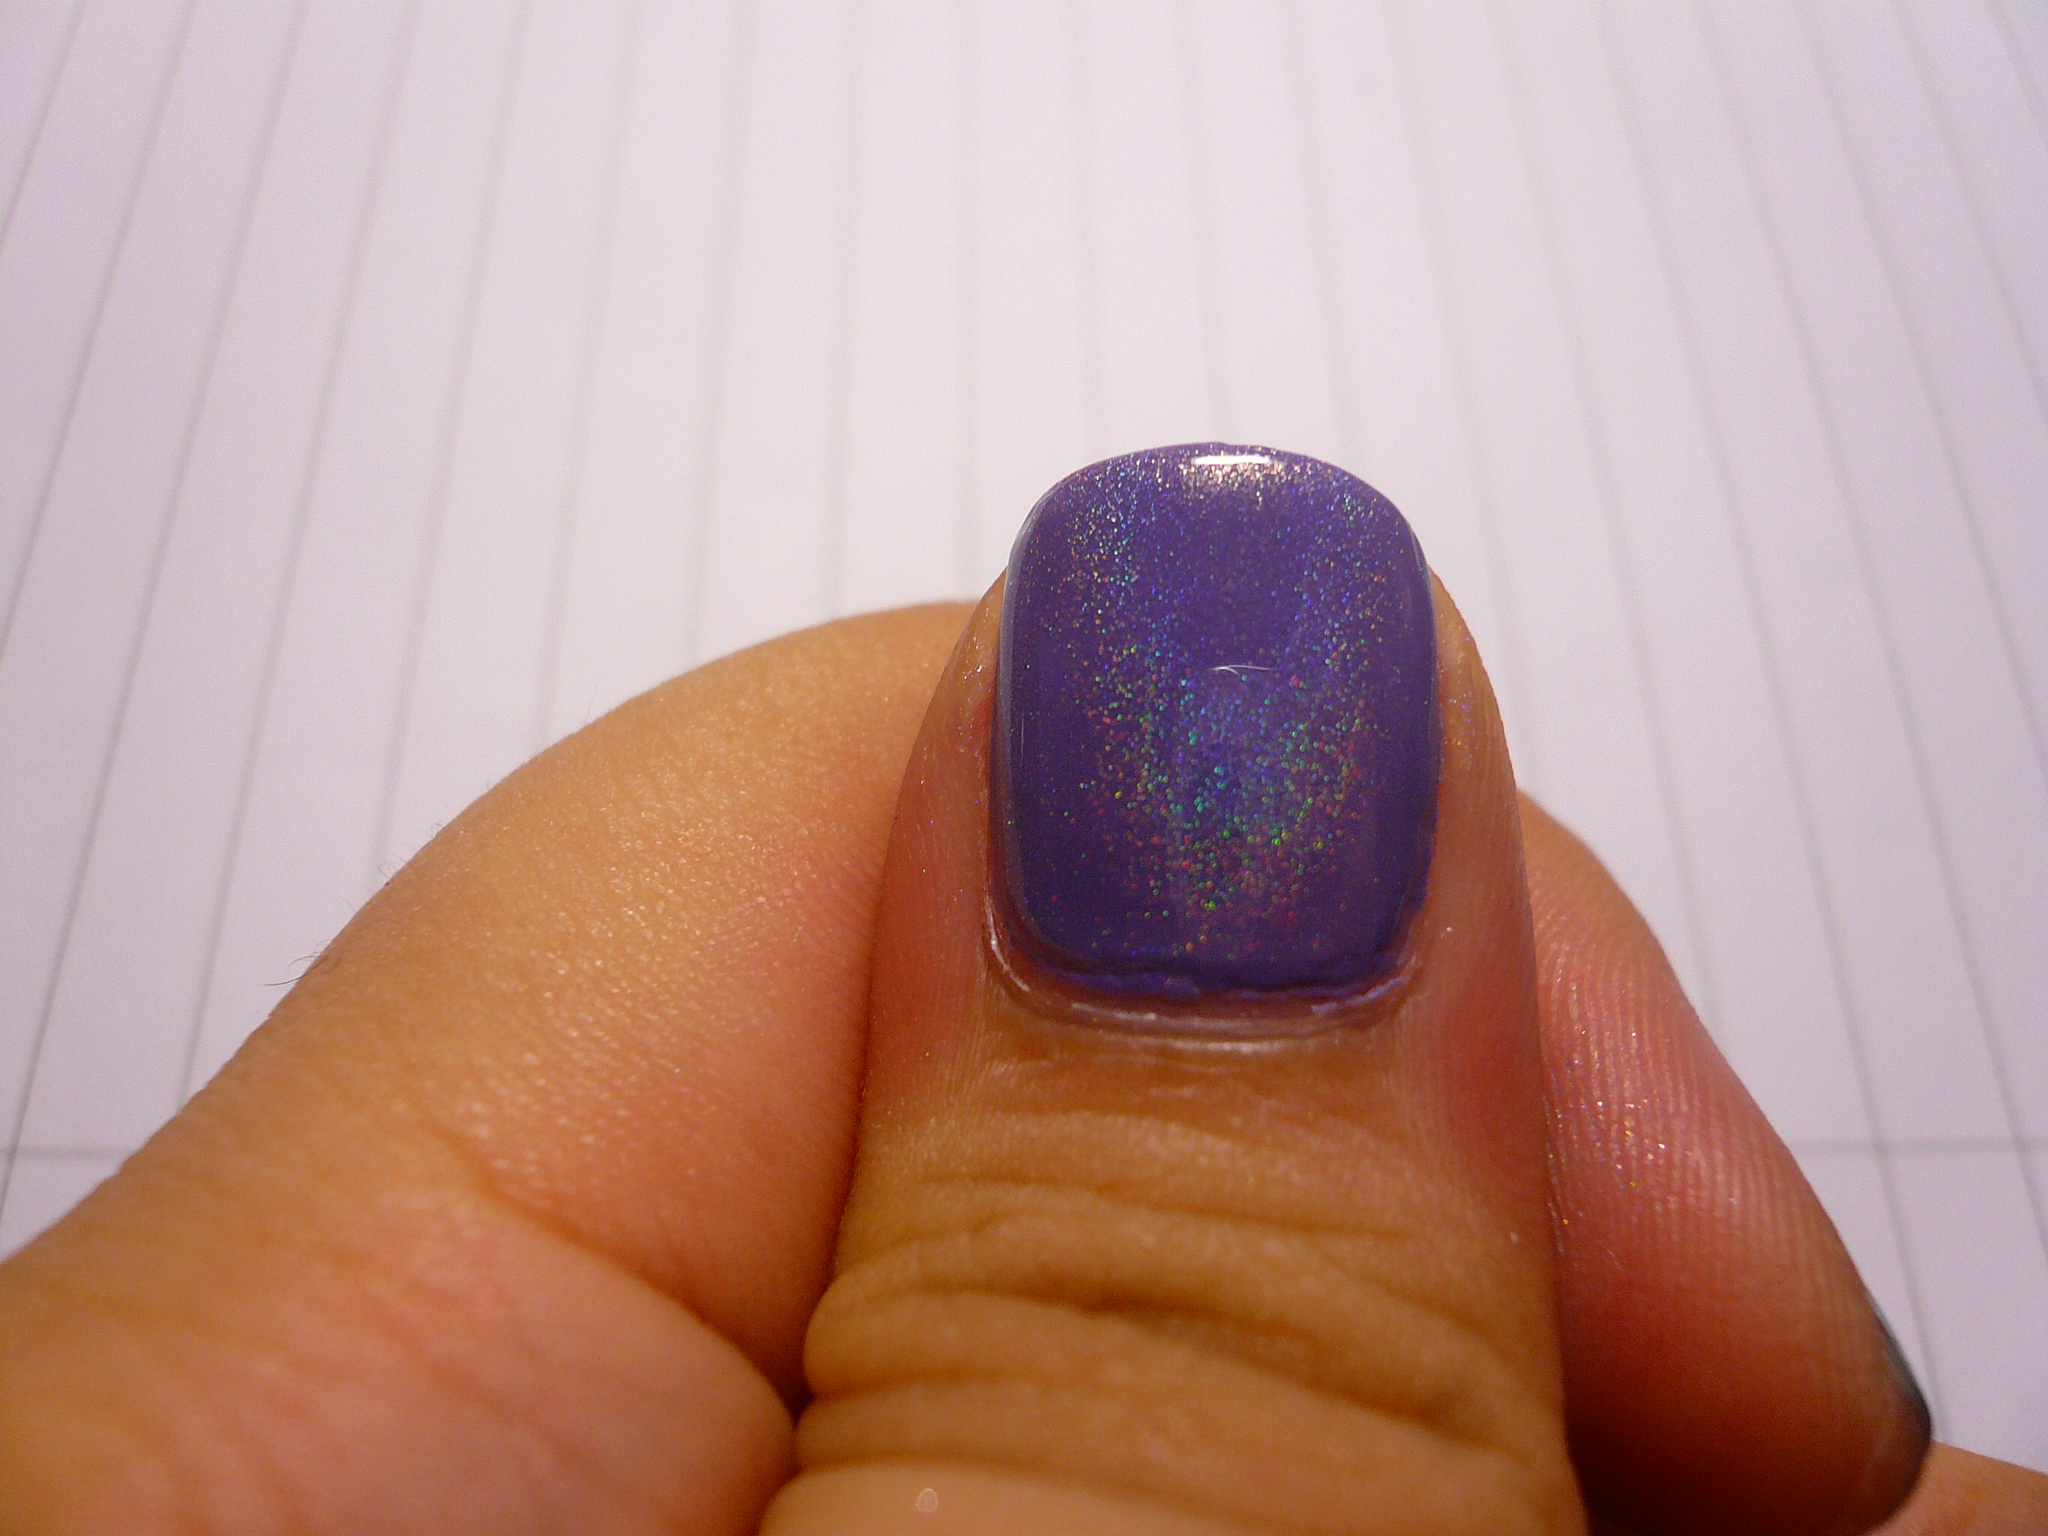
HELLO HOLO RAINBOW ARC! Do note that the SF top coat (or SF in general) tend to dull the polish down and make it a little grey so if adding SF into your polishes, be prepared to see a change in the base colour! I didn't add too much SF because I wanted the base colour of my polish to show too. Plus, you should always add SF bit by bit. Shake in between each addition and test it out because there is an optimum amount of SF you can add before it doesn't make the polish any more holo! You can always add more SF in or layer on another coat of the SF top coat if it's not holo enough for you, but if you add too much SF into the polish, you can't do anything!

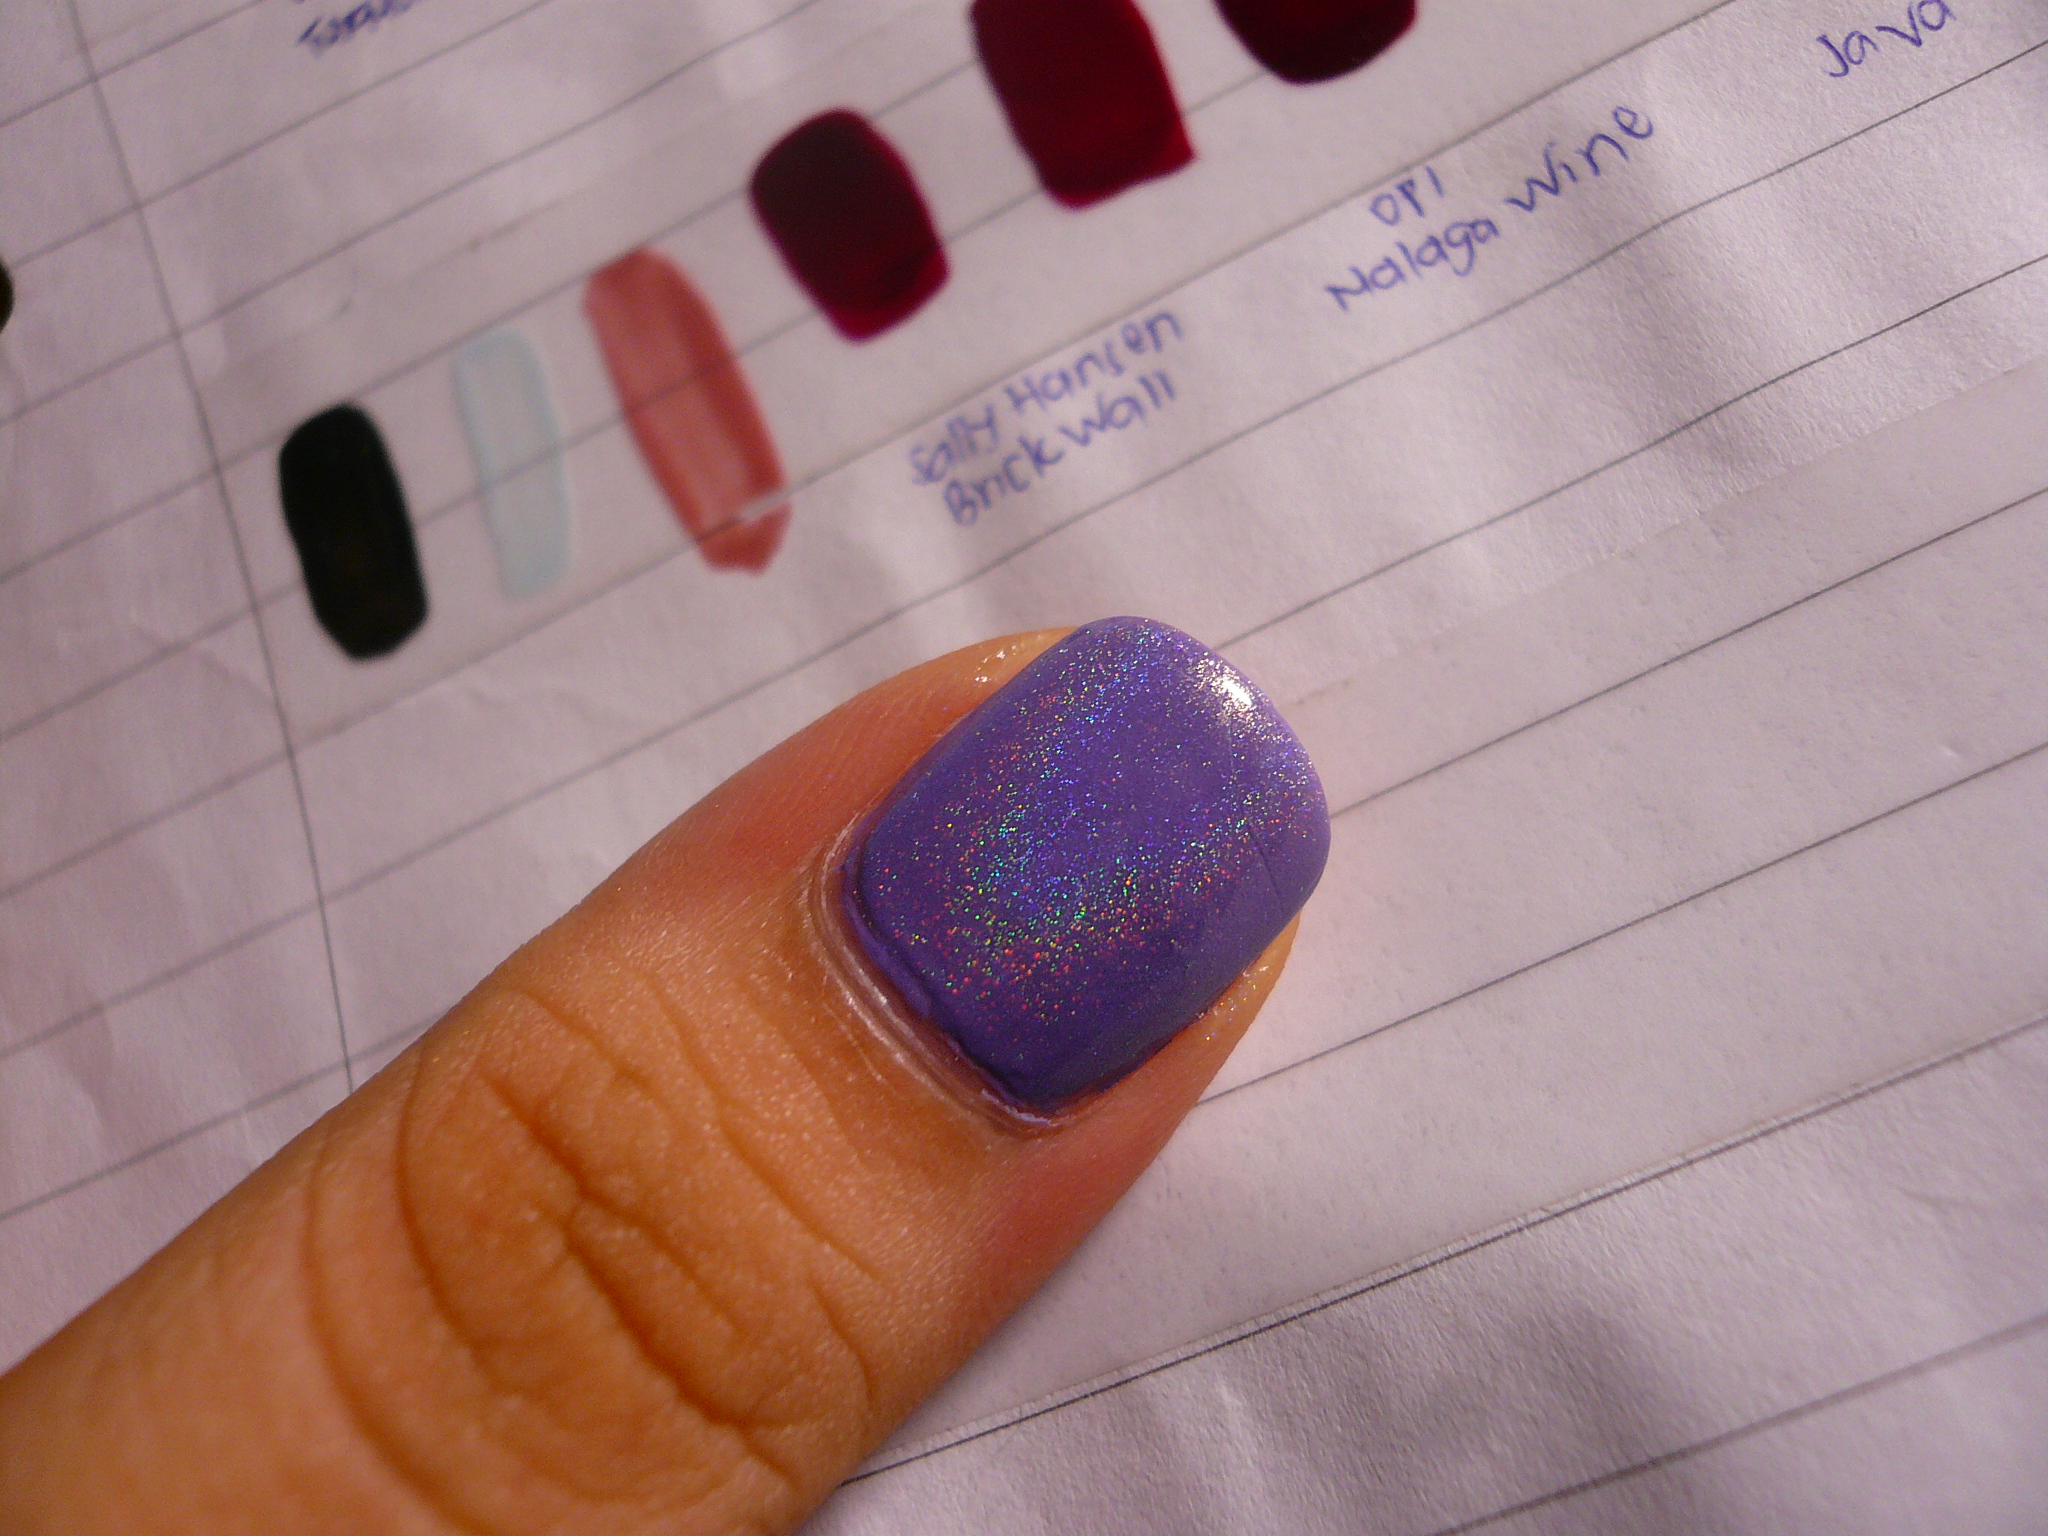
I tried my SF top coat on top of my current mani too. I'm not saying what polish it is because you'll find out on Day 6 of my 31 Day Challenge (Violet Nails)! It is a creme colour though, no shimmer, no glitter, just a flat colour and look what the SF top coat did to it!


I'm in love with my SF top coat! I'm thinking of making them to sell so let me know if you're interested! (:
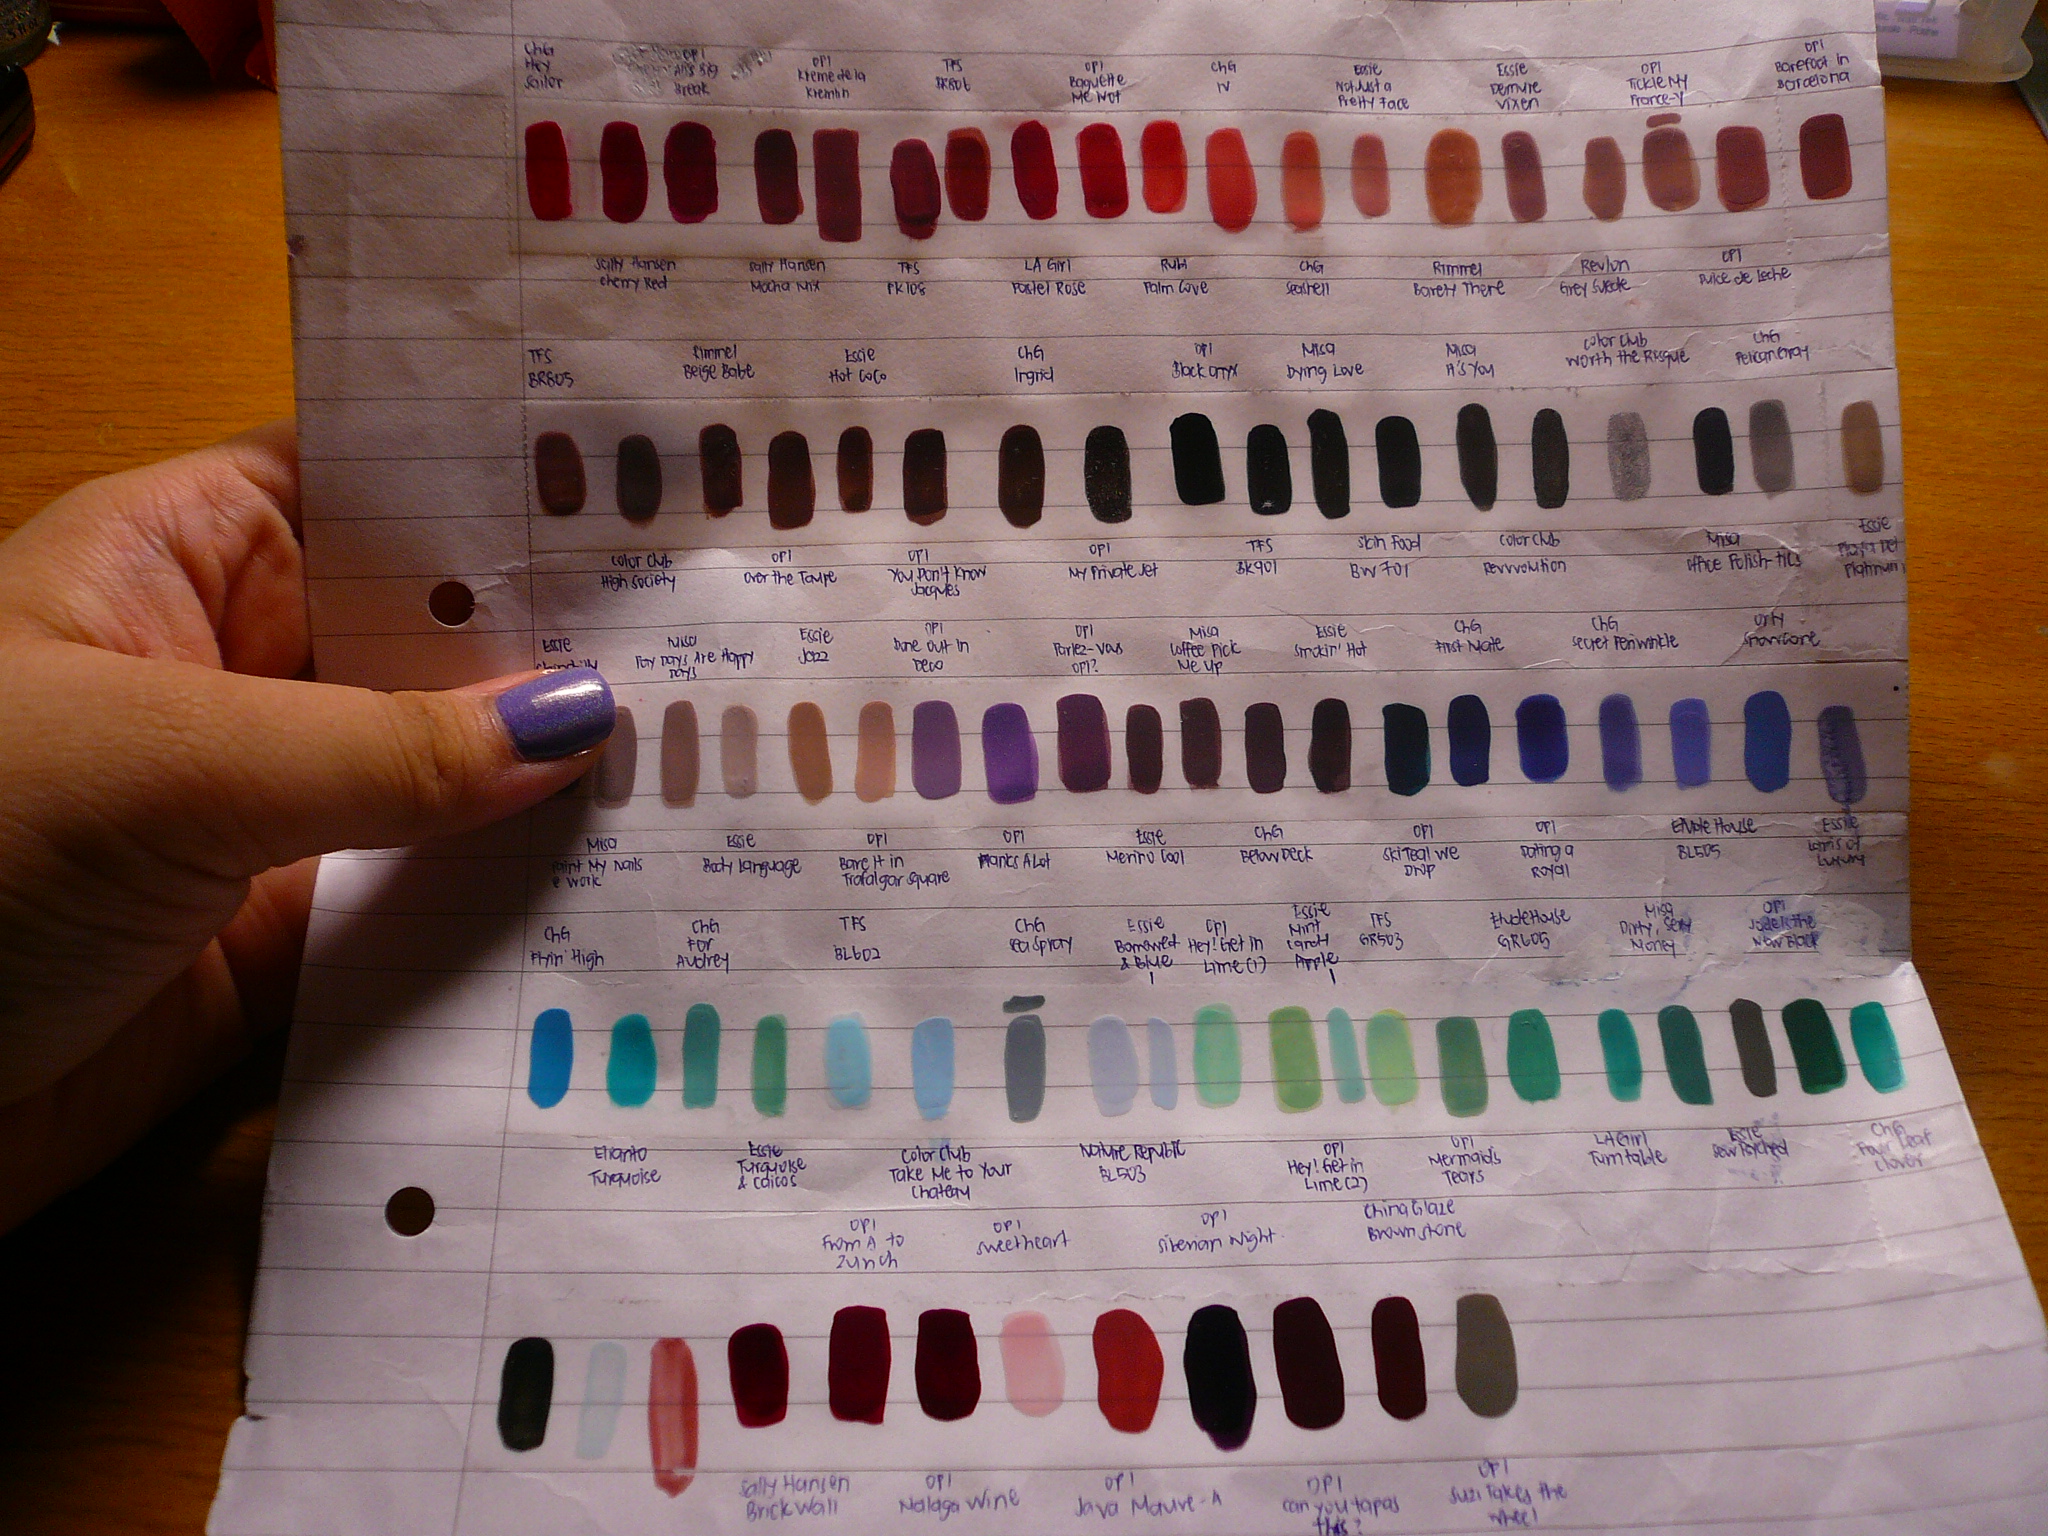
And in case you're wondering what I'm holding in the above picture, it's this foolscap paper that I've swatched some of my polishes on so that when I go polish shopping, I can bring it along and see what colours I have to avoid buying similar colours!


My friends are all damn amused whenever they see this paper of mine. Once, I brought it to work and my colleague thought it was swatches of wall paint cuz she didn't know I owned so many polishes!