Showing posts with label TFS. Show all posts

Saturday, September 22, 2012

Holo Month Day 18: TFS BK901

TFS BK901 is officially the polish I've blogged about the most number of times. I think it's been featured on this space five times already so this will be its sixth appearance.

I haven't exactly done a proper swatch of this charcoal holographic beauty yet so when A Lacquered Affair requested for one, I decided it would probably be a good thing to do one.

This is two coats of BK901, taken under artificial lighting.


BK901 isn't a blinding in-yer-face holographic polish but it is still considerably holo! I'd say it's comparable to Color Club Revvvolution.


Formula-wise, I only needed two coats but I must warn you to be light handed when it comes to painting your nails because this polish tends to leave brush marks. Other than that, I don't have anything bad to say about the polish. I do actually love the TFS brush because it fans out pretty nicely and it's pretty easy to control.


Overall, I think that if you're lucky enough to see this polish at your TFS store, GRAB IT. I had to get my bottle overseas (Malaysia) because the local TFS stores don't seem to carry this baby. I'd actually grab backups of this polish if I didn't already have Revvvolution. That's how much I love this polish but you already know that right? ;)

Wednesday, August 22, 2012

Holo Month Day 8: Layla Flash Black (and comparison)

Hello Polish Lovers! Today I have here the last of the Layla hologram swatches for now (I say for now because I'm fully intending to get my hands on the latest 8 holograms soon)!

This is three coats of Flash Black. You could probably get away with two coats though. Man, is Flash Black blingtastic or what!


For today's comparison, I whipped out almost all of my charcoal holos. I never knew I had this many until I went searching through my Helmer! Yikes!

I'm wearing three coats of each polish and all the comparison shots were taken in sunlight.


The TFS and Daiso polishes refused to shine under my table lamp so I had to go chasing after the sun. Not surprisingly, Flash Black remains the undisputed Charcoal Holo Queen, with 10 to Midnight coming in second!


This last picture shows the holoness in the TFS and Daiso polishes just a little better. You can click on the pictures to enlarge them. I promise the holo looks even more glorious when the pictures are bigger!


So that's it for the proper Layla Hologram swatches for now. I did managed to catch some sun so I'll be showing you sunlight skittle shots of all the Holograms tomorrow! See you then! :)

Sunday, July 15, 2012

Magnetic Polish

I must be honest. I never felt inclined to try magnetic polishes. Not when Nails Inc released their magnetic polishes which are the only Nails Inc that Watsons carries. (Why can't Watsons bring in MOAR Nails Inc?!) Not even when China Glaze made it more mainstream with their Magnetix collection. It just looked like so much hassle. Painting one coat, waiting for it to dry, painting another coat and then having to align the centre of the magnet to the centre of your nail to get the most defined and centralised image. It just sounded like too much work. Period.

But when I was in Korea, I walked into Tha Face Shop and I saw their line of magnetic polishes going at quite a reasonable price so I decided to get two bottles, in gunmetal and a metallic blue. I also picked up their star magnet because there's no point buying magnetic polishes if you're not gonna buy any magnets. I also picked up a couple of magnets (the lollipop style ones) from EClecticCo for only $2.50 a piece after I came back from Korea, just so I'd have more designs to play with.
Here are the magnets:


I was a bit scared when I started playing with the magnetic polish for this post but when the horizontal lines appeared quite crisp on my index finger, I became quite hopeful. Sadly, with optimism comes disappointment.

I managed to get the diagonal lines crisp enough on my middle finger nail but with my ring finger and pinkie, I think those two nails were more curved and hence it was harder to get a uniform magnetic design across the entire nail.


Yeah, I don't think I'll be playing with magnetic nails anymore. Actually, quite a few people I've spoken to have also given up on magnetic nails because they just got too fraustrated with trying to get a clean design on their nails. URGH.

But if you're still optimistic about magnetic polish, please do not let me influence you otherwise. Scrangie actually has a rather in depth FAQ / troubleshooting post on magnetic polish that may help out. More Nail Polish also has a rather cool post on how to create your own magnets!

So tell me, what are your views on magnetic polish? Are you loving it or are you having bad luck with it, like me?

Tuesday, June 26, 2012

May's Haul

Sorry I'm late with May's haul. I haven't really been keeping track of my polish collection of late, reason being it's getting harder to do so with the ever-expanding polish count. Also, I've been trying to stay off polish to save for something I would treasure more, a new guitar! That being said, I only started my serious low-buy in June so May's haul was a little crazy (as usual).

The first two pictures are of the polishes I got in Korea, while on my graduation trip. The polishes were dirt cheap I tell you and I grabbed so many that my baggage was overweight on the flight back. Thank goodness my friends who didn't shop a lot, so I "ate" into their excess weight limit.


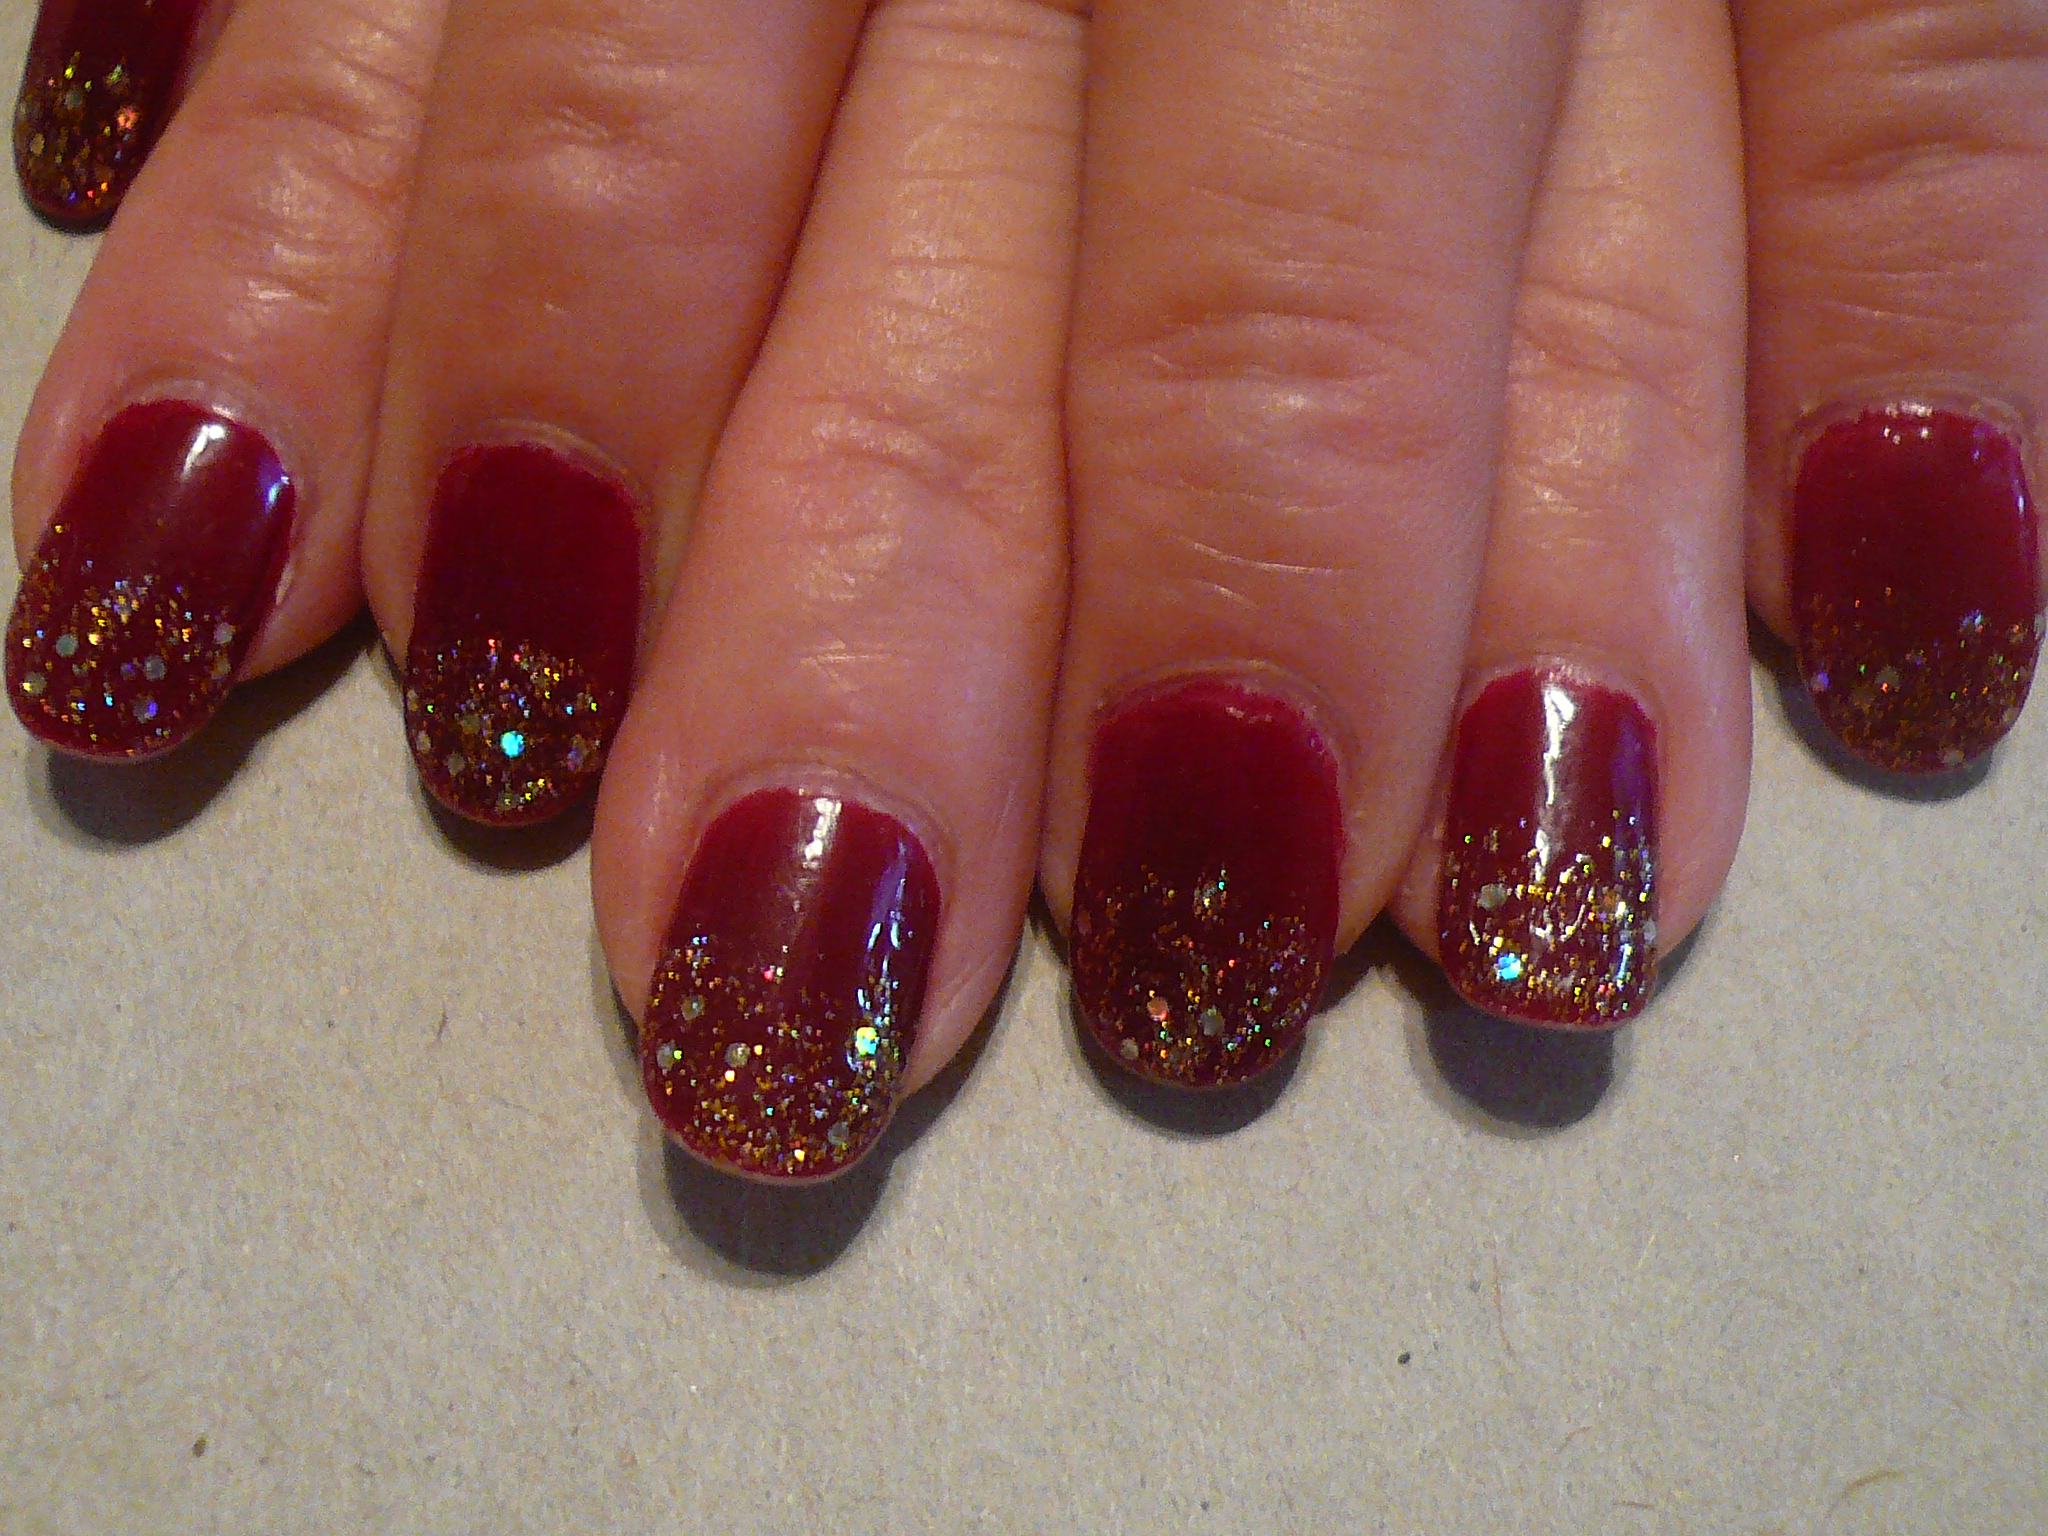
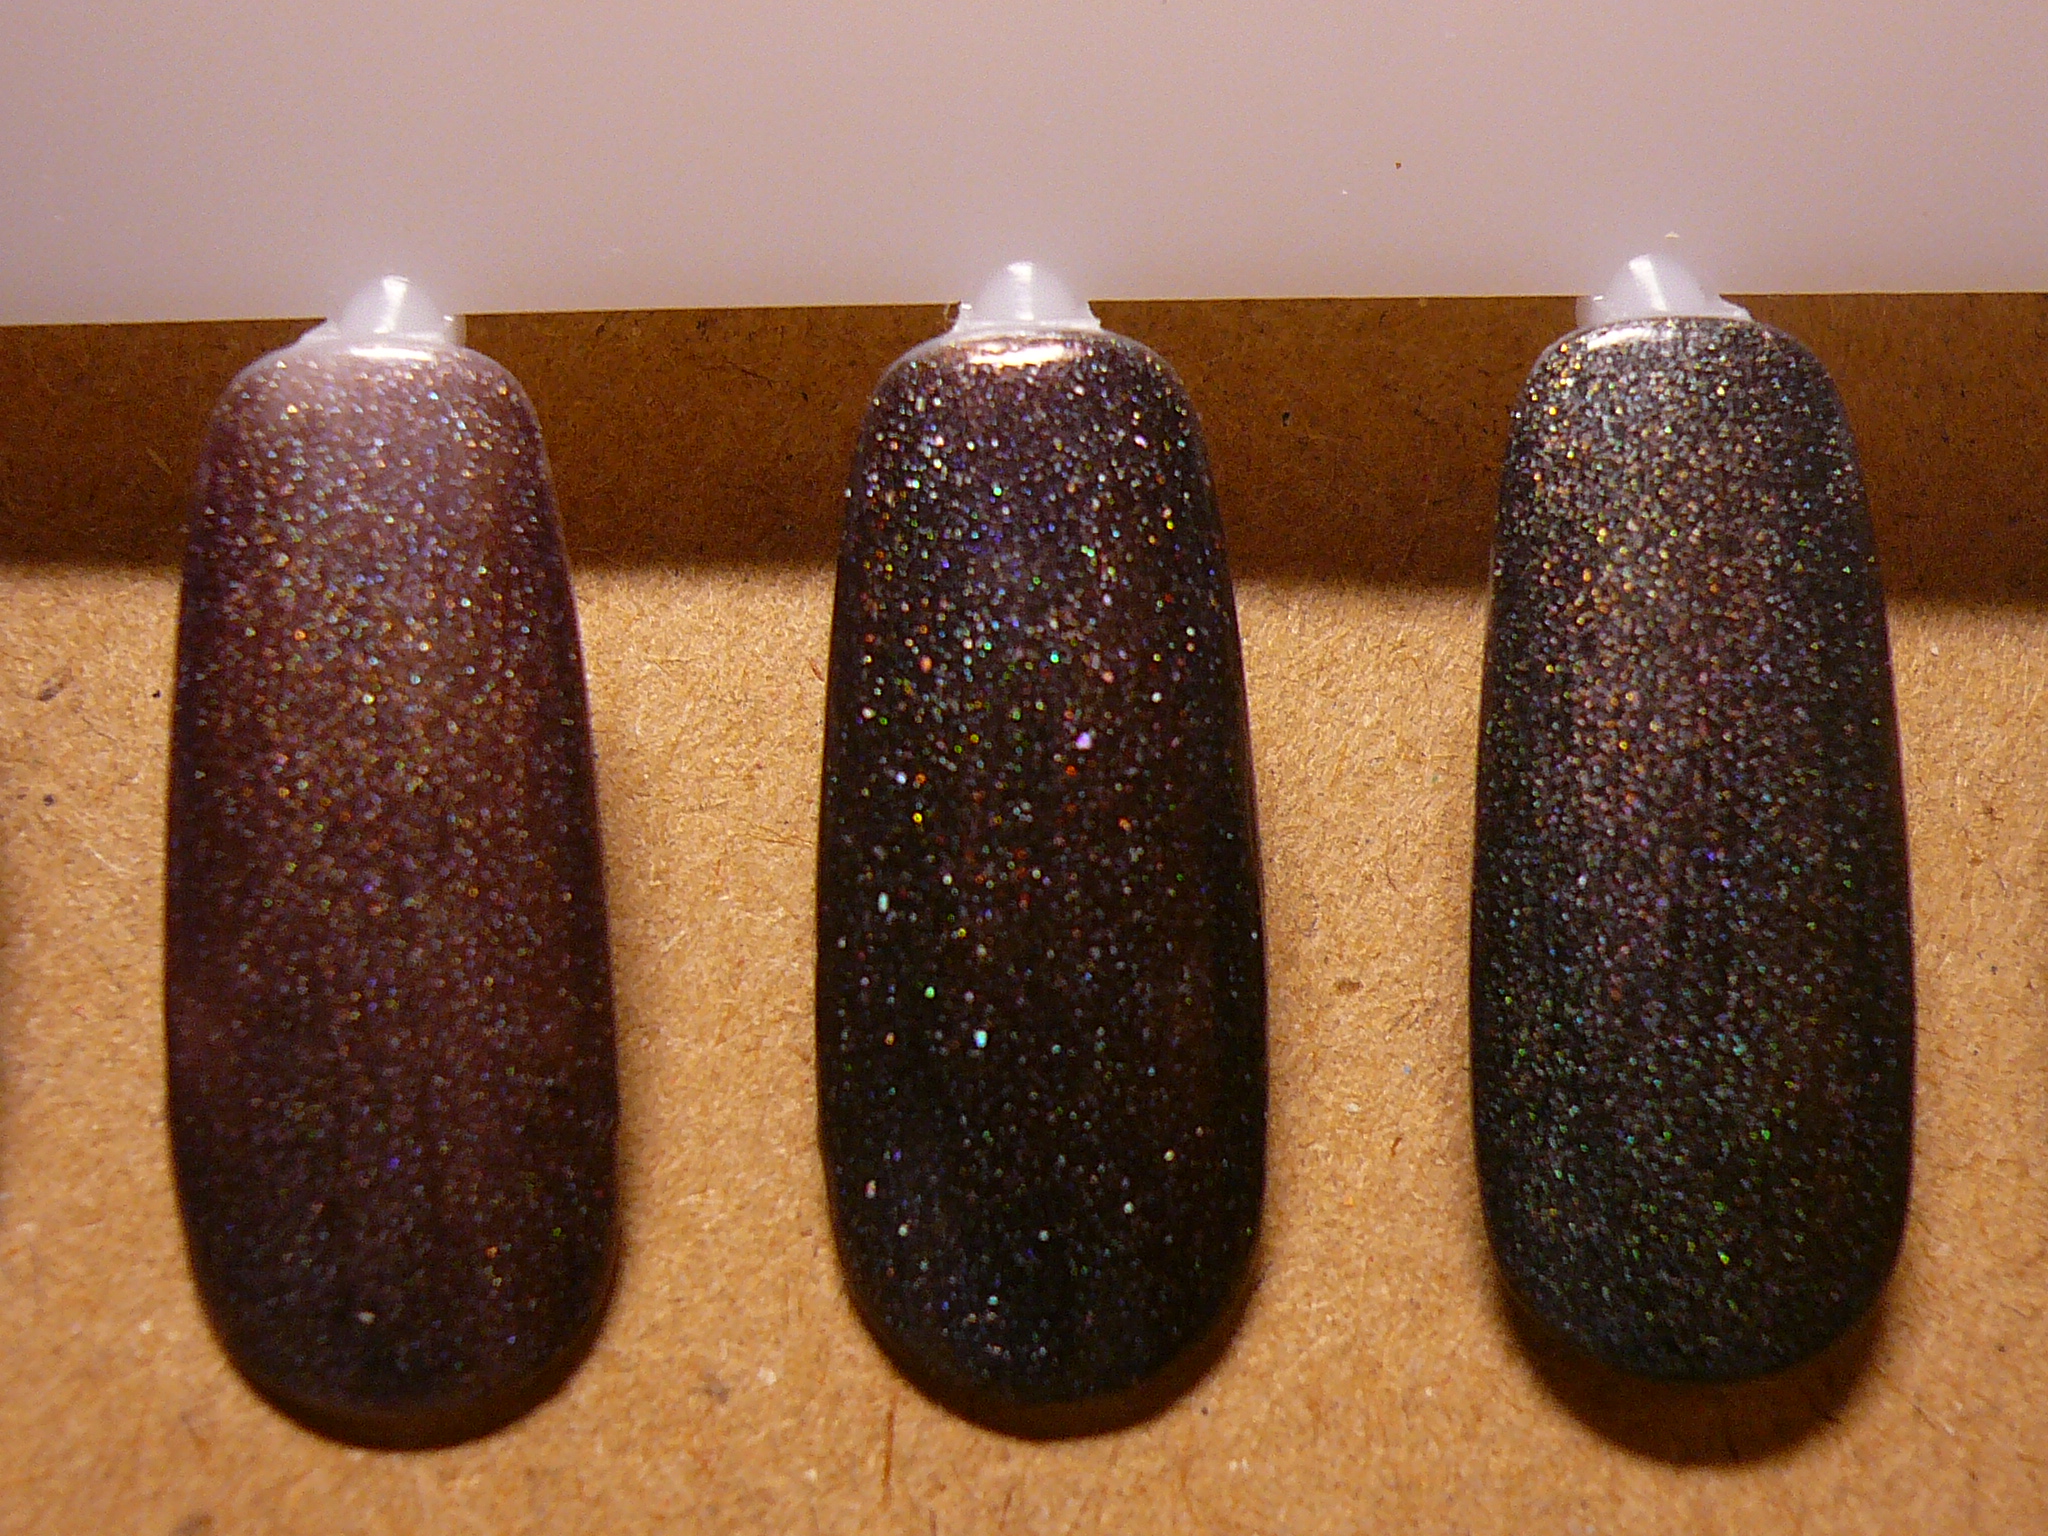
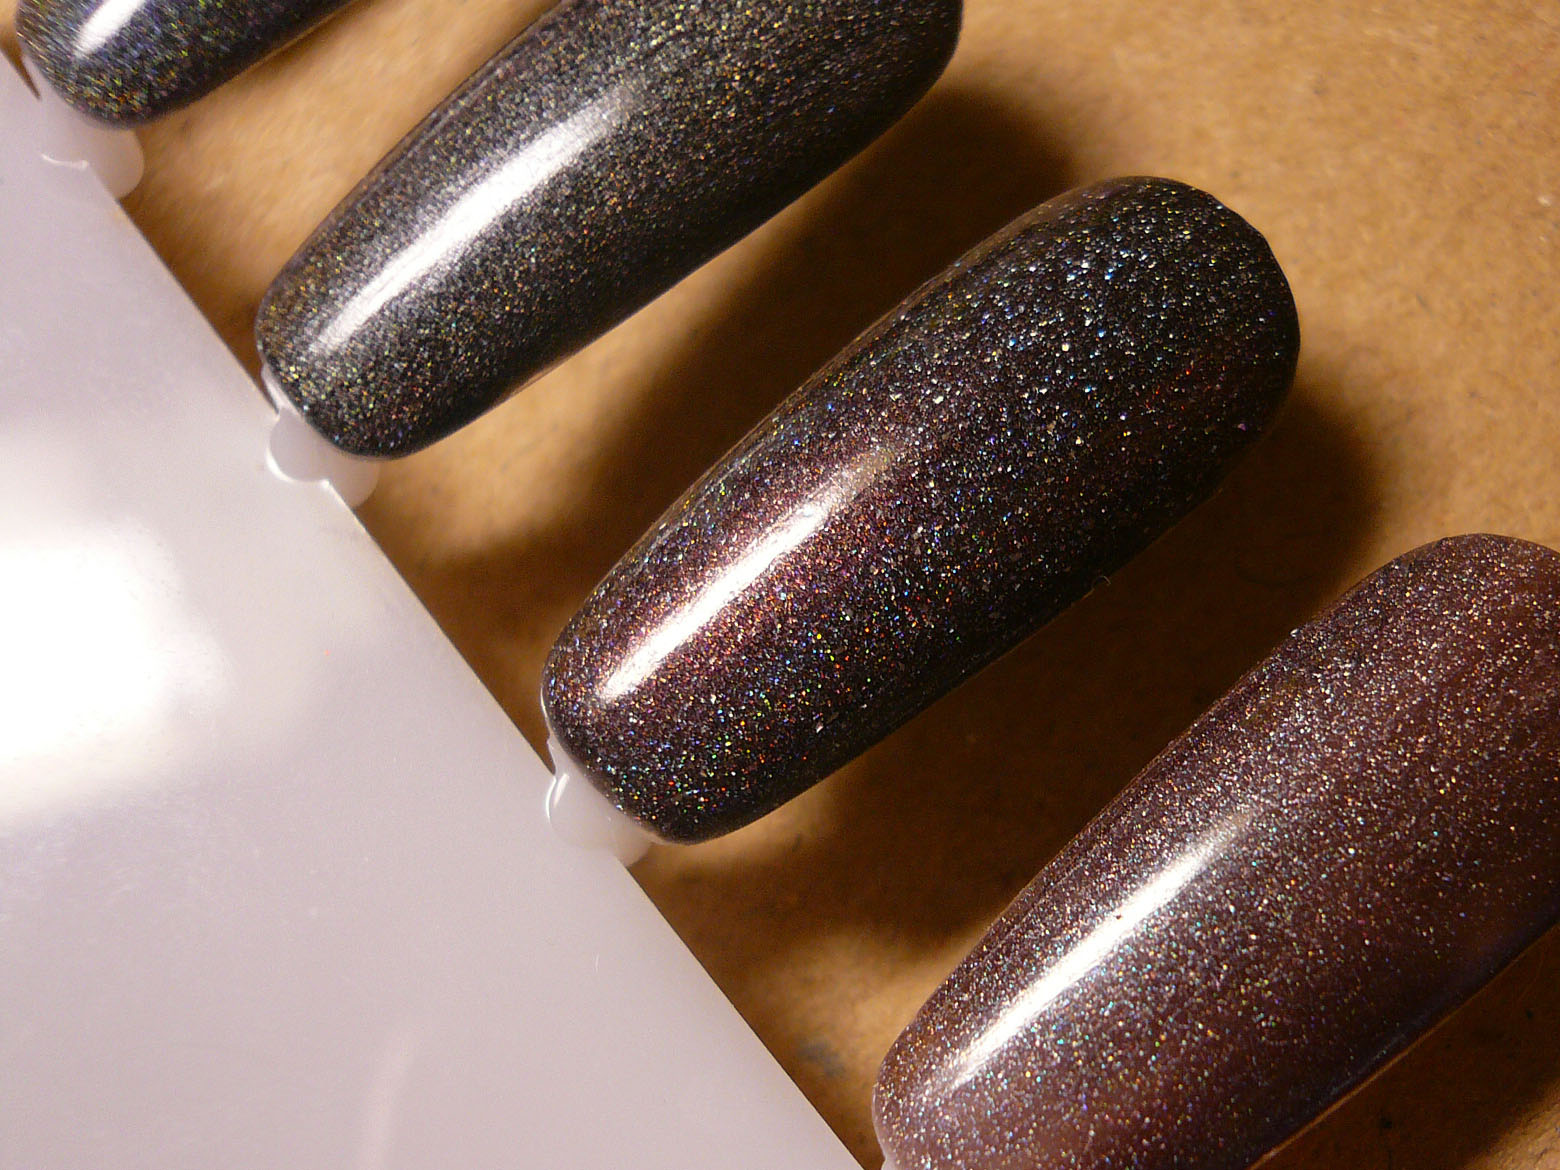
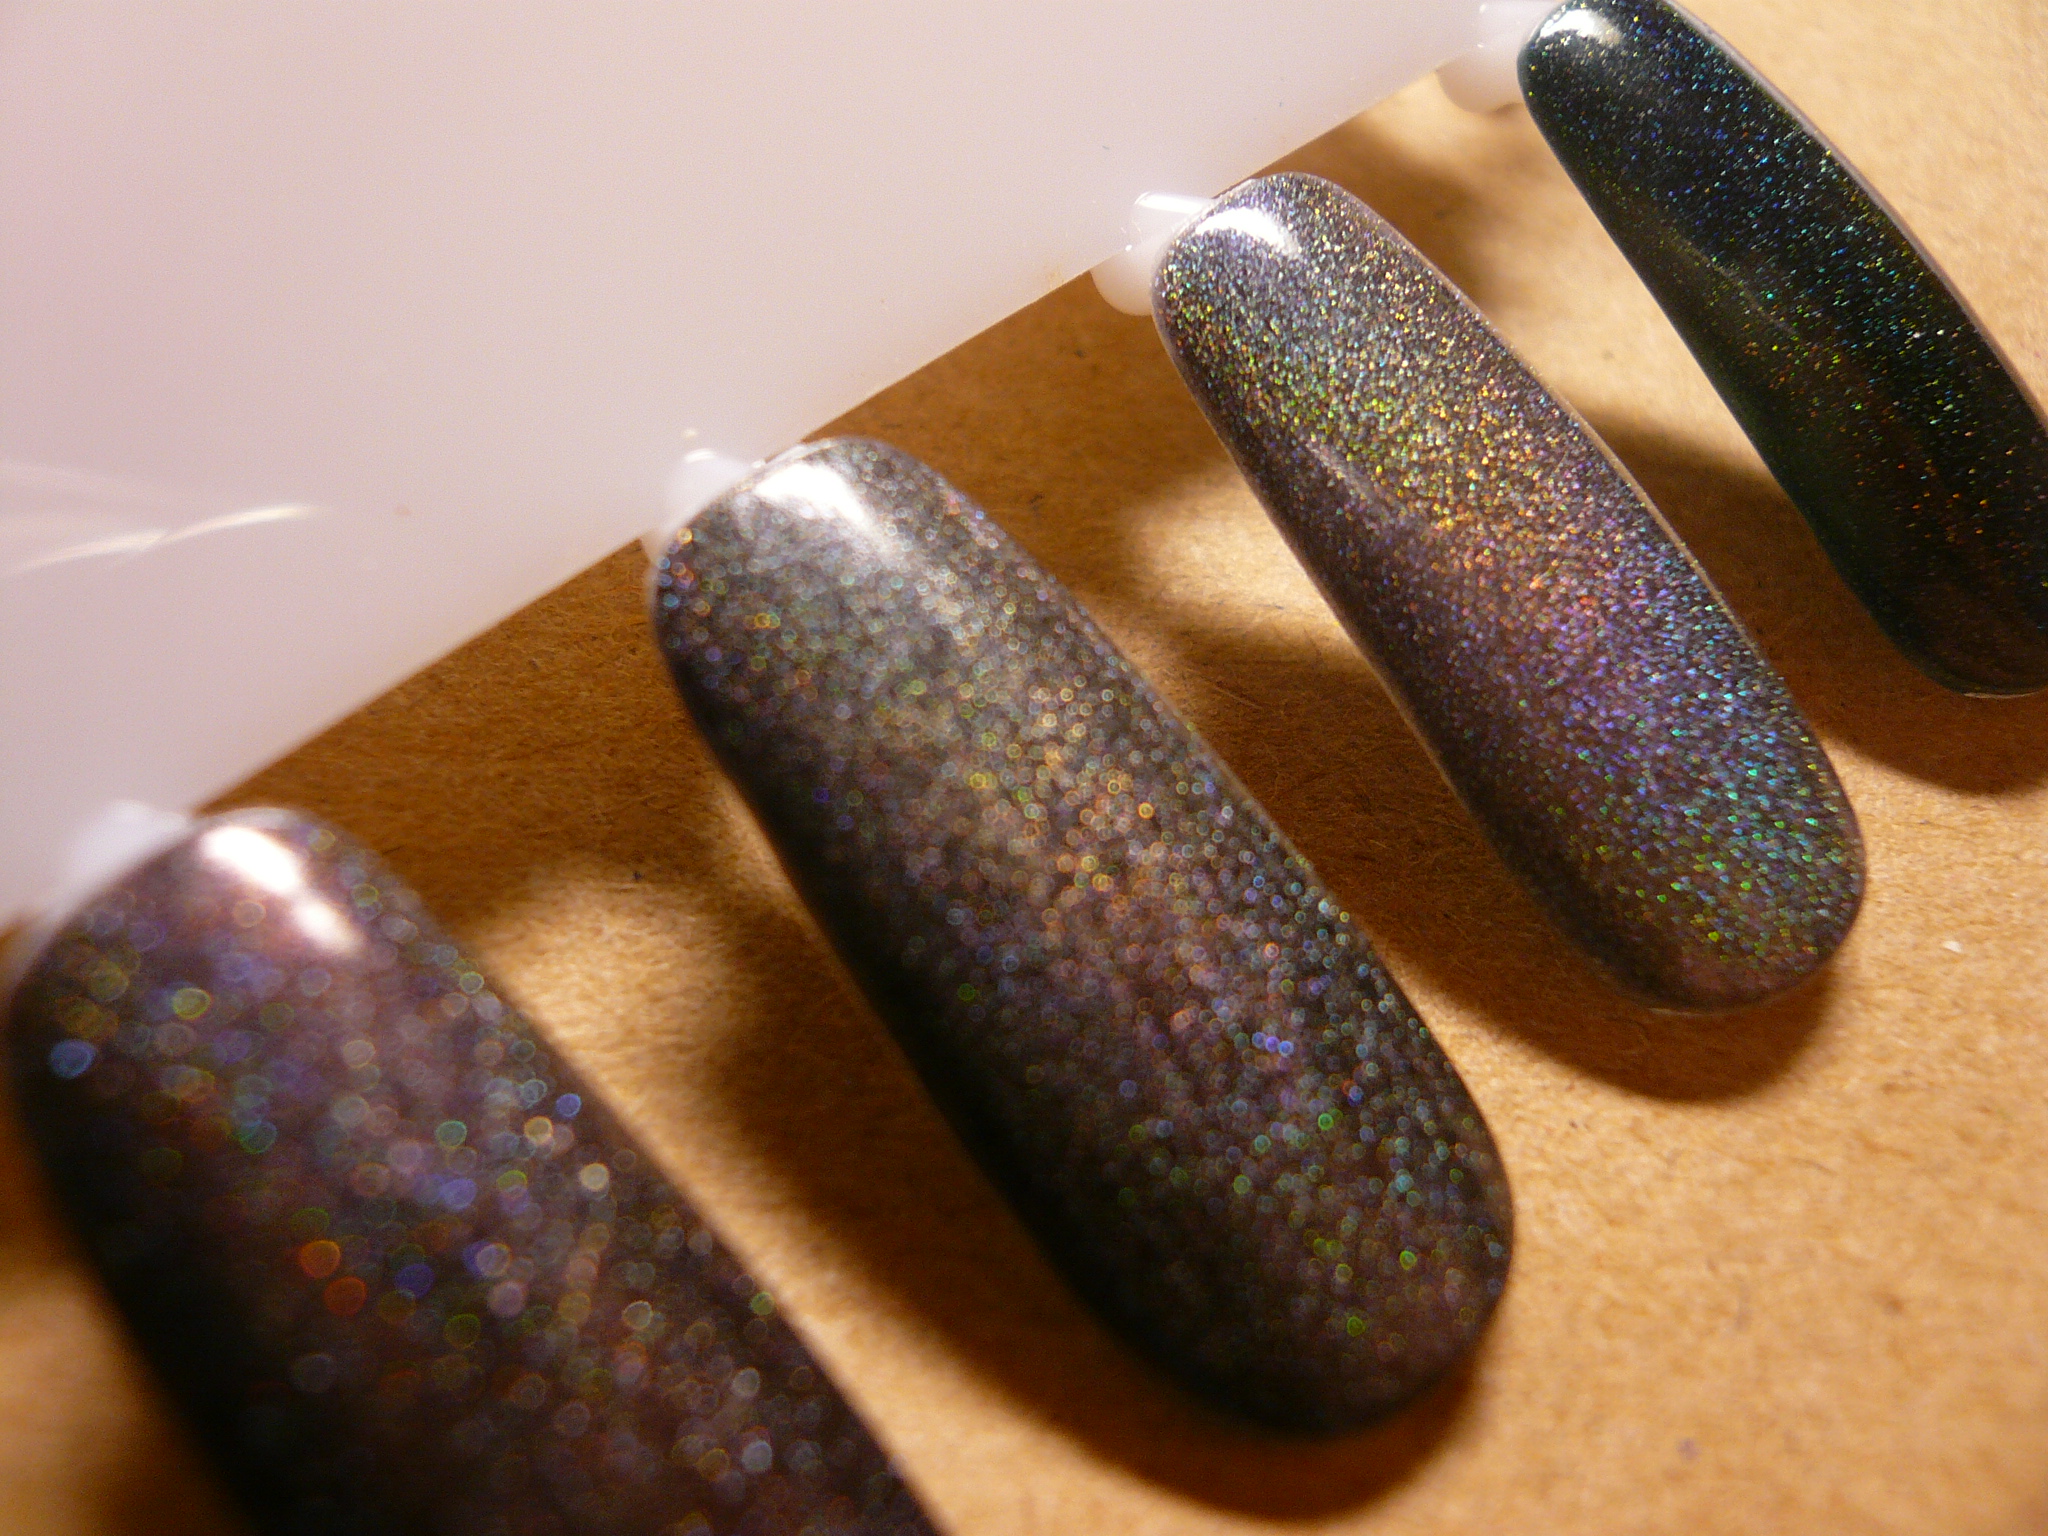
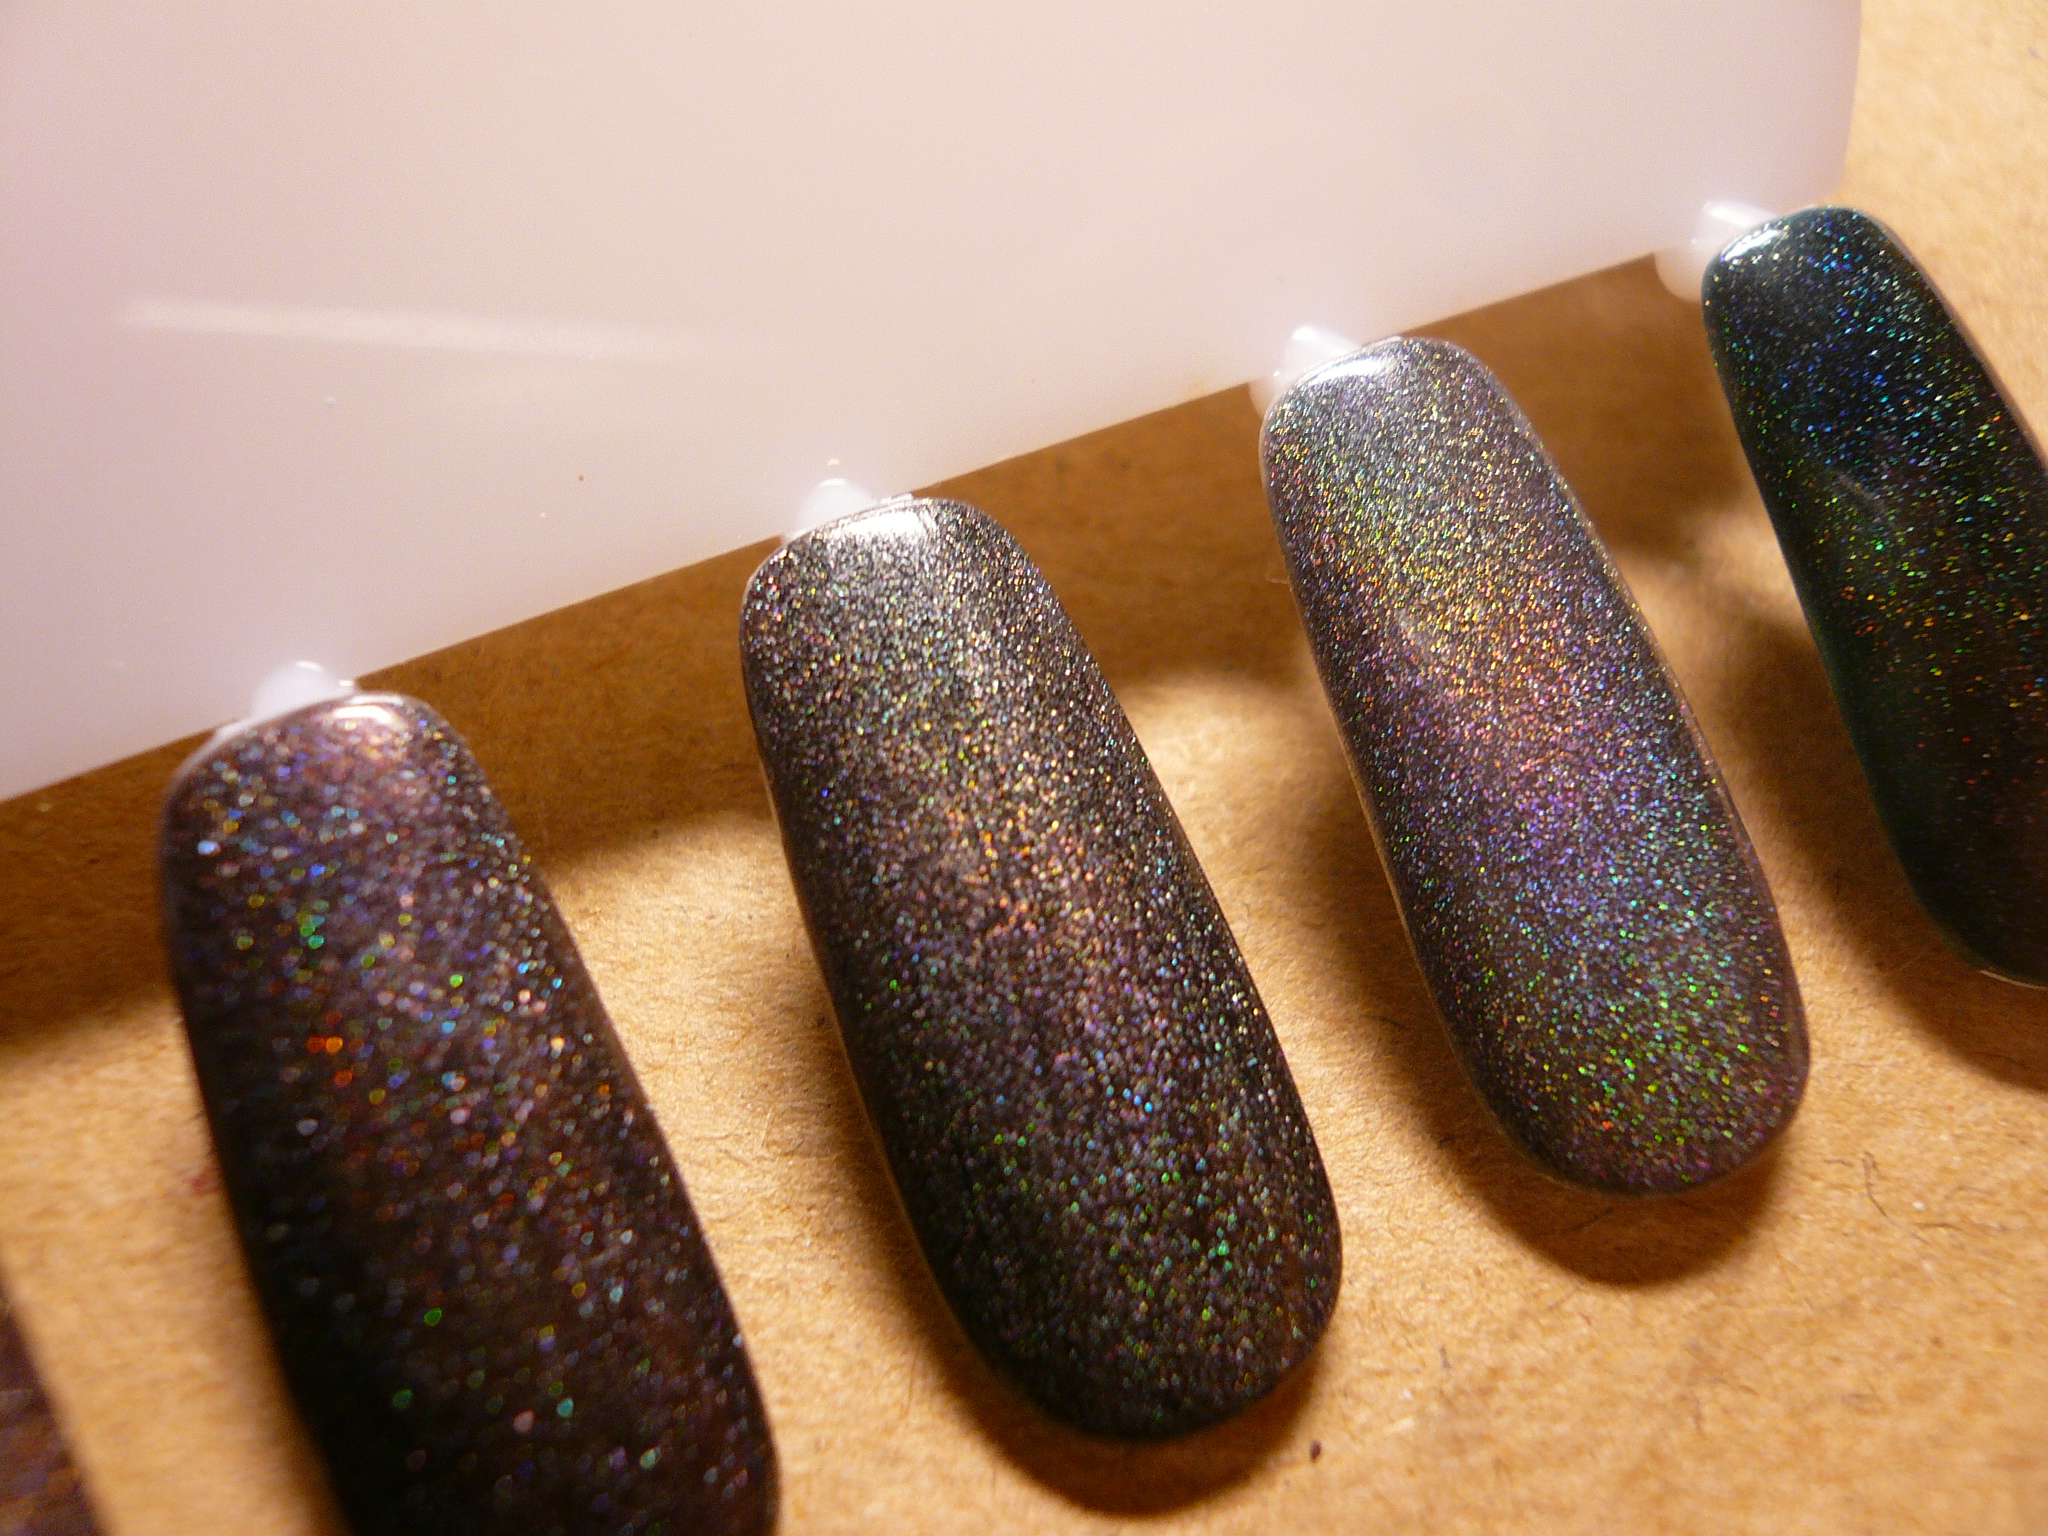
As you can see, I'm really loving the chunky glitter trend right now, especially with all the indie polish trend so I had my chunky glitter fix with the Korean polishes! I'm not gonna name them because in all honestly, they're all alphabets and numbers and it's just too much work.

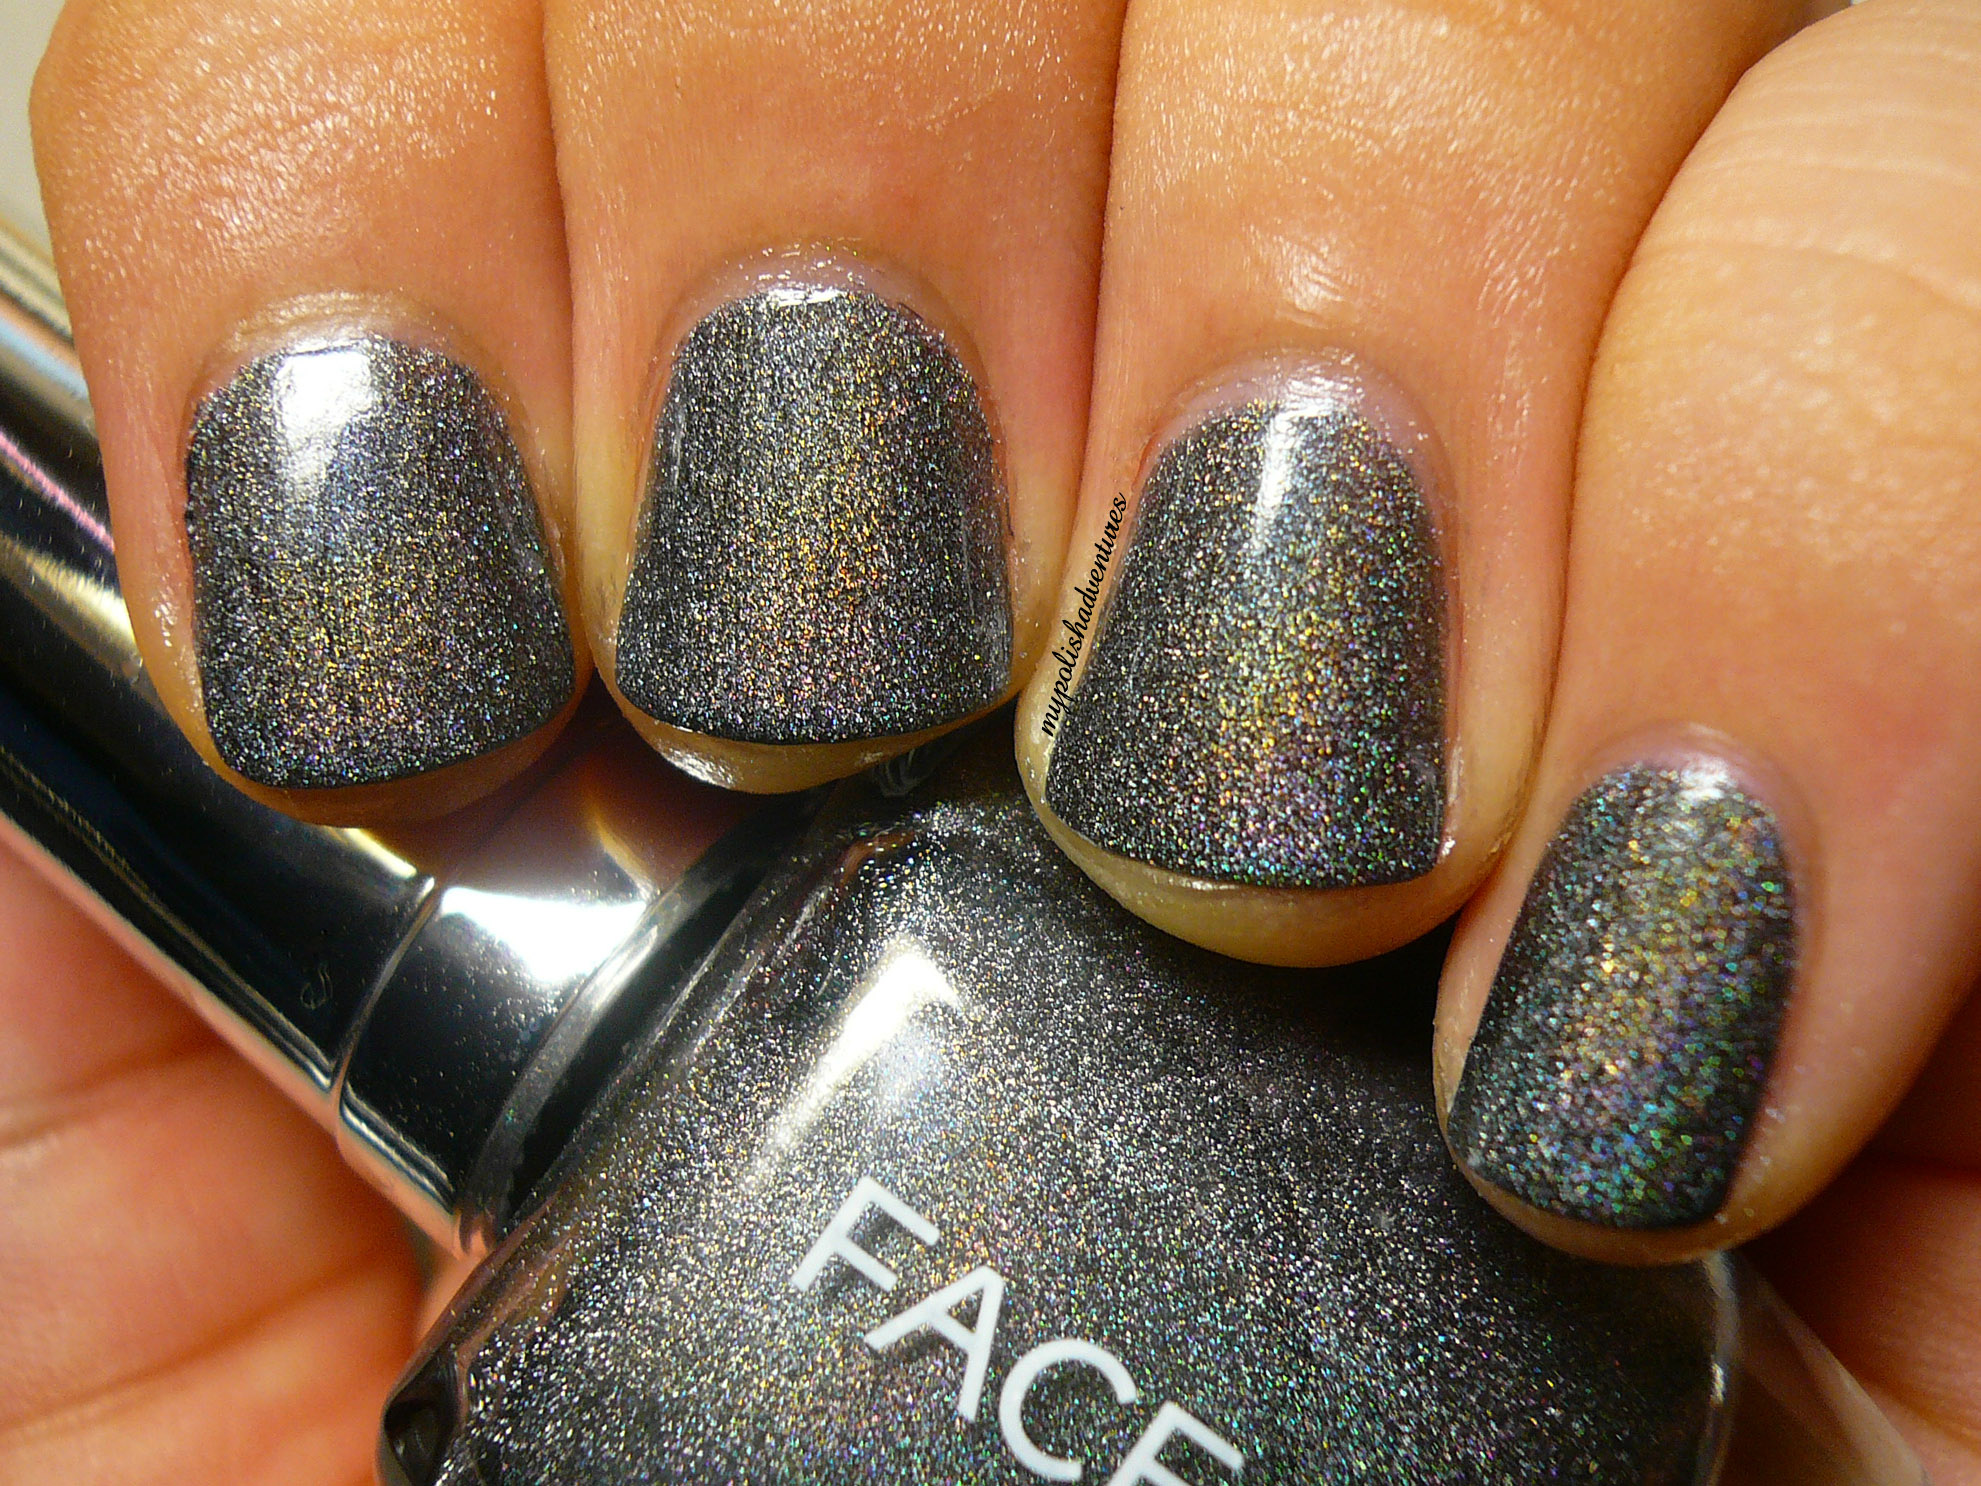
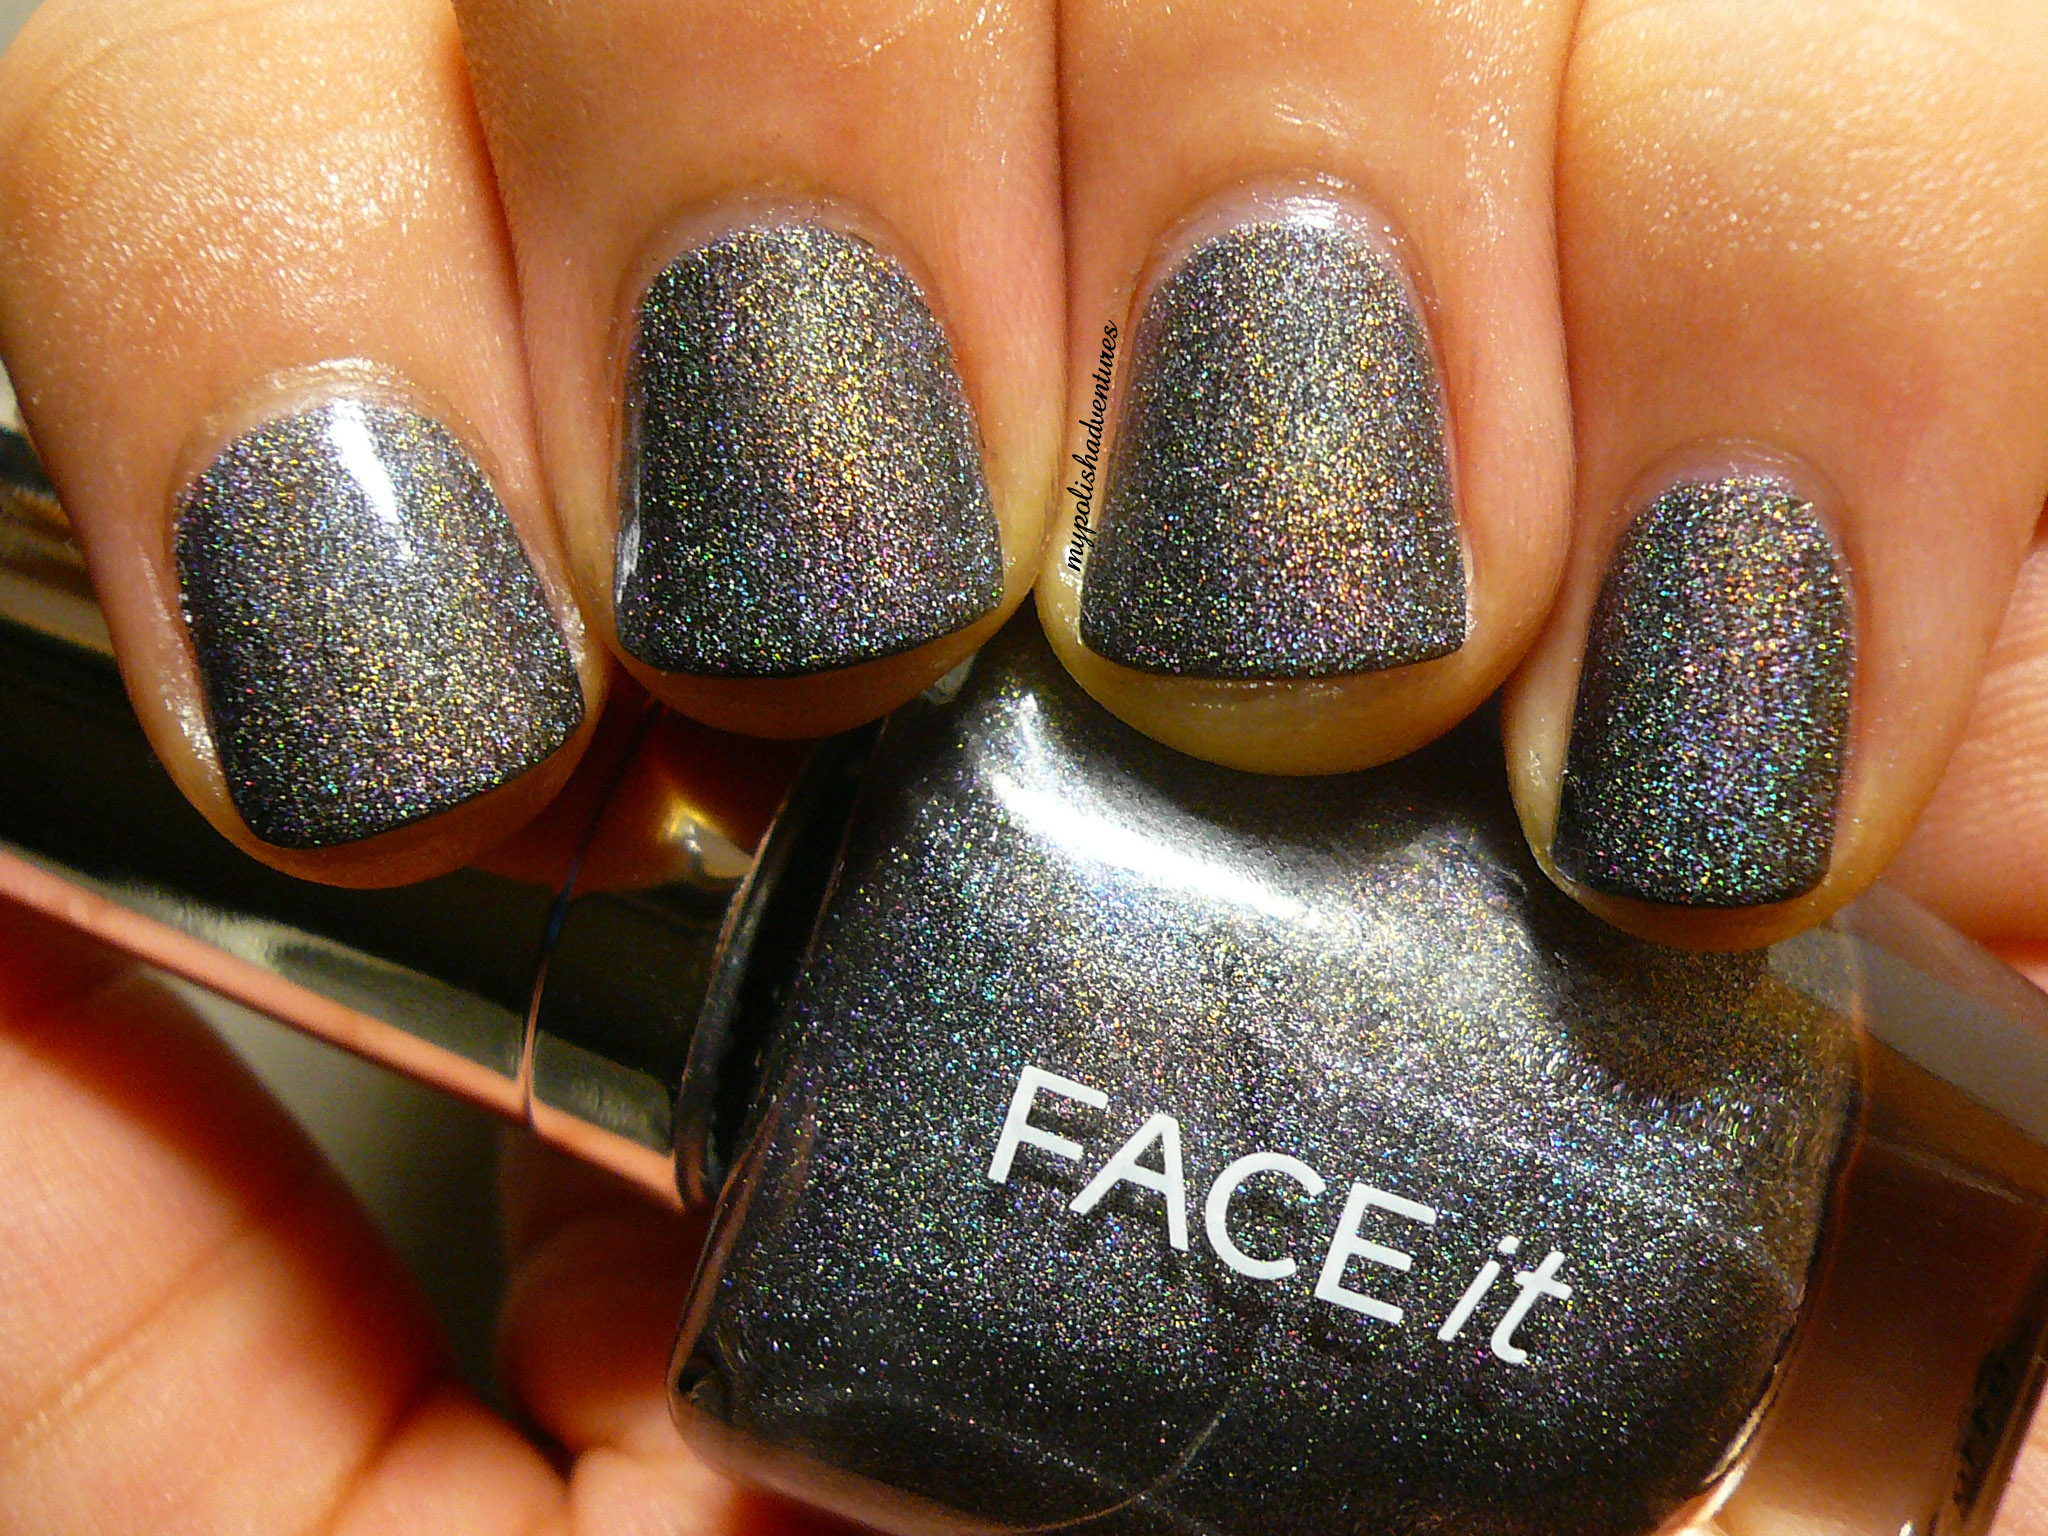
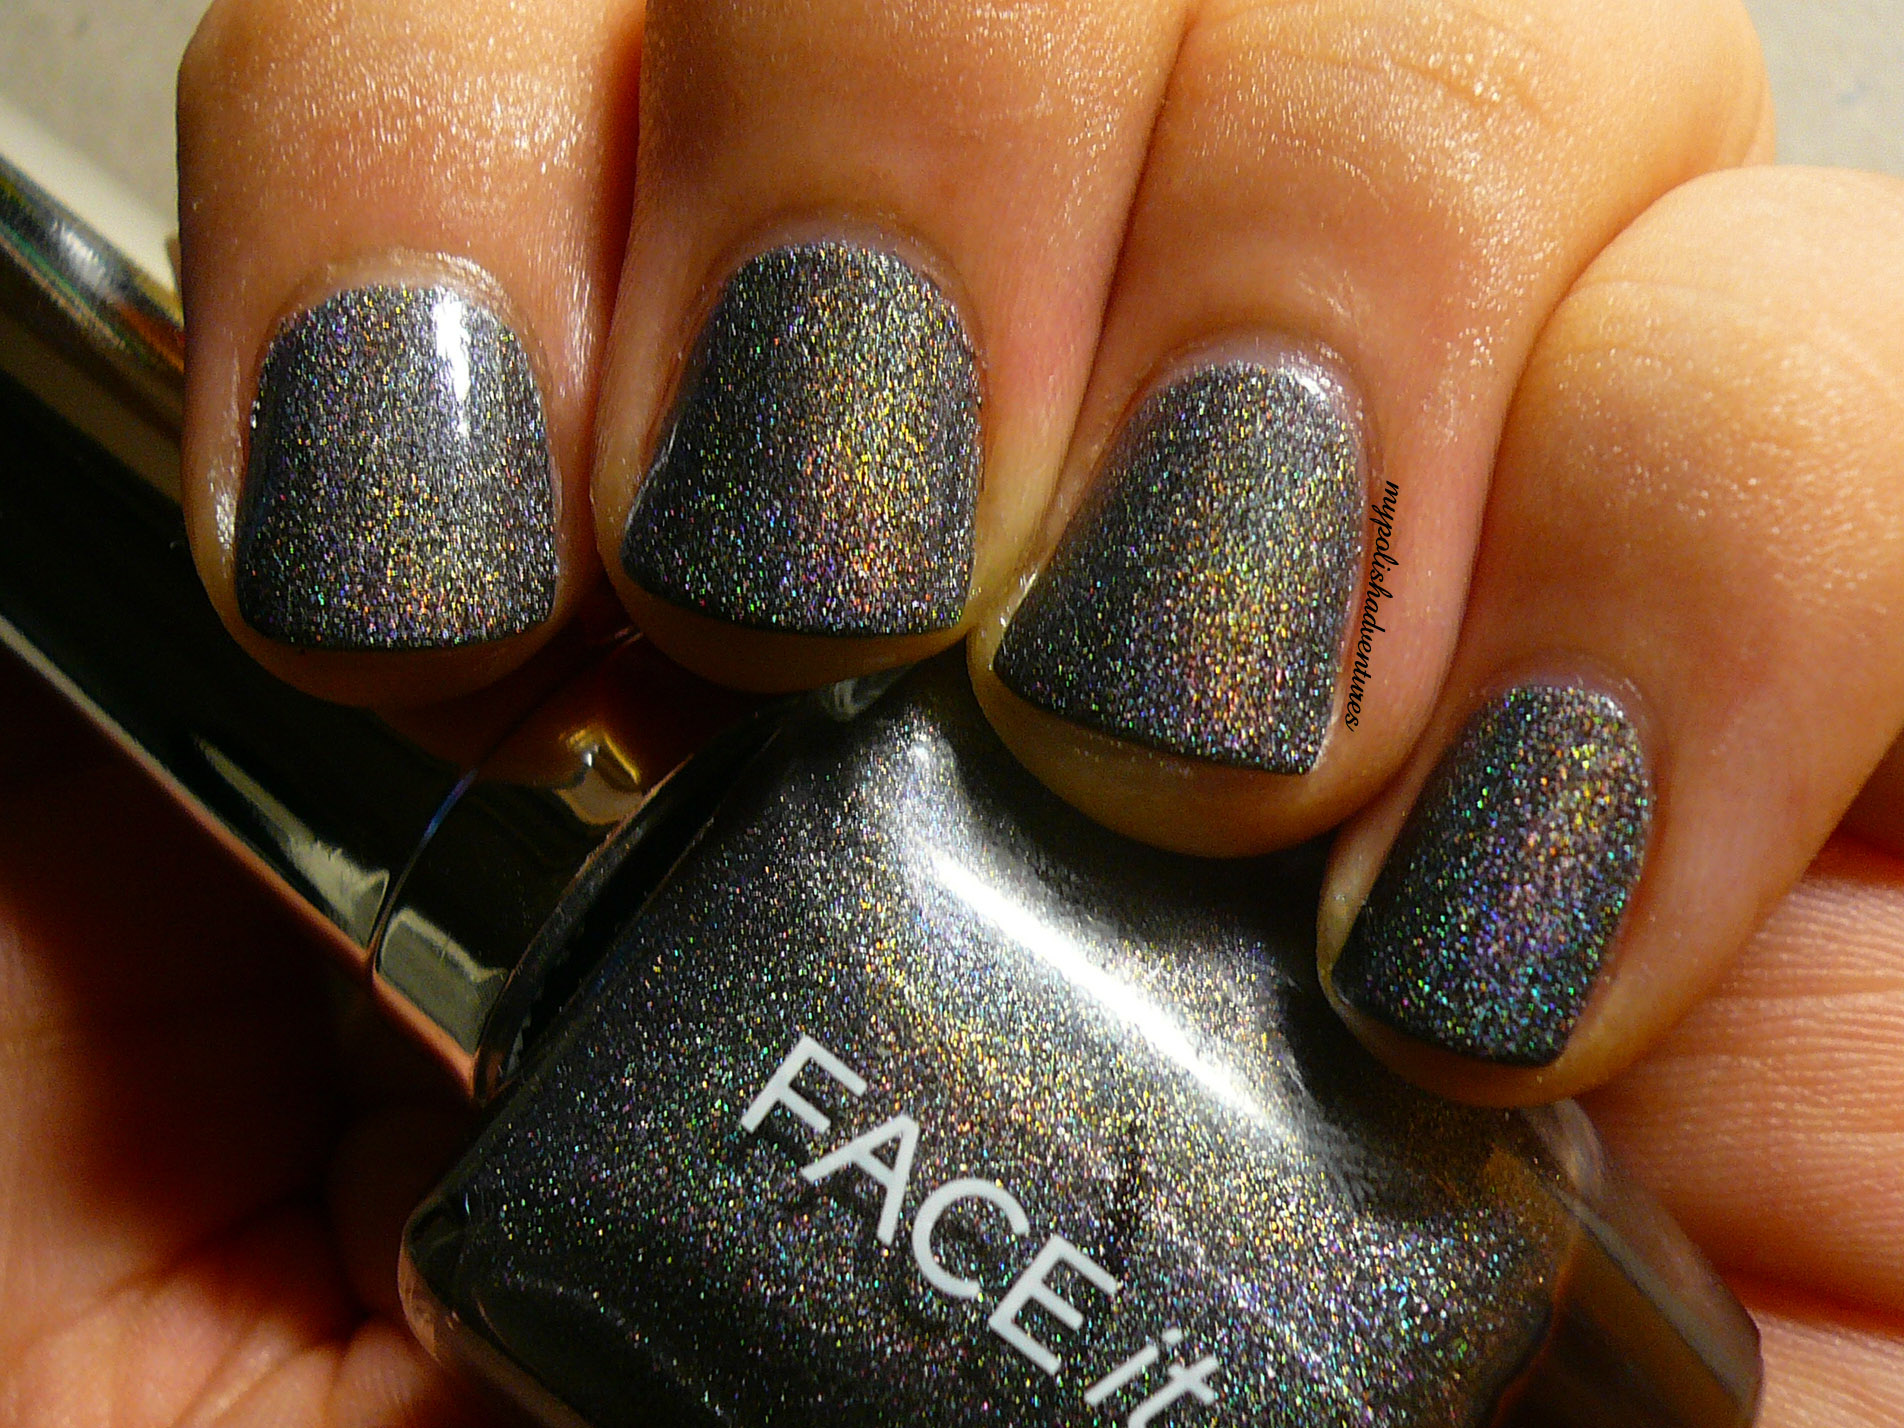
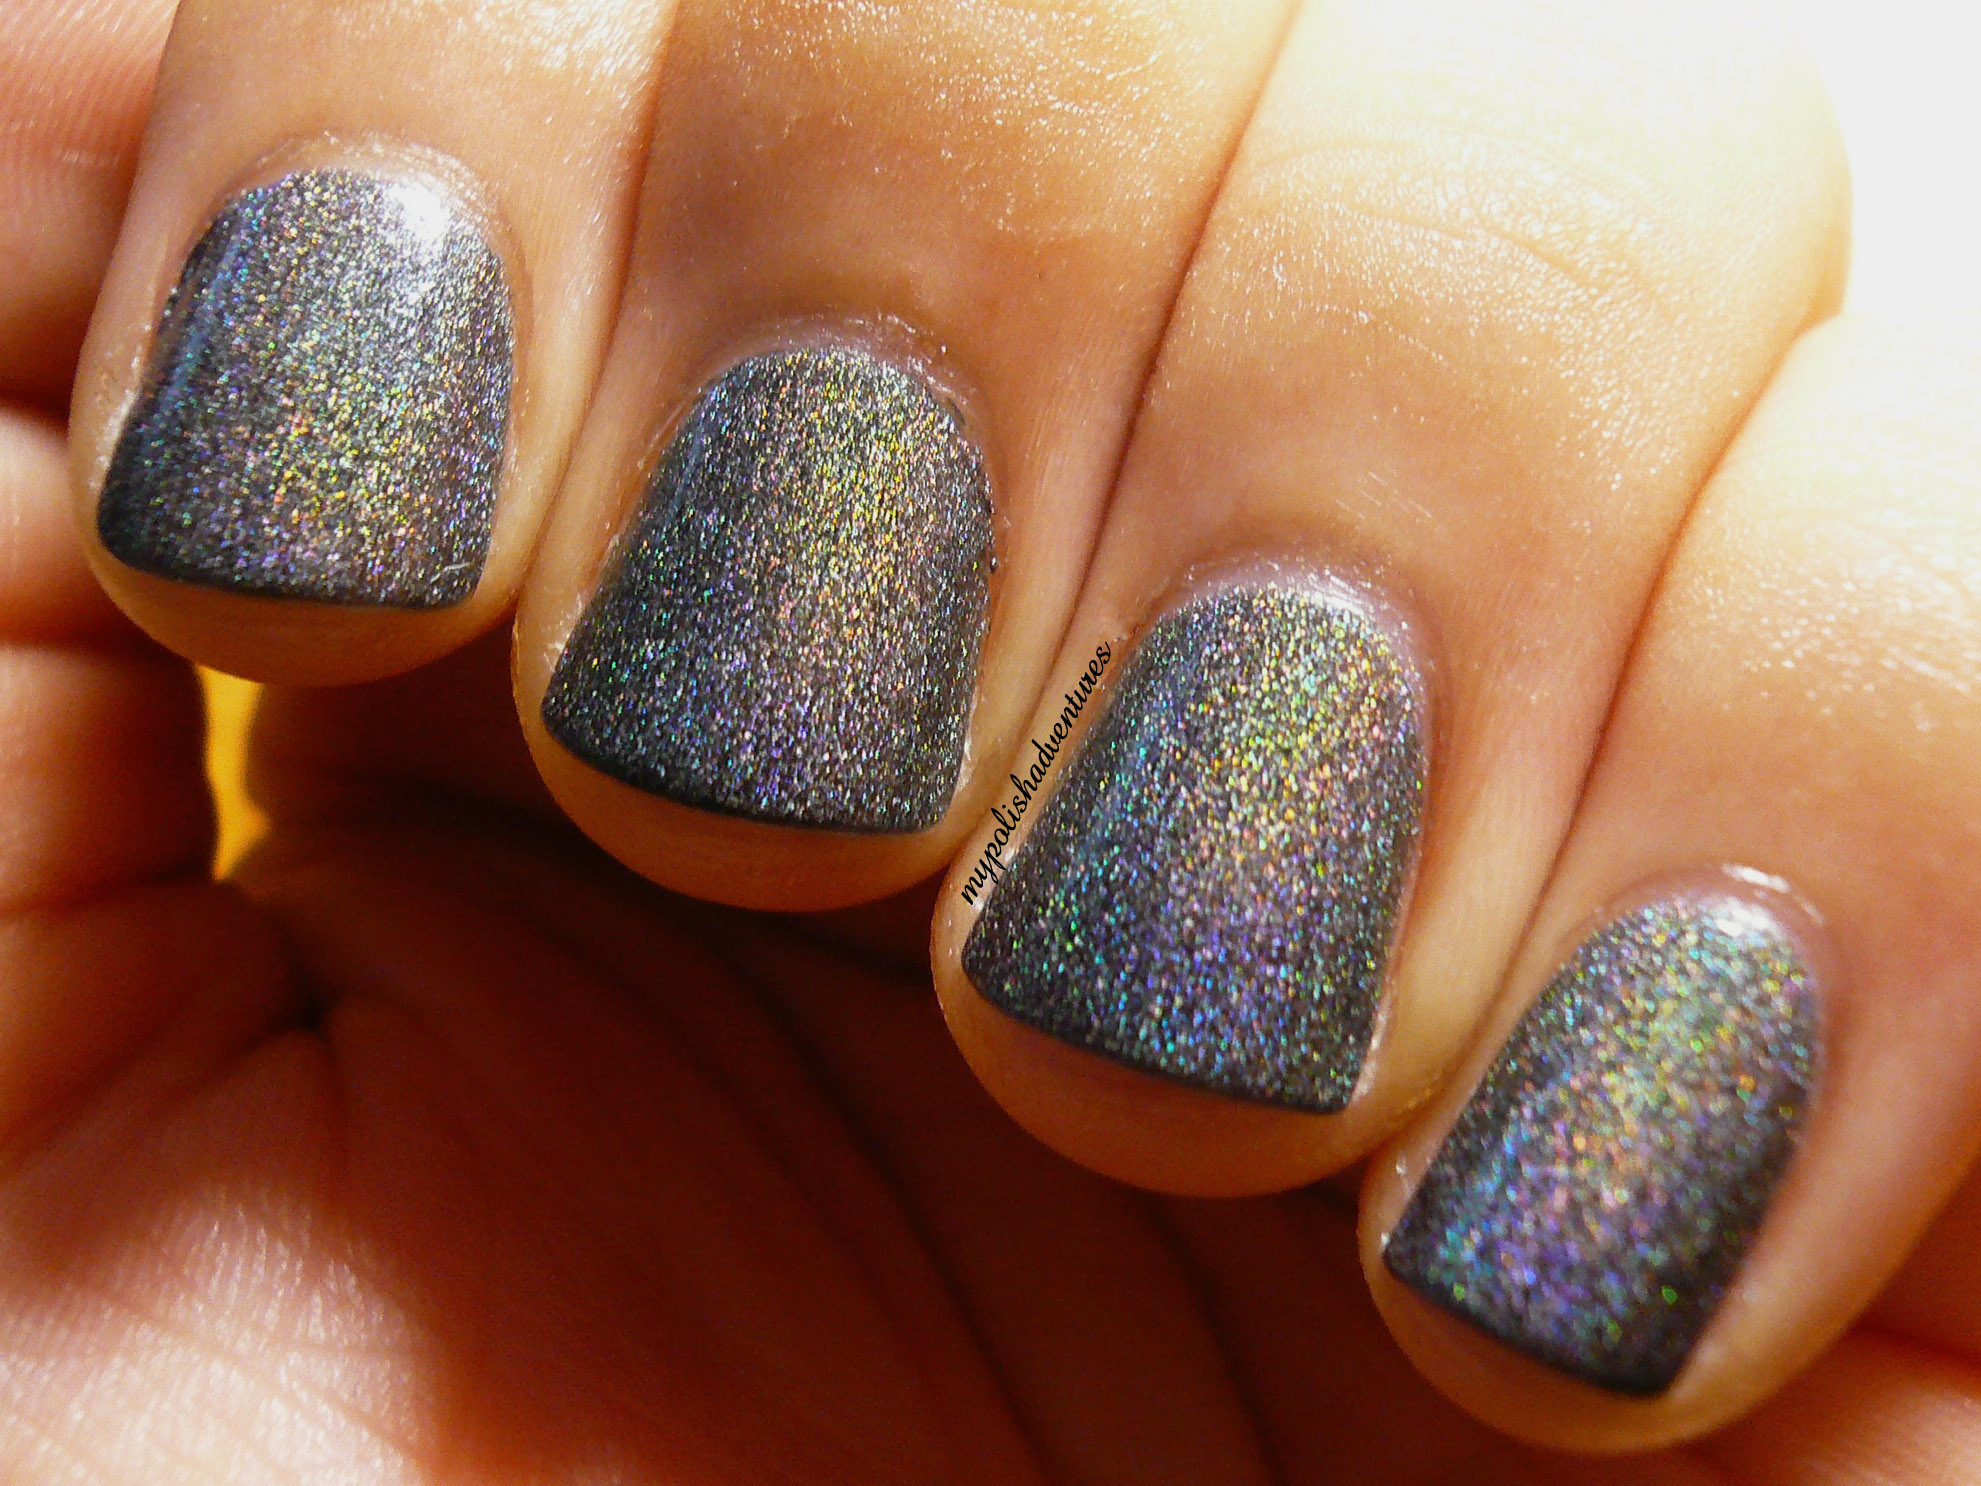
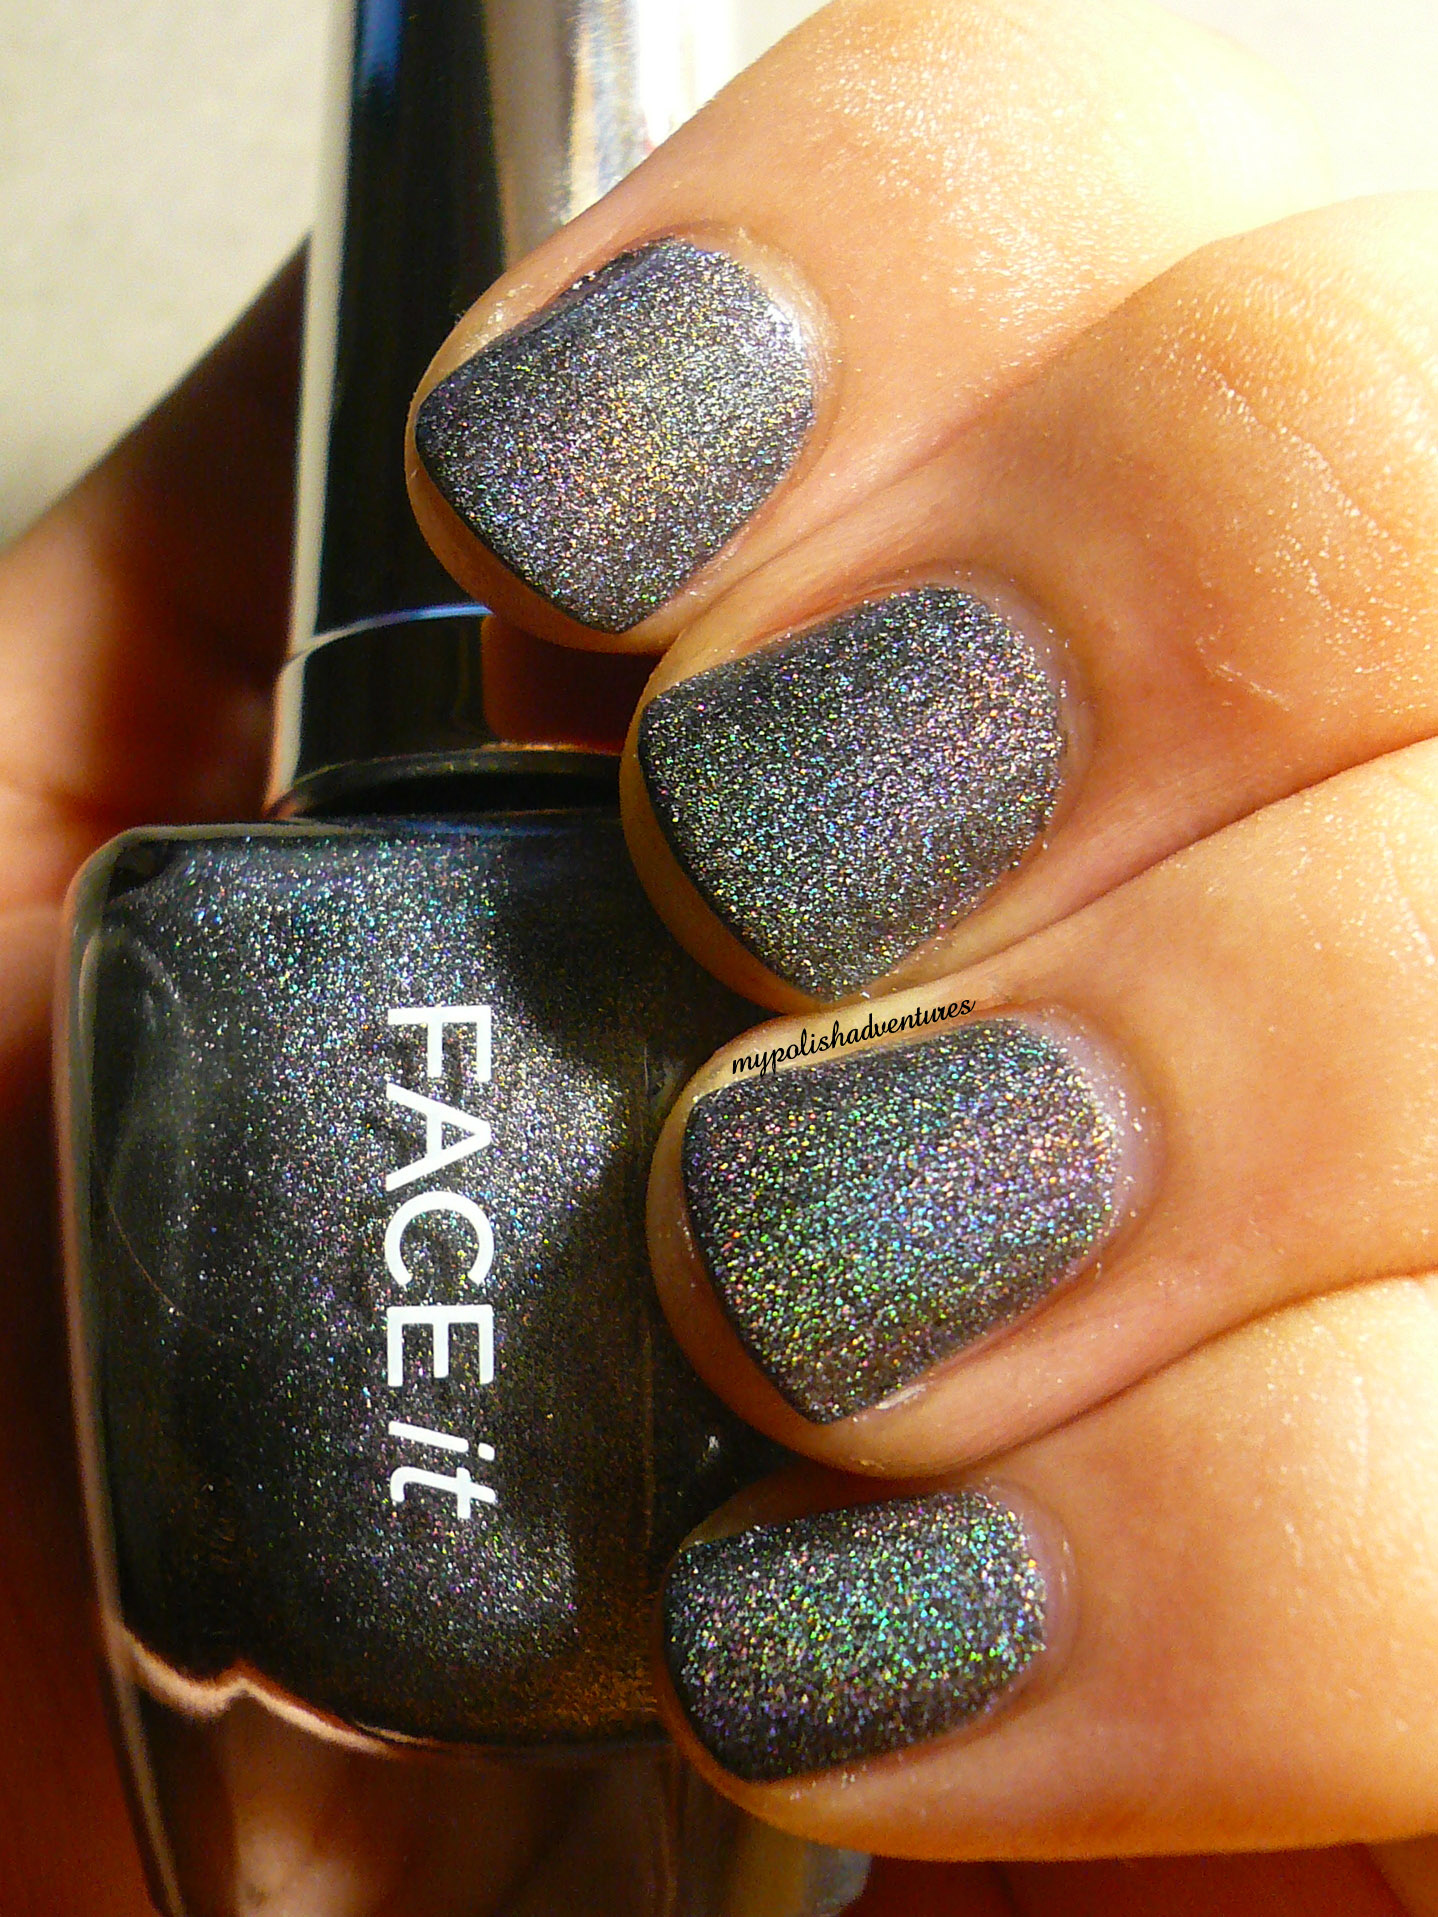
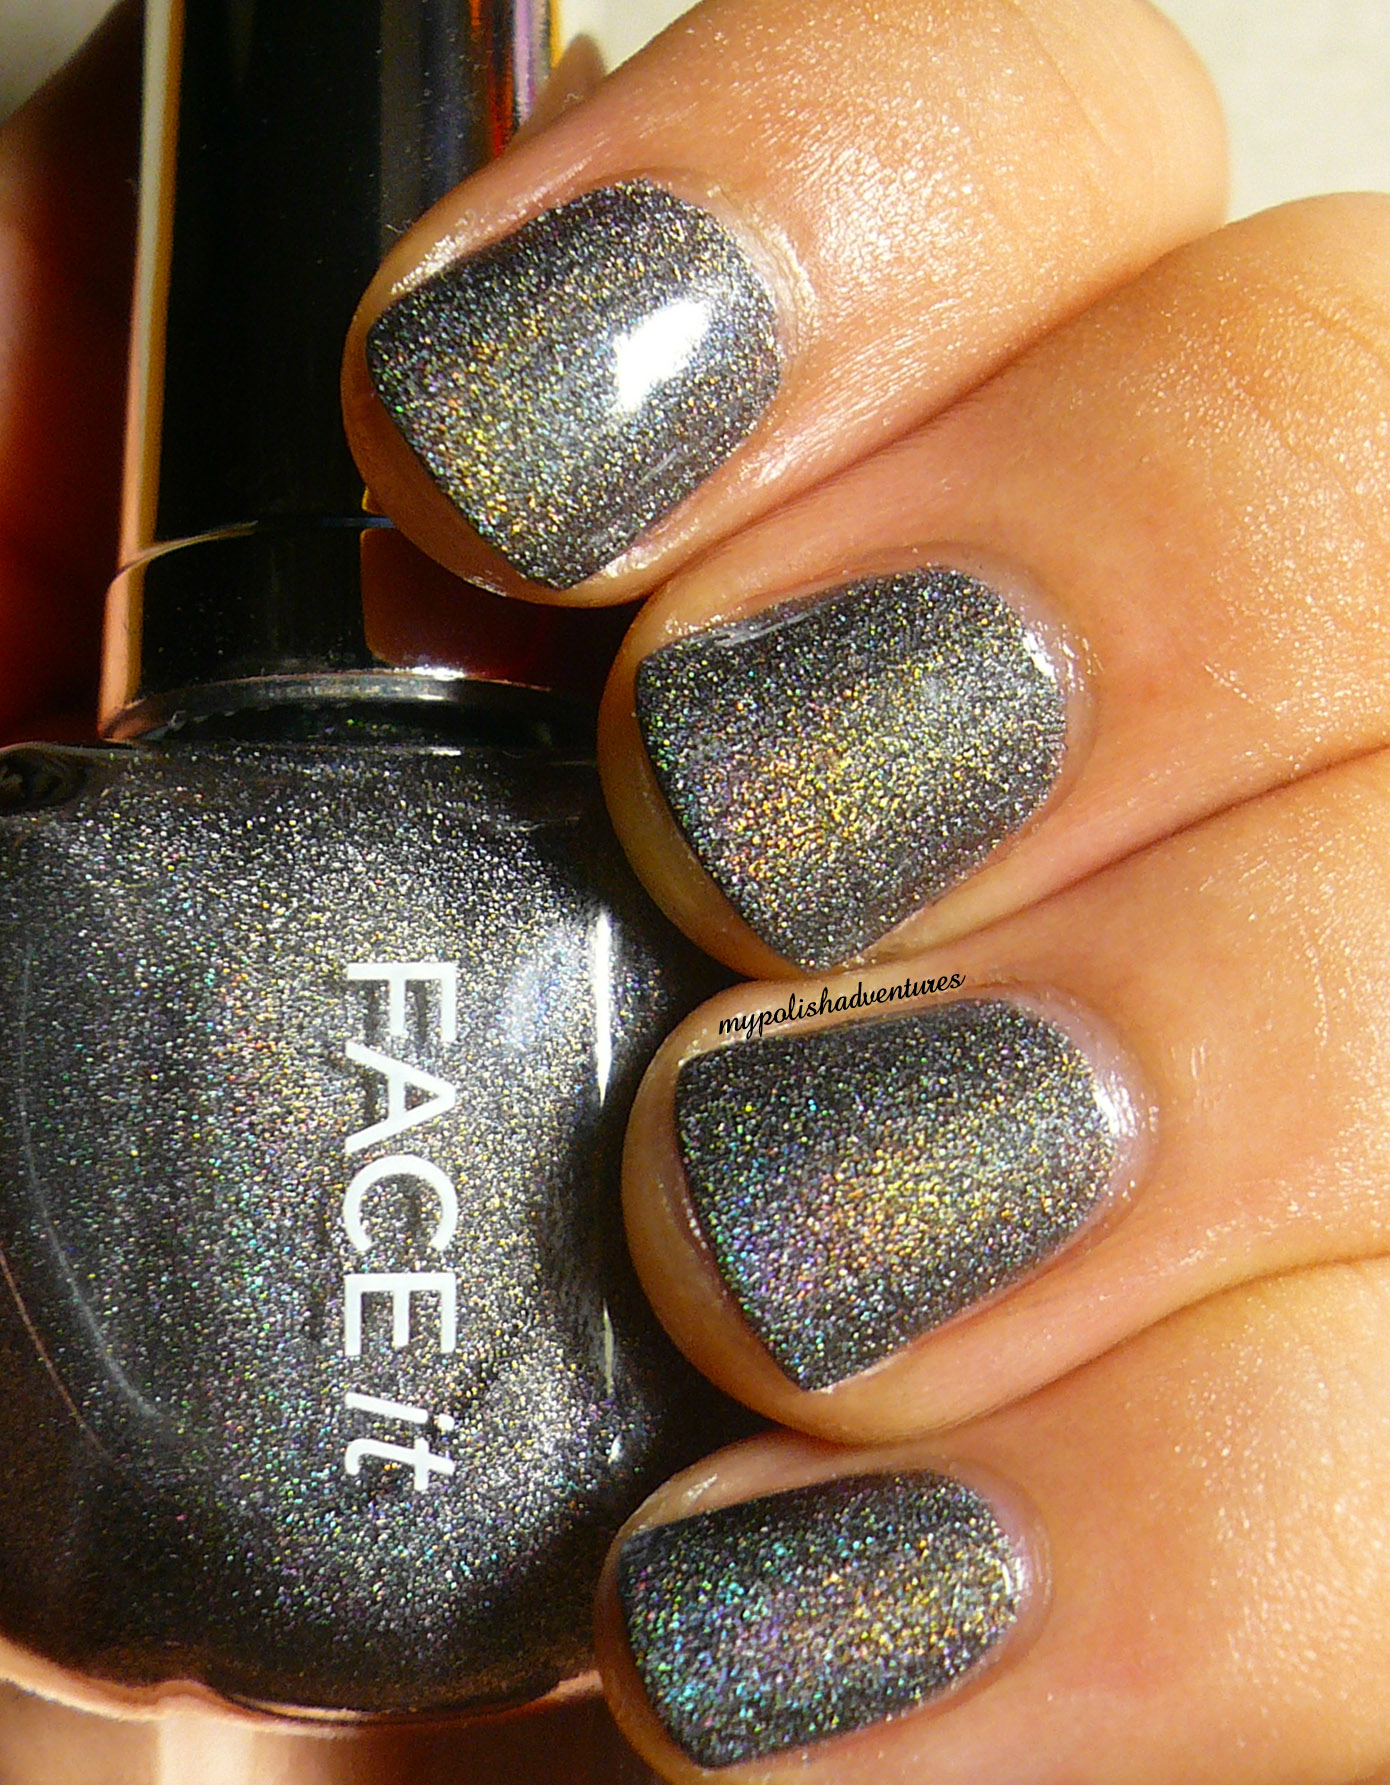
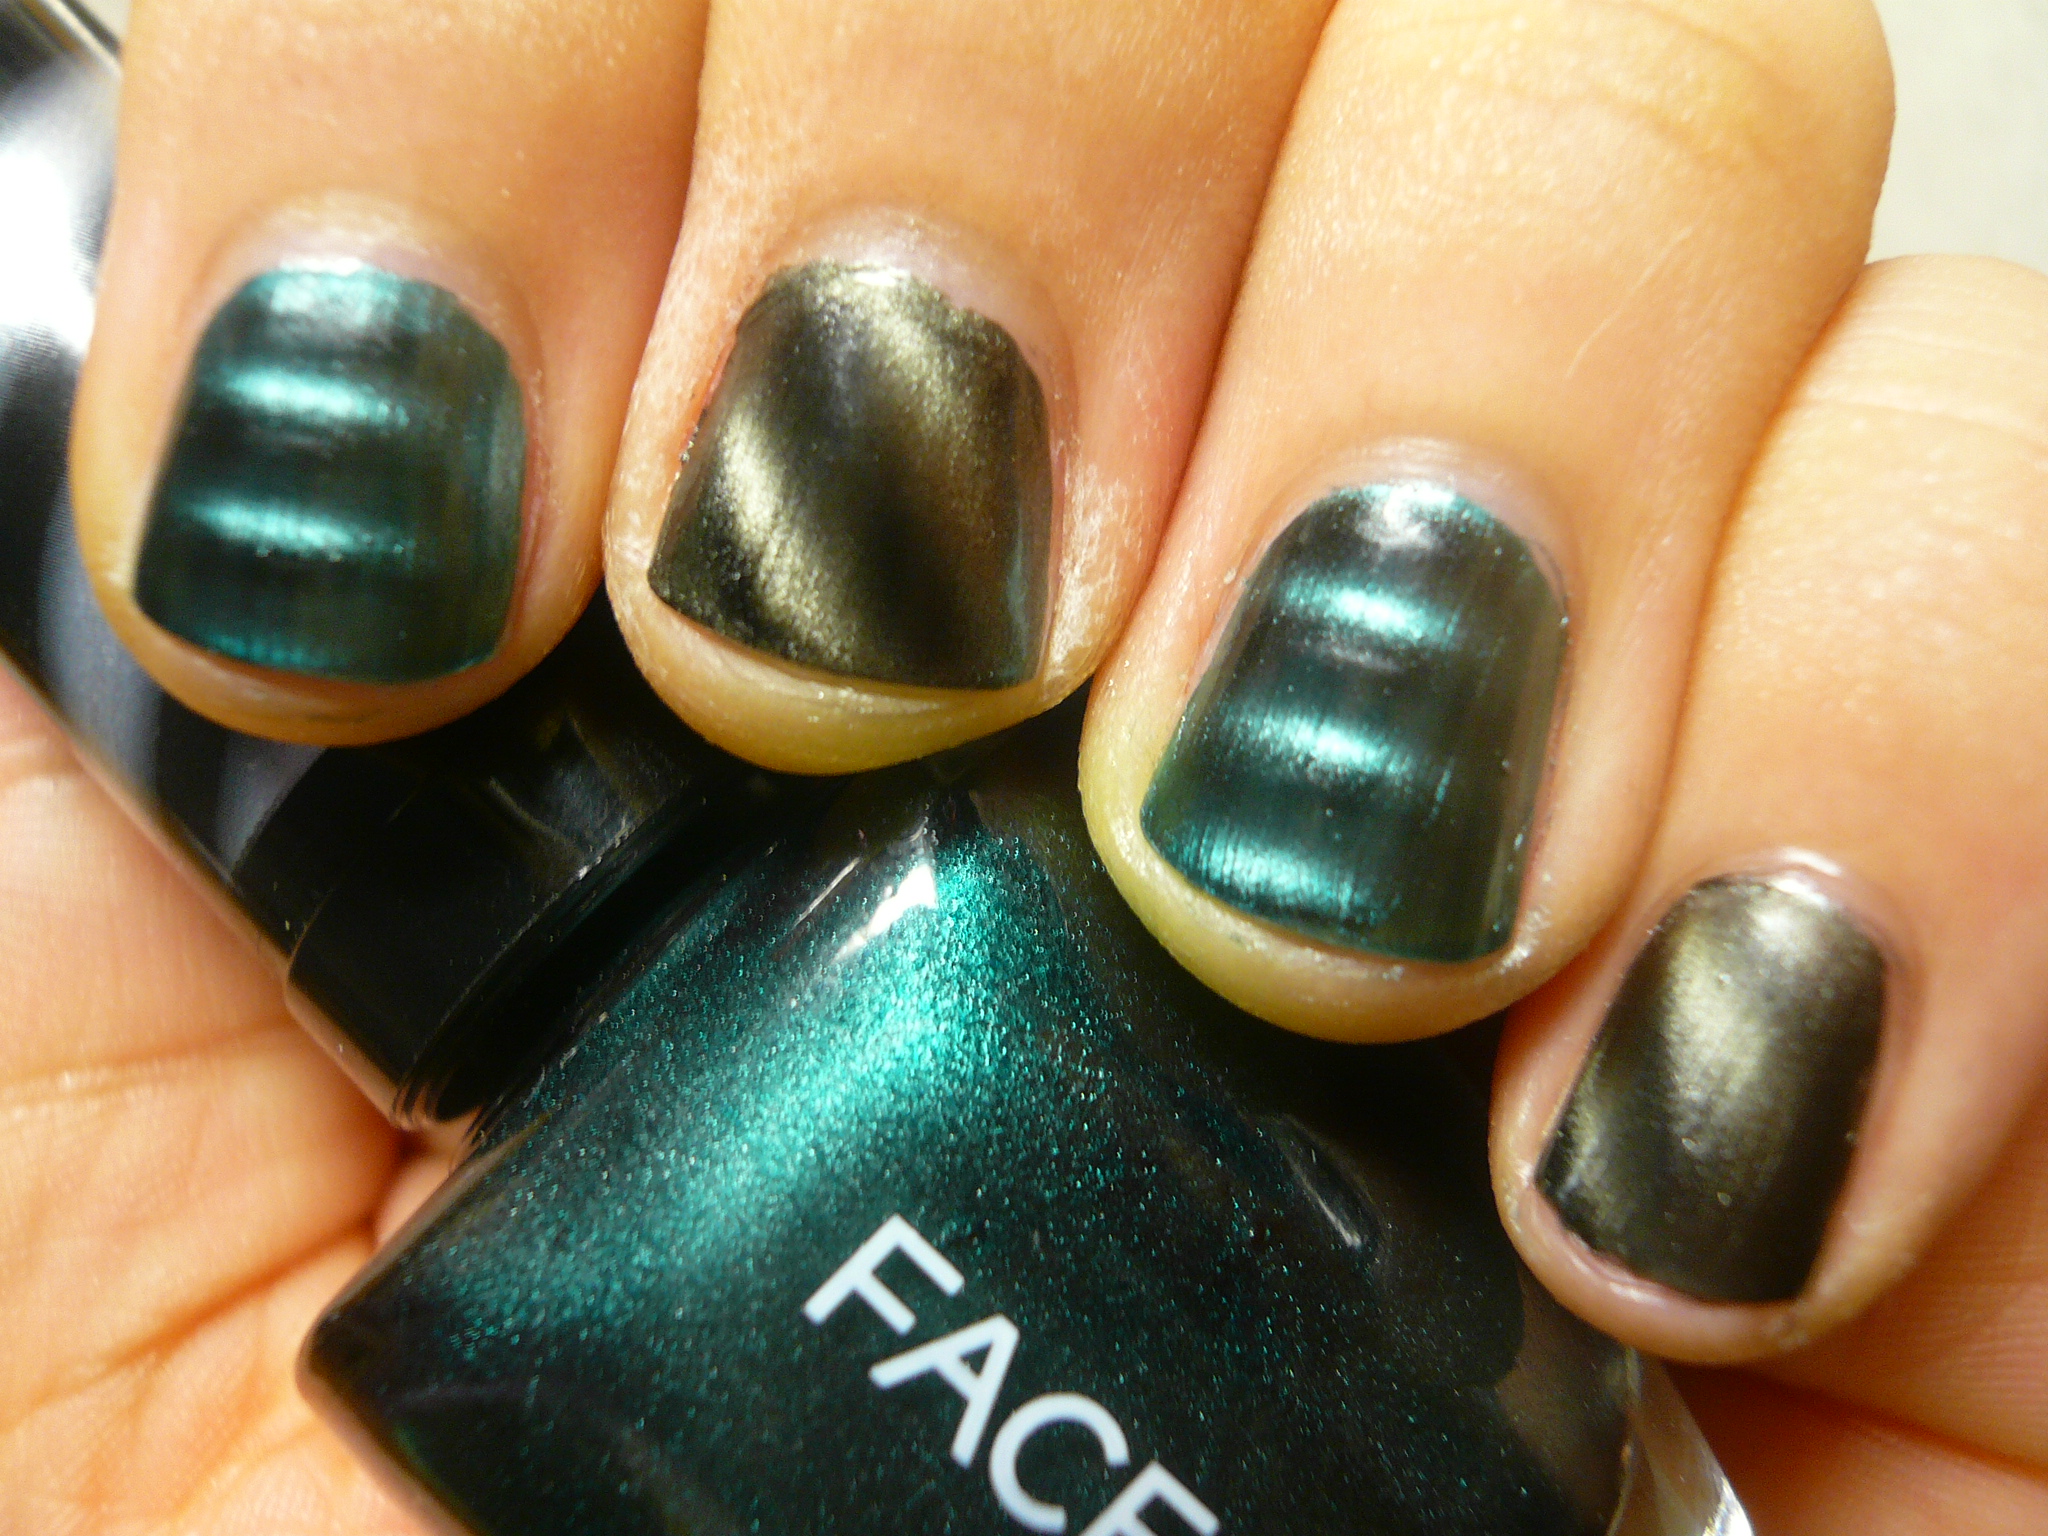
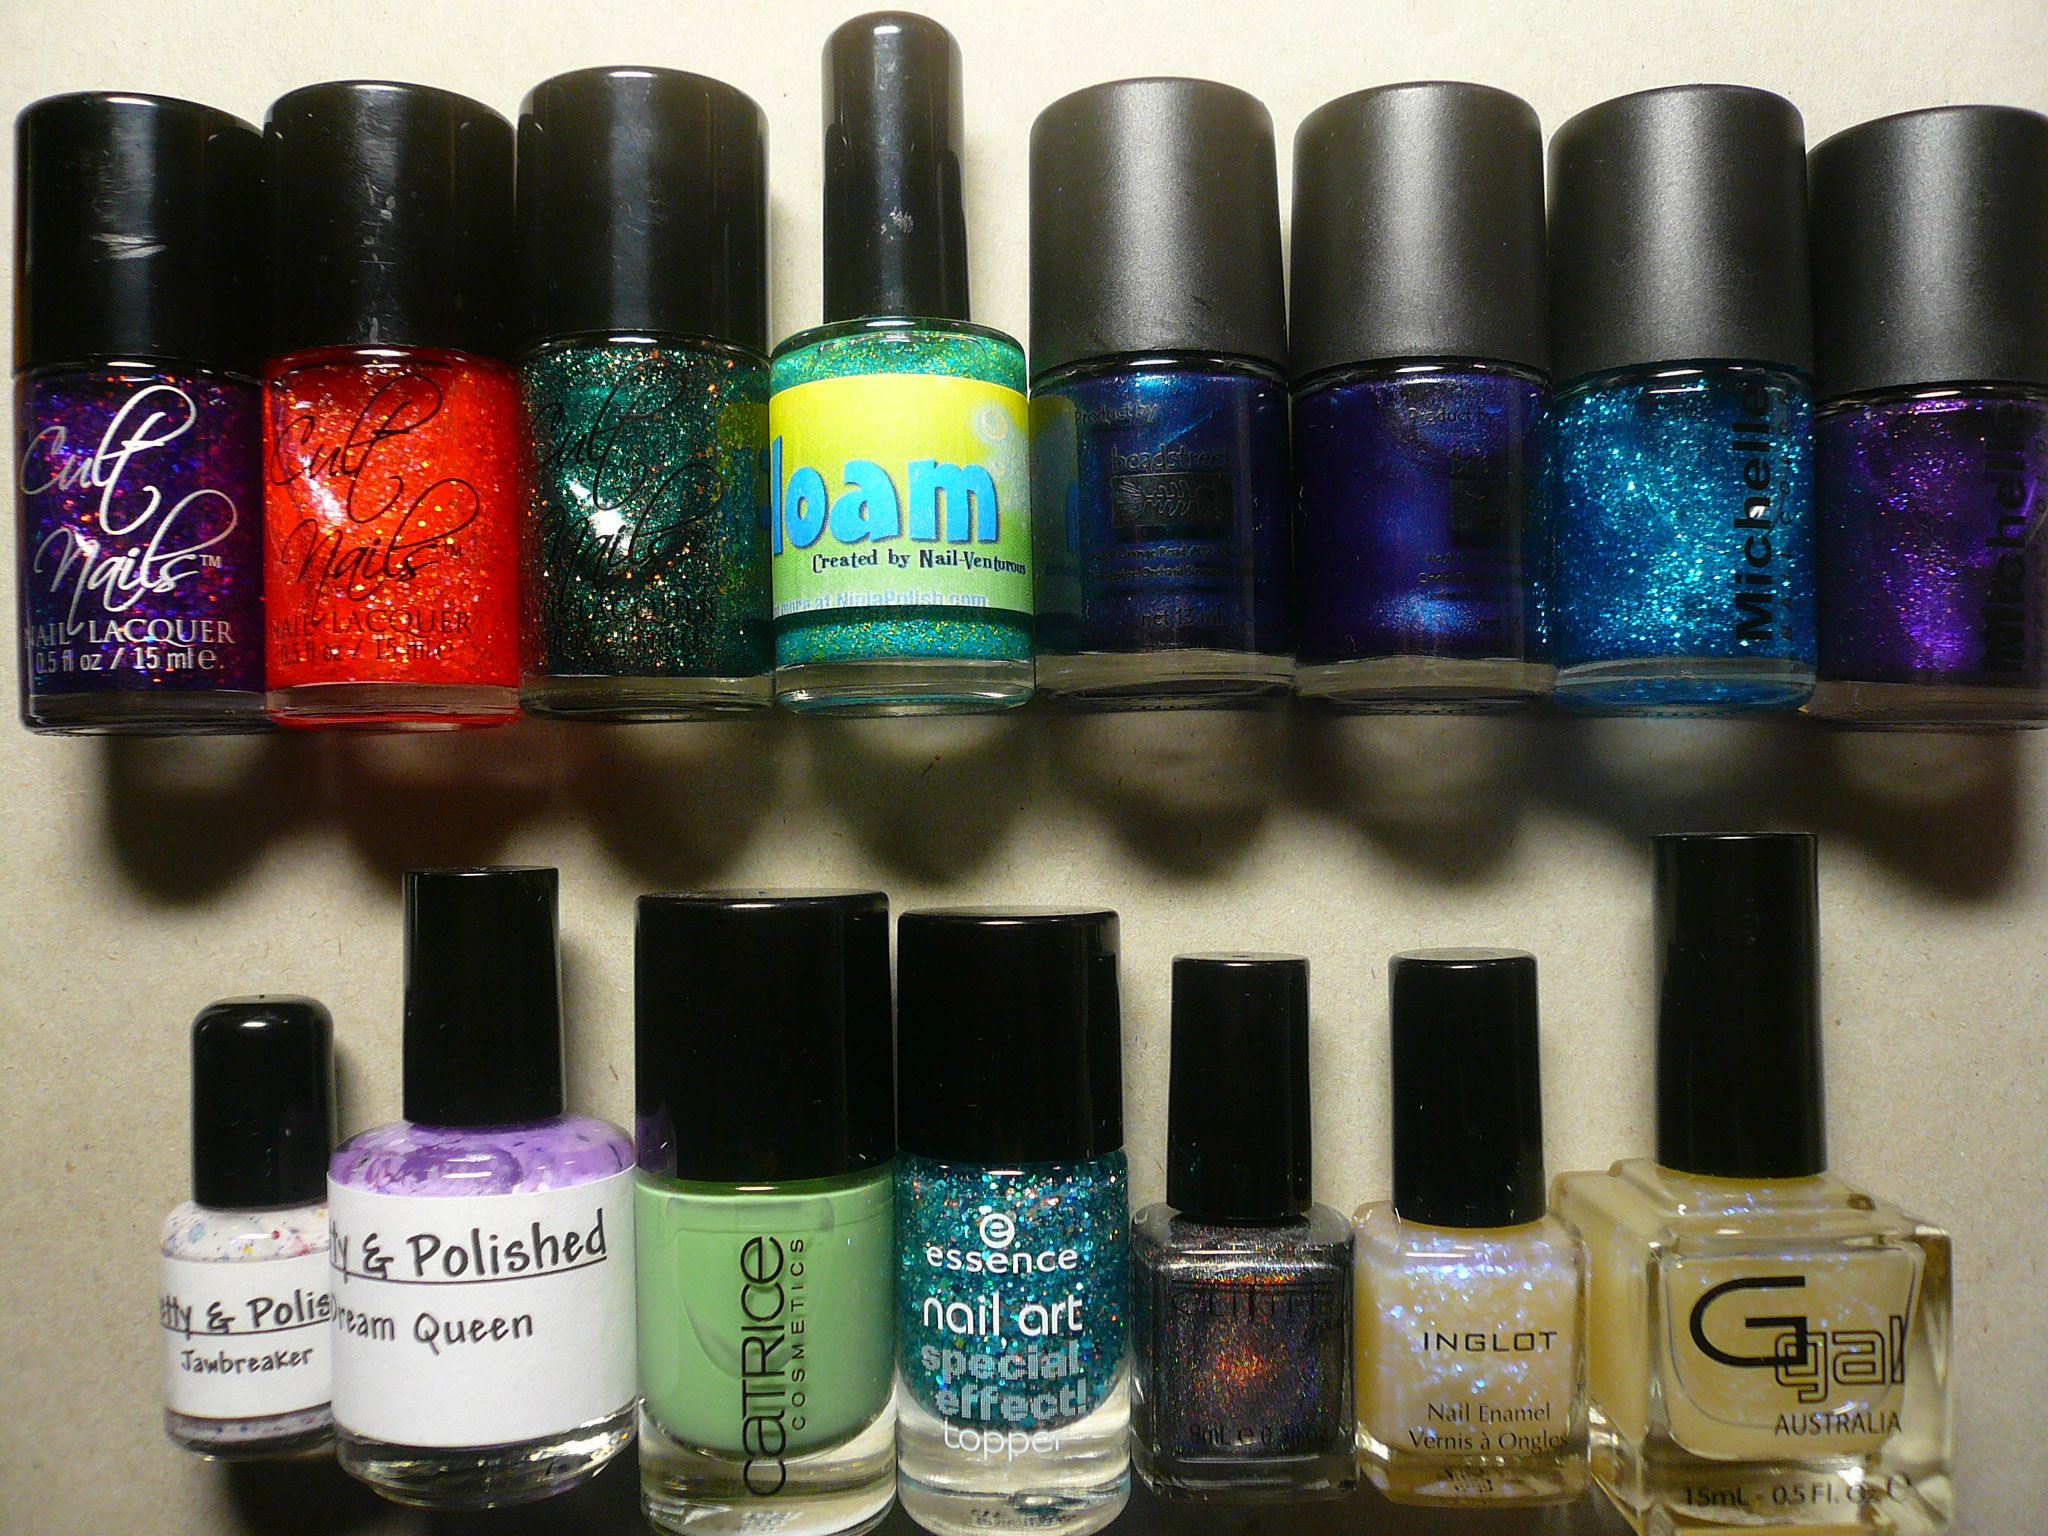
Next, we have the three Cult Nails polishes I got (Seduction, Captivated and Toxic Seaweed), Floam, as well as a couple of Beadstreet polishes I bought. In the bottom row, I got Jawbreaker and Dream Queen, Catrice Sold Out Forever (a Chanel Jade dupe), Essence Glorious Aquarious, GG 10 to Midnight, Inglot 204 (a blue flakie) and GG Andamooka Blue (a supposed blue flakie but I see random bits of red and green flakes in there too! D:).


Then we have four Essence Colour3 polishes. Three of them were CPs from EuropeI didn't know Singapore was gonna bring them in and sadly, I paid almost double what they cost at Watsons but hey, you win some, you lose some. And I'm still very grateful to my dear Evillee who helped me buy all the gorgeous European polishes on her trip there!


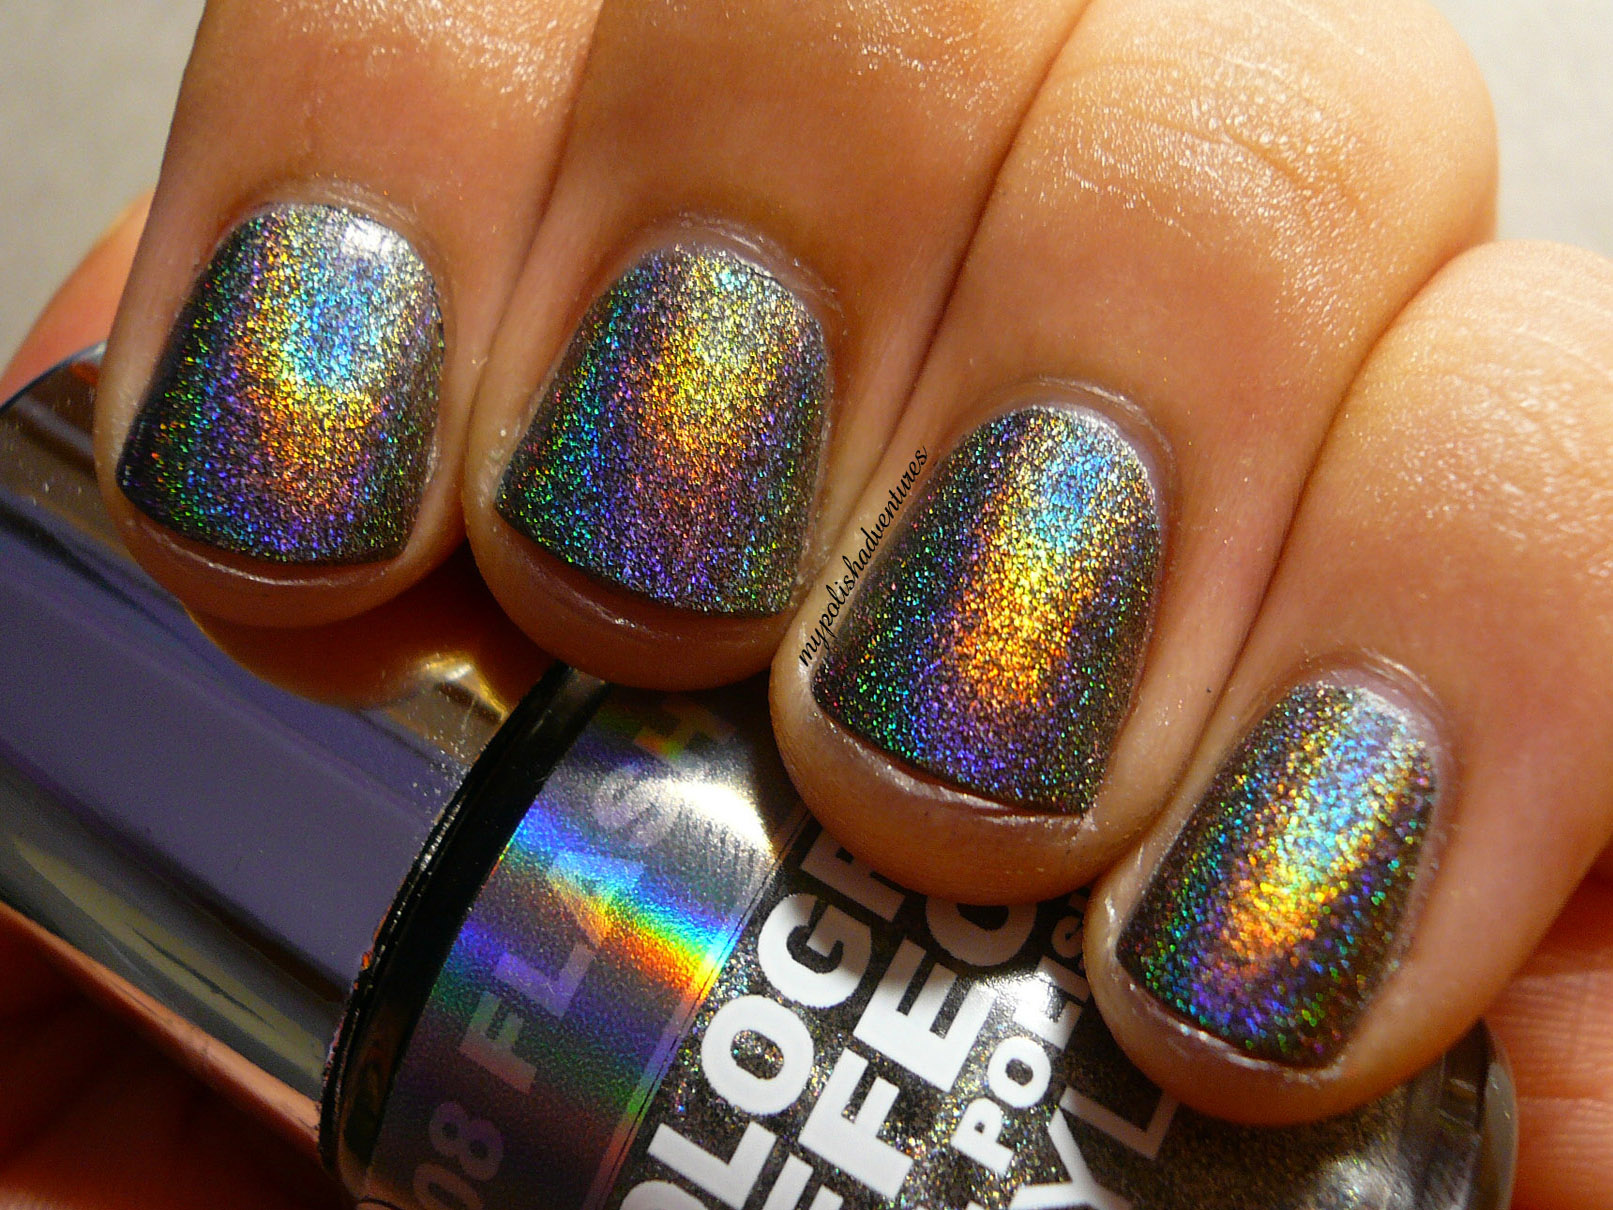
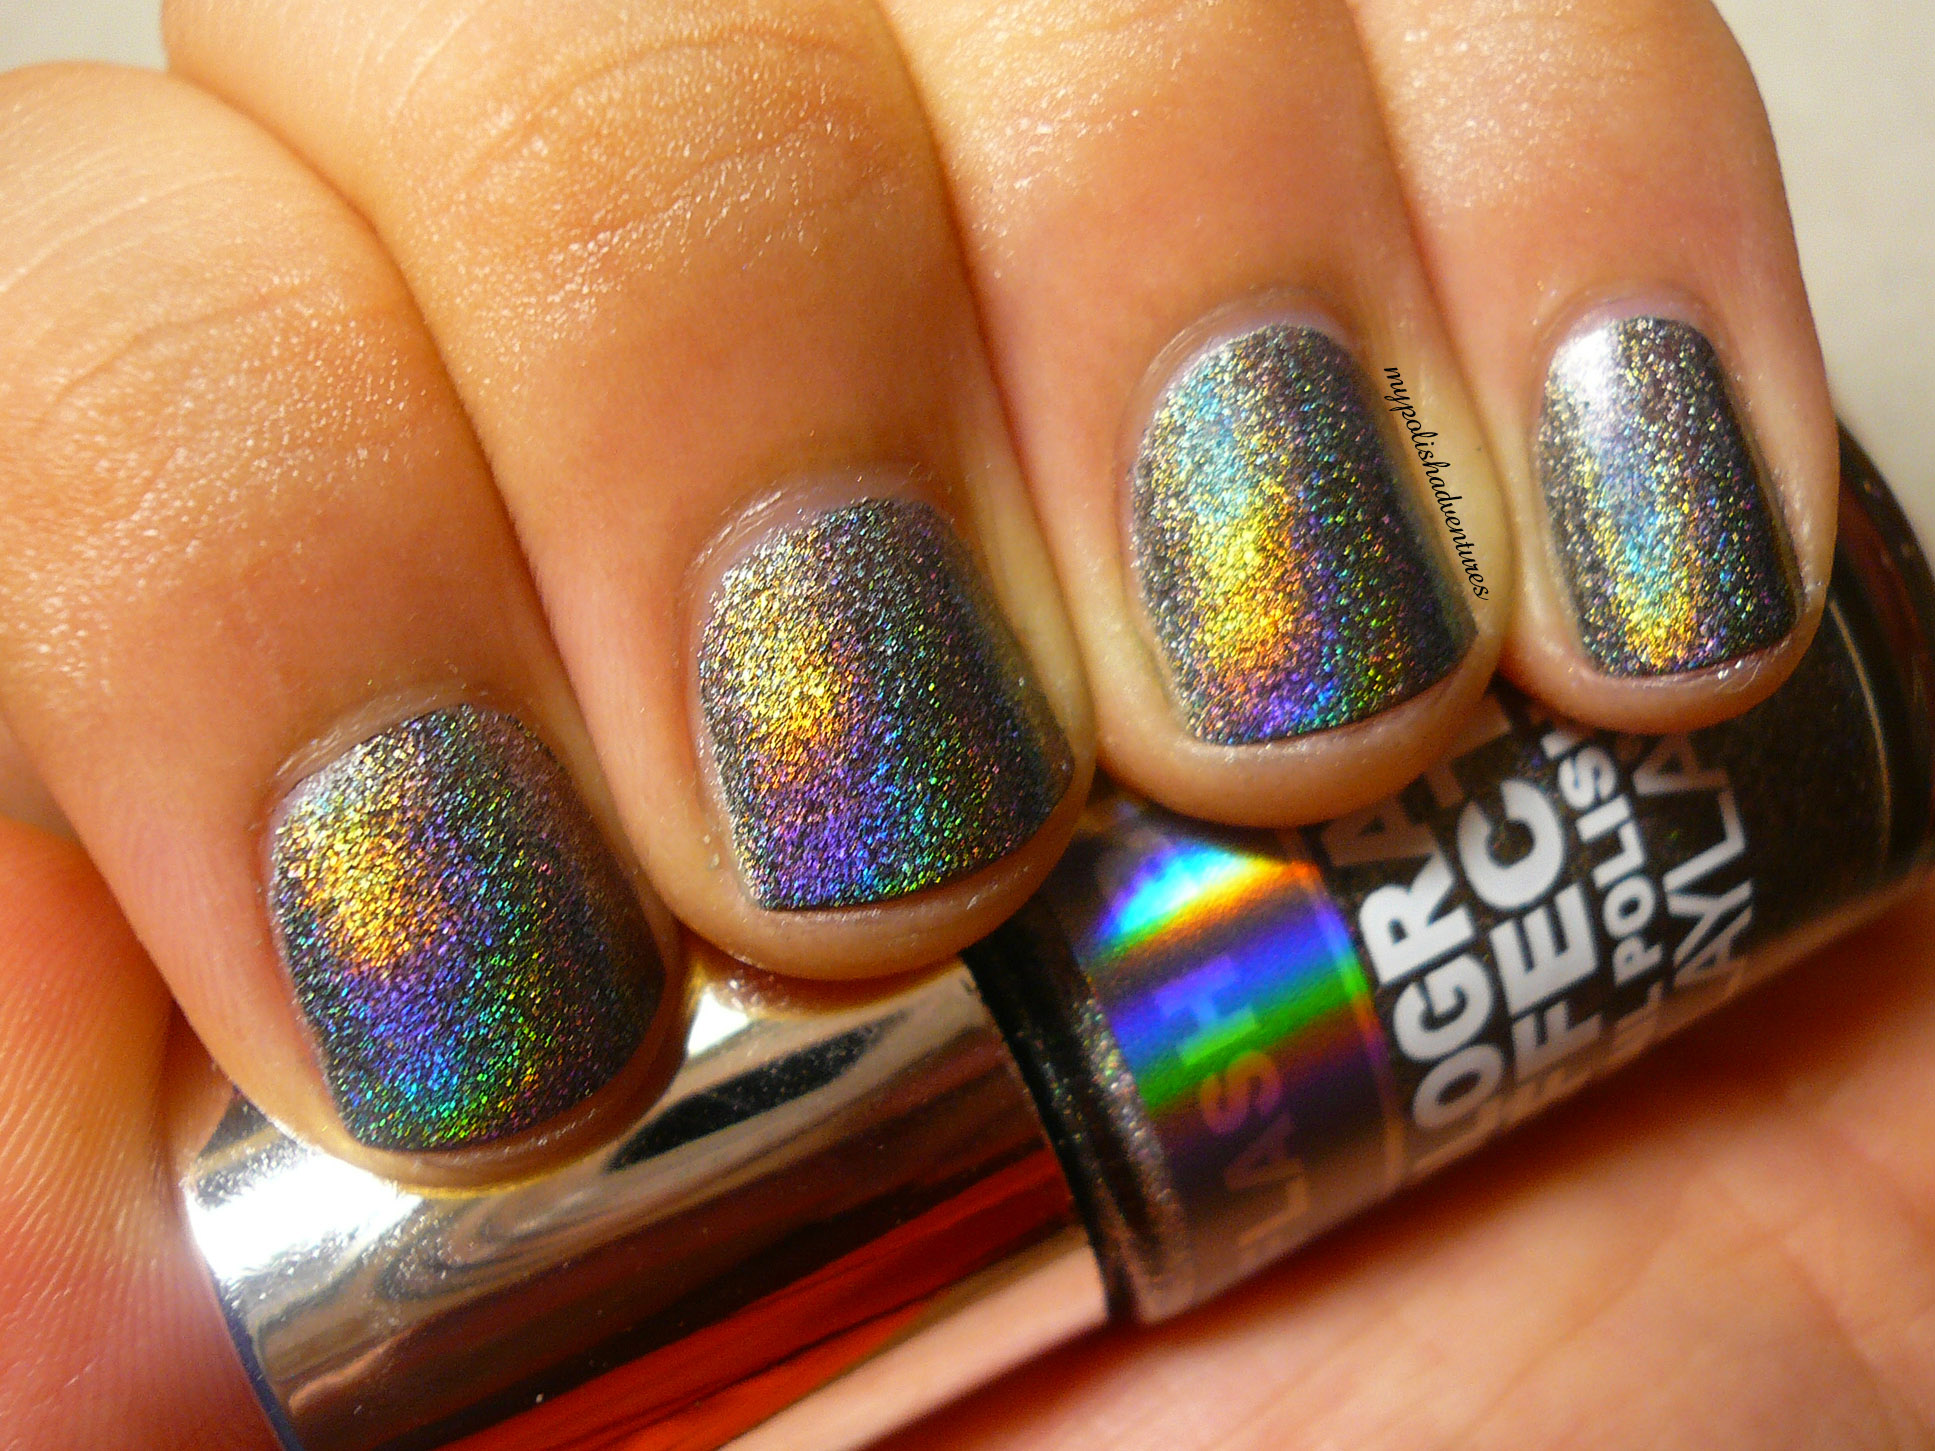
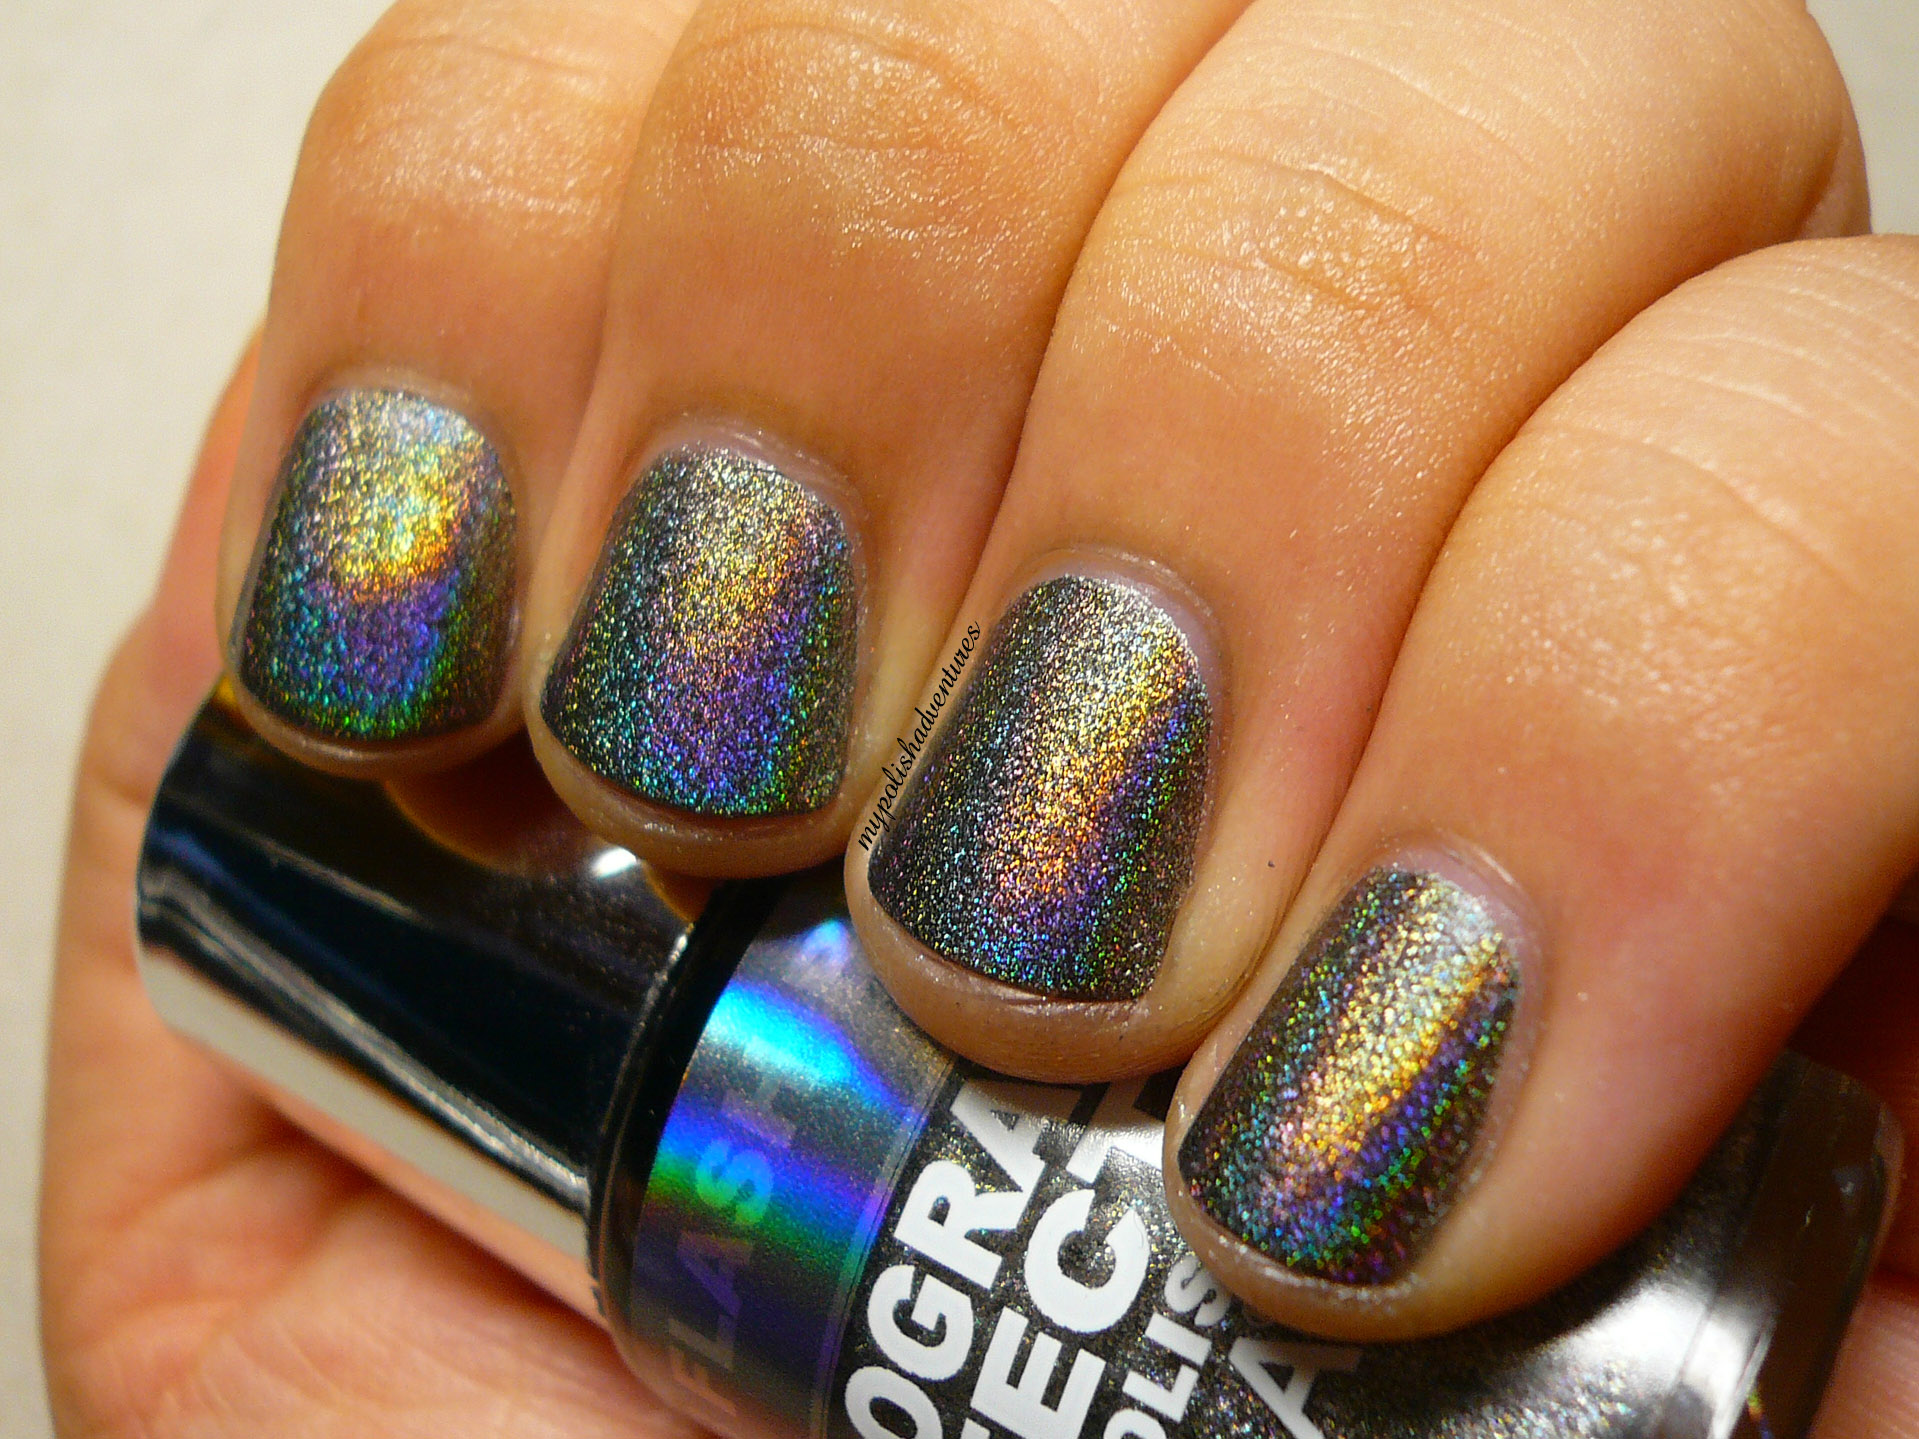
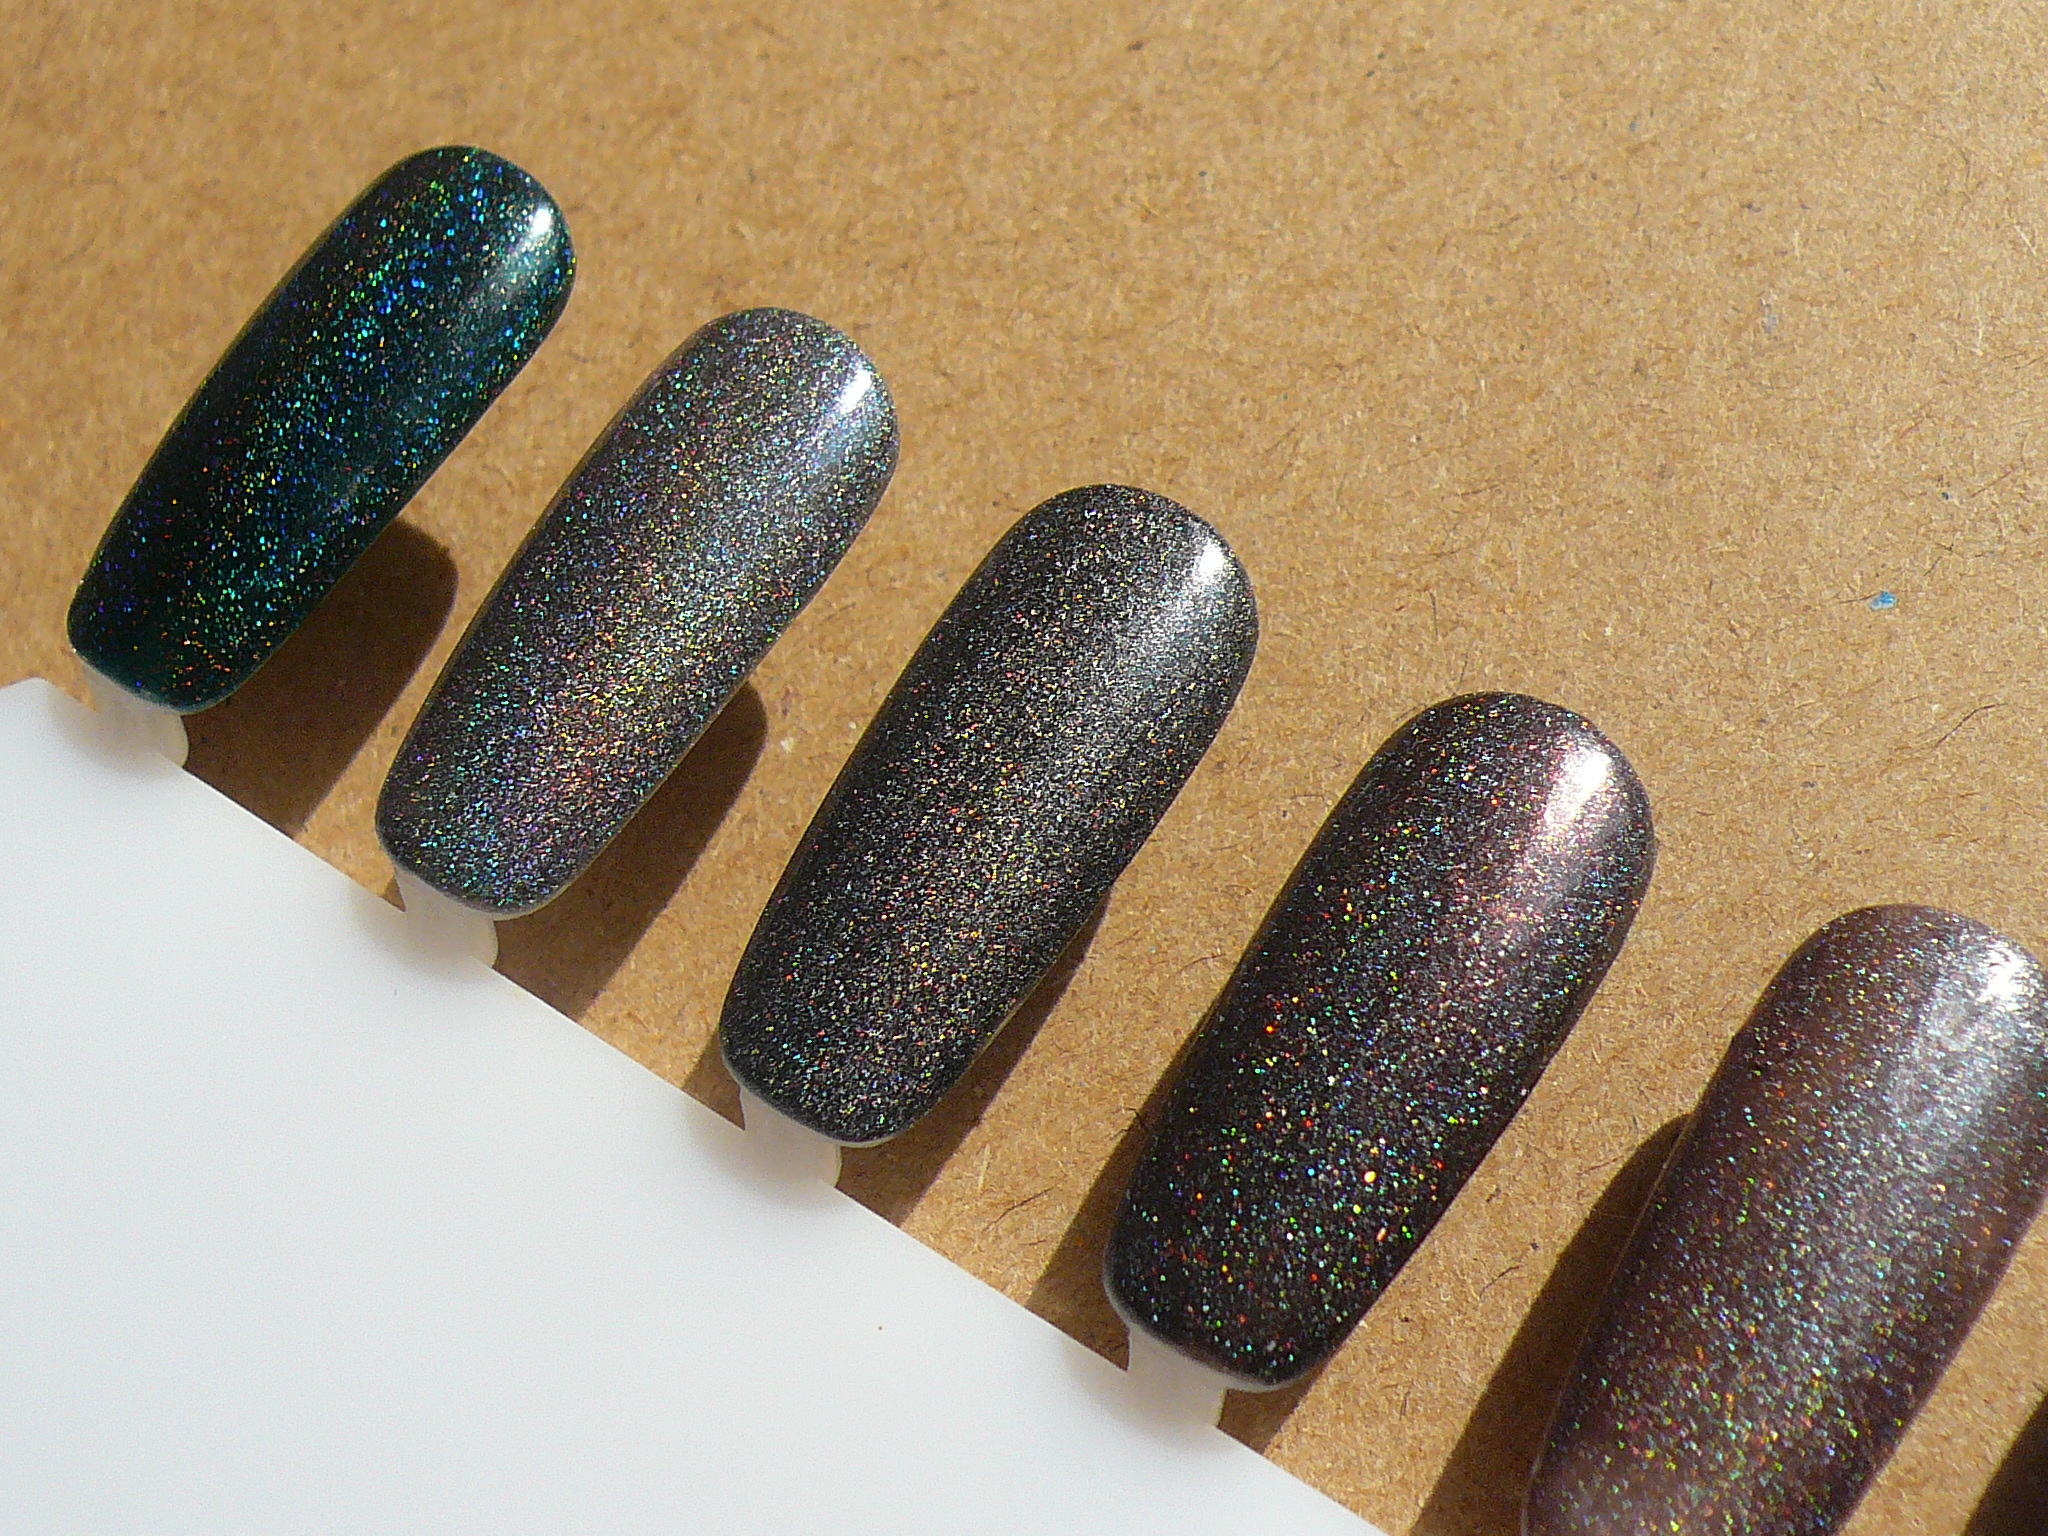
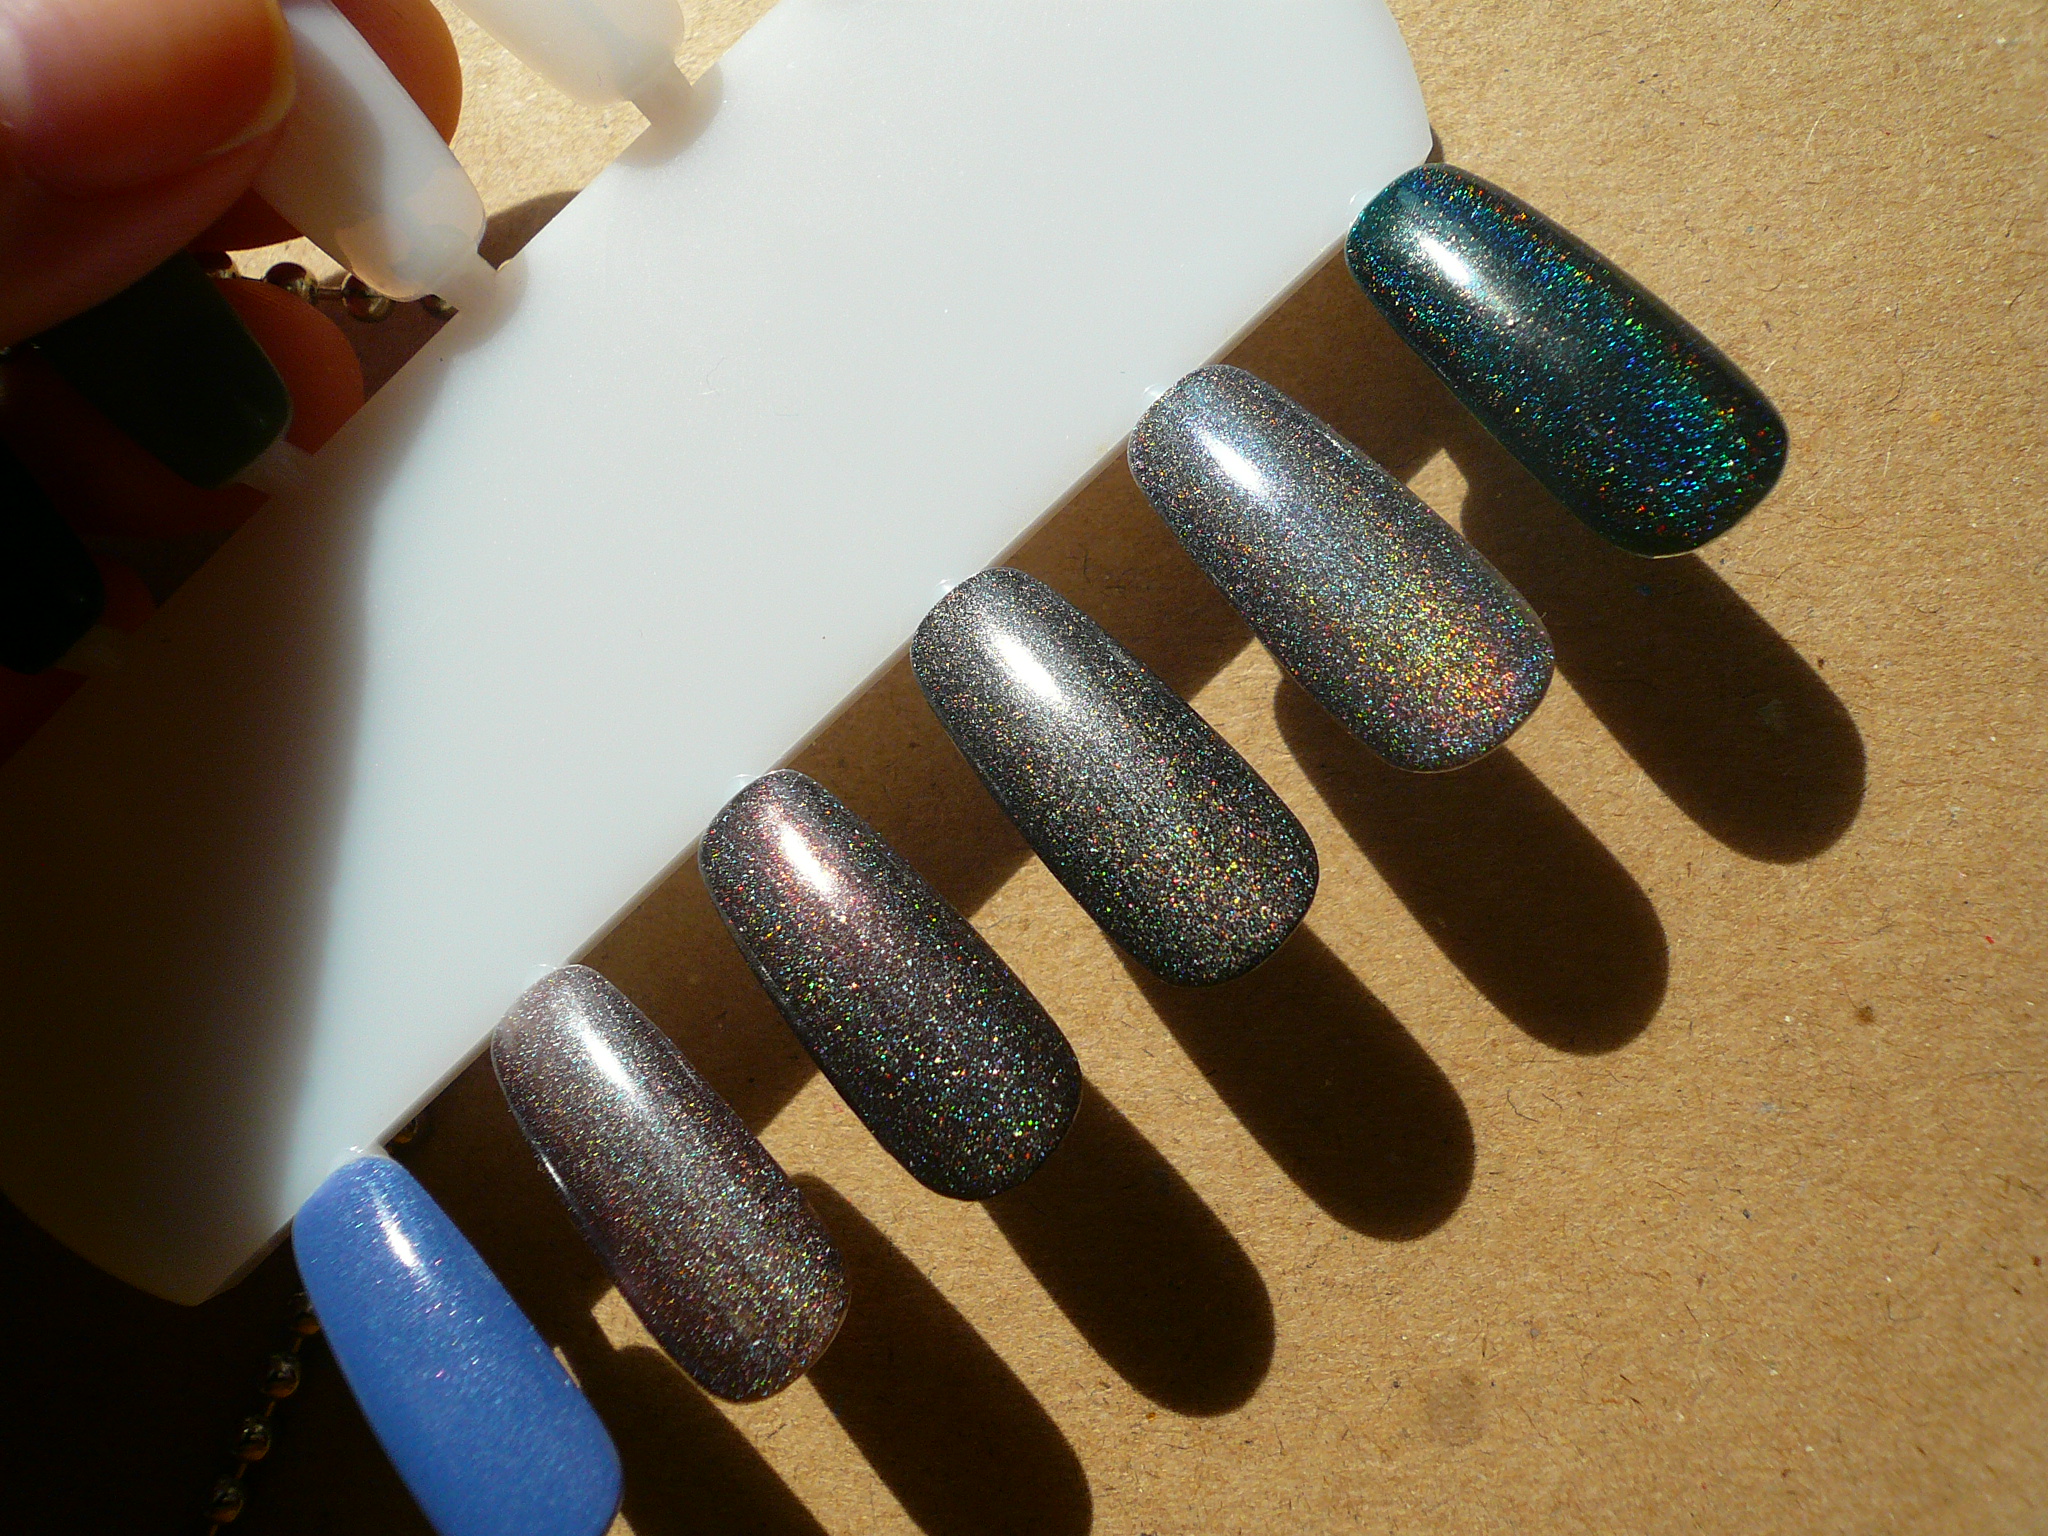
And lastly, I did an epic Ozotic / Picture Polish / A-England haul at ninjapolish. I'm so glad I snapped up all the Ozotic 500 series polish that I wanted because they're now discontinued.


So ther you have it, May's Haul. An epic haul if I might add. I seriously need to cut back on buying polishes! My Helmer is now full and I'm storing all the polishes you see in this post in an empty A4 paper box cover, which incidentally, is almost the same size as a Helmer drawer. I know us polish addicts always say we need to cut down and then we go on no/low buys which always turn out to fail but we'll see.

I'm pretty damn adamant this time and considering it's already 26th June, I've only bought a couple of polishes from a US blog sale because those polishes were quite unique and were going at some exremely reasonable prices! I did pay for my Pretty and Polished pre-orders but I placed those orders a long long time ago so they don't count!!! I also have the Nails Inc Sprinkles and some Nubar duochromes in my beautybay cart, which I'm sure I will check out by the end of the month but it's a considerable improvement already so yay! :)

Thursday, February 23, 2012

CNY Nails

I know I'm SOOOOO late to the CNY manicure party but better late than never right? (;

This was the manicure I did for my grandma for CNY. She wanted a dark red polish and I suggested doing a gold glitter gradient to bling things up.


I used Sally Hansen Brick Wall for the red base and TFS YL702 for the gold glitter gradient.
My grandma really liked the manicure and she told me she got quite a few compliments and my aunt even asked which manicure shop she got her nails done at!

Now, onto my CNY nails...


I bought a red dress to wear on the first day of CNY and I didn't want to look like one huge red packet with red nails so I chose to go with subtle nude nails and decided on OPI Barefoot in Barcelona. Then while I was watching the CNY show on Channel 8, I found out that black was my lucky colour and we all know wearing black during CNY isn't all that auspicious so I added some black polka dots on my thumb and ring finger. Normally, I'd just do an accent mani on my ring finger but I included the thumb as well. Some people do that too and it's been more commonly known as the Blackberry accent mani because you'd use your thumbs to type and it'll draw more attention!

I've never worn Barefoot in Barcelona before and I really like it on me! My mum had previously requested it for her pedi and Barefoot looked quite different on her because she's much tanner than I am. Funny how polish looks so different on people with different skin tones but I'm glad it still worked out fine for me! I also love how subtle the polka dots were (I think partly because I used a smaller dotting tool this time for the dots) and it's be a good way to spice up those boring nudes I'll be stuck wearing for work, without catching too much attention from the drescode patrol people at work!

Also, I couldn't resist taking a picture of my Blackberry mani with my darling BBB!

Wednesday, February 8, 2012

Dark Holographic Comparison

Yes, I am aware of my holo craze. I do apologize if you're sick of seeing holo posts from me but I still haven't gotten enough of them yet.

Today, I have a comparison of my darker holos. I swatched them on a nail plate because I already had 2 shades painted on previously. As with all holo swatches, please click on the pictures to enlarge them cuz the holo effect will look better! I really wanted to type the names of the polish on the picture itself but my photoshop's a bit cranky today and the text tool is not cooperating with me so I'll just type the names here and I hope you won't get confused!


(L-R) OPI My Private Jet (Holo Version) (which I swatched at BHG despite stares from the OPI lady), my own franken of a holo MPJ, Color Club Revvvolution, TFS BK901 (this one is the charcoal holo, not the OPI Unrippen dupe, because TFS has 2 polishes with the same name) and lastly Glitter Gal Lizard Belly.


Here's a blurry shot so the holo effect is a little more apparent. The others are reversed, from L-R, from the above picture, with Lizard Belly being the first one from the left.

And now it's close-up time!


(L-R) MPJ, Franken, Revvvolution


(Top - bottom) Revvvolution, Franken and MPJ


(L-R) Franken, Revvvolution, BK901 and Lizard Belly


Same order as above.


(L-R) Revvvolution, BK901 and Lizard Belly


(L-R) BK901 and Lizard Belly

Took these last three shots when the sun FINALLY appeared.


Please ignore the blue polish. It was from a previous swatch.


That's what I'm talking about, Lizard Belly!

WOWZA! I'm so happy I did these swatches and here are my mental notes when was doing the swatches and reviewing the pictures:

1) I finally managed to capture some holoness from MPJ! If you have been reading my blog for a while now, you'd know that I came across a magical holo bottle of MPJ at BHG but the sales lady refused to sell it to me so I grew a pair, went back the next day and swatched the damn thing on my nail plate so at least I'd have a momento of it. Because it was rather sheer, the holoness was a bit hard to capture but I was pleasantly surprised when I saw the pictures!

2) Again, I have not captured Revvvolution this holographic before! Just look at the second, fifth and sixth pictures! WOW OH WOW! I always thought I owned a dud version but this dud ain't that bad after all!

3)   I'm not sure if Singapore is already selling BK901 because I got my bottle in Malacca. I paid roughly S$10 for it and there was a pink holo for sale there too. Not really a pink polish kinda girl so I gave it a miss. This polish was the lightest and most grey out of the five but it's holoness is probably the best!

4) Lizard Belly was a little weird. In the process of drying, it started to appear matte and I had to fight the urge to touch it immediately and try to wipe it with a cloth or something. Ultimately, it did dry glossy but I just found the whole thing so weird. And it's so hard to capture the holoness of Lizard Belly! It looks so holo irl but my camera just refuses to let Lizard Belly shine! Maybe it's due to how dark Lizard Belly is? I don't know. Oh, and Lizard Belly is actually a really dark green. It looks black in a lot of swatches but trust me when I say it's definitely green.

5) If you don't own any holographic polishes, WHAT ARE YOU WAITING FOR? The world is so much better with rainbows on your nails!

Tuesday, January 10, 2012

31 Day Challenge: Day 29 (Inspired By the Supernatural)

The first thing that came to mind was to use all the Halloween themed images on my Bundle Monster plates for this challenge but it would be highly unoriginal because that was what most people did.

So I went googling around and I saw this! Gosh, all my friends know I'm in love with the Supernatural TV series! I've been faithfully watching it since 2006 I think and I love the Winchester boys so much! The plot has gotten a little lame over the years, with the whole apocalypse thing and now the leviathans and I really miss the good old days where they used to hunt different demons every episode.

The inspiration was season 7's title card with the smashed up mirror:


And this is what I came up with:


I painted a navy base with TFS BL604 and stamped on a broken glass image from the Bundle Monster BM 208 plate using China Glaze Millennium. I had some difficulties when I did my pinkie and the image didn't transfer properly the three times I tried so upon the third try, with fragments stamped on, I resorted to painting on the remaining line, which explains why some lines are thicker than others.

Look like I have to practice stamping more!

Wednesday, December 28, 2011

31 Day Challenge: Day 19 (Galaxies)

I did a galaxy manicure a while back which was inspired by a cutepolish tutorial and I wanted to do a different look this time round so I googled some nebula / galaxy pictures.

Here's an overall picture of all five nails!


And now we have close ups.


I did a swirly design for my thumb.


The design on my index finger was inspired by this picture of the Starburst Galaxy M82.


The design on my middle finger was inspired by the Galaxy M81.


The design on my ring finger was inspired by the really pretty Rosette Nebula. It really looks like a rose if you look at it!


And this last pinkie nail was inspired by a Galaxy Cluster. You can't really see but I did use a purple polish (Siberian Nights) and it's pretty dark so perhaps that's why it isn't obvious and just looks black where it's supposed to be purple.

Hope you girls like this manicure better than the first one! (: